🎁 Buy 2 kits, get the 3rd FREE · Free shipping on every order

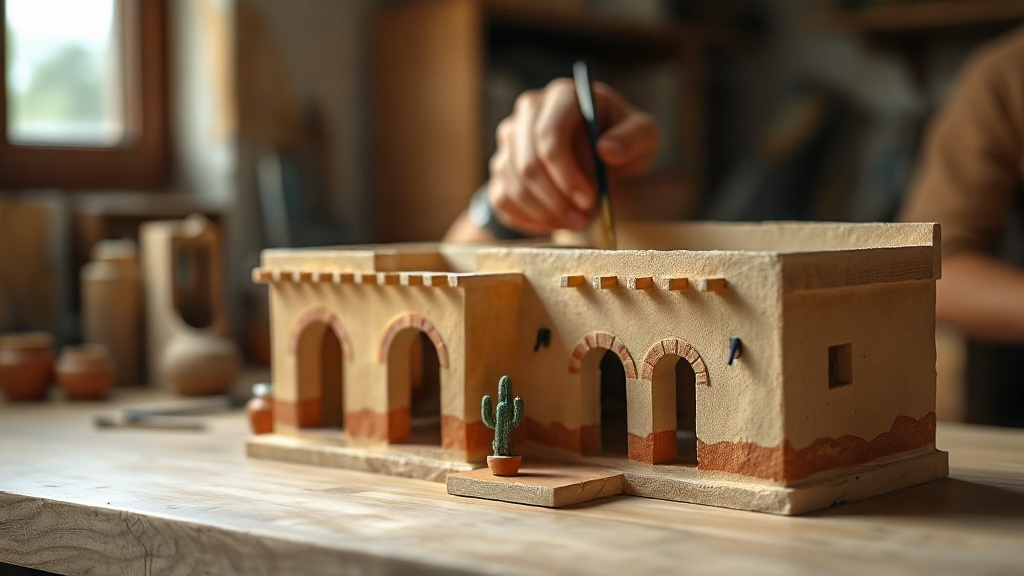
Mexican Hacienda Miniature Kit: Build Authentic Adobe Architecture at Home
A complete guide to building and detailing a Mexican hacienda miniature kit, featuring authentic adobe textures, traditional color palettes, and landscaping with miniature desert plants. Perfect for crafters seeking immersive cultural architecture projects.

The moment a Mexican hacienda miniature kit lands on your workbench, something shifts. You’re no longer just assembling a dollhouse; you’re recreating the warmth of sun-baked adobe walls, the quiet dignity of colonial-era architecture, and the aesthetic that defined prosperity across Mexico and the American Southwest for centuries. These kits capture something real: the proportions, the earth tones, the way light moves across thick plaster walls.
Building one is meditative in a specific way. There’s texture work involved. There’s color mixing. Your hands learn the difference between mortar that holds and decorative work that ages. By the time you set your finished hacienda on a shelf, you understand something about how these buildings actually function, why their walls are thick, and why the courtyard matters.
What Comes Inside a Mexican Hacienda Miniature Kit
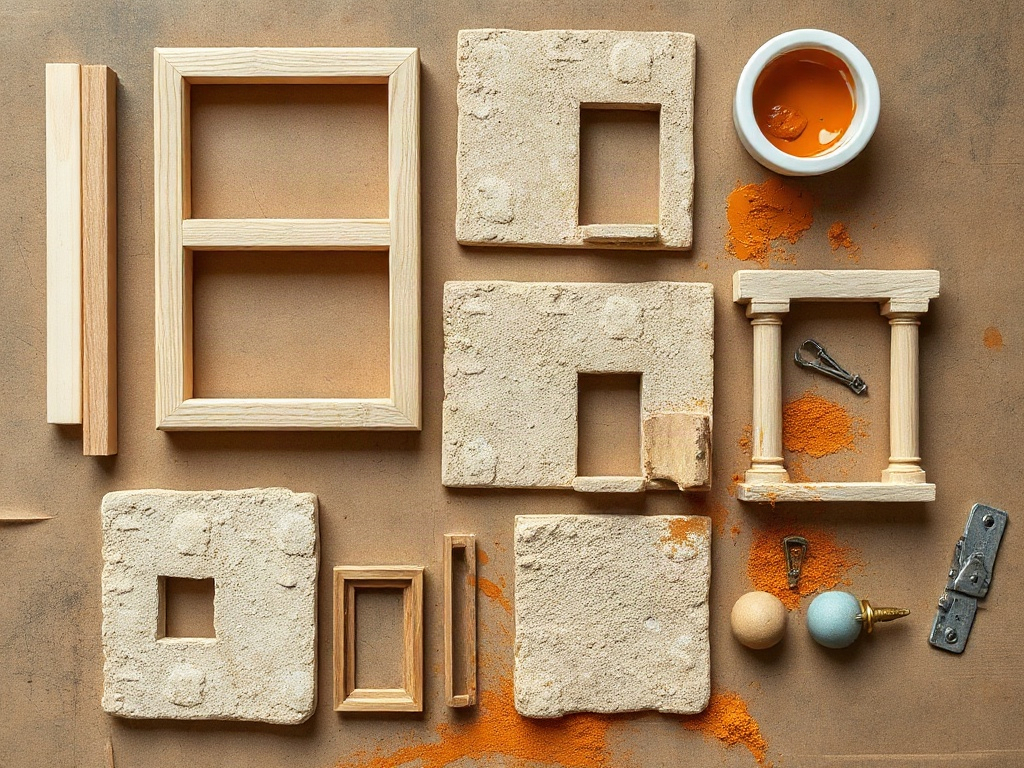
A quality hacienda miniature kit typically arrives with pre-cut wooden frames, weathered plaster panels or the materials to create that effect, and structural components that are ready to assemble straight from the box without specialist tools. You’ll find laser-cut pieces sized to 1:48 or 1:24 scale, depending on the kit’s ambition. The paint palette usually includes ochre, terra cotta, cream, and deep charcoal for shadows and details.
What separates a good hacienda kit from a rushed one is the level of architectural detail included. Look for:
- Hand-scraped or textured wall panels that simulate authentic adobe plaster
- Arched doorways and window frames with colonial-style proportions
- Tile flooring components for interior patios (often pre-printed with traditional patterns)
- Weathering elements like iron fixture bases, hinges, and decorative metalwork
- A courtyard base with grading guides for landscaping
Assembly difficulty typically ranges from intermediate to advanced, depending on the kit’s scale and customization options. Most hacienda kits require 20 to 40 hours of work across construction, finishing, and detailed embellishments. Some builders spread this across several weeks to focus on quality rather than speed.

Bestseller cottage kit
Tranquil Life DIY Miniature House Kit
$67.90
View this kit →
Achieving Authentic Adobe Texture and Color
The adobe exterior finish is the single most important skill in a hacienda miniature build: nail the irregular, lightly uneven plaster surface and every other detail will read as authentic, even if other elements are less refined. Many kits arrive with textured panels, but the real work is in the finish.
Start with a base coat of warm cream or pale ochre. Dilute it slightly so it flows into texture without pooling. Let it dry completely, then dry-brush a deeper adobe tone (burnt sienna mixed with yellow ochre works beautifully) over the high points. This mimics how actual adobe walls weather, with darker tones accumulating in recesses and where water runs down.
A thin glaze of diluted raw umber applied selectively to corners and lower walls creates age and shadow without looking painted. The key is restraint. Real weathering is subtle. If your first attempt looks cartoonish, you’ve gone too far.
🪄 Hannah’s tip
Mix your adobe base colors on a ceramic palette and let them sit for a few minutes before applying. Pigment settles differently in water-based mediums, and a brief rest reveals the true tone. This prevents the “too pink” or “too yellow” regret that happens when you rush straight from mixing to brush.
Mix your adobe base colors on a ceramic palette and let them sit for a few minutes before applying. Pigment settles differently in water-based mediums, and a brief rest reveals the true tone. This prevents the “too pink” or “too yellow” regret that happens when you rush straight from mixing to brush.
Detailing Doors, Windows, and Metalwork
Hacienda doors and windows are the face of the whole structure: getting their weight, finish, and patina right transforms a painted box into a convincing piece of colonial Mexican architecture at any scale. These aren’t delicate Victorian features; they’re substantial, often oversized, designed to manage heat and light across a day. Miniature kits usually include brass or resin fixtures that need finishing.
Brass can look too shiny straight from the kit. Age it with a patina solution or dry-brush treatment using blue-green acrylics diluted heavily with water. Iron work benefits from a coat of matte black primer, then subtle dry-brushing with dark gray and rust-tone highlights. This simulates oxidation and real wear.
Window panes are often clear acetate or resin. Leave them transparent, but weather the frames and sills. The contrast between the clear openings and weathered surrounds adds realism. If your kit includes shutters, paint them in colors traditional to the region: deep reds, forest greens, or variations of the same adobe tone as the walls.
Courtyard Landscaping with Desert Plants
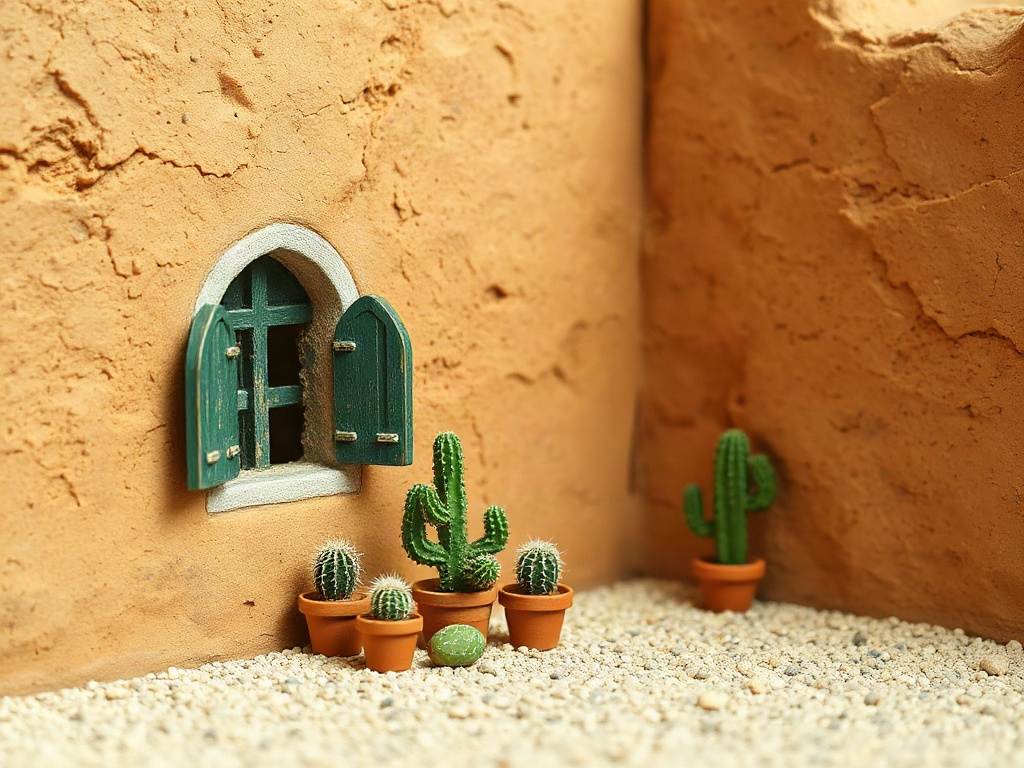
No Mexican hacienda is complete without its courtyard vegetation; the interplay of sun-hardened walls against living cacti and flowering shrubs is what makes a finished miniature hacienda feel inhabited rather than simply built. Cacti, agave plants, and flowering shrubs aren’t mere decoration; they’re functional: they thrive in drought, require minimal upkeep, and look stunning against adobe walls.
Source miniature cacti and succulents from specialty dollhouse suppliers. Saguaro, barrel cactus, and prickly pear varieties come pre-made in scales matching your kit. Alternatively, craft your own using floral wire, papier-mâché, and textured paint. Pea gravel mixed with a touch of paint creates sandy courtyard flooring that looks authentic.
Arrange plants asymmetrically around a central fountain (many kits include a small resin or wooden version). Hacienda courtyards were practical, not formal gardens, so clustering plants in corners or against walls feels more truthful than even spacing. Layer in small terracotta pots, some stacked as if waiting for replanting.

Premium collector piece
Monet’s Garden DIY Miniature House Kit
$155.00
Discover this kit →
Choosing the Right Scale and Footprint
Choosing the right scale before you order is the most practical decision you will make: a 1:12 hacienda with a full courtyard can occupy a 24-by-36-inch footprint, while a 1:48 version fits comfortably on a single shelf without sacrificing architectural character. A 1:24 scale hacienda occupies a corner of a room but rewards you with more interior detail and easier fine work. Some builders prefer 1:12 scale for showpiece installations where every architectural element becomes legible from arm’s length.
Consider your display space before ordering. A hacienda with a courtyard component needs at least 18 by 24 inches on a shelf or table. The footprint matters as much as the scale because these aren’t meant to be tight, cramped structures; they’re spacious, airy homes that open onto gardens.
If you’re building one as a gift, confirm the recipient’s available space. A beautifully finished hacienda displayed in a closet is a tragedy. The right setting matters: a bookshelf with good side lighting, a dedicated cabinet, or a room corner where natural light hits the adobe at sunrise or sunset shows the finishing work you’ve invested.
📜 Did you know?
Mexican haciendas evolved from Spanish colonial plantation estates during the 1500s and 1600s. The word “hacienda” simply means “estate” or “property,” but the architectural style became iconic: thick adobe walls (sometimes 3 feet thick), small high windows for heat control, and central courtyards that served as marketplaces, gathering spaces, and defensive positions. Miniaturists who build these kits are recreating a centuries-old tradition of Mexican architecture.
Mexican haciendas evolved from Spanish colonial plantation estates during the 1500s and 1600s. The word “hacienda” simply means “estate” or “property,” but the architectural style became iconic: thick adobe walls (sometimes 3 feet thick), small high windows for heat control, and central courtyards that served as marketplaces, gathering spaces, and defensive positions. Miniaturists who build these kits are recreating a centuries-old tradition of Mexican architecture.
Finishing Touches and Weathering Techniques
The gap between a completed hacienda and a truly finished one comes down entirely to weathering: water stains below gutters, rust creeping from iron fixtures, and ground-level soil accumulation are what convince the eye that this structure has stood for generations, not hours. Real adobe ages visibly and each zone of a building weathers differently.
Apply a diluted wash of dark brown or charcoal around window frames and door jambs where soot from candles or lamps would accumulate. Use a very fine brush and work slowly. Wipe away excess with a damp cotton swab. This adds depth without looking artificial.
Dry-brush lighter colors (pale ochre or cream) on high points where sun exposure bleaches adobe. Balance is critical: weathering should enhance the form, not obscure it. A hacienda that looks equally aged everywhere loses the sense of how light and water shape a real building over time.
Ground-level details matter. Dust mixed with gloss medium applied very sparingly at the base of walls creates the appearance of accumulated soil. Lichen, modeled from finely flocked material in gray-green, appears around window sills and corners where moisture collects naturally.
Displaying Your Finished Hacienda
Thoughtful display is the final craft decision: side or three-quarter lighting that rakes across the adobe surface will reveal every texture you spent hours building, while direct overhead lighting flattens the wall relief and makes the model look like a painted toy. Once complete, your hacienda deserves that consideration.
A backdrop enhances the composition. A simple painted sky, a distant mountain silhouette, or even a plain deep blue or soft cream wall behind the hacienda anchors it in place and prevents it from feeling isolated. Many builders frame their haciendas in glass or acrylic cases to protect the investment and control lighting.
Consider complementary pieces nearby: a miniature house kit from our themed country collection representing a different architectural tradition creates a narrative about global craftsmanship. Small landscape elements like trees, additional cactus groupings, or gravel paths extending from the courtyard extend the scene beyond the main structure itself. The hacienda becomes a world, not just a model.
Most popular starter kit
Tranquil Life DIY Miniature House Kit
$67.90
View this kit →
Frequently Asked Questions about Mexican Hacienda Miniature Kits
Everything you might be wondering (click a question to expand).
How long does it take to complete a hacienda kit?
A quality build typically takes 20 to 40 hours spread across several weeks. Assembly alone takes 5 to 8 hours; painting and finishing account for the remainder. Rushing produces visible flaws in texture and color blending.
Do I need special tools to build a hacienda kit?
Basic tools suffice: a craft knife, metal ruler, wood glue, and fine brushes. Some builders invest in a small rotary tool for cutting or texturing, but it’s optional. Most kits are designed for hand-tool assembly and include clear step-by-step instructions.
Can beginners handle a Mexican hacienda kit?
These kits range from beginner-friendly to advanced. Start with a kit labeled “intermediate” if you’ve completed other miniature projects. If you’re entirely new to miniature building, a simpler kit first teaches basic assembly and finishing before you tackle the adobe texturing and weathering a hacienda demands.
What’s the best way to weather adobe walls without overdoing it?
Apply thin layers of diluted paint and step back frequently to assess. Weathering is an additive process; you can always add more, but overpainting is hard to undo. Let each layer dry fully before deciding if you need another.
Where should I source miniature cacti and desert plants?
Specialty miniature retailers carry pre-made cacti in various scales. Floral supply stores sell tiny dried botanicals that work beautifully as hacienda vegetation. Some builders craft cacti from floral wire and polymer clay for unique, customized results.
What scale is best for a first hacienda build?
1:24 scale is the sweet spot for most first-time builders. It’s large enough that windows, doors, and courtyard details are easy to handle and paint, but compact enough that the finished model fits on a standard shelf. 1:48 is better if space is very limited; 1:12 is for experienced builders who want a true showpiece.
Building Your Own Piece of Mexican Architecture
A Mexican hacienda miniature kit is more than a building project: it is a hands-on conversation with centuries of architectural problem-solving, one that leaves you with a genuine understanding of adobe construction that no book or photograph can give you. You’re working with principles that survived because they solve real problems: how to stay cool, how to defend against harsh weather, how to create beauty from humble materials.
The meditative aspect deepens when you focus on the details that make a hacienda authentically itself. The adobe texture. The iron fixtures. The way a courtyard draws the eye inward. These aren’t decorative flourishes; they’re the essence of how people actually lived in these structures. By the time your hacienda is finished, you won’t just have a display piece. You’ll have a tactile understanding of colonial Mexican architecture that no photograph can provide, and a skill set that carries forward into every miniature you build after it.
That’s the quiet reward of this craft. Each kit teaches you something specific. And the hacienda, with its demanding textures and layered history, teaches more than most.
