🎁 Buy 2 kits, get the 3rd FREE · Free shipping on every order


How Long Does It Take to Build a Book Nook?
Wondering how long it takes to build a book nook? Hannah breaks down realistic build times by kit size, from beginner minis to large multi-room scenes, plus tips on LED wiring, pacing your sessions, and making the build itself something to savor.

You open the box. Tiny laser-cut wooden walls, a packet of miniature furniture pieces, a spool of copper LED wire, and a folded instruction sheet printed in a font that looks almost too small to trust. The first question that lands in your head is always the same: how long does it take to build a book nook?
The honest answer is: it depends on the kit. But “it depends” is not very useful when you are deciding whether to start on a Tuesday night or save the project for a long weekend. So here is a full breakdown, kit size by kit size, with a real-time table, notes on LED wiring (the step most people underestimate), and thoughts on how to pace your sessions so the build feels good from the first panel to the last light.
Why Build Time Varies So Much Between Kits
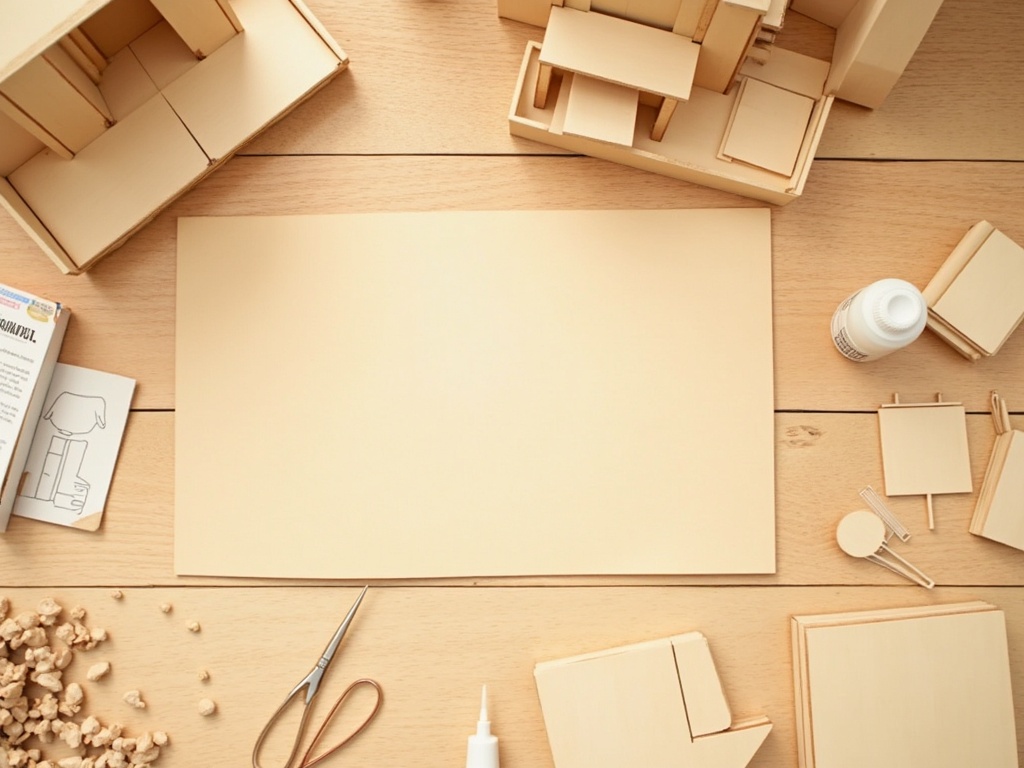
Build time varies so much between book nook kits because each kit differs in room count, furniture piece count, paint requirements, LED circuit complexity, and your own experience level, a compact starter can wrap up in two evenings while a large collector kit may take three full weekends. Book nook kits are not all the same animal. A compact 3-inch wide insert with one room and no lighting can wrap up in two focused evenings. A large multi-room kit with an exterior facade, working LED circuit, and hand-painted furniture details can spread across two or three weekends. The variables that drive that gap are pretty specific.
- Number of rooms or layers: Each additional “room depth” multiplies the gluing and drying cycles.
- Furniture piece count: Small chairs and shelves with four or more parts each add up fast. A kit with 40 micro-furniture pieces takes longer than one with 12.
- Paint and staining steps: Some kits ship pre-stained panels. Others require you to paint every wall before assembly. That can add 1 to 3 hours on its own.
- LED complexity: A single strand of pre-wired LEDs routed along one wall is a 20-minute task. A circuit with multiple branches, a battery compartment hidden in the spine, and a dimmer switch is a 60 to 90-minute task, minimum.
- Your experience level: First-time builders spend real time re-reading instructions and dry-fitting panels. By your third kit, you move noticeably faster.

None of those variables make the project harder in a frustrating sense. They just change how many sessions you need. Knowing that up front lets you plan instead of wonder.
Book Nook Build Time Table by Kit Size
This build time table covers every kit size from a 3-to-5-hour beginner starter to a 30-to-45-hour collector piece, based on community feedback and in-house testing across 2024 and 2025. The estimates below are based on community feedback from our customers across 2024 and 2025, combined with our own in-house build testing. The ranges reflect a first-time builder on the low end of speed and an experienced miniaturist at the high end.
| Kit Size | Difficulty | Estimated Build Time | Typical Sessions |
|---|---|---|---|
| Mini / Starter (1 room, no LED) | Beginner | 3 to 5 hours | 2 evenings |
| Small (1 room, basic LED strand) | Beginner – Intermediate | 5 to 8 hours | 2 to 3 evenings |
| Medium (2 rooms or depth layers, LED wiring) | Intermediate | 10 to 16 hours | 1 long weekend |
| Large (3+ rooms, exterior facade, multi-branch LED) | Intermediate – Advanced | 18 to 28 hours | 2 to 3 weekends |
| Signature / Collector (custom paint, layered lighting, accessories) | Advanced | 30 to 45+ hours | 4 to 6 weekends |
The “Typical Sessions” column assumes roughly 2 to 3 focused hours per sitting, which is the sweet spot most of our community lands on. You can push longer, but glue drying time genuinely limits how fast you can move forward on structural panels, no matter how motivated you are.
Did you know?
The tradition of decorative book inserts draws inspiration from Japanese hon-bako (book-box) art installations of the early 2000s, but the modern book nook kit as a craft product became widely available around 2018. By 2023, the hobby had grown into a global community of hundreds of thousands of builders, with active sharing groups documenting builds in real time. That community feedback loop is exactly what shapes how today’s kits are designed and sized, and it is the same feedback that informs the time estimates throughout this guide.
The tradition of decorative book inserts draws inspiration from Japanese hon-bako (book-box) art installations of the early 2000s, but the modern book nook kit as a craft product became widely available around 2018. By 2023, the hobby had grown into a global community of hundreds of thousands of builders, with active sharing groups documenting builds in real time. That community feedback loop is exactly what shapes how today’s kits are designed and sized, and it is the same feedback that informs the time estimates throughout this guide.
The LED Wiring Step: Where Time Actually Goes
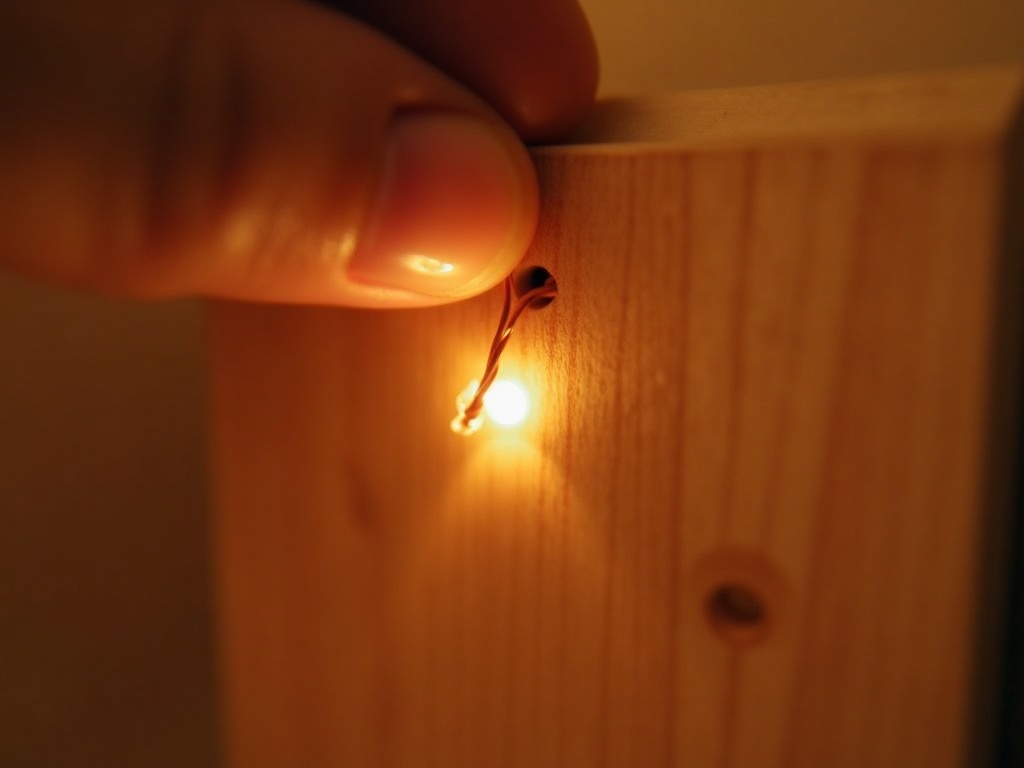

The LED wiring step is where most book nook build time is lost, not because it is electrically complex, but because threading fine copper wire through tiny pre-drilled holes in already-glued panels leaves very little margin for error. Almost every first-time builder I hear from says the same thing: “The walls went fast. The lights took forever.” That tracks. LED wiring in a book nook kit is not electrically complicated, but it is spatially fiddly. You are threading fine copper wire through tiny pre-drilled holes in panels that are already glued together. Margin for error is small.
What a basic LED wiring step involves
- Routing the strand from the battery compartment entry point through the back wall or ceiling
- Positioning individual bulbs at planned spots (lanterns, sconces, window glow)
- Securing wire runs with a tiny dot of glue or the included adhesive clips
- Testing the circuit before final panel closure
On a small kit with a single strand and four to six bulbs, that process takes 20 to 35 minutes. On a medium kit with two separate light zones and a USB-powered dual circuit, budget closer to 60 to 80 minutes. On large collector kits with three or more zones, a dimmer module, and external power routed through the book spine, the wiring step alone can run 90 to 120 minutes across two sessions.
One thing worth mentioning: the wiring step is genuinely satisfying once you get into it. There is something quietly absorbing about coaxing a tiny copper strand through a hole no bigger than a pencil tip and then watching the circuit light up for the first time. Several customers have told us that moment, that first test flicker, is the one they photograph most. It feels earned in a way that snapping together pre-wired electronics never quite does.
Tips that actually save time on LED wiring
- Plan your wire path before gluing the ceiling panel. Once that panel is fixed, you are committing to a route. Dry-fit first, trace the path with a pencil on scrap paper, then glue.
- Use a blunt tweezers with a silicone tip to guide copper wire through small holes. Standard metal tweezers slip.
- Test the circuit at every stage, not just at the end. Catching a dead bulb or poor connection early saves you from reopening glued panels.
- Leave 2 to 3 extra centimeters of slack at every turn. Copper wire that is pulled taut breaks at bends.
Hannah’s tip
Before you thread any LED wire, turn the lights off in your room and hold the loose strand over where each bulb will sit. That 30-second preview tells you immediately if the warm glow hits the right spots or if you need to adjust placement. Moving a bulb before it is anchored costs nothing. Moving it after takes ten minutes and a lot of patience.
Before you thread any LED wire, turn the lights off in your room and hold the loose strand over where each bulb will sit. That 30-second preview tells you immediately if the warm glow hits the right spots or if you need to adjust placement. Moving a bulb before it is anchored costs nothing. Moving it after takes ten minutes and a lot of patience.

How to Pace Your Build Sessions (and Why It Matters)
Pacing your book nook build across 5 to 6 short sessions of roughly 2 hours each works with the glue’s drying schedule, keeps motivation high, and turns a medium kit into a genuinely relaxed one-weekend project. One of the things I love most about this hobby is that it rewards patience in a very tangible way. Rushing a book nook build mostly just means waiting anyway, because glue dries on its own schedule. Working with that rhythm rather than against it changes the whole experience.
A good pacing pattern for a medium kit looks like this:
- Session 1 (2 to 3 hours): Unbox, sort all pieces, identify every component. Paint or stain walls and floors if required. Let dry overnight.
- Session 2 (2 to 3 hours): Assemble the structural shell. Dry-fit all panels before gluing any. Let the main frame cure fully (ideally 4 to 6 hours).
- Session 3 (2 hours): Add interior detail layers: wallpaper, flooring texture, ceiling treatment. Let cure.
- Session 4 (1.5 to 2.5 hours): LED wiring. Test. Adjust. Do not close the back panel yet.
- Session 5 (2 hours): Assemble and place furniture and accessories. Glue in stages, smallest pieces first. This is the session most builders describe as the most absorbing: each tiny chair or shelf transforms an empty room into a scene.
- Session 6 (1 to 1.5 hours): Final assembly, close panels, fit into bookshelf, final lighting test. Take your time here. The last few steps, straightening the facade, tucking the wire neatly out of sight, switching the lights on for the first time in their permanent home, deserve to be savoured.
Six sessions at roughly 2 hours each lands you at 11 to 14 hours total, right in the middle of the “medium kit” range. Nothing about that schedule is punishing. It fits around a regular week, and each session ends at a satisfying stopping point.
That pacing is actually part of why so many builders describe the process as meditative. You are not sprinting toward a finish line. You are spending time with a small, quiet world that gets a little more complete every time you sit down with it. Many of our best-selling book nook kits are specifically designed to support that kind of multi-session rhythm, with natural pause points built into the build sequence.
If you want to understand how these kits compare on other dimensions beyond time, our guide on the best book nook kits for beginners walks through difficulty, piece count, and theme side by side.

Gift Buyers: Realistic Timelines to Share
Matching the kit size to the recipient’s free time is the key gift-buying decision: a small LED kit at 5 to 8 hours suits occasional weekend crafters, while a large or signature kit rewards dedicated builders who enjoy a 20-plus-hour project. If you are buying a book nook kit as a gift, the build-time question matters for a different reason. You want to match the kit to how much free time and patience the recipient actually has.
For someone who crafts occasionally on weekends, a small LED kit (5 to 8 hours) is the right starting point. It finishes in two or three sittings, which keeps motivation high and the result feels genuinely earned without becoming a months-long obligation.
For a dedicated crafter who already builds models, does resin art, or works with miniatures, a large or signature kit is not intimidating at all. Those builders enjoy the 20-plus-hour investment. They will photograph every stage and probably have a shelf ready before the kit even arrives.
For collectors and serious enthusiasts who have already completed one or two builds, a Signature / Collector kit with layered lighting and fine furniture detail makes a particularly meaningful gift. Pieces like the Monet’s Garden DIY Miniature House Kit sit at 30 to 45 hours of total build time and become genuine display pieces that people keep for years. If you are choosing at that level, include a note about the build time so the recipient can look forward to the journey, not just the result.
If you are not sure which size fits the person you are buying for, browsing our best-selling kits by difficulty is a practical starting point. Each listing includes a difficulty rating and an estimated build time, so there is no guessing involved.
Frequently Asked Questions about Book Nook Build Time
Everything you might be wondering (click a question to expand).
Can I build a book nook in one day?
Yes, for smaller starter kits. A mini kit with no LED wiring and roughly 30 to 50 components can realistically be finished in 4 to 6 hours of focused work, which fits a single Saturday. You will need to account for drying time on structural glue joins, so the last few steps may need to wait an extra hour. Anything larger than a small kit benefits from being split across at least two days.
Can I pause mid-build and come back days later?
Absolutely, and in many ways a book nook build is designed for exactly that rhythm. As long as glued sections have fully cured before you set the project aside, you can resume days or even weeks later with no loss of quality. Store the partially built kit on a flat tray in a dust-free spot, and keep any unused glue sealed tightly. Many of our community members intentionally spread builds over several weekends, treating each session as a small ritual rather than a race to the finish.
Does the LED wiring step require any electrical knowledge?
Not for standard kits. Book nook LED systems are pre-wired low-voltage circuits, typically powered by AA batteries or USB. You route the wire, position the bulbs, and connect a simple plug. No soldering, no wiring diagrams beyond what the instructions show. If you can follow a map, you can handle the lighting step.
How long should I let the glue dry between sessions?
For structural panels, wait at least 2 to 4 hours before applying pressure or adding the next layer. Overnight curing is ideal for the main frame. Micro-furniture pieces with small gluing surfaces can usually handle gentle handling after 30 to 45 minutes, but do not stress-test them for a full hour. Most kit instructions specify drying times per step; follow those over general guidelines.
What if I make a mistake and need to redo a section?
It happens, even to experienced builders. PVA wood glue (the most common type included in kits) can be softened with a little warm water if caught within the first few hours. Cured joins are harder to reverse without damage. The safest approach is always to dry-fit every component before applying glue. Budget an extra 30 to 60 minutes per kit for one or two small corrections; that is a realistic buffer for any first build. And genuinely, a small wobble in a wall or a slightly off-centre sconce rarely shows once the scene is dressed and the lights are on.
Are some book nook themes faster to build than others?
Yes. Kits with lots of natural wood surfaces and minimal painting (a rustic cabin theme, for example) move faster than kits with detailed facade painting and decorative wallpaper. Fantasy or Victorian themes tend to have higher furniture piece counts, which extends the build. If speed matters, look at the piece count and paint requirements in the product description before buying.
Making the Most of Every Build Session
The builders who get the most out of this hobby treat each session as its own small pleasure: good lighting, a playlist running in the background, everything organized on a tray before they start, so the build time becomes the reward itself. The builders who get the most out of this hobby are rarely the fastest ones. They are the ones who treat each session as its own small pleasure: good lighting, a podcast or playlist running in the background, everything organized on a tray before they start. The time it takes to build a book nook stops feeling like a cost the moment the build itself becomes the point.
A finished book nook sitting between your books is genuinely satisfying. But the memory of building it, the particular quiet of a Tuesday evening with tiny wooden pieces spread on a table, is something a lot of our community talks about as much as the finished result. That is worth planning for, not rushing through.
Ready to pick your first (or next) kit? Check out our best-selling book nook kits, each with difficulty ratings and full build-time estimates, so you can find the one that fits your schedule and your shelf. You can also explore kits organized by theme and size if you already know what kind of scene you want to build toward.
