🎁 Buy 2 kits, get the 3rd FREE · Free shipping on every order

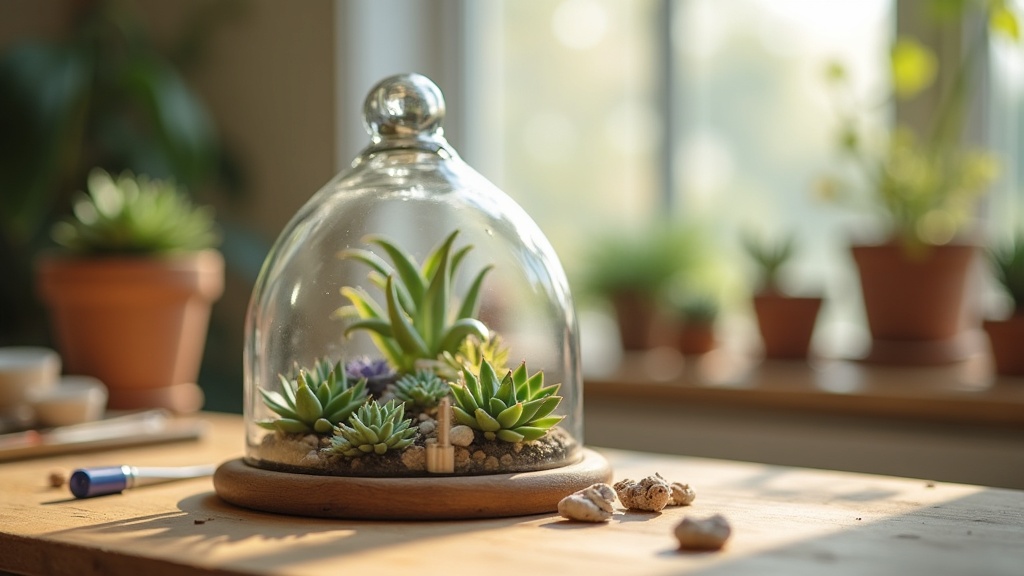
Miniature Greenhouse with Succulents: The Best Plant Pairings for Your Diorama
A complete guide to plant pairing inside a miniature greenhouse with succulents diorama. Covers three-tier arrangement systems, color palettes, accessory details, difficulty ratings, and practical tips for crafters at every skill level.

The tray of clay succulents landed on my workbench on a rainy Tuesday, and I knew immediately that the little greenhouse I had just assembled needed them. Not one species. Not two. A whole curated mix, the way a real collector would arrange a windowsill. Getting the plant pairings right inside a miniature greenhouse with succulents is what separates a diorama that looks “pretty” from one that stops people cold and makes them ask, “wait, is that real?”
Below you’ll find every pairing idea I’ve tested, along with scale tips, color logic, and the texture contrasts that make a tiny glass house feel genuinely alive. Whether you’re building your first miniature greenhouse with succulents or gifting one to a plant-obsessed friend, these combinations work at any skill level.
In this guide:
- Why plant pairing transforms a diorama from “pretty” to genuinely convincing
- Scale ratios explained simply, with a quick-reference table
- The three-tier system for rosettes, uprights, and trailing plants
- Three proven color palettes with frame-matching tips
- Accessories that add human warmth to the scene
- Difficulty ratings so you can plan your build time honestly
Why Plant Pairing Matters More Than You Think
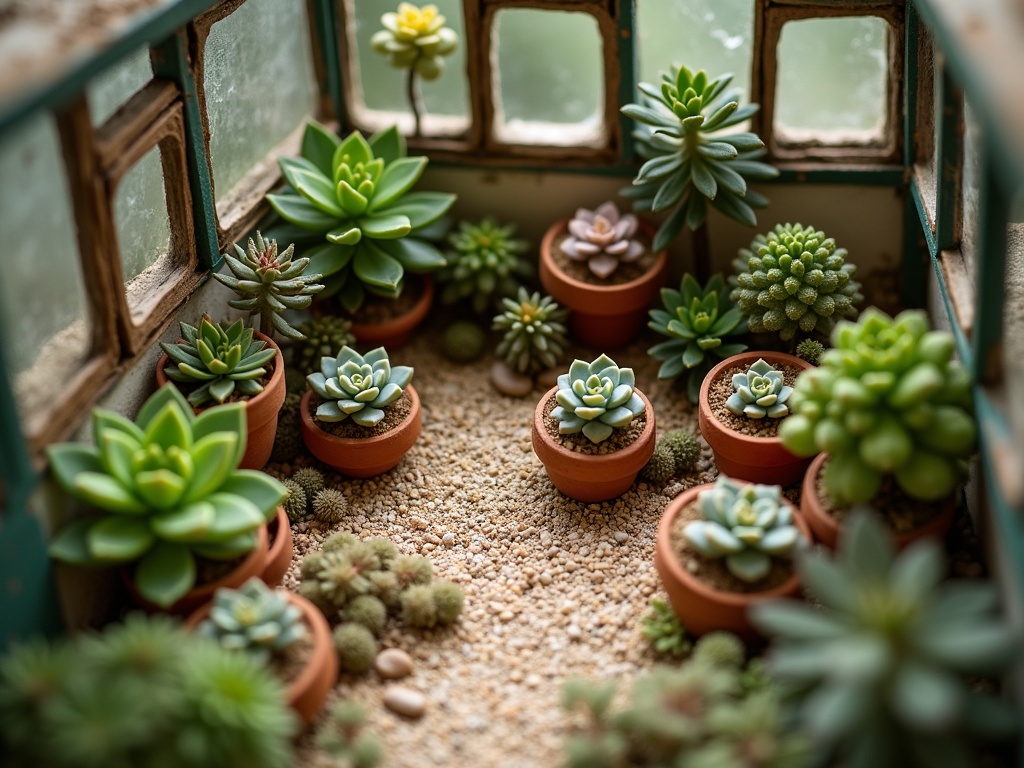
Most crafters focus on the structure first: the frame, the glass panels, the little door hinge. That’s fair, because the architecture is what catches the eye at ten feet away. But at two feet, what holds attention is the greenery inside. A single species repeated across every bench looks sterile. A chaotic jumble of unrelated plants reads as noise.
Plant pairing inside a miniature diorama borrows from the same principles professional terrariumists use. You want contrast in three dimensions: height, texture, and color. A rosette-form echeveria sitting next to a columnar haworthia next to a trailing sedum creates visual movement without clutter. The eye travels. The scene breathes.
There’s also the meditative angle. Deciding which plant goes where is genuinely absorbing. You arrange, step back, rearrange. Twenty minutes disappear. That’s not wasted time; that’s the part of the hobby that actually de-stresses you. Several builders in our community have told me this is the specific step where they first felt the project become “theirs” rather than just a kit they were following.
Scale First: Getting the Proportions Right

Before any pairing conversation, scale has to be settled. Most miniature greenhouse kits sold for hobbyists run at either 1:12 scale (one inch equals one foot) or 1:24 scale (half-inch to one foot). That matters enormously for plant selection.
- 1:12 scale: A real-world echeveria that grows to 6 inches across becomes a half-inch clay rosette. A barrel cactus at 12 inches tall in nature becomes a 1-inch clay dome.
- 1:24 scale: Everything halves again. Your “tall” columnar cactus is about half an inch. These builds reward minimalism and restraint.
- Freeform / artistic scale: Some builders ignore botanical realism entirely and create impressionistic arrangements. Totally valid. The pairing logic still applies.
If you’re sculpting plants from polymer clay or air-dry clay, print a reference sheet at the correct scale before you start. Cut out the silhouettes, lay them in your greenhouse shell, and see how the composition reads before committing to a single piece of clay.
| Scale | 1 inch represents | Real echeveria (6 in) becomes | Real barrel cactus (12 in) becomes | Best for |
|---|---|---|---|---|
| 1:12 | 1 foot | 0.5 in rosette | 1 in dome | Most kits; good variety of plant forms |
| 1:24 | 2 feet | 0.25 in rosette | 0.5 in dome | Compact builds; minimalist arrangements |
| Freeform | Artist’s choice | Any size | Any size | Impressionistic or fantasy scenes |
📜 A craft tradition with deep roots
Miniature botanical replicas have been prized collectibles for centuries. Wealthy European collectors of the 1700s commissioned tiny wax and silk plant models for their *Wunderkammern* (wonder cabinets), displayed alongside real dried specimens. Some pieces were so botanically precise that naturalists used them as teaching aids. When you carefully arrange clay succulents in a tiny greenhouse, you’re participating in a tradition that is genuinely more than 300 years old, even if your tools are polymer clay and a bamboo sculpting stick rather than beeswax and silk thread.
Miniature botanical replicas have been prized collectibles for centuries. Wealthy European collectors of the 1700s commissioned tiny wax and silk plant models for their *Wunderkammern* (wonder cabinets), displayed alongside real dried specimens. Some pieces were so botanically precise that naturalists used them as teaching aids. When you carefully arrange clay succulents in a tiny greenhouse, you’re participating in a tradition that is genuinely more than 300 years old, even if your tools are polymer clay and a bamboo sculpting stick rather than beeswax and silk thread.
The Three-Tier Pairing System for Succulent Dioramas
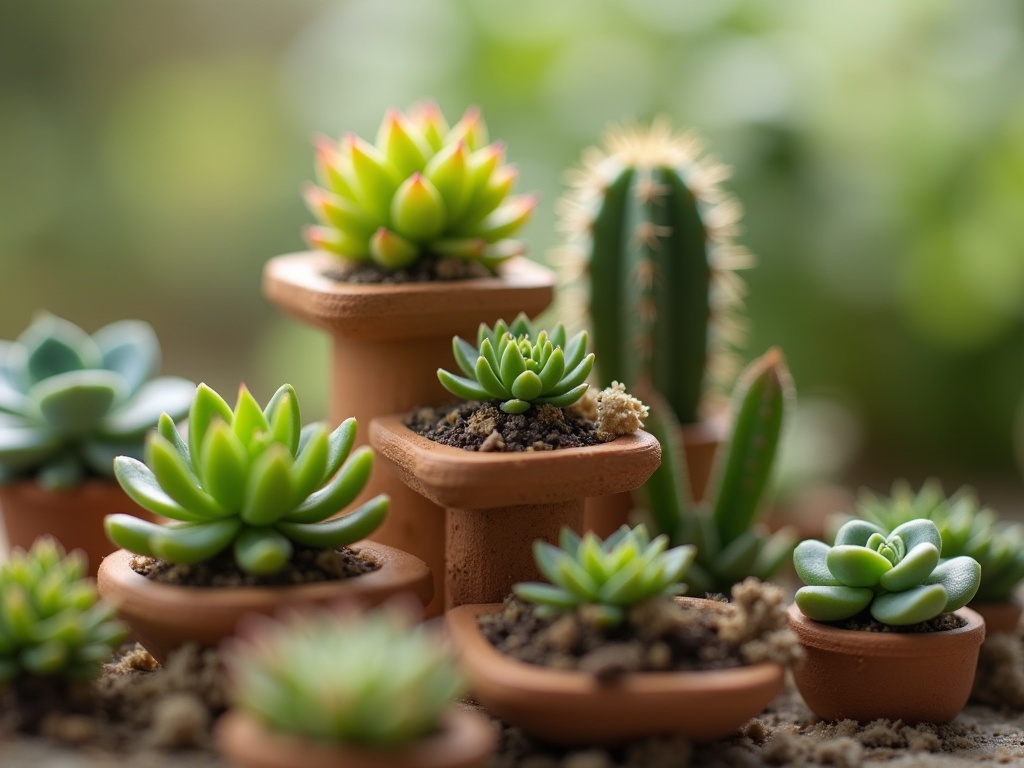
Imagine your greenhouse interior as three horizontal bands stacked from floor to ceiling. Each band gets a different plant form. This is the single most reliable method for creating a composition that looks professionally designed rather than randomly filled, and it’s satisfying to build because each zone is its own small puzzle to solve.
Ground Level: Rosettes and Spreaders
The bottom tier sits on the greenhouse floor or on the lowest bench shelf. Rosette-form succulents dominate here because their flat, wide silhouettes read beautifully from the viewer’s eye level. Echeveria-style rosettes paired with low-growing sedum mats create the impression of a lush nursery floor without overcrowding the vertical space above.
Color tip: keep your ground-level plants in muted blue-greens and dusty purples. They anchor the scene without competing with the brighter accents above.

Mid Level: Compact Uprights and Clustering Forms
The middle bench is where the composition gets interesting. Haworthia-style plants (striped, upright, jewel-like) pair perfectly with small aloe-form clusters. You want a mix of smooth surfaces and textured ones. A glossy clay haworthia next to a fuzzy clay cactus pad creates the tactile contrast that makes viewers want to reach in and touch the scene.
This is also where you can introduce a single bold color accent. One terracotta-orange crassula or a tiny chartreuse stonecrop among the blue-greens pulls the eye and adds warmth without chaos.
Upper Level: Columnar Cacti and Trailing Plants
The top shelf or the tallest corner is where vertical drama lives. A saguaro-style column, a cluster of columnar cereus shapes, or even a tall agave form gives the eye a place to travel upward. This height contrast is critical; without it, the whole scene sits flat.
Trailing plants handle the transition between levels beautifully. A string-of-pearls draped over a pot edge, a tiny burro’s tail spilling off a shelf. These elements tie the three tiers together visually and add organic movement to what could otherwise feel static. When I’m placing these on my own builds, I find myself pausing and just looking for a while. That’s usually a good sign the arrangement is working.
Hannah’s tip
Before you glue anything down, photograph your arrangement with your phone camera. The flat, slightly compressed image of a photo is much closer to how a viewer will perceive your finished diorama than your own two eyes looking straight into it. If the photo looks flat or cluttered, adjust your heights. The camera doesn’t lie, and catching this before the glue dries saves a lot of frustration.
Before you glue anything down, photograph your arrangement with your phone camera. The flat, slightly compressed image of a photo is much closer to how a viewer will perceive your finished diorama than your own two eyes looking straight into it. If the photo looks flat or cluttered, adjust your heights. The camera doesn’t lie, and catching this before the glue dries saves a lot of frustration.
Color Palette Combinations That Work Every Time
Color is where a lot of crafters get stuck when building a miniature greenhouse with succulents. Real succulents span an astonishing range: blue-grey, burgundy, lime, silver, coral, near-black. The temptation is to use all of them. Resist that.
The three palettes below cover the most common aesthetics I’ve seen work in community builds. I’ve also added a quick-reference summary table at the end of this section so you can compare them at a glance before committing to a color direction.
The Cool Collector Palette
Blue-green echeverias, silver-dusted agave forms, and a single deep burgundy aeonium-style rosette. This palette reads as sophisticated and calm. It works especially well if your greenhouse frame is white or pale wood. The whole thing looks like something from a Scandinavian botanical magazine.
The Desert Warmth Palette
Dusty green barrels, terracotta-orange clumping cacti, and golden-spined columns. Add a patch of tiny pebble-textured topdressing in warm beige. This palette suits dark-stained or copper-frame greenhouses. It feels sun-baked and tactile, a little wild.
The Jewel Box Palette
This one leans into the fantasy side of miniature greenhouse with succulents arrangements. Deep purple echeverias, neon green sedums, pink-tipped pachyveria forms. It’s not botanically conservative, but it photographs beautifully and makes the most popular gift builds. Several community members in our crafter group specifically requested more jewel-tone colorways for their kits, and the response was immediate.
| Palette | Key plant tones | Best frame color | Mood | Gift appeal |
|---|---|---|---|---|
| Cool Collector | Blue-green, silver, deep burgundy | White or pale wood | Calm, editorial | High (minimalist tastes) |
| Desert Warmth | Dusty green, terracotta, golden | Dark stain or copper | Sun-baked, tactile | Medium (nature lovers) |
| Jewel Box | Deep purple, neon green, coral pink | Black, brass, or white | Playful, photogenic | Very high (maximalists) |

If you’ve just worked through the palette options above and found yourself drawn to the Cool Collector or Jewel Box direction, the Sun Room kit is a natural first build. Its pale frame is a genuinely neutral canvas that suits both palettes equally well, and at under $50 it lets you experiment with color without a big commitment. The structure goes together in a single evening, leaving a full second session free for the planting and arrangement work that actually brings the palette to life.

If you want to explore pre-scaled clay plants in these colorways, the greenhouse kit collection includes options across all three palettes, with painted and unpainted variants depending on how much customization you want to do yourself.
Accessories That Complete the Plant Story
Plants don’t exist in isolation inside a real greenhouse. The context around them is half the charm. These small additions transform a miniature greenhouse with succulents plant arrangement into a believable, inhabited scene.
- Terracotta pots: Even tiny mismatched pot shapes signal “collector” instantly. A mix of round, square, and tapered pots creates the visual variety that a real grower’s bench always has.
- Topdressing gravel: A thin layer of fine sand or crushed faux stone on the pot surface reads as soil and creates a clean, finished look. White pea gravel, black lava rock, or terracotta grit all work depending on your palette.
- Grow labels: Tiny paper or clay plant markers with handwritten-style names are a beloved detail in the crafter community. Even illegible, they signal authenticity.
- Watering can or misting bottle: A single miniature tool on the bench anchors the scene in a human moment. Someone tends these plants. That story makes the diorama feel inhabited.
- Propagation tray: A flat tray of tiny leaf cuttings at various stages is a deeply satisfying detail that any succulent grower will recognize immediately and love.
For those pairing a greenhouse build with a larger scene, check out our full miniature greenhouse kit range for complete accessory bundles. You can also browse our build journals and community spotlights to see how other crafters have approached their accessory layers.
Difficulty Ratings for Plant-Pairing Approaches
Not every crafter is starting from the same place. Here’s a quick guide to how complex each pairing approach actually is, so you can set realistic expectations before you sit down.
- Single-palette, two-texture arrangement: Beginner-friendly. One color family, two plant forms. Takes roughly 1-2 hours of arrangement time.
- Three-tier system (described above): Intermediate. Requires planning a ground, mid, and upper layer. Plan for a full afternoon, maybe 3-4 hours including drying time.
- Full botanically-themed diorama (species-accurate labels, propagation trays, topdressing layers): Advanced. This is a weekend project. The payoff is extraordinary. These are the builds that win community spotlights.
Our miniature greenhouse kits include printed difficulty guides with each order, so you’ll know what you’re signing up for before you open the box. We keep the instructions human-written and illustration-heavy because no one wants to squint at dense text when they’ve got clay on their fingers.
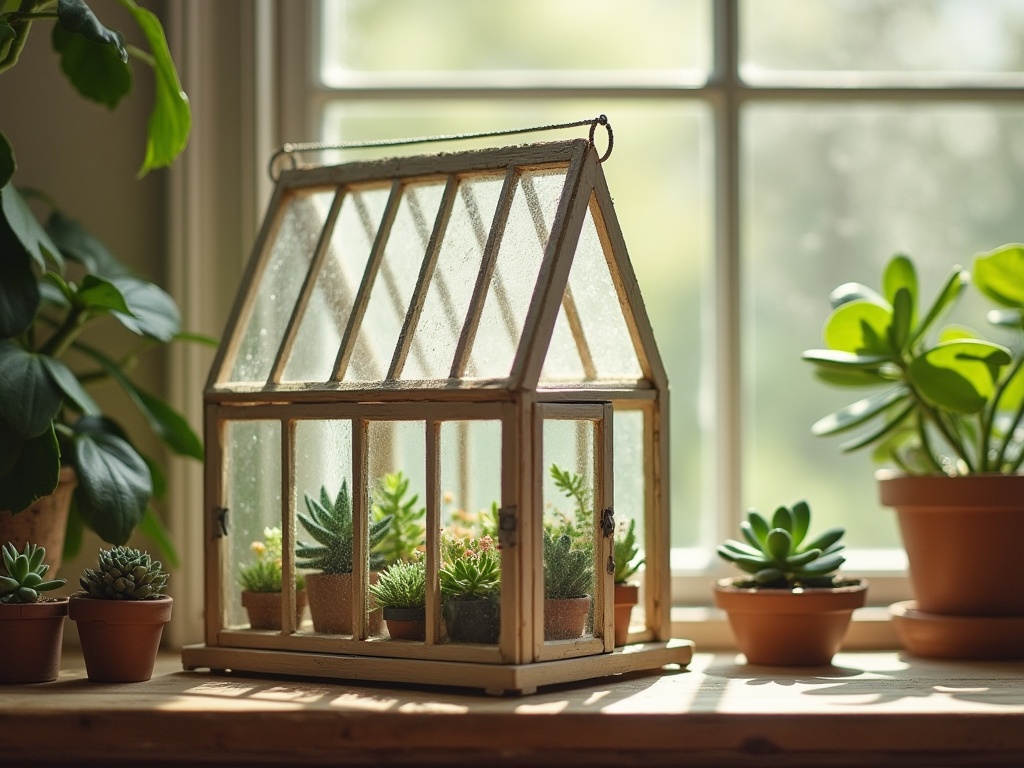
Frequently Asked Questions about Miniature Greenhouse with Succulents
Everything you might be wondering (click a question to expand).
What materials work best for making miniature succulents for a diorama?
Polymer clay is the most popular choice because it holds fine detail, stays workable for a long time, and cures hard without cracking. Air-dry clay works well for beginners and doesn’t require an oven, though it’s slightly more fragile once dry. Some advanced crafters use resin casting to duplicate small rosette shapes efficiently when they need many identical plants. For a miniature greenhouse with succulents that will be displayed long-term, polymer clay or resin is the most durable option.
How many plants should I put inside a 1:12 scale miniature greenhouse?
Fewer than you think. A 1:12 greenhouse that represents a 6-foot by 8-foot real structure has floor space equivalent to about a 6-by-8-inch interior. Aim for 8-15 distinct plant pieces arranged across multiple surfaces, benches, and floor spots. Overcrowding is the most common beginner mistake and it makes everything harder to see and appreciate. Use the scale table in the “Scale First” section above as a planning reference.
Can I use real dried plant material inside a miniature greenhouse build?
Yes, with caveats. Pressed flower petals, tiny dried moss, and fine sand all work beautifully. Avoid any organic material that might mold in an enclosed or semi-enclosed display case. If your greenhouse has a closed frame (solid panels, no ventilation), stick to inorganic materials like clay, resin, and mineral topdressing.
Which color palette works best for a gifted miniature greenhouse with succulents?
The Jewel Box palette (deep purples, neon greens, coral pinks) photographs most dramatically and tends to delight recipients who aren’t deep into succulent culture. For someone who genuinely grows succulents, the Cool Collector palette (blue-green, silver, single burgundy accent) reads as more botanically credible and is often the one that earns a “that looks so real” response. When in doubt, pair a note with your gift explaining which palette you chose and why you picked it for them specifically. That personal touch is what makes a miniature kit memorable rather than just pretty.
What’s the best way to gift a miniature greenhouse with succulents?
The best gifts come partially assembled or in kit form so the recipient gets the building experience, not just the finished object. A kit that includes pre-cut structural pieces, a curated set of clay plants, and clear illustrated instructions hits every note: personal, experiential, and displayable. Pair it with a small note about which plant palette you chose for them and why. That personal touch makes it memorable.
How long does a full miniature greenhouse diorama take to build?
A beginner working through a kit from scratch typically finishes the structure in 4-6 hours spread across two sessions. Adding a detailed plant arrangement, topdressing, and accessories can add another 3-5 hours depending on how intricate you go. Most crafters describe it as one of the most absorbing weekend projects they’ve tried, partly because each stage feels so immediately satisfying.
Putting Your Greenhouse to Work as a Display Piece
Once the plants are in and the glue is dry, your miniature greenhouse with succulents becomes something more than a craft project. Put it near a window where natural light catches the glass panels at different angles through the day. The shadows shift. The colors change. A morning-light greenhouse reads completely differently at golden hour, and that’s part of the pleasure.
If you’re displaying it in a shelf vignette, give it a clear zone of its own. A small piece of slate or a thin wood slice underneath reads as a “stage” and separates it visually from surrounding objects. Avoid cluttering the immediate foreground with unrelated items; let the greenhouse breathe.
And if you built this one as a first attempt, know that the second one is always better. The community builds we feature in our build journal are almost always second or third projects. Your first greenhouse teaches you exactly what to do differently next time, and that’s not a failure. That’s how the craft actually works.
Whatever palette you chose, whatever scale you worked at, the pairing decisions you made along the way are entirely your own. That’s what transforms a kit into a tiny world. Browse our miniature greenhouse kit collection to find your next build, or visit our build journals for community inspiration before you start.
