🎁 Buy 2 kits, get the 3rd FREE · Free shipping on every order

How to Style a Miniature Greenhouse for Windowsill Display
A complete practical guide to styling a miniature greenhouse for windowsill display: choosing the right kit by scale and difficulty, step-by-step display setup, seasonal styling ideas, gift-buying tips, and FAQ. Written by Hannah Brooks for hobbyists and gift buyers at all skill levels.

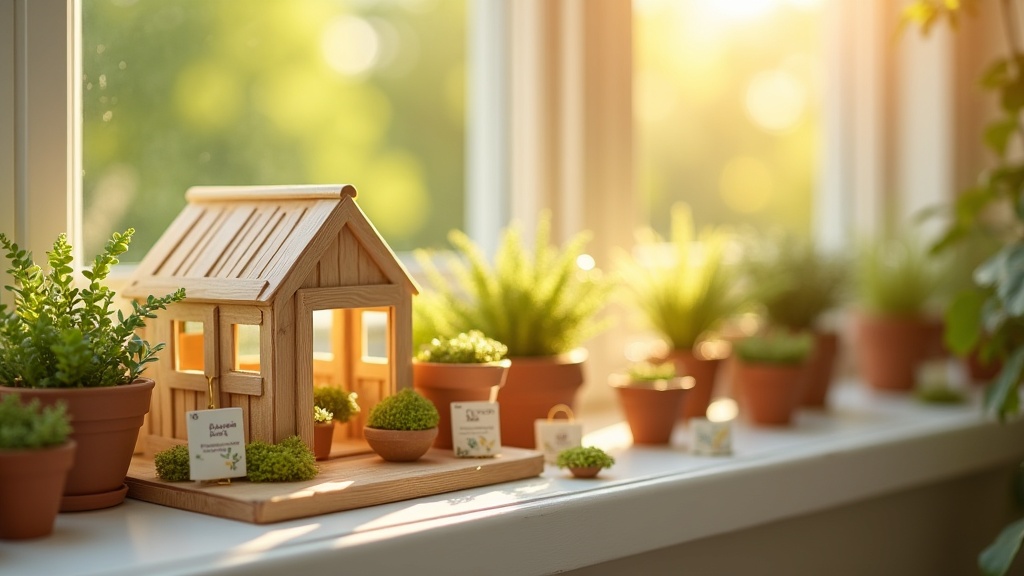
Sunlight hits the glass at 7 a.m. and the whole thing glows. A small wooden frame, a handful of tiny pots, a curl of copper wire trailing up a miniature trellis. That moment when your miniature greenhouse for windowsill display catches the morning light is genuinely hard to explain to someone who hasn’t built one themselves. It stops you mid-coffee. It makes the whole kitchen feel more alive.
The good news: creating that effect takes less space than a hardcover novel and far less time than most people assume. Whether you are working with a south-facing bay window or a modest northern sill barely eight inches deep, there is a setup that works. This guide walks through every practical decision, from choosing the right kit to final styling touches that make a miniature greenhouse for windowsill display look like something out of a botanical catalog.
Why the Windowsill Is the Perfect Stage for a Miniature Greenhouse for Windowsill Display
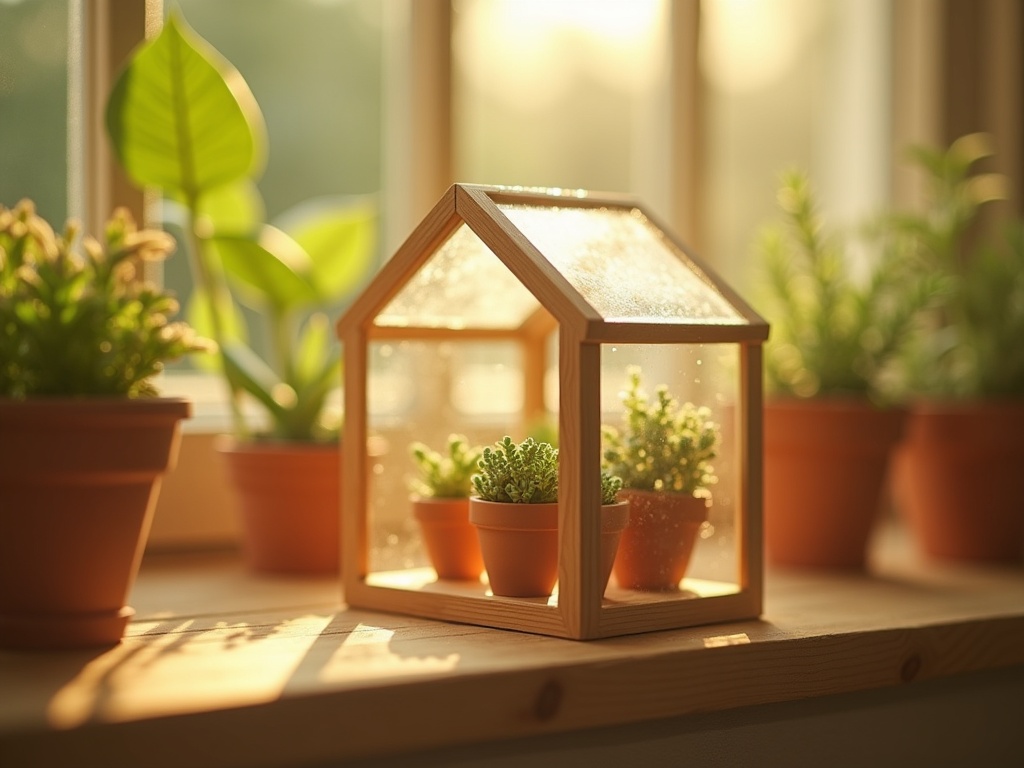
Most craft displays live on shelves, tucked into corners, viewed from a distance. A windowsill flips that logic entirely. Natural light becomes part of the piece. Shadows shift through the day, highlighting different details every hour. Condensation from a nearby houseplant can add a faint mist effect that looks deliberate even when it isn’t.
There is also the practical reality of scale. A miniature greenhouse kit typically measures between 10 and 16 inches tall, which makes it a perfect fit for the average American windowsill depth of 10 to 14 inches. You get a full three-dimensional structure without blocking the view or sacrificing counter space elsewhere.
Beyond aesthetics, the windowsill placement serves the build itself. Natural light shows off wood grain, glass panels, and fine detailing in ways that overhead lighting simply cannot replicate. If your kit includes etched or printed botanical labels, reading them in daylight is a quiet satisfaction that artificial light never quite matches.
🌿 Why windowsill light changes everything
A windowsill is the one spot in most homes where natural light arrives at a near-horizontal angle for part of the day. That low, raking light catches the edges of acrylic panels, throws tiny shadows from miniature plant pots, and makes wood grain look almost three-dimensional. No lamp replicates it. Position your miniature greenhouse for windowsill display to face the light source directly and you get a living diorama that changes mood from hour to hour without you touching a thing.
A windowsill is the one spot in most homes where natural light arrives at a near-horizontal angle for part of the day. That low, raking light catches the edges of acrylic panels, throws tiny shadows from miniature plant pots, and makes wood grain look almost three-dimensional. No lamp replicates it. Position your miniature greenhouse for windowsill display to face the light source directly and you get a living diorama that changes mood from hour to hour without you touching a thing.
Choosing the Right Miniature Greenhouse Kit for Your Windowsill Display
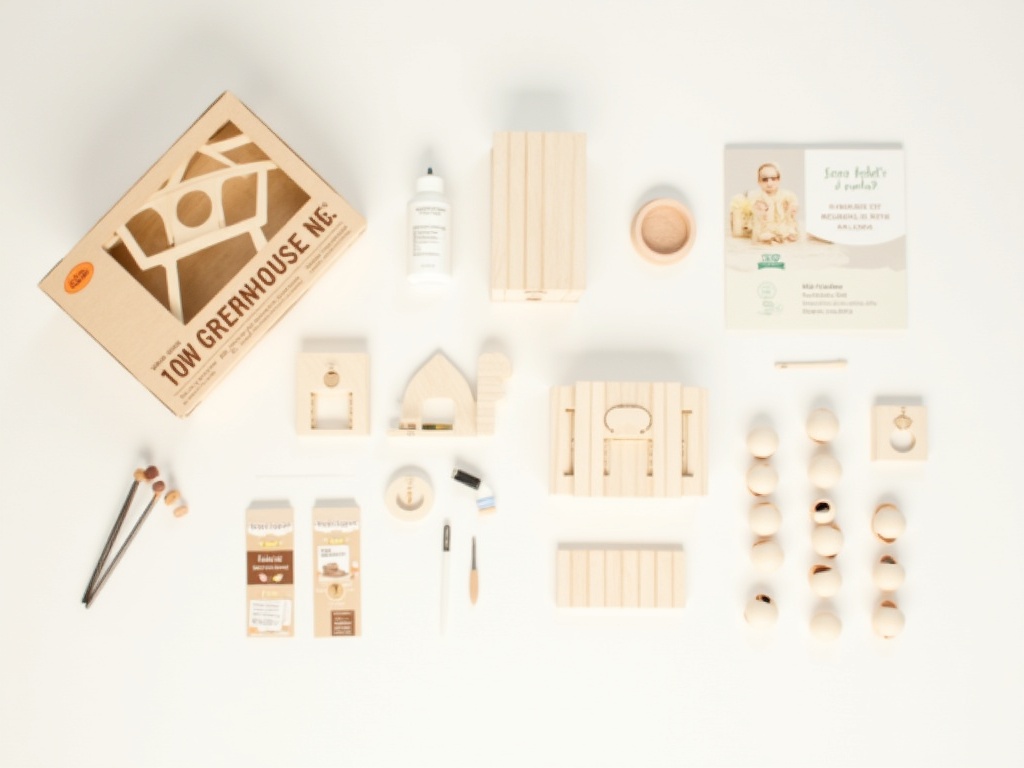

Not all kits are built for display in the same way. Before you commit, three variables matter most: scale, footprint, and the level of finishing detail included out of the box. Getting these right from the start is what separates a miniature greenhouse for windowsill display that looks effortlessly composed from one that simply fills space.
Scale and Proportions
The most common miniature greenhouse kits ship in 1:12 scale (one inch equals one foot), which is the standard dollhouse ratio. At that scale, a 12-inch-tall greenhouse represents a real-world structure standing about 12 feet. The proportions feel instantly believable to the eye, which is exactly what you want when the piece sits at eye level on a sill.
Kits at 1:24 scale run about half the size. They work beautifully in narrower windows or when paired with other pieces in a larger scene. If your sill is under 8 inches deep, the 1:24 option is worth a serious look.
Difficulty Level and What’s Included
Kits designed for windowsill display generally fall into three tiers. Here is a quick comparison to help you choose:
| Tier | Difficulty | Build Time | Typical Contents | Best For |
|---|---|---|---|---|
| Beginner | 1-2 / 5 | 3 to 6 hours | Pre-cut wood, snap-fit joints, tweezers, basic tools | First-time builders; gift for teens |
| Intermediate | 3 / 5 | 8 to 12 hours | Laser-cut parts, painting steps, furniture and plant accessories | Weekend crafters who enjoy detail work |
| Advanced | 4-5 / 5 | 15 to 20 hours | Fine brass fittings, working hinges, LED wiring guide | Experienced builders; statement display piece |
Most kits include acrylic or pre-cut “glass” panels, a wooden frame, assembly instructions, and small decorative elements like seed packet prints or tiny terracotta pots. Verify before buying whether paint and glue are included or sold separately. A kit that ships complete saves a frustrating mid-build hardware store run.
✨ Hannah’s tip: always dry-fit first
Before gluing a single panel, do a full dry-fit assembly. Lay every part out in order, number the pieces lightly in pencil on a scrap sheet, and check that your windowsill measurement matches the kit footprint. Ten minutes of dry-fit saves hours of frustration if you discover a panel orientation is wrong halfway through. I learned this the hard way on my third build, a narrow Victorian conservatory kit that would have sat crooked on my kitchen sill if I hadn’t caught the error before the glue set. The dry-fit is also genuinely enjoyable in itself: it’s the first moment the whole structure exists in three dimensions, and that feeling is worth taking slowly.
Before gluing a single panel, do a full dry-fit assembly. Lay every part out in order, number the pieces lightly in pencil on a scrap sheet, and check that your windowsill measurement matches the kit footprint. Ten minutes of dry-fit saves hours of frustration if you discover a panel orientation is wrong halfway through. I learned this the hard way on my third build, a narrow Victorian conservatory kit that would have sat crooked on my kitchen sill if I hadn’t caught the error before the glue set. The dry-fit is also genuinely enjoyable in itself: it’s the first moment the whole structure exists in three dimensions, and that feeling is worth taking slowly.

Step-by-Step Windowsill Display Setup for Your Miniature Greenhouse
Once the kit is built, the styling phase begins. This is where a completed craft piece either becomes a true miniature greenhouse for windowsill display or just a finished model on a shelf. The difference is intention, and a handful of deliberate choices make all of it.
Step 1: Prepare the Surface
Wipe the sill clean and check for any direct moisture risk near the window frame. A thin piece of cork sheet or a small wooden tray underneath the greenhouse protects both the sill and the kit base. Cork also adds a visual “ground layer” that separates the miniature world from the real one, which the eye reads as intentional staging.
Step 2: Orient for Light
Place the greenhouse so its main glass-panel face catches the most direct light during your preferred viewing time. Morning viewers in east-facing windows get a warm golden effect. South-facing sills offer consistent brightness through the day, which suits photographing the piece for social media. North-facing sills are cooler and more diffuse; they work best with kits that have high interior detail rather than relying on sparkle from the panels.
Step 3: Build a Scene Around It
A single kit, however well-built, looks isolated without context. Surround it with elements at complementary scales:
- A few real mini succulents in ceramic pots placed outside the greenhouse walls (trailing sedum works at roughly 1:12 scale when young).
- A small flat stone or a piece of wood slice acting as a garden path leading up to the door.
- A strip of preserved moss along the base line to suggest a garden bed.
- One or two printed botanical cards propped against the glass for a cottage nursery feel.
📷 Community builder tip
Several builders in our community photograph their windowsill greenhouse from a low angle, with the window light behind it, using nothing more than a phone camera. The result looks professionally styled. The secret: get the lens almost level with the sill surface, set the scene about 6 inches from the glass so the natural light creates a soft backlit halo, and shoot in the hour after sunrise or before sunset. More than one community member has been asked if the photo was taken in a real garden. If you want inspiration for your next miniature display scene, that thread in our community group is worth an hour of browsing.
Several builders in our community photograph their windowsill greenhouse from a low angle, with the window light behind it, using nothing more than a phone camera. The result looks professionally styled. The secret: get the lens almost level with the sill surface, set the scene about 6 inches from the glass so the natural light creates a soft backlit halo, and shoot in the hour after sunrise or before sunset. More than one community member has been asked if the photo was taken in a real garden. If you want inspiration for your next miniature display scene, that thread in our community group is worth an hour of browsing.

These additions cost almost nothing but shift the display from “craft project” to “little world.” That shift is everything.
Step 4: Add Lighting for Evening Display
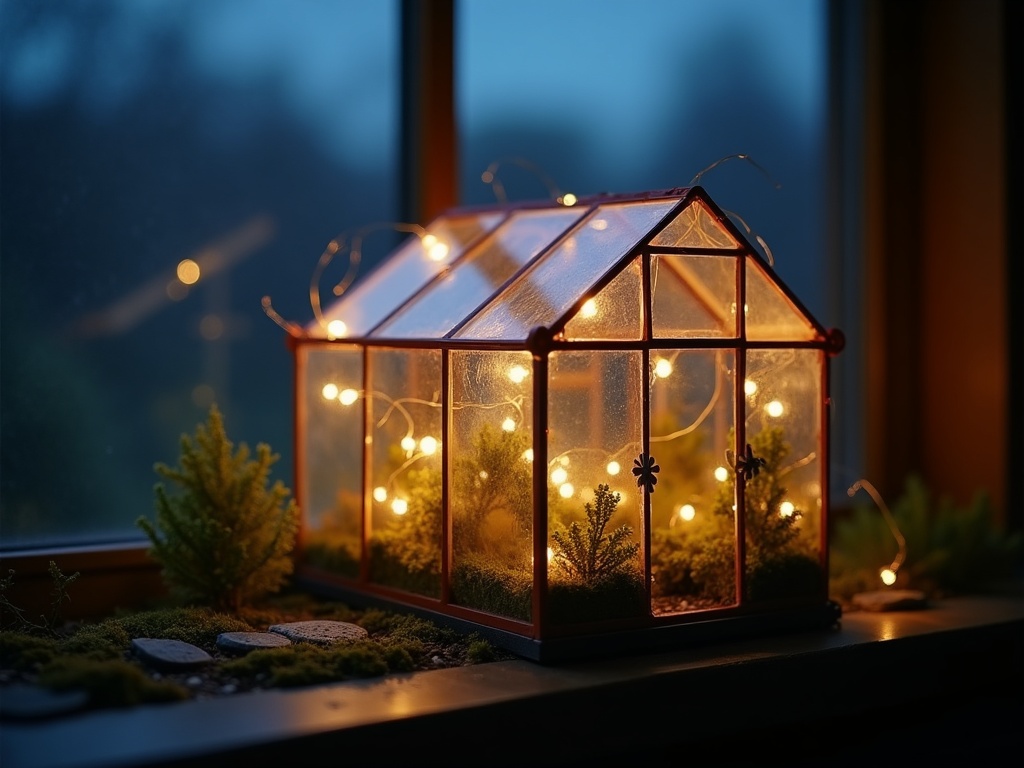
Natural light disappears by late afternoon in winter. A small warm-white LED strip placed inside the greenhouse roof turns it into a glowing lantern after dark. Many miniature greenhouse build kits include pre-drilled holes for exactly this purpose. A USB-powered fairy light string with copper wire works equally well and runs off any phone charger block. Warm white (2700K) mimics candlelight and makes the wood tones rich. Cool white (5000K+) looks clinical; skip it.
Styling Variations by Window Type and Season for Your Miniature Greenhouse Display
One of the quiet pleasures of a windowsill greenhouse is that it is easy to re-style without rebuilding. The structure stays; the surrounding scene changes. This seasonal adaptability is part of what makes a miniature greenhouse for windowsill display such lasting value as a craft project.
Spring and Summer
Fresh green moss, tiny printed seed envelopes tucked between pots, a miniature watering can beside the door. Real clippings of baby’s breath or dried lavender placed at the exterior corners add texture that no kit accessory can fully replicate. The overall mood: bright, abundant, mid-season garden.

Autumn and Winter
Swap the moss for dried amber leaves pressed flat. Add a tiny pumpkin or winter squash (sculpted from air-dry clay in roughly two hours) near the entrance. For the holiday season, a thread of micro LED lights wound through the interior and a dusting of white glitter on the roof panels creates a snow-globe atmosphere that stops guests in their tracks.
Seasonal re-styling is also a great reason to photograph the display regularly. A before-and-after set of the same greenhouse across four seasons makes genuinely engaging content for any craft community or social feed.
📚 Did you know? The Wardian case
The Wardian case, invented by British physician Nathaniel Bagshaw Ward around 1829, was the first sealed miniature greenhouse. Ward discovered accidentally that fern spores germinated inside a sealed jar he had left near a window. His invention allowed living plants to survive long sea voyages for the first time, transforming botanical gardens worldwide. The compact, glass-walled plant display we associate with a miniature greenhouse for windowsill display today is a direct descendant of his design. Ward himself kept his original case on a London windowsill for nearly 20 years, watching it change through every season without intervention. There is something quietly moving about the fact that the hobby we are describing here traces back to a physician noticing a fern growing in a jar on a rainy London morning almost two centuries ago.
The Wardian case, invented by British physician Nathaniel Bagshaw Ward around 1829, was the first sealed miniature greenhouse. Ward discovered accidentally that fern spores germinated inside a sealed jar he had left near a window. His invention allowed living plants to survive long sea voyages for the first time, transforming botanical gardens worldwide. The compact, glass-walled plant display we associate with a miniature greenhouse for windowsill display today is a direct descendant of his design. Ward himself kept his original case on a London windowsill for nearly 20 years, watching it change through every season without intervention. There is something quietly moving about the fact that the hobby we are describing here traces back to a physician noticing a fern growing in a jar on a rainy London morning almost two centuries ago.
Gift-Buying Guide: Miniature Greenhouse Kits That Work as Windowsill Displays
If you are buying for someone else, a miniature greenhouse for windowsill display makes an unusually thoughtful gift precisely because it is both a project and a permanent display piece. The recipient gets the meditative pleasure of the build and a finished object they will look at every single morning.
A few things to consider when selecting a kit as a gift:
- Skill match matters more than aesthetics. A beautiful advanced kit gifted to a first-time builder often sits unfinished. When in doubt, pick one difficulty level lower than you think you need.
- Check the footprint against the recipient’s actual space. Ask casually about their windowsill situation before ordering. A kit that doesn’t fit the sill ends up on a desk, which works but misses the display magic.
- Kit completeness is kindness. The best gifts include everything: wood, acrylic panels, glue, tweezers, paint if needed. No extra trips, no ambiguity. The person opens the box and can start the same evening.
🎁 Gift-wrapping trick from our community
Several customers told us they wrap the kit box as-is and tuck a small printed card inside with a link to this guide and to the full greenhouse kit collection. That way the recipient can read the setup advice before they even open the box, which makes the first evening of building feel less daunting and more like a shared project. One customer in our community said her teenage daughter read the whole guide on Christmas morning before touching the kit, “just to be ready.” That is the kind of build excitement we live for.
Several customers told us they wrap the kit box as-is and tuck a small printed card inside with a link to this guide and to the full greenhouse kit collection. That way the recipient can read the setup advice before they even open the box, which makes the first evening of building feel less daunting and more like a shared project. One customer in our community said her teenage daughter read the whole guide on Christmas morning before touching the kit, “just to be ready.” That is the kind of build excitement we live for.
Our full range of miniature greenhouse kits for display and gifting covers difficulty levels from beginner to advanced, with several options designed specifically for narrow or deep windowsill profiles. If you are also interested in pairing a greenhouse build with a complementary botanical scene, the fairy garden and conservatory kits in the same collection work beautifully side by side on a wider sill.
For anyone who builds regularly and wants to expand their display, pairing a greenhouse with a miniature room box scene creates a layered botanical vignette that reads like a full seasonal tableau. Community builders in our group have shared some stunning examples of exactly this kind of layered styling, and the photos always generate the most conversation.
Frequently Asked Questions about Miniature Greenhouse Windowsill Displays
Everything you might be wondering (click a question to expand).
What is the best window direction for a miniature greenhouse for windowsill display?
South-facing windows give the most consistent natural light throughout the day, which shows off glass panels and interior detailing beautifully. East-facing windows provide warm morning light ideal for photography. North-facing sills work well if the kit has strong interior detail and you supplement with a small LED light inside the structure. West-facing windows are underrated: the late-afternoon warmth they deliver in summer creates a genuinely golden hour effect that makes acrylic panels glow like stained glass.
Can I put real plants inside a miniature greenhouse kit?
Most miniature greenhouse kits are not sealed structures, so they won’t trap humidity the way a real propagation case does. That said, tiny air plants (*Tillandsia*) fit comfortably at 1:12 scale and need no soil or watering beyond a weekly mist. They sit naturally among the miniature pots and add genuine botanical life to the display without risking moisture damage to the wood frame. Miniature moss balls and very small *Fittonia* cuttings also work well near the entrance of a larger kit.
How do I keep a wooden miniature greenhouse from warping near a window?
Direct sun combined with window condensation is the main culprit. Sealing the completed kit with a matte or satin varnish (two thin coats, fully dried between applications) protects the wood grain while keeping the natural color. The cork or tray base mentioned in the setup steps also lifts the kit away from any surface moisture on the sill itself. In rooms that experience significant temperature swings (a conservatory, for example), a weekly check of the joints is worth the two minutes it takes.
How long does it typically take to build a windowsill greenhouse kit?
A beginner-level kit runs 3 to 6 hours across one or two sessions. An intermediate kit with painting and detailing steps takes 8 to 12 hours spread over a weekend. Advanced kits with wiring and fine hardware can run 15 to 20 hours for a careful builder who enjoys the process. Most people in our community build in 1 to 2 hour evening sessions, which makes even complex kits feel manageable over two weeks. The meditative rhythm of evening builds is one of the things builders mention most often when they describe why they keep coming back to the hobby.
What accessories make a miniature greenhouse windowsill display look most realistic?
The three highest-impact additions are: real preserved moss along the base, a warm LED light source inside the structure, and at least one handmade or printed botanical element (seed packet labels, small plant identification stakes, a tiny illustrated field guide). These three elements together shift the display from craft project to believable miniature world, and none of them require advanced skills to add. A fourth option that many builders overlook: a small piece of weathered driftwood placed outside the greenhouse door instantly reads as a garden bench or stepping stone at 1:12 scale.
Is a miniature greenhouse kit a good project for children or complete beginners?
Beginner-rated kits (1-2 out of 5 difficulty) are genuinely accessible from about age 10 upward with adult guidance, and for adults with no prior craft experience. The key is choosing a kit that is explicitly rated for beginners and that includes all tools. The assembly steps are sequential and satisfying rather than technical, and the windowsill display at the end gives the whole project a clear, rewarding finish line. Many people in our community came to miniature building with no craft background at all and completed their first greenhouse kit in a single weekend.
Making the Display Yours Over Time
A windowsill greenhouse is not a one-day project you put up and forget. It rewards ongoing attention. Move a pot. Add a seasonal element. Swap out the moss in February for something that hints at spring. Photograph it once a week and you will have a quiet visual record of your creative life across an entire year.
The builds themselves have a way of stacking. Once you have one greenhouse glowing on a sill, the idea of adding a small potting shed beside it, or a raised bed planter kit in front of it, becomes hard to resist. That is not a complaint from anyone in our community. It is the point. Each small build deepens the scene, and the scene deepens the habit of making something with your hands every week.
Start with the right kit for your window, build slowly and carefully, and let the light do the rest. The result will be one of those small things in your home that people always notice and always ask about. And if they ask where to start, you can point them here, and to the right miniature greenhouse kit for their windowsill display.
