🎁 Buy 2 kits, get the 3rd FREE · Free shipping on every order

Best Lighting for Displayed Book Nooks: LED, Picture Lights & Ambient Glow
A complete guide to the best lighting for displayed book nooks, covering external LED strip placement, picture lights, ambient room conditions, internal fairy lights and fiber optics, and how to layer multiple sources for a professional glowing effect.

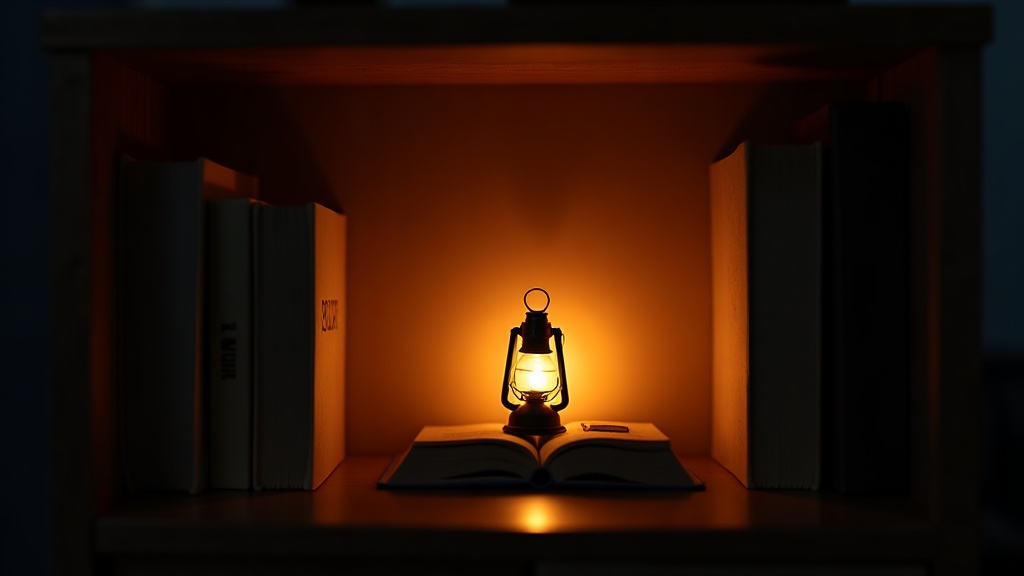
You finish your book nook, slide it onto the shelf, and something feels off. The colors are muted. The tiny lantern you glued inside looks flat. The whole miniature scene disappears into shadow once the room lights dim. The build itself is perfect. The lighting is the missing piece.
Choosing the best lighting for displayed book nooks changes everything about how the finished piece reads in a room. It turns a craft project into a glowing focal point. It pulls out the depth of each layer you built. And, honestly, the process of wiring or placing that light is one of the most satisfying steps in the whole build.
Read on for a thorough look at every lighting approach worth considering, with real guidance on which type fits which kind of build, shelf situation, and skill level. Whether you are just finishing your first kit or you have a dozen nooks on the shelf already, there is something here for you.
Why Lighting Matters More Than Any Other Finishing Touch
Book nooks are depth illusions. You build a shallow box, maybe 6 to 10 inches deep, and use forced perspective, painted backdrops, and layered set pieces to convince the eye it is looking at something infinite. Lighting plays directly into that illusion.
Without light, the back wall of your nook blends into shadow. The sense of depth collapses. With even a single warm LED strip tucked at the top, the back wall suddenly recedes, the layers separate visually, and the whole miniature world comes alive.
There is also the practical reality of shelf placement. Most book nooks sit between books on a dark shelf, with very little ambient light reaching them. External lighting is almost always necessary unless you have a purpose-built display case with built-in illumination. Getting the best lighting for displayed book nooks right is therefore less an optional upgrade and more the final essential step of the build.
Three Main Approaches at a Glance
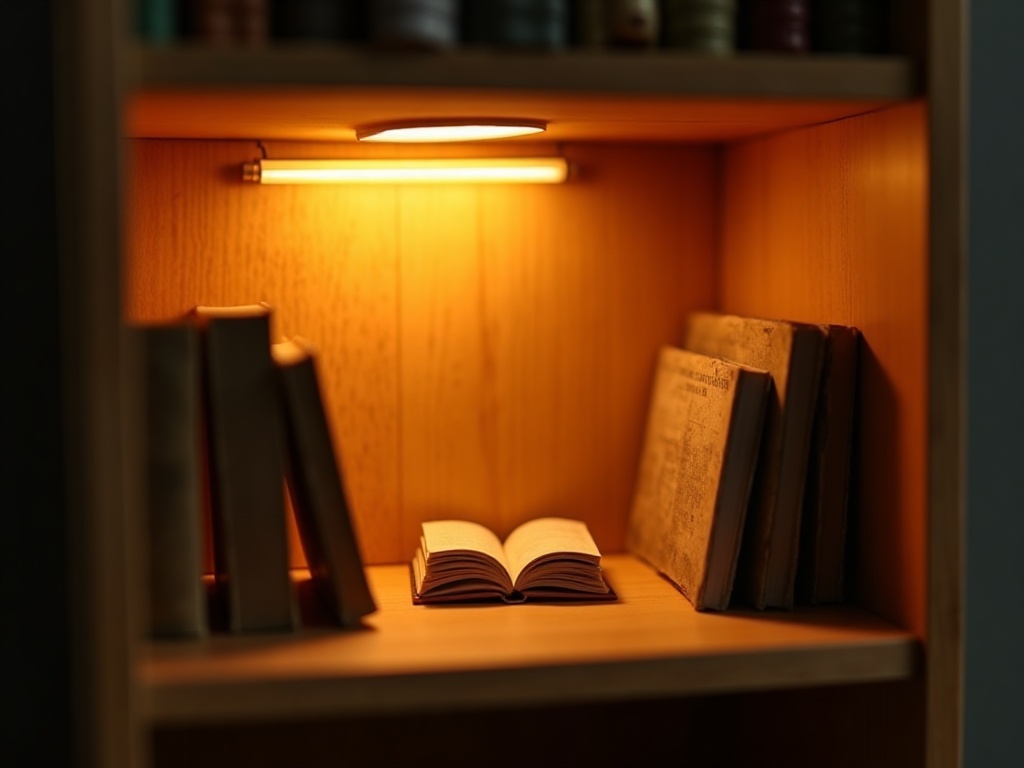
Before diving into the detail of each method, here is a quick side-by-side view. Every builder asks the same question first: which option fits my shelf, my build, and my skill level? This table answers that directly.
| Method | Best for | Skill level | Approx. cost | Modification needed? |
|---|---|---|---|---|
| External LED strip | Most builds; deepest depth effect | Beginner | $5 to $15 | None (tape or clip) |
| Picture light | Open shelves; gallery-style display | Beginner | $15 to $40 | None (mounts above) |
| Internal micro LEDs / fiber optics | Complex builds; fantasy or celestial themes | Intermediate | $8 to $30 | Yes (access panel or drilling) |
External LED Strip Lights: the Most Versatile Option
LED strip lights are the go-to solution for most builders, and for good reason. They are inexpensive, cut-to-length, easy to hide, and available in color temperatures that range from cool white (around 6500K) down to warm amber (2700K to 3000K). That warm end of the spectrum suits book nooks best. It mimics candlelight and old lanterns, which fits the cottage, fantasy, and Victorian aesthetics that dominate the genre.
How to Position LED Strips for Maximum Depth
The most common mistake is placing the strip at the very front of the nook opening. That floods the front layer but leaves the back in shadow, which is the opposite of what you want. Instead, aim the strip toward the rear of the build.
- Top-rear placement: Tape the strip inside the top edge, pointed slightly downward and toward the back wall. This creates a gradient that darkens toward the viewer and lightens at depth, reinforcing the perspective illusion.
- Side strips: Thin strips on both inner walls, angled inward, add even wash without harsh hotspots. Good for dioramas with tall vertical scenes.
- Underlighting: A strip beneath a floating floor panel creates a dramatic ground-fog effect with zero extra work.
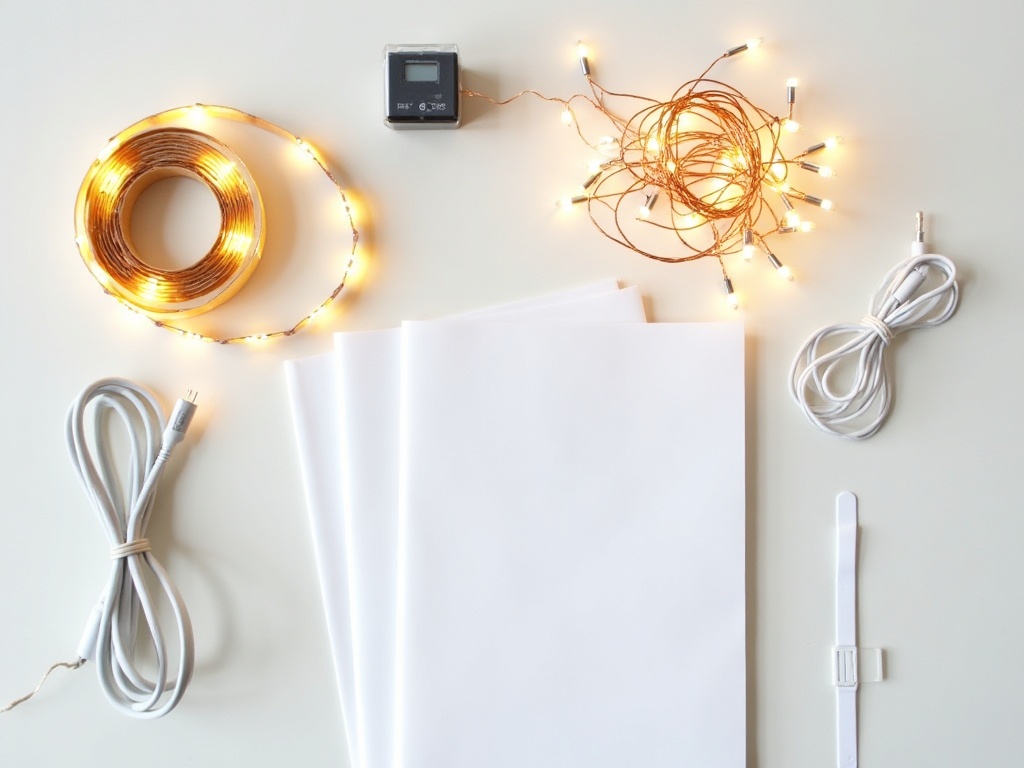
For power, USB-powered LED strips are the cleanest solution. One USB cable runs out the back of the nook, disappears behind your books, and plugs into any phone charger or USB hub. No battery swaps, no visible cords on the shelf face.
When Hannah first lit her Victorian dollhouse kit back in 2021, she used exactly this method: a 50-cm warm-white strip taped inside the top rear, diffused with a scrap of baking parchment she had on the kitchen table. The difference was immediate and almost embarrassingly satisfying. That single step is still the first thing she recommends to every new builder who messages asking why their finished kit looks flat on the shelf.
Hannah’s tip: Diffuse your LED strip with a thin strip of white tissue paper or tracing paper taped over the diodes. It softens harsh LED hotspots into a smooth, even glow and genuinely looks more like firelight than bare LEDs do. Costs nothing and takes thirty seconds.
Picture Lights and Small Accent Fixtures: the Gallery Approach
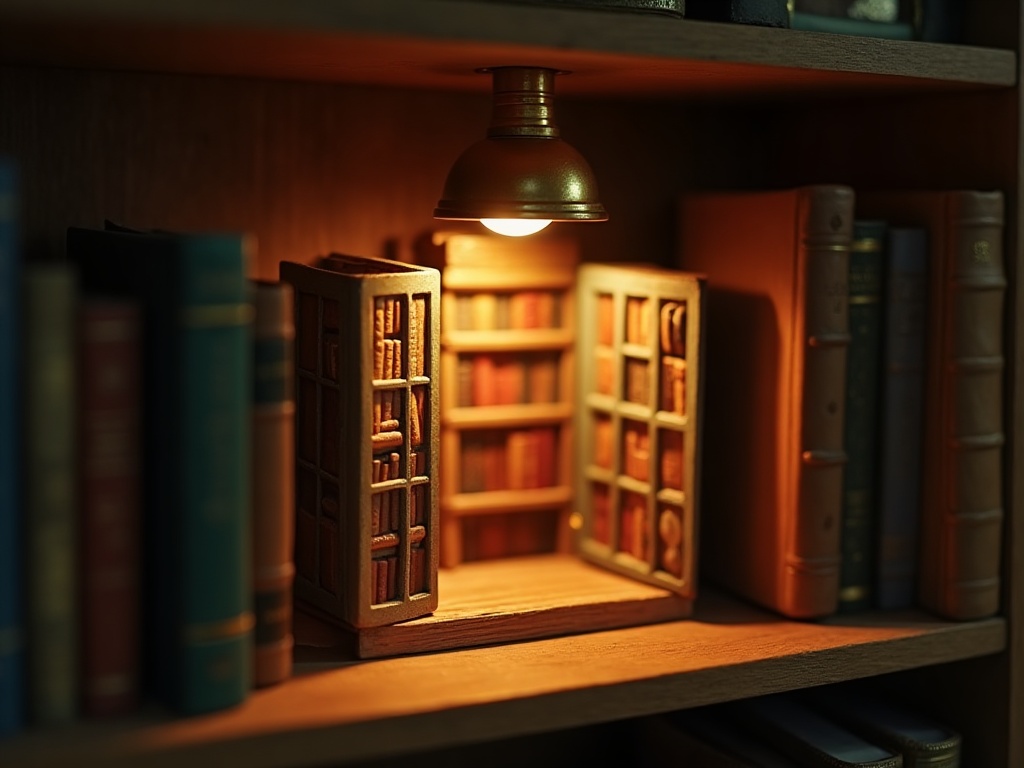
Picture lights are small bar fixtures, usually 4 to 12 inches wide, originally designed to illuminate framed art from above. They sit on a small bracket that hooks over a frame or screws to a wall, aim the beam downward at roughly 30 degrees, and cast a focused wash of light. For anyone who has built a nook they are genuinely proud of, treating it the way a gallery treats a painting feels exactly right.
For a book nook displayed at eye level or on an open shelf with clearance above, a picture light mounted on the shelf above the nook is genuinely beautiful. The beam falls right into the nook opening. The warm brass or matte black finish of most picture lights also complements the decorative quality of a well-built nook.
What to Look for in a Picture Light
- Color temperature: 2700K to 3000K for warm, gallery-style glow. Avoid daylight (5000K+) which makes warm wood tones look washed out.
- Beam angle: Narrow (30 to 40 degrees) for a focused spot on the nook opening. Wider angles spill too much light onto surrounding books.
- Size: A 4-inch or 6-inch fixture is usually sufficient for a standard book nook opening (typically 3 to 5 inches wide, 7 to 9 inches tall).
- Power: Battery-operated picture lights exist and work well for shelves without nearby outlets. Rechargeable versions with USB-C are worth the slightly higher price.
One underrated advantage of picture lights: they require zero modification to the nook itself. If you built a kit without planning for internal wiring, a picture light is the cleanest retrofit solution available. It is also the right choice when the nook lives on a shelf with other decorative objects, because the focused beam keeps the spotlight on the nook rather than washing the whole shelf in light.

Explore the collection
All Book Nook Kits
76 handcrafted book nook kits
Each kit ships with a pre-drilled back panel and a recommended LED strip spec card, so the lighting question is answered before you even open the box.
Ambient Room Lighting: How Your Display Environment Shapes Everything
Even the best internal or external light source on your book nook will underperform in a harshly lit room. Ambient light conditions shape how a displayed nook reads to a viewer.
The key principle is contrast. A nook that glows at 2800K looks magical in a room lit at 2700K with the overhead lights dimmed. The same nook in a room flooded with 5000K fluorescent overhead light looks dim and unimpressive, regardless of how good your internal LEDs are.
Shelf Placement and Ambient Control
If you have any choice in where to display your nook, consider these placement factors:
- Away from direct sunlight: Direct sunlight bleaches paint and fades printed backdrops over months. A north-facing wall or a spot behind a curtained window protects the build.
- Near a dimmer switch: Displaying nooks on a shelf controlled by a dimmer lets you dial the room down in the evening, which is when the nook’s own lighting becomes most dramatic.
- Eye level or slightly below: The perspective layers read best when viewed from slightly above the floor line of the nook. Shelves at 4 to 5 feet work well for most adults.
Some collectors add a small dedicated shelf spotlight, a simple clip-on or track-mounted accent light aimed specifically at the nook display area, and treat the nook like a piece of fine art. It sounds extra, but it genuinely works. The moment you see your finished build lit properly against a dimmed room, you will understand why people keep building more of them.
Did you know? The concept of lighting miniature scenes traces back to 18th-century theatrical dioramas. Charles-Marie Bouton and Louis Daguerre popularized the *diorama* in 1822 Paris, using angled natural light filtered through translucent painted panels to create depth illusions in large-scale scenes. Modern book nook builders use almost identical optical principles, just scaled down to a bookshelf.
Internal Lighting: Fairy Lights, Micro LEDs, and Fiber Optics
Internal lighting means light sources built directly into the nook structure, hidden inside lanterns, behind windows, beneath floors, or woven through foliage. This is where best lighting for displayed book nooks gets genuinely artistic. It also happens to be the most meditative part of the whole build process: the slow, focused work of placing tiny lights exactly where they need to be.
Micro LED Fairy Lights
Copper-wire fairy lights with tiny 3mm or 5mm LEDs are the most accessible internal option. They are flexible enough to wrap around a miniature tree, tuck into a window frame, or coil under a floor grate. Battery packs are small enough to hide inside the nook itself, behind a false back wall. Look for “warm white” or “amber” variants rated at 2700K to 3000K.
For builds where you want a specific light point (a glowing shop window, a lit fireplace), a single 3mm LED wired to a coin cell battery hidden in the base gives a pinpoint of warm light that reads exactly like a candle flame at miniature scale. Many builders in the community say this single tiny LED, placed inside a hand-folded paper lantern, is the detail that gets the most comments when they post photos.
Fiber Optic Strands for Starfields and Magic Effects
A fiber optic bundle run from a small driver box to pinpoints in a painted night-sky backdrop creates a starfield effect that no other lighting method can replicate. Each strand is thinner than a hair. The light source stays hidden. The effect is completely unlike LED strip work and adds real wow factor to fantasy or celestial-themed builds. If you are building one of our lighting-forward nook kits, this is the technique that separates a beautiful build from a genuinely show-stopping one.
This is an intermediate-level technique. It takes patience to drill or pierce the backdrop and thread each strand, but the meditative rhythm of placing one fiber at a time is deeply satisfying. Many builders describe it as the most focused, calming hour of the entire build process.

Rare in the niche
Miniature Greenhouse Kits
22 LED-lit greenhouse builds
Greenhouse builds have transparent panels that interact with internal LED strips in a way no other format does: the light scatters through acrylic “glass” and fills the whole scene with a soft, botanical warmth. The internal lighting is already specced into the kit design.
For a curated selection of lighting accessories and add-ons that work with most standard book nook kits, browse the book nook accessories collection. You will find LED strips, fairy light sets, and power solutions chosen specifically for miniature-scale builds.
Combining Light Sources for a Layered, Professional Look
The builds that stop people mid-scroll almost always use more than one light source. They layer light the way a film set does: a key light (the main source of illumination), a fill light (softer, from a different angle), and practical lights (the visible in-scene light sources like lanterns and windows).
A simple three-layer approach for a standard book nook:
- Key light: LED strip at the top-rear of the nook, warm white, diffused with tissue paper. Illuminates the main scene.
- Practical light: Single 3mm amber LED inside a miniature lantern or fireplace. Visible in the scene, adds narrative warmth.
- Fill/accent: Copper fairy lights woven into foliage or along a shelf edge, or a picture light from above. Softens shadows and adds ambient glow.
You do not need all three for every build. A simpler kit with a single main room may need only the key light and one practical. A larger, more complex build with multiple rooms benefits from all three layers. The point is to think about light the way a set designer thinks about it: each source has a job, and the sources work together rather than competing.
If you are just getting started with lit builds, check out our lighting starter kits for book nook builders to find pre-matched combinations that skip the guesswork.

Bestseller cottage kit
Tranquil Life DIY Miniature House Kit
$67.90
The Tranquil Life’s interior has two distinct rooms and a covered porch, which makes it one of the most rewarding builds to light in layers. The key light goes top-rear; a single amber practical in the fireplace does the rest.
Premium collector piece
Monet’s Garden DIY Miniature House Kit
$155.00
At this scale and complexity, the three-layer lighting approach described above genuinely transforms the finished piece. Copper fairy lights tucked into the garden foliage create a dappled, impressionistic warmth that suits the subject beautifully.

Easy starter under $50
Sun Room DIY Miniature House Kit
$49.99
The Sun Room’s open, airy design responds brilliantly to a single warm LED strip at the top-rear. Its large “window” panels let light scatter in a way that looks genuinely sunlit from across the room. A perfect first lit build.
Frequently Asked Questions about Book Nook Lighting
Everything you might be wondering about the best lighting for displayed book nooks (click a question to expand).
What color temperature works best for book nook displays?
2700K to 3000K (warm white to warm amber) works best for the vast majority of book nook styles. It mimics candlelight and old incandescent bulbs, which suits the cozy, vintage, and fantasy themes most builders work with. If your build has a modern, minimalist, or sci-fi theme, stepping up to 4000K to 4500K gives a cleaner, cooler look without going into harsh daylight territory. As a general rule: warm scenes get warm light; cool or contemporary scenes can handle a slightly cooler source.
LED strips vs. picture lights: which is better for a book nook?
They solve different problems. An LED strip placed inside the nook pushes light toward the back wall, maximizing the depth illusion. A picture light mounted above the shelf sends focused light down into the opening, which reads beautifully from across the room but does less to separate the internal layers. For the strongest result, use an LED strip as your key light and a picture light as your ambient accent. If you can only choose one and your nook sits between books on a dark shelf, the internal LED strip wins. If your nook is displayed more openly, like on a mantle or open shelving unit, the picture light is the more elegant solution.
Can I add lighting to a completed book nook kit without rewiring it?
Yes. A picture light mounted above the shelf, a USB-powered LED strip taped inside the nook opening, or a set of battery-powered copper fairy lights fed through the back access panel all work without any structural modifications. These are also good options if you received a book nook as a gift and want to add glow without disturbing any careful paintwork.
How do I hide the wires on a displayed book nook?
Route USB or battery cables through a small hole drilled or cut in the back panel of the nook, then run the cable behind your books toward the nearest outlet or USB hub. For shelf-mounted LED strips, thin adhesive cable clips keep the wire flush against the shelf underside. Black cable works best on dark shelves; white on white shelves. The goal is to get the cable off the visible shelf face entirely.
Are fairy lights safe to leave on inside a closed book nook?
Battery-powered and USB-powered LED fairy lights run cool enough to leave on for extended periods without heat risk. Classic incandescent fairy lights are not safe for enclosed spaces due to heat buildup, but modern LED variants (the kind sold for crafts since roughly 2015) generate almost no heat at the bulb. Still, turning them off overnight is a reasonable precaution and extends battery life significantly.
What is the best lighting setup for a beginner book nook builder?
Start with a single warm-white USB LED strip (1 meter, 2700K, with a USB-A connector) placed along the inside top of the nook, aimed toward the back wall. Diffuse it with a strip of tracing paper. Connect it to any USB phone charger or laptop port. That single step transforms a flat build into a glowing scene and costs under $10. Once you are comfortable with placement, add a set of copper fairy lights for the internal practical effects. That two-step combination covers 90 percent of builds beautifully.
Turning a Shelf into a Gallery Worth Stopping For
A book nook with no light is a craft project. A book nook with thoughtful lighting is an installation. The difference in effort is smaller than most builders expect. A $6 LED strip, placed in the right spot, with a strip of tissue paper over it, does more visual work than an hour of extra painting.
Start simple. One warm LED strip, aimed toward the back. See how your specific build responds to that light before adding more. Every nook has a different internal geometry, and the light behaves differently in each one. That process of testing, adjusting, and watching the scene react is genuinely one of the best parts of the whole hobby. The best lighting for displayed book nooks is never one-size-fits-all. It is the result of paying attention to your specific build and trusting what your eye tells you.
When you are ready to add more complexity, the accessories collection has everything from micro LED sets to fiber optic bundles sized for miniature work. And if you are still choosing your first build, browsing themed book nook accessories by setting or style makes it easy to match lighting to the specific world you want to build.
Light your nook well. Then take a photo at dusk. You will not regret it.
