🎁 Buy 2 kits, get the 3rd FREE · Free shipping on every order

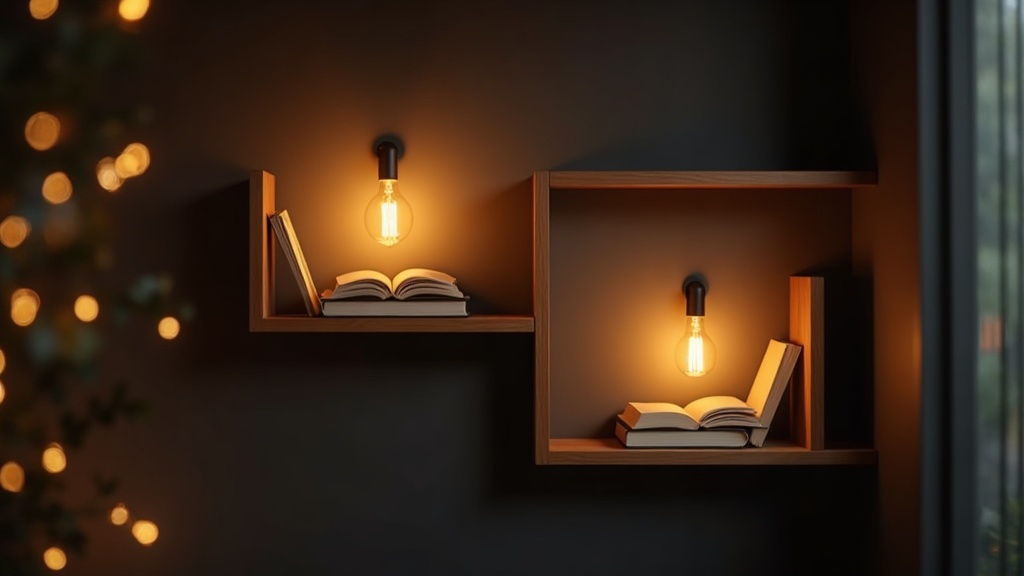
Shelf Ideas for Book Nook Displays That Actually Work
The right shelf setup transforms a finished book nook from a craft project into a genuine showpiece. This guide covers IKEA BILLY hacks, floating shelves, cube grid systems, alcove niches, and lighting strategies, with real dimensions, honest tradeoffs, and practical tips for every budget and skill level.

Shelf ideas for book nook display can make or break the whole effect. You spend hours painting tiny brick walls, wiring micro LEDs, and assembling furniture no bigger than a thumb, then you slide the finished scene onto a shelf and it just… disappears. Wrong height, wrong depth, too much ambient clutter fighting for attention. The shelf is the frame, and a bad frame can bury a masterpiece.
This guide covers the shelving setups that actually work, from deep IKEA BILLY inserts to narrow floating ledges and dedicated display niches. Real dimensions. Real lighting considerations. Honest tradeoffs between budget builds and polished looks. And because so many people ask about this in our community, there is a quick-reference comparison table below that maps shelf depth to nook size, so you can match your kit to its ideal home before you reach for a drill.
Why the Right Shelf Changes Everything for a Book Nook
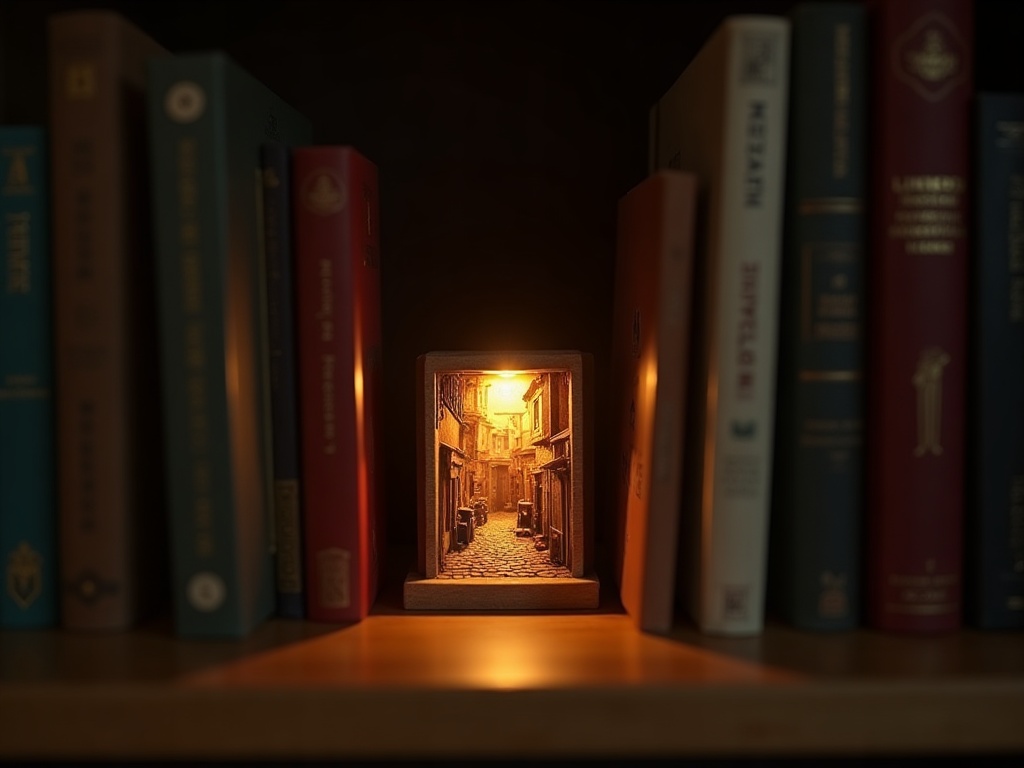
A book nook is roughly 6 to 9 inches deep on average, though some architectural kits push past 10 inches. Standard bookshelves run 10 to 12 inches deep, which means most nooks fit without modification. The problem is usually width and lighting, not depth.
When a nook sits on a generic shelf between random objects, the eye has no anchor point. Viewers scan past it. But give it a dedicated slot, a clean backdrop, or a shelf with intentional negative space on either side, and suddenly people stop and lean in. That moment of “wait, is that tiny?” is the whole point.
Three factors drive display success:
- Depth alignment: the nook should sit flush with or slightly recessed behind the shelf edge, never jutting forward awkwardly.
- Height of the shelf itself: eye-level (between 58 and 65 inches from the floor for most adults) gives the most dramatic impact for detailed scenes.
- Light control: if ambient room light washes out your built-in LEDs, the magic disappears. Shelves with a partial hood or side panels help enormously.
Quick-reference: shelf depth vs. book nook size
Use this table before you shop for shelving or a new kit. It will save you a trip to the hardware store with a too-slim nook in hand.
| Shelf type | Typical depth | Best nook fit | Notes |
|---|---|---|---|
| Narrow floating ledge | 8 in (20 cm) | Slim cottage or shopfront kits (6-7 in deep) | Add a front lip to prevent forward sliding |
| Standard floating shelf | 10 in (25 cm) | Most beginner and mid kits (up to 9 in deep) | Best all-rounder; works for 80% of kits |
| IKEA BILLY bookcase | 11 in (28 cm) | All standard book nook kits (up to 10 in deep) | Book-sandwich effect; adjustable shelf spacing |
| IKEA KALLAX cube cell | 15 in (38 cm) | Deep architectural kits and multi-layer scenes | Three-sided frame; great for rotating seasonal display |
| Alcove or built-in niche | 6-12+ in (varies) | Any kit sized to the opening | Most dramatic framing; paint interior dark for max impact |

Bestseller cottage kit
Tranquil Life DIY Miniature House Kit
$67.90
Fits perfectly on a standard 10-11 in shelf, no modification needed
Keep those three factors in mind as you read through each option below. By the end you will have a clear picture of which shelf type suits your space, your kit collection, and your own building rhythm.
IKEA BILLY Bookcase: The DIY Hacker’s Favorite Canvas
The **BILLY** bookcase is practically a crafting cliche at this point, and for good reason. The standard unit is 11 inches deep and 31.5 inches wide per section, which gives you room for a nook plus flanking books on either side. That book-sandwich effect is the most visually satisfying way to display a nook because the real books act as context: the nook feels like a portal punched through a library wall.
The most popular BILLY hack for nook display involves removing one adjustable shelf and positioning the nook on the shelf below, so the fixed height above acts as a ceiling that frames the scene. A few builders go further and cut a shallow rectangular hole in the BILLY back panel, painting the interior black before slotting the nook in. This creates a recessed look that photographs beautifully.
Painting the BILLY interior
The back panel of a standard BILLY unit is thin hardboard, roughly 3 mm thick, and it takes craft acrylic paint very readily. Two coats of a flat or satin black (or deep charcoal, or forest green) applied with a small foam roller will cure in about two hours at room temperature. Give it a full 24 hours before pressing books up against the wet edge. The color change is genuinely dramatic: that beige hardboard was actively competing with your nook’s glow, and removing it from the equation is free. No new shelf, no new kit, just a couple of dollars of craft paint.
Practical notes for the BILLY approach:
- Standard shelf spacing is adjustable in 1.25-inch increments, so you can dial in the height to match your specific kit without cutting anything.
- Adding IKEA LEDBERG or similar LED strip lights to the underside of the shelf above creates a warm overhead wash without complicated wiring.
- A BILLY extension unit stacked on top adds a top shelf for overflow books and keeps the visual column unified.
- If you want a fully reversible setup, tape a piece of black foam board to the back panel rather than painting directly. It covers the beige hardboard instantly, costs about $2, and peels away cleanly.
Budget estimate: a base BILLY unit runs around $70-$80. Add $15-$25 for paint, strip lights, and any hardware. Total under $110 for a display setup most visitors will photograph.
✨
Hannah’s tip: the foam board trick
Before you slot your finished nook into a BILLY, tape a piece of black foam board to the back panel first. It covers the beige hardboard instantly, costs about $2, and you can remove it without damaging the shelf if you ever want to rearrange. This small step alone makes the glow from your built-in LEDs look three times more dramatic in photos. I discovered this by accident when I was staging my first Victorian dollhouse on a Sunday afternoon and ran out of time to paint, and I have never gone back to painting the panel directly.
Before you slot your finished nook into a BILLY, tape a piece of black foam board to the back panel first. It covers the beige hardboard instantly, costs about $2, and you can remove it without damaging the shelf if you ever want to rearrange. This small step alone makes the glow from your built-in LEDs look three times more dramatic in photos. I discovered this by accident when I was staging my first Victorian dollhouse on a Sunday afternoon and ran out of time to paint, and I have never gone back to painting the panel directly.

Explore the collection
All Book Nook Kits
76 handcrafted book nook kits
Every kit in this collection has been sized to slot into a standard BILLY shelf without modification. Filter by depth to find your perfect fit.
Floating Shelves: Clean, Modern, and Surprisingly Versatile
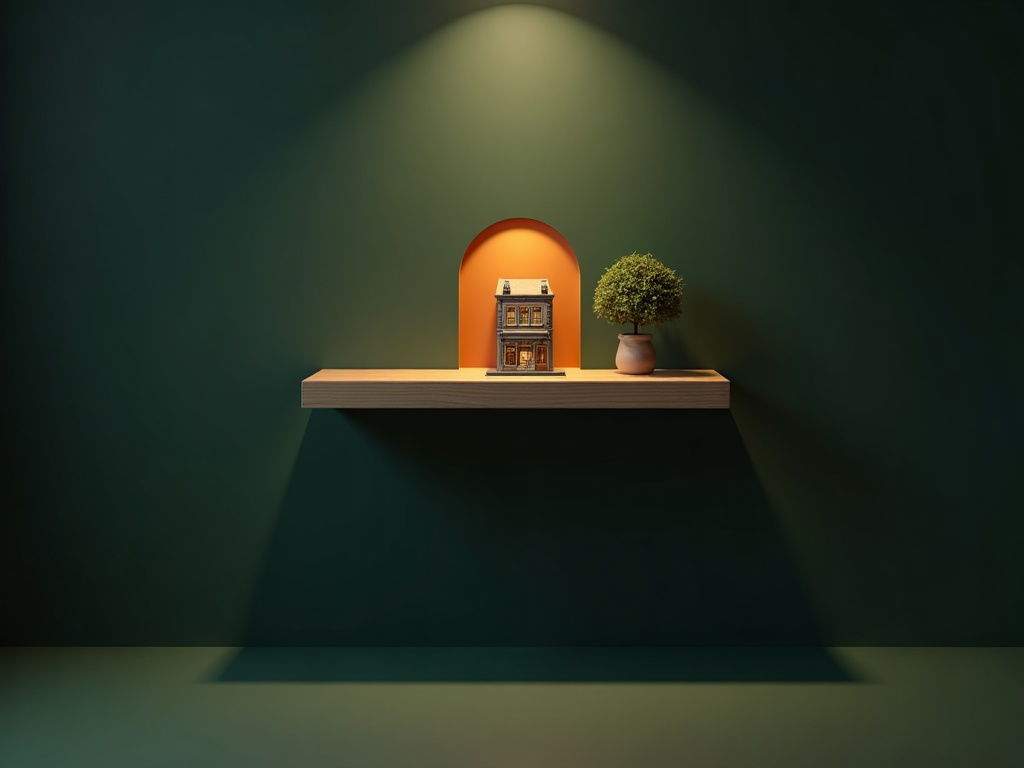
Floating shelves are the second most-searched setup for shelf ideas for book nook display, and they suit a different aesthetic entirely. Where a BILLY reads as cozy library, a floating shelf reads as curated gallery. The nook becomes a sculptural object, not just a bookshelf accessory.
For floating shelves, depth is the main constraint. Most standard floating shelves from hardware stores are 8 or 10 inches deep. An 8-inch shelf works for slim kits like cottage facades or narrow alley scenes, but deeper architectural kits (the ones with fore-, mid-, and background layers) really need 11 to 12 inches to avoid hanging over the edge. See the comparison table above for the full breakdown.
Positioning a nook for the “sidebar” effect
One of the most striking floating-shelf arrangements is what builders in our community call the “sidebar” effect: a nook positioned at one end of a longer shelf (36 inches or more), with a loosely curated selection of real books filling the remaining space beside it. The nook is not centered; it is the bookend, the full stop at the end of the sentence. To nail this positioning, mount the shelf so the nook end is closest to a corner wall or window frame. That architectural boundary on one side creates a natural bracket, and the books lean into the nook from the open side. The result reads as completely intentional, even though it takes about thirty seconds to arrange.
What works well with floating shelf displays:
- Staggered heights: mounting two or three shelves at different heights and placing one nook per shelf creates a gallery wall effect. Each scene gets its own breathing room.
- Wider shelves with negative space: a 36-inch wide shelf that holds one nook centered, with open space on both sides, feels intentional and elegant.
- Shelf with integrated lip: a 1-inch front lip prevents the nook from sliding forward and also hides any power cable that exits the base of the unit.
- Wall-anchored LED puck above the shelf: a single warm-white LED puck mounted to the wall 4 to 6 inches above the shelf casts a spotlight effect without any complex wiring. Aim it slightly downward so the beam grazes the nook’s facade before spilling into the interior.
One honest tradeoff: floating shelves require wall studs or proper anchors because a fully assembled book nook kit can weigh 3 to 6 pounds, heavier than it looks. Always anchor into a stud or use a proper toggle bolt rated for at least 15 pounds.
Built-In Niche Displays and Alcove Styling

Easy starter under $50
Sun Room DIY Miniature House Kit
$49.99
At 7.5 inches deep, the Sun Room fits neatly into any alcove opening of 8 inches or more, no shelf modifications needed
If you have a natural alcove in your home, a recessed bookcase wall, or a fireplace that no longer functions, you already have the most dramatic possible book nook display setup. Alcoves create a natural frame that removes all visual competition from the surrounding room.
The key with niche displays is depth management. A shallow niche of 6 to 8 inches is ideal for a single book nook, positioned so the front face is flush with or just slightly inside the opening. A deeper niche (12 or more inches) can hold two nooks side by side, or one nook with a small plant or candle to the side without crowding the scene.
📜
Did you know?
The book nook hobby as a commercial kit phenomenon took off around 2018-2019, largely driven by Japanese and Taiwanese miniature kit manufacturers entering Western markets. By 2022, searches for “book nook” on Etsy and Pinterest had grown over 400% compared to 2019 levels, and shelf styling became its own sub-genre of the hobby, with dedicated subreddits and Instagram accounts focused purely on display setups rather than the builds themselves. Hannah discovered this community rabbit hole in late 2021, about three months after finishing her first Victorian dollhouse kit, and describes it as “finding out there are thousands of people who understand exactly why you spent four hours painting a 1:12 scale parquet floor.”
The book nook hobby as a commercial kit phenomenon took off around 2018-2019, largely driven by Japanese and Taiwanese miniature kit manufacturers entering Western markets. By 2022, searches for “book nook” on Etsy and Pinterest had grown over 400% compared to 2019 levels, and shelf styling became its own sub-genre of the hobby, with dedicated subreddits and Instagram accounts focused purely on display setups rather than the builds themselves. Hannah discovered this community rabbit hole in late 2021, about three months after finishing her first Victorian dollhouse kit, and describes it as “finding out there are thousands of people who understand exactly why you spent four hours painting a 1:12 scale parquet floor.”
Painting the inside of a niche is one of the highest-impact low-cost moves available. A deep charcoal or forest green on the back and side walls of the niche turns even a modest nook into something that looks professionally staged. The color contrast pulls the nook’s details forward visually. Use the same flat or satin craft acrylic recommended for the BILLY back panel: two coats, 24 hours curing time, and you are done.
Cube Shelves and Modular Grid Systems
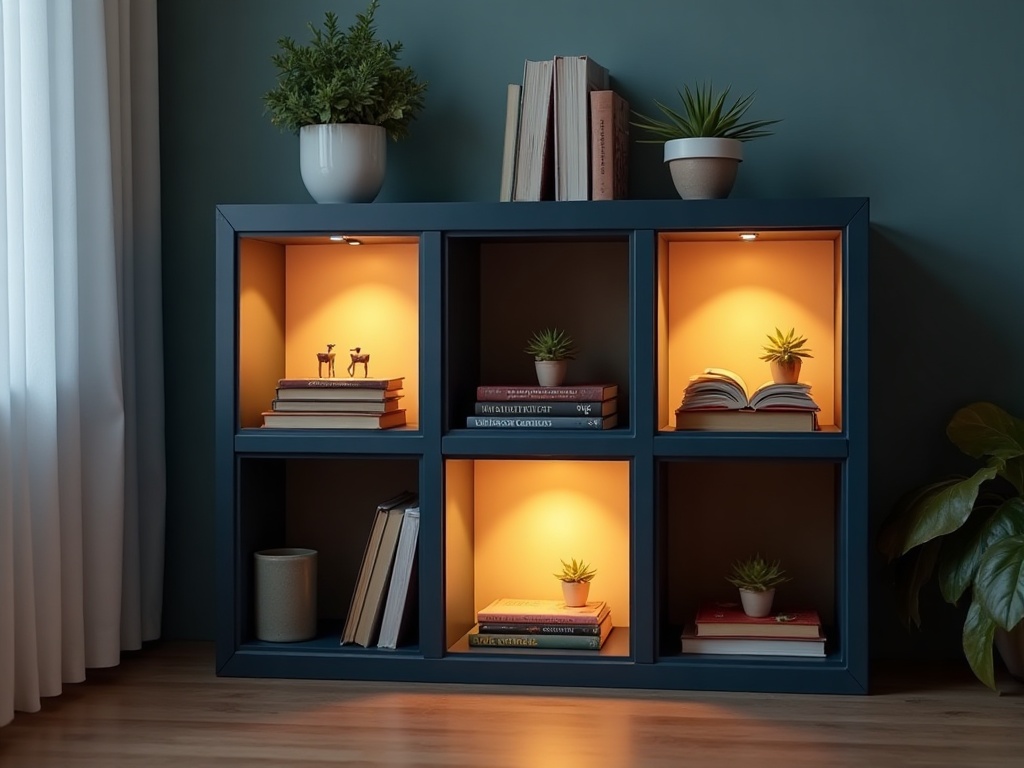
Cube shelves (**IKEA KALLAX**, or similar 12-by-12-inch grid units) are an underrated option for nook display. Each cube is roughly 13 inches wide, 13 inches tall, and 15 inches deep, giving more depth than most flat shelves. A nook positioned inside a single cube cell has walls on three sides, which naturally frames the scene and blocks peripheral room clutter from competing visually.
The KALLAX works especially well for builders who own multiple kits. You can dedicate one cell to each nook, building a rotating seasonal display. Swap in a Halloween graveyard scene in October, a cozy Christmas bookshop in December, and a spring garden cottage the rest of the year. The grid structure keeps everything organized while making the collection look cohesive.
Painting and finishing KALLAX cube interiors
Painting the inside of a KALLAX cell follows the same process as the BILLY back panel, but with a bit more surface area to cover. The interior walls of a KALLAX cell are melamine-coated particleboard, which means you need a light sanding with 220-grit paper before paint will stick. A coat of shellac-based primer first (spray cans work well in the tight space) takes about 45 minutes to dry, then two coats of flat black or deep charcoal acrylic go on over the top. Total curing time before you place your nook: 24 hours. It is a meditative afternoon project in itself: the repetitive sanding, the clean smell of fresh primer, watching the beige interior disappear under dark paint. Many builders report that the prep and painting is half the pleasure before the nook even goes in.

Perfect for KALLAX display
Miniature Greenhouse Kits
22 LED-lit greenhouse builds
Greenhouse kits run 10-13 inches deep, making the 15-inch KALLAX cell one of the few shelf types that accommodates them without any overhang. The three-sided cell framing also shows off the glass-panel facade beautifully.
A few practical adjustments for cube shelf displays:
- Paint or line the interior back wall of the cell in black or dark navy before placing the nook. See the painting steps in the section above.
- Use a small rechargeable LED puck (many run 20+ hours on a charge) inside the cube to supplement the nook’s built-in lights.
- Leave the adjacent cells deliberately sparse: one book stack, one small plant. Let the nook breathe.
If you are just starting out and want to see what the building experience actually feels like before committing to a complex display setup, browse the full collection of book nook kits and filter by difficulty level. You can also explore miniature house kits if you want a standalone piece that works beautifully on any shelf type. Beginner kits are a great first build to test on any shelf configuration without anxiety about a high-investment piece.
Lighting as the Secret Layer in Any Shelf Setup
No shelf idea works without thinking about light. This is the part most display guides skip. Book nooks contain miniature LEDs, but those LEDs are calibrated to work in a relatively dim environment. Put a nook on a brightly lit shelf under harsh overhead lighting and the scene looks flat, even cheap. The LEDs get overwhelmed.
The fix is not complicated. You have two options:
- Reduce ambient light around the display: position the shelf away from direct window light, or use a warm (2700K) ambient bulb in the room rather than a cool white (5000K+) one. Warm ambient light lets the nook’s glow read as intentional and atmospheric.
- Add a complementary directional light source: a small LED spotlight or picture-light mounted above the shelf, aimed at the nook’s facade, creates a theatrical effect. The front face gets lit by the external source; the interior glows from the built-in LEDs. The contrast between the two creates genuine depth.
Many builders in our community have shared that adding a simple $12 picture light transformed a display they were previously disappointed with. The nook had not changed, only the light around it. That is how significant this variable is.
There is also something quietly satisfying about sitting in a dimmed room with a finished nook glowing on the shelf beside you. The tiny LEDs cast the same quality of light as a bedside lamp. Several people in our community have told us they keep a completed nook on the desk where they work, and that glancing up at it mid-afternoon feels like a small reset: a reminder that something patient and careful can be made by hand. That is the meditative dimension of this hobby that no shelf guide usually bothers to mention, and it is real.
For builders who want to push their architectural book nook kits further with custom lighting mods, the same LED strip you use on shelves can be carefully routed through interior walls during assembly. Plan for it before you glue the walls shut. You can also explore related projects like miniature greenhouse kits, which often include multi-zone LED wiring that can be extended to the shelf itself.
Frequently Asked Questions about Shelf Ideas for Book Nook Display
Everything you might be wondering (click a question to expand).
What shelf depth do I need for a standard book nook kit?
Most book nook kits run between 6 and 10 inches deep. A shelf with 10 to 12 inches of usable depth accommodates the vast majority of kits without any modification. If your shelf is only 8 inches deep, check your specific kit’s dimensions before purchasing to avoid an overhang situation. The comparison table near the top of this article maps common shelf types to kit depths at a glance.
Can I display a book nook on a floating shelf safely?
Yes, as long as the shelf is properly anchored. A fully assembled book nook kit typically weighs 3 to 6 pounds. Use wall-stud anchors or toggle bolts rated for at least 15 pounds, and choose a floating shelf with a front lip to prevent forward sliding. A 36-inch or wider shelf gives the nook room to breathe visually and supports the “sidebar” positioning described in the floating shelves section above.
Does the IKEA KALLAX work well for book nook display?
KALLAX is one of the best options for multi-nook collections. Each cell (approximately 13 x 13 x 15 inches) frames the nook on three sides, blocks surrounding visual clutter, and provides enough depth for most kits, including deeper greenhouse-style builds. Sand the melamine interior lightly, apply a shellac primer, then two coats of flat black or charcoal acrylic paint. Allow 24 hours to cure before placing your nook. The difference in LED glow quality before and after painting is immediately obvious.
How do I make my book nook LEDs look better on a bright shelf?
Reduce the ambient light competing with your nook. Warm-toned room bulbs (2700K) are less overpowering than cool white bulbs (5000K+). You can also add a small directional spotlight above the shelf to light the nook’s exterior facade, creating contrast with the interior LED glow. Aim it slightly downward so the beam grazes the front face before spilling inside. This two-layer lighting approach is what makes nooks look truly stunning in photos and in person.
Are there beginner-friendly kits that work on any shelf type?
Absolutely. Slim cottage or shopfront kits with a footprint under 7 inches deep fit on almost any shelf, including narrow floating ledges. They are also faster builds, usually 6 to 10 hours of assembly, which makes them a satisfying first project with a clear finish line. Check the book nook kits collection and look for kits labeled beginner or intermediate difficulty. The miniature house kits range also includes several compact options that sit beautifully on any shelf without requiring a dedicated slot.
How do I stop my book nook from sliding forward on a floating shelf?
Three easy fixes: choose a shelf with a built-in front lip (even a 0.5-inch lip is enough), add a strip of non-slip mat or museum putty under the nook’s base, or run a thin wooden dowel across the front edge of the shelf secured with two small L-brackets. The dowel approach has the added benefit of looking deliberate, almost like a display rail, and it takes about ten minutes to install.
Building a Display That Grows With Your Collection
The shelving choice you make now does not have to be permanent. Most committed book nook builders end up with three to seven finished kits within their first two years of the hobby. That is not a sales pitch, it is what the community consistently reports. The building process is genuinely meditative: you are cutting tiny timbers, fitting wallpaper the width of your thumbnail, bending copper wire into lamp brackets. Your hands are busy and your mind goes quiet. Once you finish one scene, the next idea is already forming.
Design your first display with expansion in mind. A BILLY with adjustable shelves can be reconfigured season by season. A KALLAX grid can absorb new cells as your collection grows. Floating shelves can be added at staggered heights over time without committing to a single large unit up front.
The goal is a display that stops guests mid-sentence. A shelf arrangement where someone looks up from their phone, squints at the wall, and says “wait, is that a tiny bookshop?” That moment is what thoughtful shelf ideas for book nook display actually deliver. Not just storage, but a small permanent invitation to look closer at something handmade with real care.
Start with one shelf, one nook, one good light source. The rest follows naturally. ✨
