🎁 Buy 2 kits, get the 3rd FREE · Free shipping on every order

Best Primer for Miniature Kits: How to Pick, Prep, and Apply It Right
A practical, builder-focused guide to choosing and applying the best primer for miniature kits. Covers wood, MDF, plastic, and resin surfaces, with application technique, common mistakes, and a full FAQ.

Best primer for miniature kits is one of those searches that seems simple until you’re standing in a craft store staring at six different cans and bottles. Which one won’t melt your resin? Which one works on balsa wood without raising the grain? And does it actually matter if you skip it? Spoiler: it matters more than almost any other step in a miniature build.
This guide cuts through the noise. Whether you’re working on your first wooden dollhouse kit or you’ve built a dozen and still feel uncertain about primers, you’ll walk away with a concrete framework for choosing and applying the right product every time.
Why Priming Is the Step You Can’t Skip
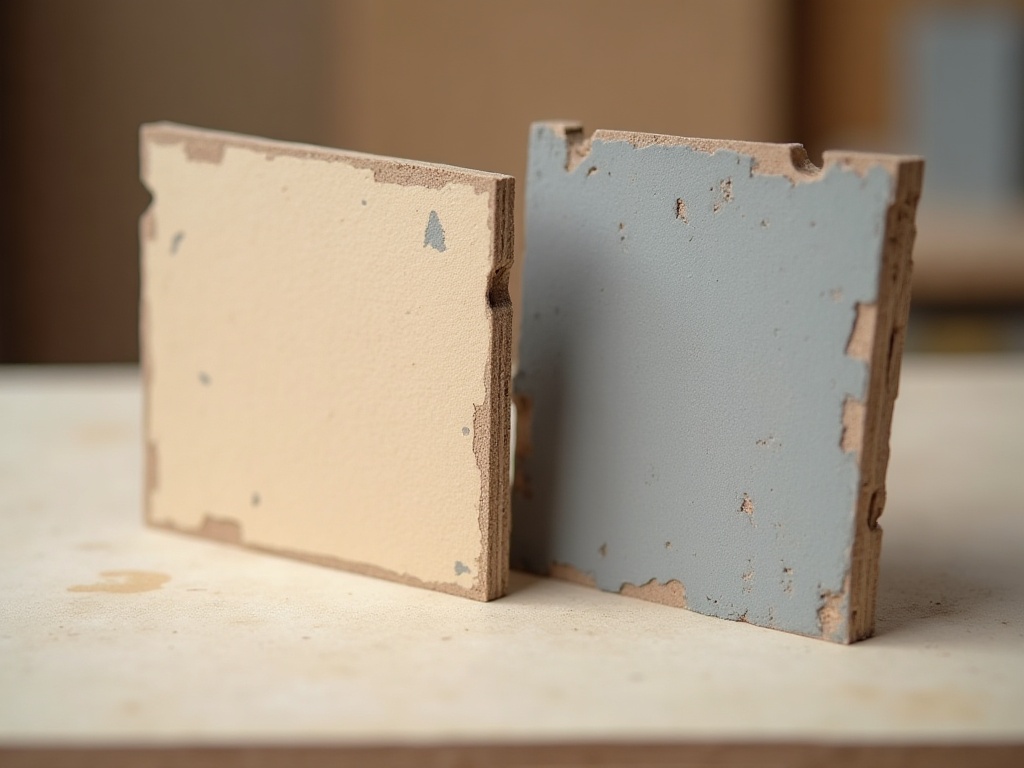
Priming is essential because raw wood, MDF, and plastic all resist paint in different ways; a single coat of the right primer fixes adhesion, evens out absorption, seals moisture-prone fibers, and sets your topcoat up to look its best. Paint adhesion on raw wood, MDF, or plastic is surprisingly poor. The surface is either too porous (wood soaks up pigment unevenly, leaving patchy color) or too smooth (plastic and resin repel water-based acrylics). Primer solves both problems at once.
A good primer creates a uniform, slightly textured foundation. Paint grips it consistently, colors read truer, and you use less of your good craft acrylics because you’re not chasing coverage across a thirsty raw surface.
There’s a second reason that gets overlooked: sealing. Raw MDF and balsa are hygroscopic. They absorb humidity from the air and swell. One coat of primer locks the fibers and dramatically slows that process. For collectors or anyone in a humid climate, this alone justifies the five-minute step.
I learned this the hard way on my first Victorian dollhouse kit back in 2021. I was so excited to get color onto those little walls that I skipped the primer entirely. Two weeks later, one of the MDF wall panels had developed a gentle bow, and the paint along the edges had started to lift. It took an afternoon of remediation that would have been completely unnecessary with five minutes of prep work. That experience is why every kit I test now gets primed without exception, and why I talk about it so often.
- Even color base coat across wood, MDF, and laser-cut ply
- Improved adhesion for acrylics, oils, and chalk-style paints
- Grain and fiber sealing that reduces warping risk
- Better final finish with fewer topcoat layers needed
The Four Main Types of Primer for Miniature Building
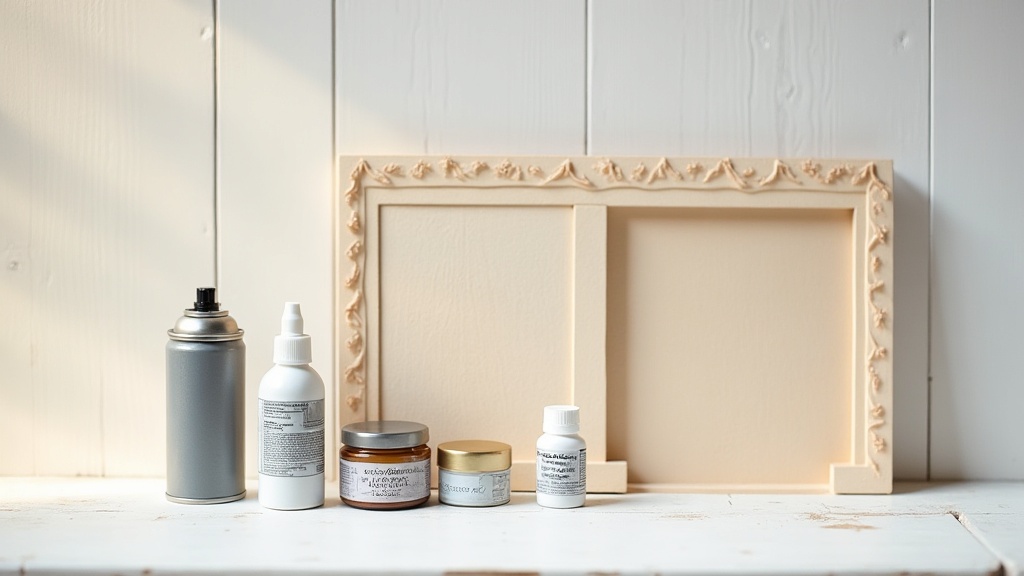
The four main types are aerosol spray primers, brush-on liquid primers, gesso, and shellac-based sealers; each suits a different substrate and workflow, and knowing which one matches your kit saves you from chasing coverage or damaging delicate parts. Not all primers perform the same way. The substrate you’re working with, the paint you plan to use, and your comfort level with different application methods all factor in. Here are the four types you’ll actually encounter in the miniature hobby.

Bestseller cottage kit
Tranquil Life DIY Miniature House Kit
$67.90
Primarily laser-cut MDF, this is exactly the kind of kit where a flat gray spray primer makes a visible difference. Prime the wall panels individually before assembly and the interior paint goes on in one smooth coat.
Spray Primers (Aerosol Cans)
Aerosol primers are fast, even, and forgiving for beginners. A light sweeping motion 10-12 inches from the surface lays down a consistent film without brush marks. They’re excellent for fully assembled small structures and for covering awkward laser-cut edges.
The two common formulations are acrylic-based spray primer and lacquer-based. For miniature kits, stick to acrylic. Lacquer-based sprays can craze (crack) resin and thin plastic parts, which is a painful lesson to learn on a finished piece.
Popular options in 2026 include Rust-Oleum 2X Flat Gray, Krylon ColorMaxx Flat White, and Vallejo Surface Primer in aerosol form. All three are widely available in the US and sit in the $6-$14 range per can.
Brush-On Liquid Primers
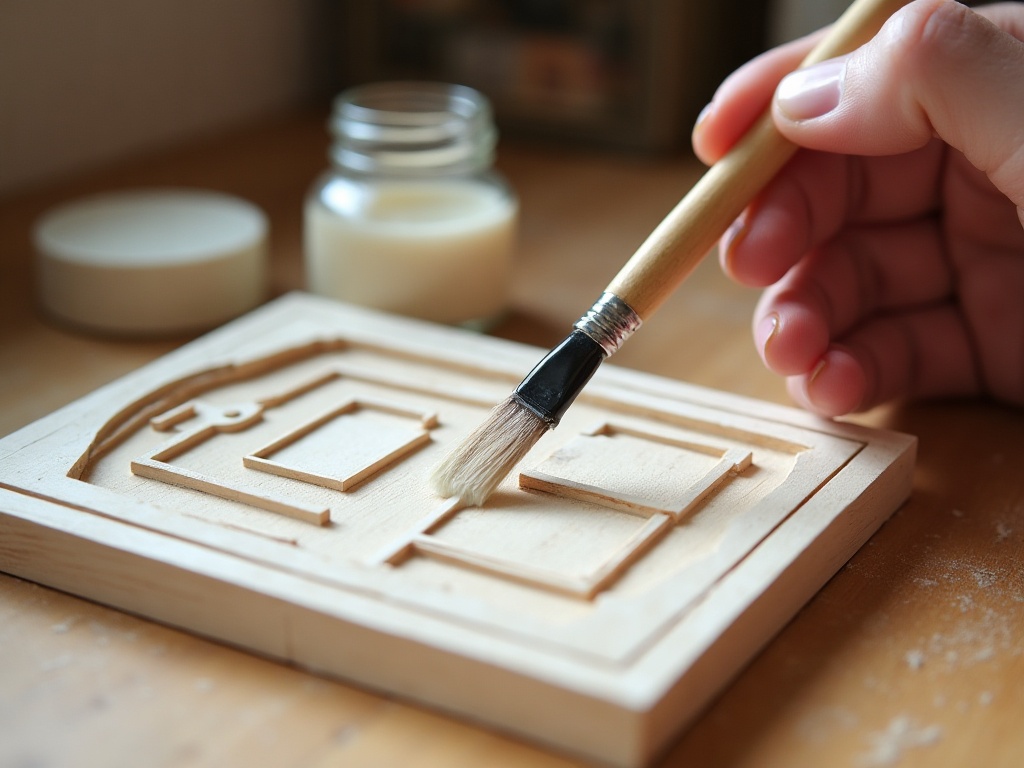
Brush-on primers give you precision. You control exactly where the product goes, which is valuable when you have delicate printed details, pre-stained wood sections, or mixed-media elements you don’t want to coat. They’re also better for indoor work since there are no fumes to manage.
Vallejo Surface Primer (brush-on version) and Citadel‘s Chaos Black or Wraithbone are hobby-community staples. For a budget-friendly US option, Liquitex Neutral Gray Gesso works well and is available at most art supply stores.
✨ Hannah’s tip: brush-on for interiors
When I’m working on a kit with a detailed interior, I always reach for a brush-on primer rather than a spray. I can get right into window reveals, under staircase stringers, and along ceiling edges without fogging the surrounding area. A flat shader brush loaded lightly with thinned Vallejo Surface Primer gives me coverage that an aerosol simply cannot reach.
When I’m working on a kit with a detailed interior, I always reach for a brush-on primer rather than a spray. I can get right into window reveals, under staircase stringers, and along ceiling edges without fogging the surrounding area. A flat shader brush loaded lightly with thinned Vallejo Surface Primer gives me coverage that an aerosol simply cannot reach.
Gesso
Gesso is technically an artist’s ground, not a purpose-built miniature primer, but it deserves its own mention. White gesso is a traditional choice for painters working on wooden panels, so it bonds beautifully to the wood and MDF that most miniature kits use.

Explore the collection
All Book Nook Kits
76 handcrafted book nook kits
Book nook kits combine laser-cut wood with tiny resin accessories. Brush-on gesso is ideal for the wooden frame sections, while a dedicated plastic-safe primer handles the resin details. Two products, zero regrets.
It’s thicker than specialty primers, which means you need to thin it slightly (10-15% water) and apply thin coats to avoid filling fine laser-cut details. The upside: it’s inexpensive, widely available, and produces a beautiful bright white base that makes painted colors pop.
Shellac-Based Sealers
Shellac (Zinsser B-I-N is the household brand) is worth knowing about for one specific situation: knot-heavy or resin-rich wood that bleeds tannins through regular primer. You won’t hit this often in miniature kits, but if you’re working with a kit that uses pine or raw cedar elements, a shellac seal coat before your acrylic primer prevents yellowing. Apply it thin, let it cure for an hour, then prime normally on top.
Builder note: why gesso still works beautifully
The principle behind gesso, sealing a porous surface and creating tooth for paint to grip, is the same principle behind every modern hobby primer. That’s why gesso thinned to a skim-milk consistency still produces lovely results on MDF and ply. You’re not doing anything exotic; you’re using the same foundational logic that artists have relied on for centuries, just scaled down to a 1:12 world.
The principle behind gesso, sealing a porous surface and creating tooth for paint to grip, is the same principle behind every modern hobby primer. That’s why gesso thinned to a skim-milk consistency still produces lovely results on MDF and ply. You’re not doing anything exotic; you’re using the same foundational logic that artists have relied on for centuries, just scaled down to a 1:12 world.
How to Choose the Right Primer for Your Specific Kit
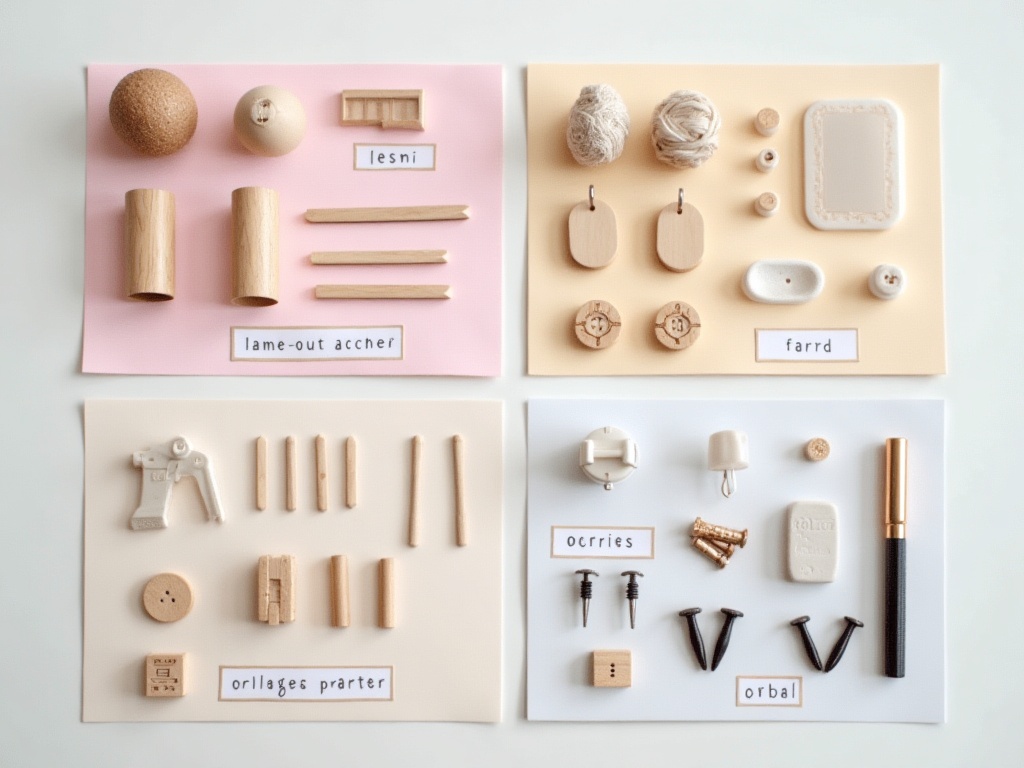
Match your primer to the material: flat gray or white acrylic spray for wood and MDF kits, a plastic-compatible formula for resin accessories, and a spot-applied brush-on product for mixed-media builds with paper or clear acrylic panels. The quickest way to pick wrong is to grab whatever’s closest. Here’s a simple decision path based on what your kit is made of and how you plan to paint it.
Wood and MDF Kits (Most Dollhouse and Room Box Kits)
Go with a flat gray or white acrylic spray primer as your default. Gray reads shadows better and helps you judge coverage. White is better if you plan to paint in very light or pastel colors and don’t want a warm undertone from the wood bleeding through. Two thin coats beat one thick coat every time.
If you’re brush-painting small individual pieces before assembly (a great practice for interior walls), brush-on gesso or Vallejo Surface Primer lets you work part by part with zero overspray. This is my preferred approach for detailed dollhouse kits where the interior needs to look finished before the roof goes on.
Plastic and Resin Accessories

Easy starter under $50
Sun Room DIY Miniature House Kit
$49.99
This kit includes both wooden panels and small resin furniture pieces. Wash the resin parts in warm soapy water first, let them dry, then prime separately with a plastic-compatible formula before painting. The wood panels take a standard flat spray with no issues.
Miniature primer for plastic and resin parts often carries a plasticizer in the formula that flexes with the material rather than chipping off. Vallejo Surface Primer, Tamiya Fine Surface Primer, and Army Painter‘s Colour Primer all list plastic compatibility on the label. Check before you spray.
One extra step that dramatically improves adhesion on resin: wash the piece in warm soapy water, rinse, and let it dry completely before priming. Resin kits often have a release agent residue from the casting process. Primer won’t stick to that film. A simple wash removes it.
Mixed-Media Kits
Some kits combine laser-cut wood with metal hardware, acrylic window panels, and printed paper elements. For these, spot-prime the wood and metal with a brush-on product, mask off the paper and clear acrylic, and skip priming glass-like surfaces entirely (primer on clear acrylic obscures it).
✨ Hannah’s tip: the dry-fit rule
Before priming any kit, do a quick dry-fit of all the major pieces. Primer adds a tiny layer of thickness and can make tight-tolerance joints even tighter. If you prime first and then assemble, you avoid scraping primer off joint surfaces or fighting a slightly-too-snug fit. It sounds like a small thing. After you’ve done it once, you’ll never prime a fully assembled kit again.
Before priming any kit, do a quick dry-fit of all the major pieces. Primer adds a tiny layer of thickness and can make tight-tolerance joints even tighter. If you prime first and then assemble, you avoid scraping primer off joint surfaces or fighting a slightly-too-snug fit. It sounds like a small thing. After you’ve done it once, you’ll never prime a fully assembled kit again.
Application Technique: Getting a Smooth, Even Coat
The key to a smooth primer coat is always two thin passes rather than one heavy one, a light sand between coats on wood, and giving acrylic primer at least two hours to cure before you start painting. Even the best primer for miniature kits gives a rough finish if applied carelessly. These four habits separate a professional-looking base from a gloppy mess.
- Two thin coats, not one thick one. A thick coat drags into corners, obscures detail, and takes much longer to dry properly. Thin coats dry in 20-30 minutes and layer cleanly.
- Sand lightly between coats on wood. A quick pass with 320-grit sandpaper after the first coat knocks down any raised grain. Wipe off the dust, then apply the second coat. The result is noticeably smoother.
- Temperature and humidity matter. Most acrylic primers apply best between 60-80°F (15-27°C) with humidity below 70%. Cold slows drying and affects leveling. High humidity can cause a chalky surface, especially with spray primers.
- Let it cure, not just dry. Touch-dry in 20 minutes is not the same as cured. Wait at least two hours before painting over acrylic primer, and ideally overnight before handling pieces roughly during assembly.
Priming is one of the most quietly meditative parts of the build. The repetitive, deliberate motion of a brush coat, or the steady sweep of a spray can, creates a kind of focused calm before the more involved painting stages begin. You’re not making decisions yet; you’re just preparing, and there’s something genuinely satisfying about watching a raw MDF surface transform into a smooth, paint-ready blank. It’s a proper pause in the build, and one worth savoring rather than rushing through.
✨ Hannah’s tip: make it a ritual
I set up a small priming station on a piece of cardboard at one end of my worktable. Everything that needs primer goes there first, gets coated, and air-dries while I prep the next batch. Working this way means I’m never waiting on primer when I want to paint. It takes about ten minutes to get the system going and then it just runs itself. Small habits like this turn a chore into something you actually look forward to.
I set up a small priming station on a piece of cardboard at one end of my worktable. Everything that needs primer goes there first, gets coated, and air-dries while I prep the next batch. Working this way means I’m never waiting on primer when I want to paint. It takes about ten minutes to get the system going and then it just runs itself. Small habits like this turn a chore into something you actually look forward to.
If you’re looking for quality tools to make this step easier, the miniature accessories collection includes brushes, applicators, and prep tools chosen specifically for small-scale work.
Common Primer Mistakes and How to Avoid Them

Rare in the niche
Miniature Greenhouse Kits
22 LED-lit greenhouse builds
Greenhouse kits feature a mix of fine laser-cut frames and clear acrylic “glass” panels. Prime the wooden frame pieces with a brush-on formula and leave the clear panels unprimed. Mask the joints where wood meets acrylic before you prime for the cleanest result.
The most damaging mistakes are using the wrong primer color for your palette, applying one heavy coat instead of two thin ones, and skipping the back face of flat panels, which causes warping that no amount of clamping fully fixes. Even experienced builders fall into these traps. Knowing them upfront saves a frustrating rework session.
Using the Wrong Color Base
Dark gray primer under a light pastel color means you’ll need four or five topcoats to reach opacity. Match the primer color roughly to your planned palette: white or light gray under pastels and warm tones, medium gray under naturals and earth tones, black primer only if you’re doing dark or highly shaded finishes with washes.
Skipping Primer on “Pre-Painted” or Pre-Finished Pieces
Some kits come with a light factory finish or color. That coat is rarely durable or fully adhered. If you plan to paint over it, a light scuff with fine sandpaper and a thin coat of primer gives your new paint something to grip. Without it, your new color will scratch off along stress lines within weeks.
Applying Primer in a Single Heavy Pass
This creates runs, obscures laser-etched details, and dries with a texture like orange peel. Three light dusting passes from a spray can, allowing 5 minutes between each, outperform one heavy coat every time.
Not Priming the Back of Flat Pieces
Wall panels and floor pieces that are only primed on one side can bow as moisture hits the unprimed face unevenly. Prime both sides, even if the back will never be seen. It takes 30 extra seconds and prevents warping that no amount of weighting or clamping fully corrects. I ignored this advice once on a floor panel for a room box kit, and the resulting bow was visible for the life of the build. Lesson thoroughly learned.
Frequently Asked Questions about Primer for Miniature Kits
Everything you might be wondering (click a question to expand).
Can I use regular house paint primer on a miniature kit?
You can, but it’s usually too thick for small-scale work. Standard wall primers are formulated for porous drywall and apply at a much heavier film weight than miniature surfaces need. If it’s all you have, thin it significantly (30-40% water for latex primers) and apply very light coats. A purpose-built hobby or craft primer is a better investment at $6-$10 per bottle.
Is white or gray primer better for miniature builds?
It depends on your paint plan. White primer gives brighter, more saturated colors and is the right call for pastels, whites, and light creams. Gray primer reads shadows more naturally under the primer coat itself, making it easier to check coverage, and it works better as a neutral base under darker or mid-tone palettes. Most hobbyists keep one of each on hand.
How many coats of primer does a miniature kit need?
Two thin coats is the standard. The first seals the surface and shows you where coverage is uneven. The second fills those gaps and creates the consistent tooth you want before painting. A third coat is occasionally needed on very porous materials like raw balsa, but more than three coats on fine laser-cut pieces risks obscuring detail.
Do I need to sand between primer coats on a miniature kit?
On wood and MDF: yes, a light pass with 320-grit or finer sandpaper after the first coat is worth it. It removes grain whiskers raised by the moisture in the primer and gives the second coat a cleaner surface. On plastic and resin, skip the sanding between coats since scratching the surface isn’t necessary and risks removing too much primer from thin areas.
Can I paint directly over primer the same day?
If the primer is touch-dry (20-30 minutes for most acrylics), you can technically apply paint. Waiting 2 hours gives better results because the primer has had time to fully harden and outgas. If you’re applying oil-based paint over acrylic primer, wait a full 24 hours to be safe and avoid adhesion problems down the line.
What is the best primer for miniature kits that include both wood and resin pieces?
Use two separate products and treat each material on its own terms. For the wooden and MDF components, a flat gray acrylic spray primer (Rust-Oleum 2X or Krylon ColorMaxx) applied in two light coats works perfectly. For the resin pieces, wash them in warm soapy water first to remove casting release agent, let them dry fully, then apply a plastic-compatible formula like Vallejo Surface Primer or Tamiya Fine Surface Primer by brush. Combining both approaches in one build takes only a few extra minutes and produces a noticeably more durable finish on every surface.
Building the Habit of a Good Primer Coat
Building a priming habit is straightforward: five minutes of prep at the start of every build prevents patchy color, peeling topcoats, and warped panels, and a simple flat gray acrylic spray is all most wood and MDF kits need. Priming feels like a detour when you’re eager to get to the fun painting stages. But every builder who’s skipped it and come back to fix patchy color, peeling topcoats, or warped wall panels will tell you the same thing: five minutes of priming at the start saves an hour of remediation later.
The right primer for hobby miniature kits doesn’t have to be expensive or complicated. An acrylic flat gray spray for wood kits, a brush-on formula for plastic and resin accessories, and a light sanding habit between coats will take you further than any premium topcoat applied over a raw surface ever could.
Explore the full range of craft accessories for miniature builders to find brushes, prep tools, and finishing supplies that make every stage of the build more satisfying and precise. And if you’re still choosing your next kit, the best-sellers collection is a good place to start; every kit there has been tested at my own workbench, primers and all.
