🎁 Buy 2 kits, get the 3rd FREE · Free shipping on every order


Best Sealer for a Finished Book Nook: Matte vs Gloss, Water-Based vs Solvent
Not sure which sealer to use on your finished book nook? This guide breaks down matte vs gloss finishes and water-based vs solvent-based sealers, with specific product picks and a scenario table to help you protect your miniature build the right way.

You spent hours painting tiny bricks, dry-brushing mossy cobblestones, and gluing miniature lanterns into place. The last thing you want is to watch that work chip, yellow, or cloud over inside a dusty bookshelf. Picking the best sealer for a finished book nook is the one step most builders skip, and it is absolutely the step that determines whether your diorama looks crisp two years from now or sad and faded.
This guide cuts through the noise. Below you will find a straight comparison of matte vs gloss finishes, water-based vs solvent-based chemistry, and the specific scenarios where each choice wins. No fluff, just the information you need before you pop a can or uncap a brush.
Why Sealing a Book Nook Matters More Than You Think

Sealing a finished book nook protects thin acrylic layers from dust and humidity, locks loose scatter materials so they stop shedding, and unifies every texture into one coherent scene, all from a single well-chosen topcoat. A finished book nook sits in a uniquely hostile micro-environment. Books generate paper dust. Shelves trap humidity that cycles with the seasons. Fingers brush the facade every time someone pulls out a novel. Paint on miniature surfaces is thin, acrylic layers on foam are fragile, and PVA-glued scatter materials can lift the moment moisture creeps in.
A good topcoat does three things at once:
- Locks loose materials (static grass, sand, fine gravel) so they stop shedding onto your shelves.
- Protects painted surfaces from UV yellowing and finger oils.
- Unifies the visual texture so different materials read as one coherent scene rather than a patchwork of separate finishes.
Miniature painters have relied on protective varnishes for decades, and book nook builders can borrow that knowledge directly. The variables that matter most are the finish sheen and the solvent carrier. If you are still choosing your base kit before thinking about finishing, the book nook kits collection includes options at every skill level, each with a difficulty rating so you know exactly what you are signing up for.
A bit of history worth knowing
The earliest protective varnishes used in scale modeling trace back to the ship-modeling traditions of the 1700s, when naval craftsmen coated wooden hull models with damar resin dissolved in turpentine to prevent the wood from splitting. Modern acrylic sealers did not reach hobbyist shelves until the late 1970s, but the underlying goal, locking in fine detail while repelling moisture, has not changed at all.
The earliest protective varnishes used in scale modeling trace back to the ship-modeling traditions of the 1700s, when naval craftsmen coated wooden hull models with damar resin dissolved in turpentine to prevent the wood from splitting. Modern acrylic sealers did not reach hobbyist shelves until the late 1970s, but the underlying goal, locking in fine detail while repelling moisture, has not changed at all.
Matte vs Gloss: Choosing the Right Sheen for Your Scene
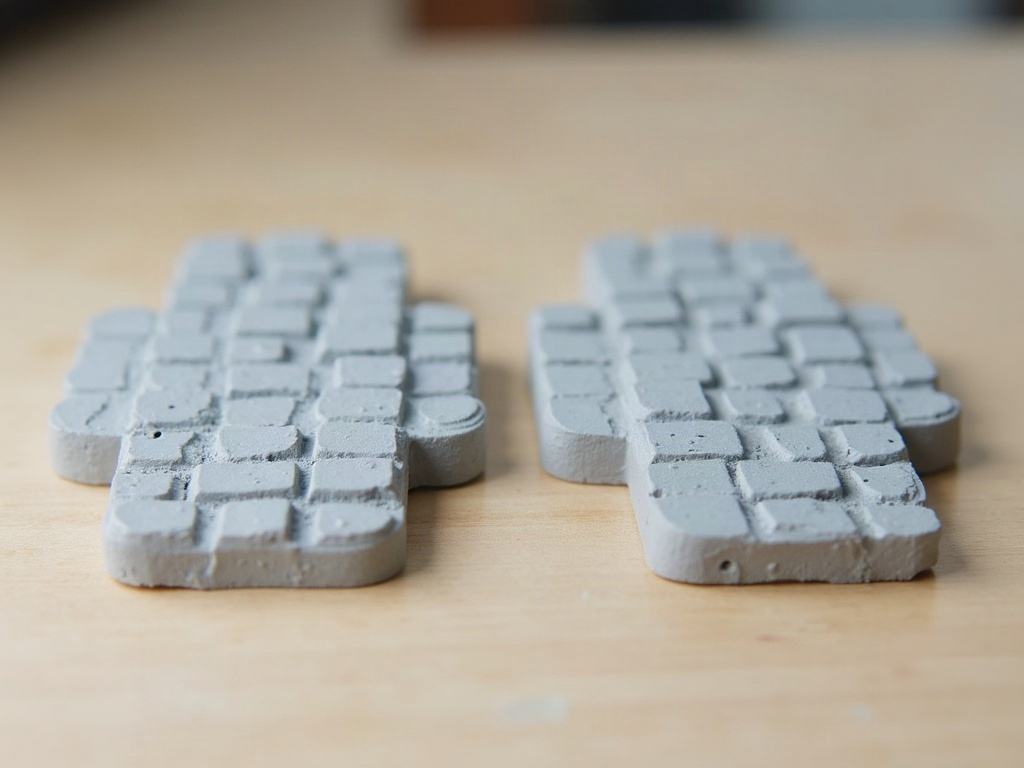
For most book nook scenes, matte is the right default finish: it kills reflections, makes painted textures read as genuinely organic, and keeps the viewer inside the illusion, use gloss or satin only on specific elements that should look wet or reflective. Sheen is probably the first decision you need to make, because it has the biggest visual impact on the finished piece. To make this concrete, here is a quick-reference comparison across all three finish types:
| Finish | Best for | Watch out for | Typical products |
|---|---|---|---|
| Matte | Stone, aged wood, earth, foliage, dungeon walls, any organic surface | Frosting in high humidity; can slightly mute very bright paint colours | Vallejo Matte Varnish, Testor’s DullCote, Liquitex Matte Medium |
| Satin | Leather, polished wood, ceramic decoratives, warm cottage interiors | Can look slightly plastic on rough textures if over-applied | Vallejo Satin Varnish, Mod Podge Satin, AK Interactive Satin |
| Gloss | Water surfaces, glass panes, potion bottles, polished metal, wet cobblestones | Applied overall it instantly breaks realism; use selectively as a spot coat only | Vallejo Gloss Varnish, Mod Podge Gloss, Krylon Crystal Clear |
When Matte Wins
Most book nook scenes aim for a lived-in, realistic look: worn stone, aged wood, damp alleyways, dusty bookshop interiors. Matte sealers kill reflections and let painted texture read at its best. Under the warm glow of a shelf LED, a matte-coated cobblestone floor looks genuinely like stone. The same floor under a gloss coat looks like a polished resin cast, which pulls the viewer out of the illusion instantly.
For anything textured, anything meant to look organic or aged, matte is almost always the right call. Brands like Vallejo Matte Varnish (available in brush-on and rattle-can formats) and Testor’s DullCote aerosol are workhorses in the miniature community for exactly this reason. Testor’s DullCote in particular is well-known for achieving a dead-flat finish without fogging detail, though it is solvent-based (more on that below).
When Gloss or Satin Earns Its Place
Gloss is not the villain. Wet surfaces, glass panes, polished metal fixtures, and potion bottles all benefit from a targeted gloss coat. The key is selective application: seal the base scene in matte first, then hand-brush a gloss medium only onto the specific elements that should look reflective.
Satin (sometimes called semi-matte or semi-gloss) sits in between and works well for leather-bound book spines, slightly worn wooden floors, and ceramic-looking decorative items. If your scene leans toward a fantasy tavern or a warm cottage interior rather than a gritty alley, satin can give the whole piece a slightly richer, more polished feel without going full mirror-shine.
Layering tip: matte last, always
When combining finishes (gloss on water, satin on wood, matte on stone), always apply the gloss and satin spot coats first, then do a final light matte pass over the areas that should stay flat. This sequence prevents the overall matte coat from dulling your carefully chosen shiny surfaces. It takes a little planning, but the result is a scene where every element reads exactly as intended.
When combining finishes (gloss on water, satin on wood, matte on stone), always apply the gloss and satin spot coats first, then do a final light matte pass over the areas that should stay flat. This sequence prevents the overall matte coat from dulling your carefully chosen shiny surfaces. It takes a little planning, but the result is a scene where every element reads exactly as intended.
Looking for a kit that gives you plenty of surface variety to practise these finishing techniques? The Tranquil Life DIY Miniature House Kit includes stone walls, wooden floors, and small glass-pane windows, making it a great canvas for testing all three sheen types on one build.

Water-Based vs Solvent-Based Sealers: The Chemistry Breakdown
Water-based acrylic sealers are the safe default for most book nook builds: low odor, foam-safe, and quick-drying, while solvent-based products deliver a harder, flatter film but will melt unprotected foam on contact. This is where builders often get confused, and the confusion can be expensive if you apply the wrong product over foam or over certain paints.
Water-Based Acrylic Sealers
Water-based acrylic sealers are the safe default for most book nook builds. They are low odor, non-toxic once dry, compatible with foam (XPS, polystyrene, foam board), and they dry quickly, usually within 15 to 30 minutes. Brands worth knowing:
- Mod Podge Matte – great for locking down scatter materials and paper elements, though it can raise the sheen slightly on very thin coats.
- Vallejo Matte/Gloss Varnish – designed for miniatures, brushes or airbrushes beautifully, and stays optically clear over fine painted detail.
- Krylon UV-Resistant Clear (water-based formula) – excellent for UV protection if your shelf sits near a window.
- Liquitex Matte Medium – doubles as a medium for wet blending and as a topcoat; slightly more flexible than standard varnishes, which helps on foam builds that shift with humidity.
The one drawback of water-based sealers is that they can “milk” (turn white) if applied in high humidity or in thick coats. Always work in a dry room, and build up thin coats rather than one heavy application.
When to choose water-based every time
If your build contains any bare XPS foam, polystyrene beads, or foam board, water-based products are non-negotiable for at least the first coat. Solvent carriers will dissolve or warp these materials on contact. Water-based acrylic also wins for builds going to children or being displayed in small, poorly-ventilated rooms, since there are no harsh fumes once cured.
If your build contains any bare XPS foam, polystyrene beads, or foam board, water-based products are non-negotiable for at least the first coat. Solvent carriers will dissolve or warp these materials on contact. Water-based acrylic also wins for builds going to children or being displayed in small, poorly-ventilated rooms, since there are no harsh fumes once cured.
Solvent-Based Sealers
Solvent carriers (acetone, lacquer thinner, alcohol) produce harder, more durable films and often achieve flatter matte finishes than their water-based counterparts. Testor’s DullCote and Rust-Oleum Matte Clear are the two most-cited options in miniature forums for an ultra-flat finish.
The catch is significant for book nook builders: solvent-based aerosols will melt or warp bare polystyrene foam. If any part of your build uses unprotected foam, you need to seal it first with a water-based acrylic layer before hitting it with a solvent spray. A single coat of Mod Podge or acrylic gesso acts as a barrier coat and makes the surface safe for solvent topcoats.
Also worth noting: solvent products require good ventilation. Work outdoors or in a space with active airflow, and wear a respirator rated for organic vapors. The finish quality can be worth the extra precaution, but never cut corners on safety.
If you are building one of our pre-cut book nook kits, check the included material sheet: most of our kits use basswood and MDF rather than bare polystyrene, which means solvent aerosols are safe to use directly once the piece is painted.
Ready to put these sealing techniques to work on a beginner-friendly kit that is easy on the wallet? The Sun Room DIY Miniature House Kit is our most popular entry-level build, with clean basswood components and good surface variety for practising topcoat layering.

Hannah’s tip: always test on a scrap first
Before sealing your full build, always test your sealer on a scrap piece that uses the same materials (same paint, same foam, same scatter). I keep a small offcut from every kit build specifically for this. A 30-second test on a scrap can save you from frosting an entire scene you spent 10 hours painting. Even the same brand can behave differently between batches, so this habit is worth keeping permanently.
Before sealing your full build, always test your sealer on a scrap piece that uses the same materials (same paint, same foam, same scatter). I keep a small offcut from every kit build specifically for this. A 30-second test on a scrap can save you from frosting an entire scene you spent 10 hours painting. Even the same brand can behave differently between batches, so this habit is worth keeping permanently.
Application Methods: Brush, Rattle-Can, or Airbrush
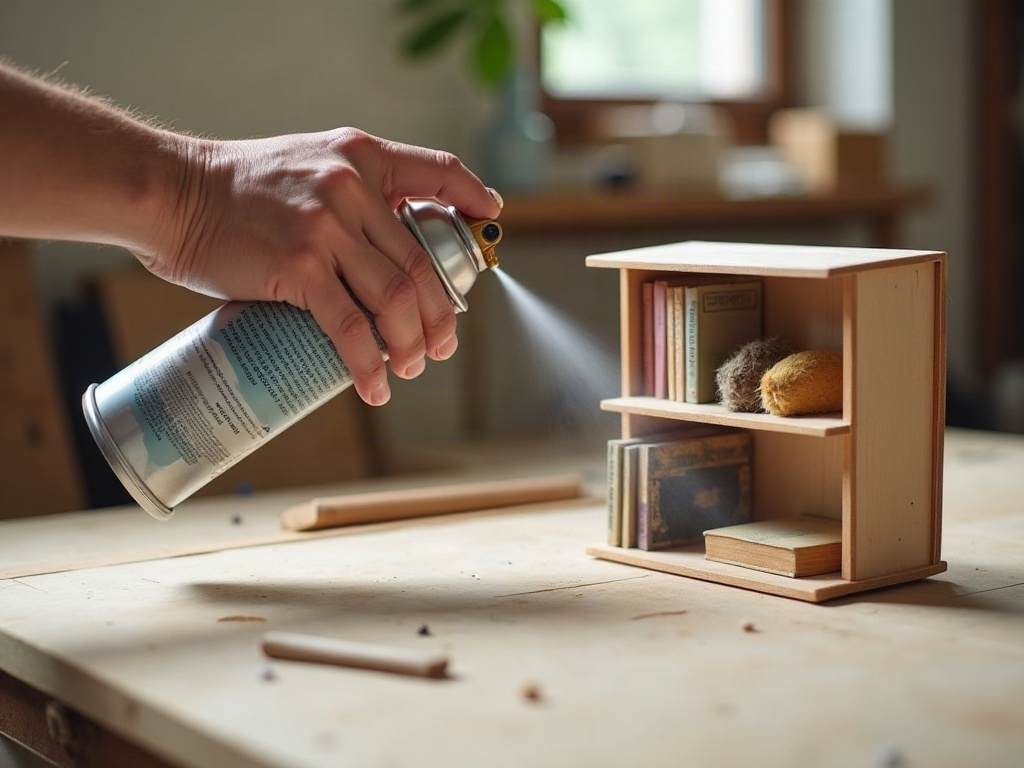
How you apply the sealer matters as much as what you apply: rattle-can aerosols suit full-scene passes, brush-on works best for spot treatments, and an airbrush gives the most consistent result across complex geometry. How you apply the sealer matters as much as what you apply. Each method has a clear use case.
Rattle-Can Aerosol
Fast, even, and great for large flat sections or full-scene sealing passes. Hold the can 10 to 12 inches from the surface, use short sweeping passes, and never let the nozzle linger. The biggest mistake beginners make is spraying too close and too slow, which dumps solvent into crevices and causes frosting or pooling. Two thin passes are always better than one heavy one.
Brush-On
Best for spot treatments: adding gloss to a specific window pane, sealing a single delicate paper element, or protecting a hand-painted sign without affecting surrounding textures. Use a wide, soft flat brush and work in one direction. Do not scrub back and forth or you will lift the paint underneath.
Brush-on application is also the most practical method for builders working in apartments or small spaces without good outdoor access, since water-based brush-on products have virtually no fumes. If your finishing supply kit needs a refresh, the book nook kits collection pairs well with the accessories and tools available in our shop.

Airbrush
If you own an airbrush setup, a thinned water-based varnish through an airbrush gives the most control and the most consistent result across complex geometry. Thin the varnish about 20% with distilled water, pressure around 15 to 20 PSI, and do three to four ultra-thin passes. The result is smoother than a rattle can and more even than a brush.
Specific Scenarios and the Right Sealer Call
The right sealer call depends on your scene type: dark dungeons want dead-matte solvent aerosol, cozy interiors suit water-based brush-on, and wet-surface scenes need a matte base with selective gloss on liquids and glass. Different builds demand different strategies. Here is a quick reference based on the most common book nook scenarios:
| Scene Type | Recommended Finish | Recommended Product Type |
|---|---|---|
| Dark alley / fantasy dungeon | Dead matte | Solvent aerosol (with foam barrier coat) |
| Cozy bookshop / cottage interior | Matte base + satin spot coat on wood/leather | Water-based brush-on |
| Tavern / pub interior with wet surfaces | Matte base + gloss on liquids and glass | Water-based layered application |
| Outdoor market / garden scene | Matte throughout | UV-resistant water-based aerosol |
| Sci-fi / futuristic build with metal elements | Satin or gloss on metal, matte on surrounds | Airbrush water-based + selective gloss brush-on |
You can find most of the sealers and finishing tools you need in the book nook accessories and finishing supplies collection, which includes options suited for both foam-heavy builds and wood-based kits.

Common Sealing Mistakes (and How to Recover)
The most common sealing problems, frosting, crazing on foam, shiny patches, and shedding scatter, all have straightforward fixes, and most can be prevented entirely by working in thin coats and testing on a scrap first. Even experienced miniature builders run into sealing problems. Here are the most frequent ones and the fixes:
- Frosting or milky white haze: Almost always caused by high humidity or applying aerosol too close. If it is still wet, a light mist of the same sealer from further away can sometimes dissolve the frost. If it has dried, a thin brush coat of gloss medium can flatten the haze, followed by a matte coat to restore the sheen once dry.
- Bubbling or crazing on foam: Solvent reached the foam. You cannot undo this, but you can sand carefully, rebuild the texture with acrylic paste, and re-seal with a water-based product this time.
- Shiny patches in a matte finish: Pooling in recesses. Always use thin coats and tilt the piece to let excess varnish drain before it dries.
- Scatter materials still shedding after sealing: One coat was not enough. Water-based brush-on applied in two thin coats directly over the scatter, with a slightly diluted first coat to penetrate the material, solves this in most cases.
Recovering a frosted finish: the community method
When the miniature painting community on Reddit and Discord runs into bad frosting, the most reliable rescue is a thin brush coat of gloss varnish directly over the affected area. The gloss medium re-wets the surface, collapses the micro-bubbles that cause the milky appearance, and clears within minutes. Once dry, a light matte topcoat brings the sheen back where you want it. It feels counterintuitive to put gloss on a matte disaster, but it works almost every time.
When the miniature painting community on Reddit and Discord runs into bad frosting, the most reliable rescue is a thin brush coat of gloss varnish directly over the affected area. The gloss medium re-wets the surface, collapses the micro-bubbles that cause the milky appearance, and clears within minutes. Once dry, a light matte topcoat brings the sheen back where you want it. It feels counterintuitive to put gloss on a matte disaster, but it works almost every time.
For collectors who want a finished piece that needs minimal maintenance, our premium kits are assembled with hardwood and MDF surfaces that take topcoats especially cleanly. The Monet’s Garden DIY Miniature House Kit, for example, has detailed garden scatter that benefits enormously from a proper two-coat sealing process.
Frequently Asked Questions about Sealing a Finished Book Nook
Everything you might be wondering (click a question to expand).
Can I use Mod Podge as the only sealer on my book nook?
Yes, for light-duty builds. Mod Podge Matte works well for locking scatter and paper elements, but it tends to leave a slight sheen even in matte formulas and is softer than dedicated varnishes. For a build you want to display long-term, use Mod Podge as a base coat over loose materials, then follow with a proper miniature varnish (Vallejo, AK Interactive, or similar) as the final topcoat. Think of Mod Podge as the foundation layer and the dedicated varnish as the durable shell on top.
Will any sealer damage the LED wiring inside my book nook?
Aerosol sealers can deposit residue on LED contacts and potentially cause corrosion over time. The safest approach is to apply sealer before installing any electronics, or to mask off LED strips and connectors with painter’s tape during the sealing step. If the LEDs are already glued in, use a brush-on water-based varnish applied carefully around (not over) the contacts.
How many coats does a book nook need?
Two to three thin coats is the standard for most builds. The first coat locks down loose materials and gives subsequent coats something to grip. The second coat evens out the sheen. A third coat is worth adding if the build will live in a high-traffic area or if it is a gift that will ship through the mail. More than three coats rarely adds protection and risks building up a visible film over fine detail.
Does the type of paint I used change which sealer I should pick?
Mostly, no. Acrylic paints (the standard for book nook kits) are compatible with both water-based and solvent-based topcoats, as long as the foam barrier rule is respected for solvent products. The exception is oil-based paint: if you used any oil washes or oil-based glazes, let them cure fully (at least 24 to 48 hours) before sealing, and use a solvent-compatible varnish rather than a water-based one to avoid lifting the oil layer.
Can I re-seal a book nook I built years ago?
Absolutely. Lightly dust the surface with a soft brush first, then apply a fresh water-based matte varnish in thin coats. This can revive faded paint, re-lock any scatter that has started to shed, and add UV protection to an older build. It is one of the most satisfying quick refreshes you can do on a piece that has been sitting on a shelf for a while.
What is the best sealer for a finished book nook that contains resin water effects?
Cured resin is very stable and compatible with both water-based and solvent-based sealers. The main consideration is sheen: resin water looks best left glossy (or given a dedicated gloss topcoat), so mask off any resin areas before applying your matte overall coat. If a little matte sealer drifts onto the resin, a spot coat of gloss varnish will restore the shine immediately. AK Interactive’s Water Effects and similar products are already self-levelling and glossy, so they usually need no additional coating at all.
Building a Finish That Lasts as Long as the Story Behind It
Choosing the best sealer for a finished book nook comes down to three decisions: water-based matte for most scenes, solvent for maximum flatness on foam-safe builds, and gloss applied selectively on anything that should look wet or reflective. A book nook is not just a shelf decoration. It is a small world you built by hand, one careful detail at a time. Choosing the best sealer for a finished book nook keeps that world intact, protecting months of patient work from dust, humidity, and the inevitable curious finger. Water-based matte for most scenes, solvent for maximum flatness on foam-safe builds, gloss selectively for anything that should look wet or reflective.
The meditative part of building does not end when the last piece is glued down. Sealing is its own quiet ritual: a final pass over every surface you have shaped, painted, and weathered. Done right, it is the moment where everything locks into place and the scene stops feeling like a work in progress and starts feeling like a real place.
If you are looking for quality tools, varnishes, and finishing supplies to complete your current project, browse the full accessories collection for curated options that our community actually uses and recommends. And if you are still mid-build looking for a kit that matches your skill level, the range includes beginner-friendly kits (everything pre-cut, all materials included) through to complex multi-room designs for builders ready for a real challenge. Every kit includes a difficulty rating so you know exactly what you are getting into before you open the box.
