🎁 Buy 2 kits, get the 3rd FREE · Free shipping on every order

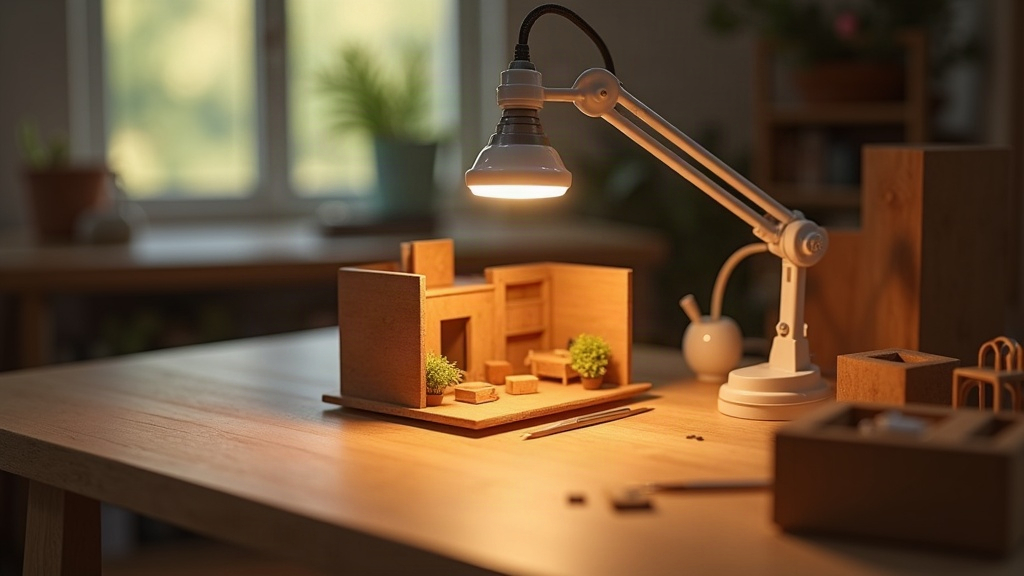
Magnifying Lamp for Miniature Work: How to Choose the Right One
Choosing a magnifying lamp for miniature work changes everything about how you build, paint, and assemble at tiny scales. This guide breaks down LED vs. fluorescent options, diopter ratings, arm styles, and features that actually matter, so you can pick the right lamp for your craft space and skill level.

Your eyes are telling you something. That tiny hinge you’ve been painting for the last twenty minutes, the one that should be brass-colored but keeps blurring at the edges, that’s not fatigue. That’s the wrong lighting setup. A magnifying lamp for miniature work changes the experience completely, turning frustration into something almost meditative.
Whether you’re building a 1:12 scale Victorian manor, painting resin figures, or assembling a laser-cut furniture kit, the stakes at the millimeter level are real. Good magnification paired with the right light source lets you see what you’re actually doing, not what you hope you’re doing.
Why Dedicated Magnification Matters for Miniature Crafting
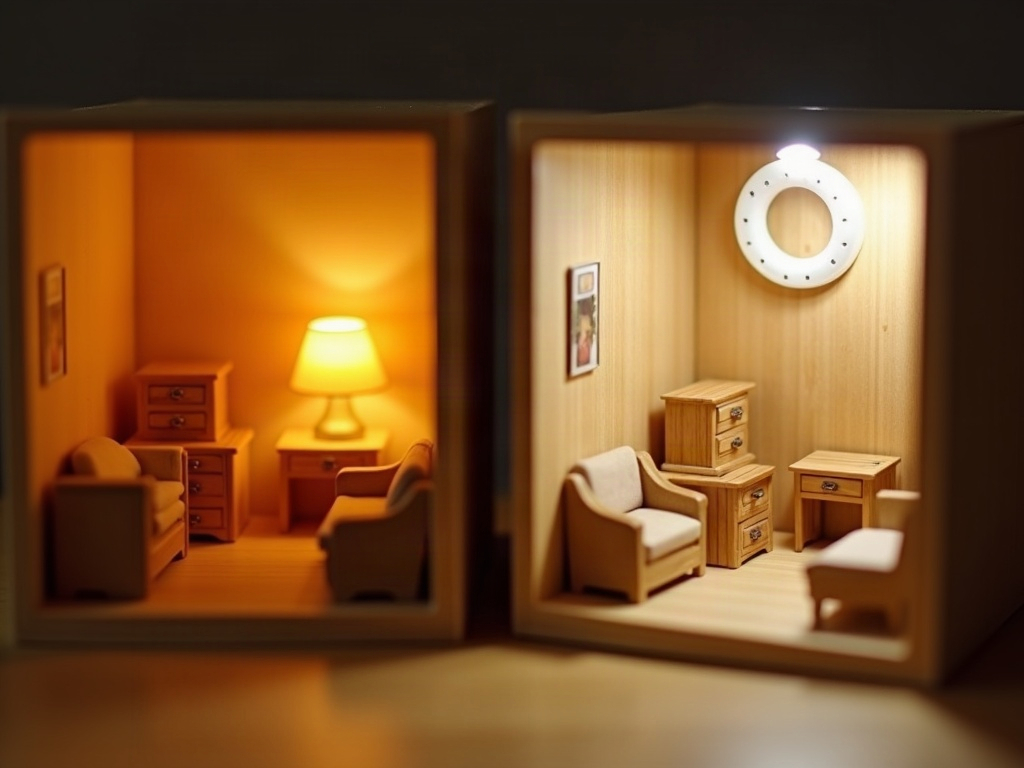
Dedicated magnification matters for miniature crafting because standard room lighting flattens shadows and washes out fine surface detail at the millimeter scale, while a proper magnifying lamp brings the focal point closer and eliminates hand-cast shadows in one tool. Miniature work lives in a scale where a half-millimeter gap is the difference between a tight joint and a sloppy one. Standard room lighting, even a good desk lamp, flattens shadows and washes out fine surface detail. You lose the depth cues your hands rely on.
A dedicated magnifying lamp for miniature work solves two problems at once. First, it brings the focal point physically closer without straining your neck or shoulders. Second, it surrounds the lens with a ring of light that eliminates the shadows cast by your own hands, the very shadows that make precise work feel impossible.
Hobbyists who switch to a proper magnifier lamp consistently report the same thing: tasks that used to take 45 minutes get done in 20. Not because they work faster, but because they stop second-guessing every brushstroke and glue placement. When you’re building something intricate like a detailed miniature house kit, that clarity isn’t a luxury; it’s what keeps the session enjoyable rather than exhausting.

Bestseller cottage kit
Tranquil Life DIY Miniature House Kit
$67.90
This kit is where many builders first realize just how much a magnifier lamp matters. The joinery on the window frames and the hand-painted furniture panels are exactly the kind of detail that looks a hundred times better when you can actually see what you’re doing.
The Real Cost of Working Without One
Eye strain is the obvious concern. But the less-discussed cost is accuracy. When you squint to compensate for poor visibility, your face drops closer to the work surface, your wrist angle changes, and your brush control degrades. The magnifying lamp for miniature work keeps your posture neutral and your eye-to-work distance consistent, which is what actually produces clean, repeatable results. Over a two-hour session, that difference between a strained neck and a relaxed one is also the difference between wanting to come back tomorrow and dreading it.
LED vs. Fluorescent: The Lighting Technology Breakdown
LED magnifying lamps outperform fluorescent for miniature work because they deliver accurate daylight-equivalent color, run silently, generate almost no heat, and last tens of thousands of hours without needing a replacement bulb. Until about 2018, most affordable magnifier lamps used fluorescent ring bulbs. They worked, but they had real drawbacks: color temperature that shifted toward green-yellow over time, a hum that became maddening in quiet craft sessions, and replacement bulbs that were hard to source. LED changed the math entirely.
Modern LED magnifying lamps for detail work offer several clear advantages:
- Color accuracy: Quality LED rings run at 5000K-6500K, a daylight-equivalent that renders paint colors, wood grain, and fabric as they actually appear, not as they look under warm incandescent or cool fluorescent.
- Longevity: LED rings rated at 50,000 hours mean you won’t be hunting for replacement parts mid-project.
- Low heat: Traditional bulbs warm the work area, which matters a lot when you’re working with heat-sensitive adhesives or thin paper components. LED rings stay cool to the touch.
- Dimmability: Most current LED models include stepless or multi-level dimming, so you can dial the brightness to exactly what your eyes need at any time of day.
- Energy use: A typical LED magnifier lamp draws 12W-22W, a fraction of the 55W fluorescent equivalent.
A brief history note: The first magnifying lamps purpose-built for craft and inspection work appeared in industrial settings in the 1950s, where jewelers and watchmakers needed hands-free magnification under consistent light. The core design (a lens in a weighted articulating arm) has barely changed structurally in 70 years. What changed is the light source and the glass. Today’s aspherical glass lenses reduce optical distortion across the full lens area, something flat glass simply cannot do. The jump from fluorescent to LED was the second big leap, and it happened fast enough that many older lamp guides are already out of date.

Explore the collection
All Book Nook Kits
76 handcrafted book nook kits
Book nooks may be the most magnifier-lamp-dependent project in the whole miniature hobby. You’re routing hair-thin LED wires through 3mm channels, lettering book spines at 2mm tall, and building tiny foliage from individual fiber strands. Every single one of those steps is genuinely easier (and more satisfying) when you can actually see what your tweezers are doing.
Diopter Ratings Explained: Picking the Right Magnification
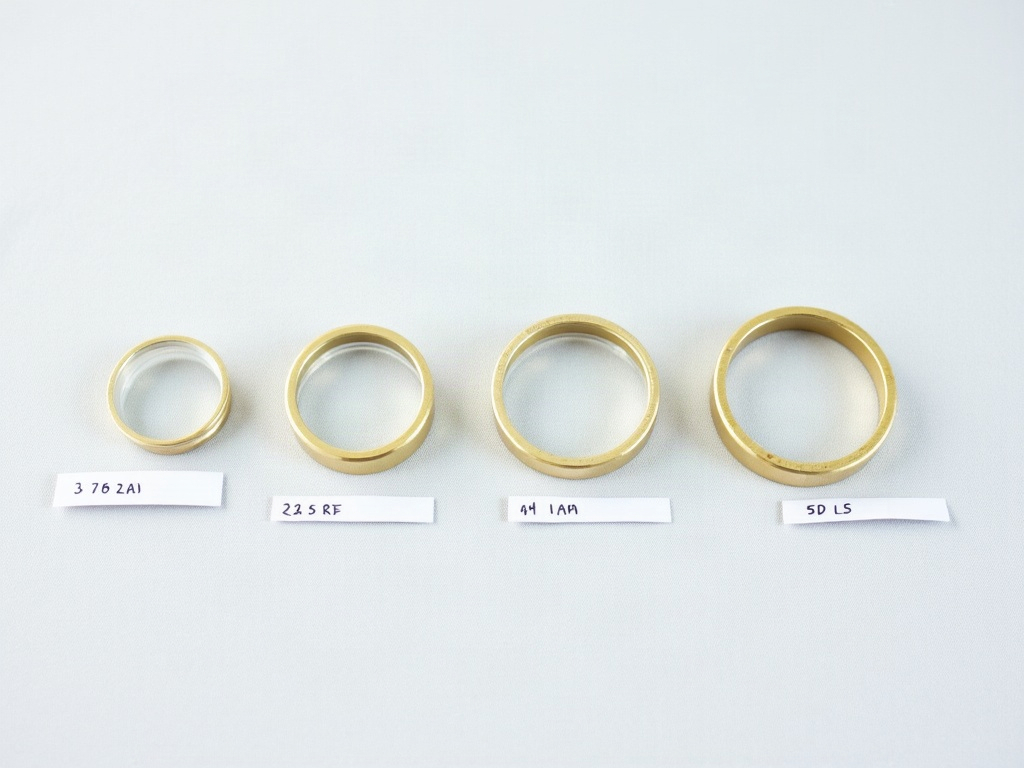
For most miniature crafting, a 5-diopter lens is the best all-round starting point, delivering 2.25x magnification at a comfortable 8-10 inch working distance that suits both assembly and fine painting without narrowing your field of view. Diopter is the unit that measures lens power. For miniature crafting, the sweet spot sits between 3 and 10 diopters depending on the type of work. Here is a quick reference for how each range maps to real tasks at the workbench:
A practical tip: if you already wear corrective glasses, you can often use a lower diopter lamp than you think. The lamp compensates partly for presbyopia, which is why many crafters over 40 find a 5-diopter model more than adequate for work they previously thought needed higher magnification.
A tip from the workbench: Before committing to a diopter rating, do a quick test with reading glasses from a drugstore. Reading glasses are measured in diopters too. Try +2.5 and +3.5 over your normal prescription (or bare eyes if you don’t wear glasses) while sitting at your normal craft distance. The reading glasses that feel most comfortable without pulling your face forward are a good indicator of the diopter range that will work for your magnifier lamp. It’s not a perfect method, but it saves a return trip. Hannah tried exactly this before settling on a 5-diopter for her Victorian dollhouse build; she had assumed she needed an 8, but the drugstore test told a different story.
Arm Style and Mounting: What Actually Fits Your Craft Space
The right arm style depends on your desk setup: a clamp-mount articulating arm suits small or shared desks, a weighted floor stand suits dedicated daily-use spaces, and a freestanding desk base works well for a fixed craft corner that stays put. The lens and the light matter, but the arm is what you’ll interact with every single session. Three main configurations exist, and each suits a different setup.

Rare in the niche
Miniature Greenhouse Kits
22 LED-lit greenhouse builds
Greenhouse kits are arm-style dependent in a very specific way: you’re scoring individual acrylic panes to 0.5mm tolerances and threading wire plant stems through openings barely wide enough for a needle. A clamp-mount articulating arm wins here because you can reposition the lens angle between the cutting phase and the painting phase without moving the kit itself. That single advantage saves real time across a multi-session build.
Clamp-Mount Articulating Arms
These clamp to the edge of a table or craft desk and extend on a multi-jointed arm. They’re the most flexible option for repositioning, since you can swing the lens to any angle and tuck it out of the way when not in use. For shared craft spaces or smaller desks, this is usually the right call. Look for metal joints with tension adjusters rather than plastic friction points, which loosen over time.
Weighted Floor Stands
Floor-standing magnifier lamps are the professional-grade choice. The base sits on the floor beside your work area, and a tall articulating arm brings the lens to whatever height you need. They’re completely independent of your desk surface, so you can position them relative to your body rather than relative to the table edge. Overkill for casual hobbyists, but worth considering if miniature work is a daily practice.
Desk-Base Freestanding Models
These sit directly on the desk on a weighted base, with a shorter arm. They’re stable, simple, and usually the most affordable entry point. The trade-off is that repositioning is slower and the arm reach is more limited. For a dedicated craft corner where the lamp stays in one spot, they work well.
Features Worth Paying For (and Ones That Aren’t)
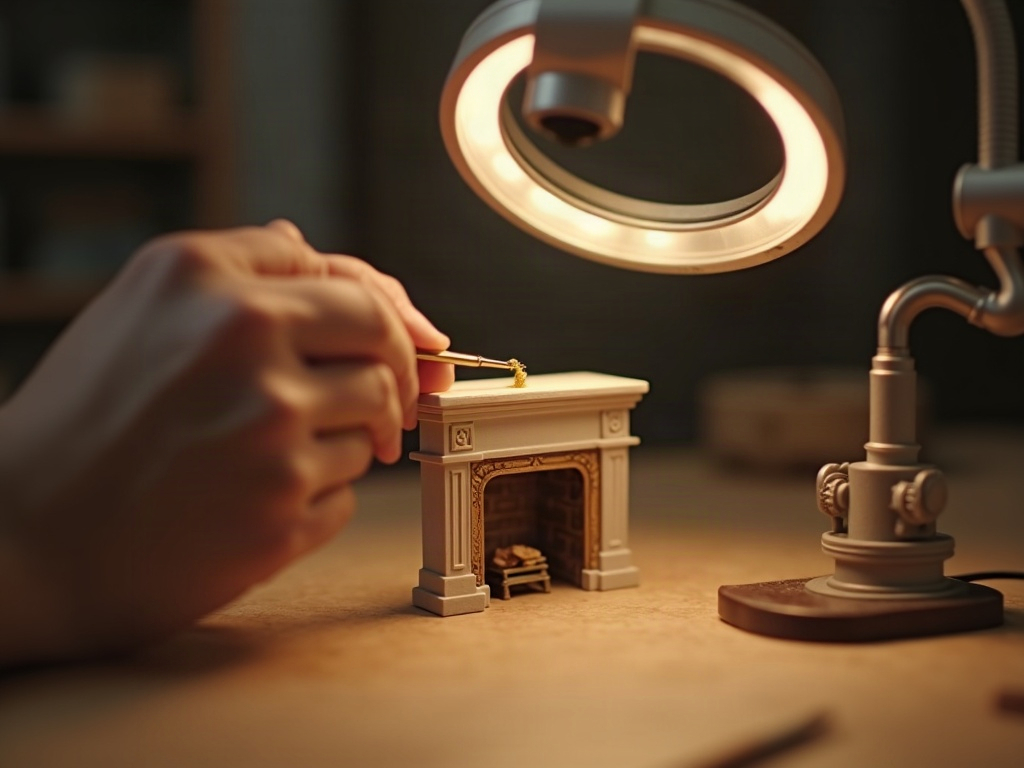
For a magnifying lamp used in miniature crafting, the features genuinely worth the premium are an optical-grade glass lens, metal arm joints, stepless dimming with a physical dial, and a CRI of 90 or above for true-to-life color rendering. The magnifier lamp market spans a huge price range, from under $30 to over $200. Some of that price gap reflects genuine quality differences. Some reflects marketing.
Worth the premium:
- Aspherical optical-grade glass lens (versus acrylic, which scratches and yellows)
- Metal arm joints with lock-and-release levers
- Stepless dimming with a physical dial rather than touch controls (touch sensors fail from craft grime)
- CRI (Color Rendering Index) of 90 or above, which means colors appear true-to-life under the lamp
- A lens cover that flips down when the lamp is off (protects the lens from dust and accidental contact)
Features that rarely justify the cost:
- Built-in USB charging ports (convenience, but adds failure points)
- Color temperature switching between warm and cool (useful in theory, rarely adjusted in practice)
- Smart app connectivity (no one adjusts a craft lamp from their phone mid-session)
For most miniature crafters, a budget of $60-$120 covers every feature that genuinely matters. Beyond that, you’re paying for aesthetics and brand packaging, which is fine if that matters to you, but it won’t make your work more precise.
Browse the full range of miniature crafting accessories and tools to find magnifier lamps alongside other workspace upgrades that our community actually uses session after session.
Frequently Asked Questions about Magnifying Lamps for Miniature Work
Everything you might be wondering (click a question to expand).
Can I use a magnifying lamp if I already wear glasses?
Yes, and most crafters do. The lamp works with or without corrective eyewear. If you wear bifocals or progressive lenses, you may find it easier to position the lamp slightly lower than usual so your natural reading zone aligns with the lens. Crafters with strong prescriptions sometimes prefer a lower diopter lamp than non-glasses wearers, since their lenses already provide some of that optical correction.
What diopter should I choose for miniature house kits?
For most miniature house kit builds, a 5-diopter lamp is the right starting point. It gives 2.25x magnification at a comfortable 8-10 inch working distance, which suits both the assembly phase (fitting laser-cut walls and floors) and the painting phase (detailing furniture and trim). Go up to 8 diopter only if you’re working on very fine painted faces or sub-millimeter joinery; the narrower field of view at 8 diopter can actually slow you down on broader tasks.
What color temperature is best for painting miniatures?
Aim for 5000K-6500K, which falls in the daylight range. This gives the most accurate color rendering for paints, washes, and varnishes. Warm white (2700K-3000K) makes colors look richer than they are, which can cause you to under-shade. Cool white above 6500K tends to wash out subtle color variations you need to see during dry-brushing and highlighting.
How far should the lamp lens sit from my work surface?
It depends on the diopter. A 3-diopter lens has a comfortable working distance of roughly 13-14 inches. A 5-diopter sits at about 8-10 inches. An 8-diopter drops to around 5-6 inches. The working distance (the focal point where the image is sharpest) is physically determined by the lens power, not adjustable. This is why higher-diopter lamps require closer positioning and more precise arm placement.
Is a clamp-mount arm or a freestanding base better for a small desk?
For desks under 48 inches wide or desks shared with other activities, a clamp-mount arm is almost always the better choice. It keeps the base footprint off the desk surface entirely and lets you swing the lamp completely to the side when you need the full table for layout or cutting work. A freestanding base takes up a fixed 6-10 inch diameter of desk space permanently. If your craft area doubles as a dining table or homework space, the clamp wins every time.
LED vs. fluorescent: does it really make a difference for miniature painting?
It does, and the difference shows up most clearly when you mix paint colors. Fluorescent rings gradually shift toward a greenish-yellow cast, which means the warm ochre you mixed under the lamp looks slightly different on the model in daylight. A quality LED ring with a CRI of 90 or above renders colors consistently session after session. The other practical win is silence: fluorescent rings hum at a frequency that is genuinely distracting during the quiet, focused work that miniature building calls for. LED rings are completely silent.
Can children use magnifying lamps for miniature kits?
Absolutely. For younger crafters working on beginner miniature kits and accessories, a 3-diopter LED lamp is a great introduction. LED models are safe because the ring generates almost no heat. Just make sure the arm is secured firmly (clamp-mount or heavy base) so it can’t tip over during an enthusiastic session. Children generally adapt to the working distance quickly, often faster than adults do.
Setting Up Your Magnifier Lamp for the Best Craft Sessions
Set up your magnifier lamp so the lens center sits at eye level when seated, keep the lens clean with a microfiber cloth, and maintain soft ambient room lighting so the work zone is brightly lit without harsh contrast tiring your eyes. Getting the lamp is step one. Getting the setup right is what determines whether you actually reach for it every time you sit down to build.
Position the lamp so the lens center sits roughly at eye level when you’re seated and looking straight ahead. Tilting your chin down slightly to look through the lens is fine and natural. But if you’re craning your neck forward or tipping your head back, reposition the arm before starting. Discomfort during the first five minutes compounds badly over a two-hour session.
Keep the lens clean. A microfiber cloth stored next to the lamp takes five seconds to wipe fingerprints and dust. Dust on a magnifier lens doesn’t just obscure the view; it scatters the LED light and creates a haze that makes the whole field look lower contrast.
Finally, consider your ambient room lighting. A magnifier lamp works best when the room isn’t completely dark. A pitch-black room with a single bright lamp creates harsh contrast that tires your eyes quickly. A softly lit room lets the magnifier lamp illuminate the work zone precisely, while your peripheral vision has enough light to stay relaxed. That combination is what makes long craft sessions feel satisfying rather than exhausting. If you’re curious about other workspace upgrades that pair well with a good magnifier, our miniature crafting accessories page covers everything the community keeps coming back to.
A proper magnifying lamp for miniature work is one of those tools that feels almost trivially simple until you have one. Then it’s the thing you wonder how you ever built without. Dial in the right diopter, choose the arm style that fits your space, and prioritize a glass lens with a CRI above 90. Those three decisions cover everything that actually matters. The rest is just building tiny worlds, one visible detail at a time.
