🎁 Buy 2 kits, get the 3rd FREE · Free shipping on every order

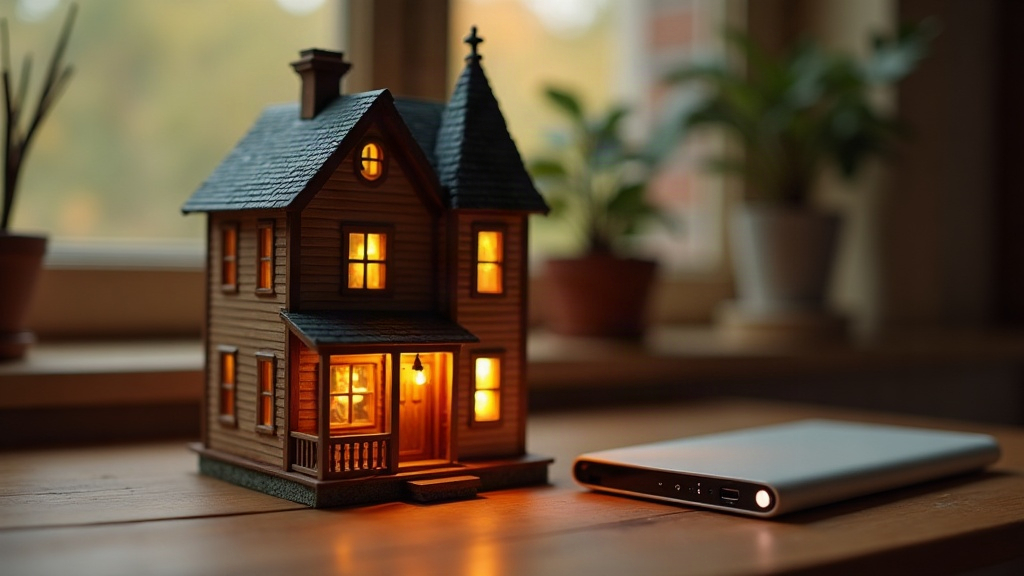
Best USB Power Bank for Miniature LED Lighting (2026 Picks)
Choosing the right USB power bank for miniature LED lighting matters more than most crafters expect. This guide covers capacity, port types, low-draw compatibility, and real setup tips so your dollhouse, diorama, or shadow box glows beautifully for hours without a single battery swap.

Why USB Power Changes Everything for Miniature LED Builds
USB power changes everything for miniature LED builds because a single rechargeable power bank replaces disposable batteries entirely, keeping your scene lit for four to forty-plus hours without soldering changes, proprietary connectors, or mid-display failures. You finish wiring a twelve-room dollhouse at midnight. Every copper-wire LED glows perfectly. Then, three weeks later, the batteries die mid-display, and half the rooms go dark during a dinner party. Sound familiar? That cycle of CR2032s and AA packs is one of the most common frustrations I hear from the community, and it is completely avoidable.
I remember the exact moment I decided to switch. I had just finished the attic of my first Victorian dollhouse kit, a fiddly little room with two working wall sconces made from bent copper wire and grain-of-wheat bulbs. I was so proud of it. Then I left for a weekend, came back, and the whole upper floor was dark. The batteries had quit. That quiet disappointment is what pushed me to figure out a better system, and what I found genuinely changed how I experience a finished build.
The best USB power bank for miniature LED setups replaces that battery cycle with a single rechargeable unit that can run your entire lighting rig for anywhere from four to forty-plus hours on a single charge. No soldering changes needed. No proprietary connectors. Just a USB-A or USB-C cable and a bank sized to match your build.
This guide breaks down exactly what to look for, which specs actually matter for low-draw hobby circuits, and how to hide the hardware so it disappears into your scene. For compatible lighting strips and wiring accessories, the miniature craft accessories collection has curated options that pair directly with the power setups described below.
The Specs That Actually Matter for Low-Draw LED Circuits
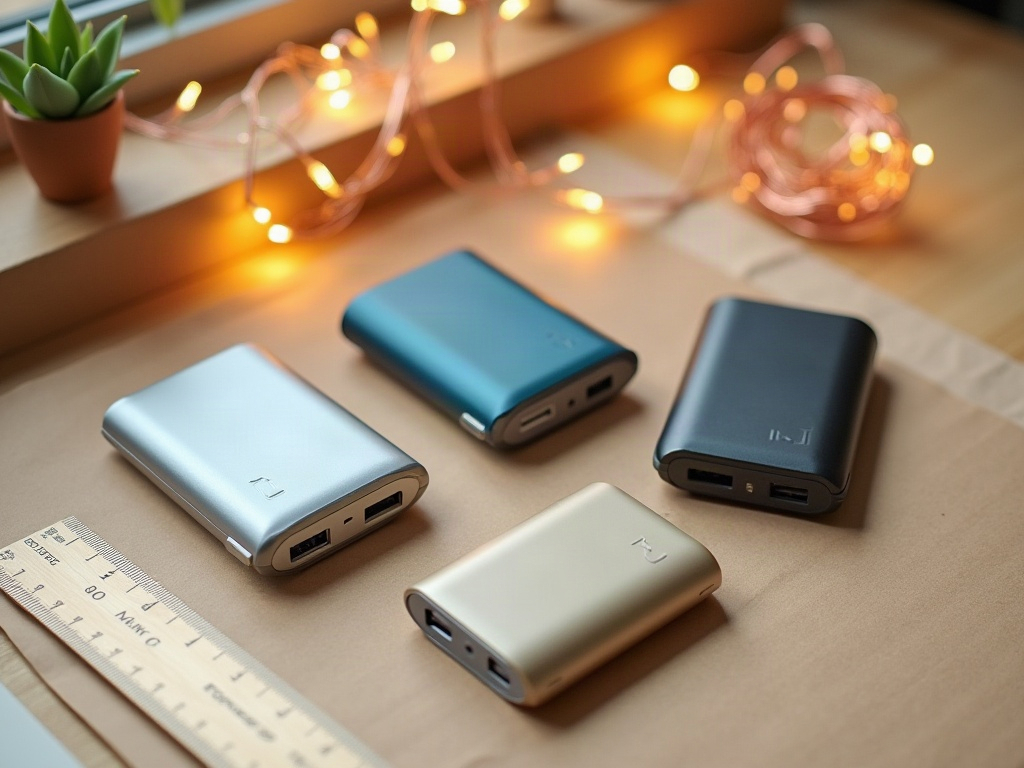
For low-draw LED circuits, three specs matter above all: auto-shutoff threshold, capacity in mAh, and output voltage stability, get these wrong and your miniature scene will go dark no matter how good your wiring is. Most USB power bank reviews are written for people charging phones at airports. Miniature LED circuits pull a fraction of that current, which creates one specific problem: auto-shutoff. Understanding just three core specs will save you from buying the wrong hardware entirely.

Bestseller cottage kit
Tranquil Life DIY Miniature House Kit
$67.90
Includes a warm-white copper wire LED strand that draws approx. 18 mA at 5V, ideal for testing bank compatibility.
Auto-Shutoff and the 50 mA Problem
Many banks cut power after 30-90 seconds when they detect a load below roughly 50-100 mA. A single strand of copper wire LEDs might draw only 15-30 mA total. The bank “thinks” nothing is connected and shuts down. Your scene goes dark.
Look explicitly for banks that advertise “always-on mode,” “low-current mode,” or “trickle charge compatible.” Brands like Anker, Baseus, and INIU have released 2025-2026 models with this feature. Check the product description carefully; it is not universal even within a single brand’s lineup. When in doubt, the USB power meter test described in Hannah’s tip below is your most reliable check before committing to a bank.
Capacity: Matching mAh to Your Build Size
- Small builds (1-3 rooms, under 10 LEDs): 5,000 mAh is more than enough. A 15 mA draw runs for roughly 200+ hours before the bank depletes.
- Medium builds (4-8 rooms, 10-30 LEDs): 10,000 mAh gives you a comfortable buffer and typically still passes airline carry-on limits (under 100 Wh).
- Large dioramas or multi-story houses (30+ LEDs, RGB controllers): 20,000 mAh is the right call. Note that banks above 100 Wh are restricted on flights.
Port Types and Voltage Stability
Stick with USB-A 5V/1A output for standard copper-wire LED fairy lights. Fast-charge ports (USB-C PD, Quick Charge 3.0+) output variable voltages that can overstress tiny resistorless LED strands designed for 5V flat. If your bank has multiple ports, use the standard 5V/1A port and reserve the fast-charge port for your phone.
📜 Did you know?
The first commercially available LED was demonstrated by Nick Holonyak Jr. at General Electric in 1962. It emitted red light and was roughly the size of a grain of rice. By 2026, a single 1-meter copper wire LED strand contains up to 100 micro-LEDs thinner than a human hair, drawing less power than a digital watch battery at full brightness.
The first commercially available LED was demonstrated by Nick Holonyak Jr. at General Electric in 1962. It emitted red light and was roughly the size of a grain of rice. By 2026, a single 1-meter copper wire LED strand contains up to 100 micro-LEDs thinner than a human hair, drawing less power than a digital watch battery at full brightness.

Explore the collection
All Book Nook Kits
76 handcrafted book nook kits
Book nook builds are typically single-shelf displays, making them perfect first projects for testing a 5,000 mAh bank before scaling up to a full dollhouse.
Top Power Bank Profiles for Miniature Makers in 2026
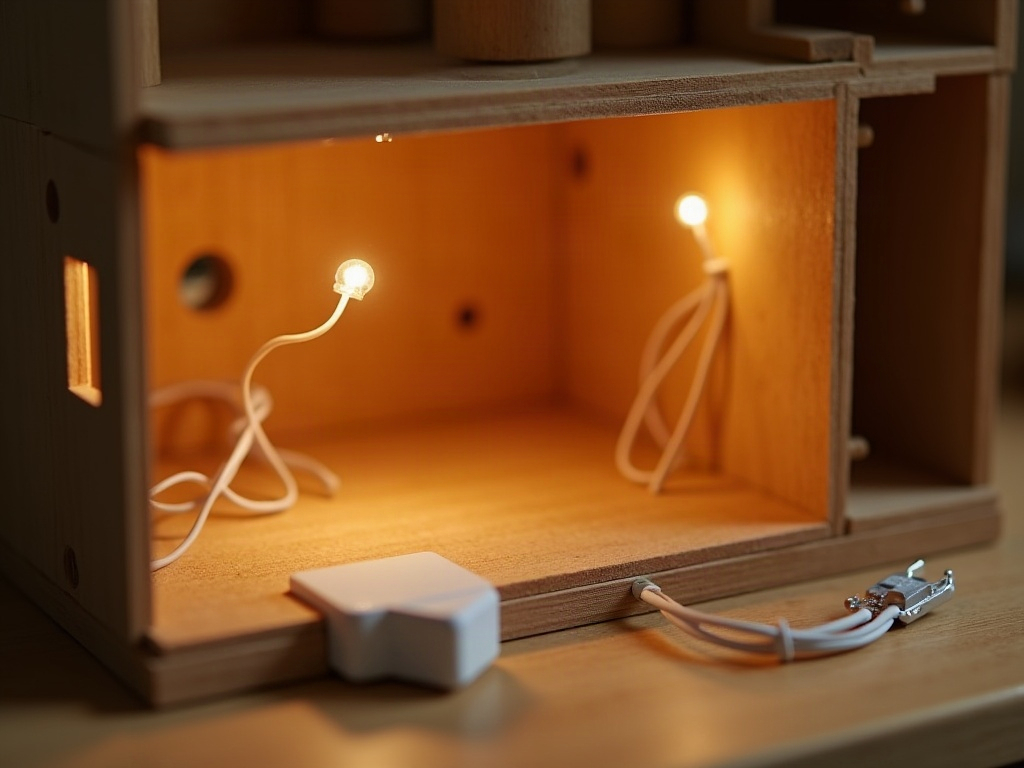
The right USB power bank for your miniature build depends on four profiles: display shelf, gift or fair, competition or photography, and kids’ room, each with its own capacity target and feature requirements. Rather than rank a single “winner,” here are four build profiles with the bank characteristics that fit each one. The hobby market shifts fast, so treat these as spec targets rather than model names to chase. The comparison table below maps every profile at a glance.
| Profile | Capacity | Low-current mode | Physical switch | Pass-through | TSA OK |
|---|---|---|---|---|---|
| Display Shelf | 10,000 mAh | Required | Required | Recommended | Yes |
| Gift / Fair | 5,000-10,000 mAh | Required | Optional | Optional | Yes |
| Competition / Photo | 20,000 mAh | Required | Optional | Optional | Yes (under 100 Wh) |
| Kids’ Room / Interactive | 5,000 mAh | Required | Optional | Optional | Yes |
Profile 1 – The Display Shelf Build
A dollhouse or room box sitting permanently on a shelf needs a bank with a physical on/off switch (not just a button that requires a double-tap), a flat form factor under 15mm thick, and a pass-through charging feature so you can top it up without disconnecting the LEDs. Capacity sweet spot: 10,000 mAh. For inspiration on what a finished shelf display can look like, the miniature house kits collection shows how multi-room builds are typically staged.
Profile 2 – The Gift or Fair Display
If your build travels to craft fairs, holiday markets, or goes out as a gift, prioritize TSA compliance (under 100 Wh), a built-in LED indicator showing remaining charge, and a rubberized or matte finish that does not slide around in transit. A short 20cm right-angle USB-A cable keeps the connection low-profile inside a box base. Capacity sweet spot: 5,000-10,000 mAh.

Easy starter under $50
Sun Room DIY Miniature House Kit
$49.99
A single-room open-front build with one LED strand. An ideal candidate for a 5,000 mAh starter bank and a great gift display option.
Profile 3 – The Competition or Photography Display
For a diorama used in photography or a competition setting, runtime is the priority. You want the longest possible burn time without a recharge interruption. A 20,000 mAh bank with low-current mode ticked off will run a 25-LED scene for well over 300 hours between charges. A small USB power meter (under $8) plugged in-line lets you confirm the exact draw so you can calculate runtime precisely.
Profile 4 – The Kids’ Room or Interactive Kit
Safety first. Choose a bank with overcharge protection, short-circuit protection, and a UL or CE certification visible on the packaging. Capacity of 5,000 mAh is plenty for a beginner LED kit, and the smaller physical size means it hides more easily under a miniature base without lifting the build off a flat surface. The starter kits in the collection work beautifully for this profile because their compact bases were designed with hidden wiring in mind.
✨ Hannah’s tip
Before buying, grab a $6 USB power meter (they’re tiny, shaped like a thumb drive) and plug it between your bank and your LED strand for 60 seconds. It will show you the exact mA draw. Under 50 mA? Double-check your bank has a low-current mode or you will spend the afternoon wondering why your lights keep shutting off. I made exactly that mistake on my first book nook build. Forty-five minutes of troubleshooting, one $6 meter later, and the problem was obvious in under a minute.
Before buying, grab a $6 USB power meter (they’re tiny, shaped like a thumb drive) and plug it between your bank and your LED strand for 60 seconds. It will show you the exact mA draw. Under 50 mA? Double-check your bank has a low-current mode or you will spend the afternoon wondering why your lights keep shutting off. I made exactly that mistake on my first book nook build. Forty-five minutes of troubleshooting, one $6 meter later, and the problem was obvious in under a minute.
Why Good Lighting Transforms the Building Experience
Good lighting transforms the miniature building experience because warm LED light creates shadows, depth, and atmosphere that overhead room lighting simply cannot, turning a finished scene into something that feels genuinely alive. There is something that happens the first time you power on a completed miniature scene with warm LED light. The space shifts. Shadows appear in corners that were invisible under overhead room lighting. A tiny painted bookcase suddenly has depth. A miniature fireplace actually looks like it is generating warmth. It is, frankly, a little magical.
The meditative rhythm that comes with planning the lighting is a large part of what makes this craft so satisfying. Which room glows first? How warm or cool should the color temperature run? Does the attic stay dark for atmosphere, or does a single flickering amber LED suggest a forgotten candle? These are creative decisions that carry real emotional weight, and they happen during the build process long before a power bank is even switched on.
Getting the best USB power bank for miniature LED right means that rhythm is never interrupted after the build is complete. The scene stays lit, stays consistent, and stays exactly as you imagined it. That continuity across weeks and months of display time is, in my experience, the difference between a project you are proud of and one that quietly disappoints you every time you walk past a darkened room. It also makes building the next project feel like a treat rather than a chore, because you know the infrastructure will hold.
✨ Hannah’s tip
Warm white (2700K-3000K) LED strands are almost always the right choice for interior dollhouse rooms. Cool white (5000K+) reads as clinical indoors and tends to flatten the warm tones of wood, fabric, and painted surfaces. Flicker LEDs sold for miniature fireplaces and candles draw around 5-8 mA each and work beautifully off any bank with low-current mode, even when running four or five simultaneously.
Warm white (2700K-3000K) LED strands are almost always the right choice for interior dollhouse rooms. Cool white (5000K+) reads as clinical indoors and tends to flatten the warm tones of wood, fabric, and painted surfaces. Flicker LEDs sold for miniature fireplaces and candles draw around 5-8 mA each and work beautifully off any bank with low-current mode, even when running four or five simultaneously.
Hiding the Hardware: Practical Wiring Tricks
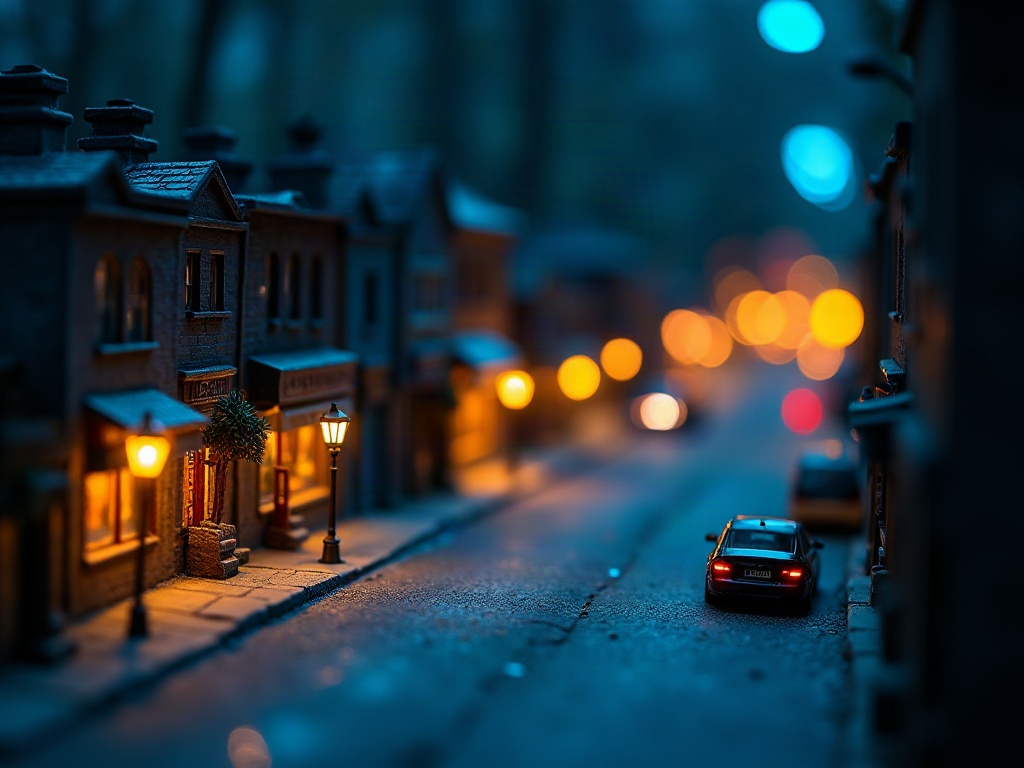
The three most reliable ways to hide a USB power bank inside a miniature build are a baseboard pocket, a furniture hide, and magnetic cable management, all add under 20 minutes of work and keep the illusion completely intact. A power bank sitting openly beside a beautifully crafted Victorian row house breaks the spell immediately. Here are the approaches the community swears by.

Rare in the niche
Miniature Greenhouse Kits
22 LED-lit greenhouse builds
Greenhouse kits feature translucent acrylic panels that diffuse LED light beautifully. A 5,000 mAh bank hidden in the base tray is barely visible from any angle.
The Baseboard Pocket
Cut a shallow rectangular recess into the bottom of your MDF or plywood base, sized exactly to the bank’s footprint. The bank sits flush, the USB cable exits through a small slot toward the back, and the entire base sits level on any surface. A piece of thin balsa wood glued over the opening hides the pocket from side angles. This is the approach I use on every permanent display build now: it adds maybe 20 minutes of extra work and completely removes the bank from view.
The Furniture Hide
For room boxes with an open front, a miniature wardrobe, bookcase, or sofa placed in a corner can conceal a flat 5,000 mAh bank entirely. Run the wire under a rug or behind skirting boards made from strip wood. Community members on our project board have turned the power bank itself into a “basement” level accessible by removing the ground floor, which is a genuinely clever solution that also adds an interesting structural detail to the build.
Magnetic Cable Management
Thin magnetic pads (sold for phone mounts) attached to the back of the build and the face of the bank let you detach and recharge without unscrewing anything. This works beautifully for display pieces that come down for charging monthly. A right-angle micro-USB or USB-C adapter keeps the cable profile flat against the back wall, which means even a build placed close to a shelf back panel can be powered without the cable bowing outward.
Premium collector piece
Monet’s Garden DIY Miniature House Kit
$155.00
This multi-section garden build uses three separate LED zones. A 10,000 mAh bank with low-current mode covers all three comfortably, with months between charges.
Frequently Asked Questions about USB Power Banks for Miniature LED
Everything you might be wondering (click a question to expand).
Will a regular USB power bank work with tiny fairy light strands?
It depends. Standard fairy lights drawing under 50 mA often trigger the auto-shutoff on basic banks. Look for a model that explicitly lists “low-current mode” or “always-on mode” in its specs. A quick test with a USB power meter before your build is assembled saves a lot of frustration. This is the single most common issue reported by builders who are new to USB-powered displays.
How long will a 10,000 mAh bank power a 20-LED dollhouse scene?
A 20-LED copper wire strand at 5V typically draws 30-40 mA. At that draw, a 10,000 mAh bank delivers roughly 150-170 hours of continuous light. In practice, running the display 8 hours a day, you would recharge approximately once a month. Larger builds with RGB controllers or flickering fire LEDs draw more current, so measure your specific rig with a power meter to get an accurate figure.
Can I use USB-C PD banks with miniature LED kits?
Only if the bank offers a dedicated 5V/1A USB-A port alongside the USB-C port. Plugging a resistorless LED strand directly into a USB-C PD port risks voltage spikes above 5V that can burn out LEDs instantly. Use the standard USB-A port every time. If your bank is USB-C only, a USB-C to USB-A adapter set to 5V output (some newer adapters allow this) can work, but verify the output voltage before connecting any LEDs.
Is pass-through charging safe for a build on permanent display?
Most quality banks from reputable brands handle pass-through safely, meaning you can charge the bank while it simultaneously powers your LEDs. However, long-term pass-through charging (weeks at a time) can degrade battery cells faster. A better habit is to charge the bank fully, disconnect the charger, then run the display off stored power. This approach also keeps heat generation low, which matters if the bank is enclosed inside a base pocket.
What is the smallest power bank that still avoids the auto-shutoff problem?
Physical size and low-current compatibility are unrelated specs. Some of the slimmest 5,000 mAh banks on the market (under 12mm thick) include low-current mode; others do not. Read the spec sheet rather than judging by form factor. A USB power meter remains the most reliable way to verify compatibility with your specific LED load before committing to a hide solution inside your build.
Can I power multiple LED zones from a single power bank?
Yes, with a USB splitter cable or a small powered USB hub. Add up the mA draw from each zone first. Three zones at 20 mA each total 60 mA, which is still well within the output of any standard USB-A port. Keep the combined draw under 500 mA for a 5V/1A port, and check that the bank’s low-current threshold activates at the combined load rather than per-port. A USB power meter on the main cable will confirm the total draw in seconds.
Pairing Your Power Source with the Right LED Accessories
Pairing your USB power bank with the right LED accessories means choosing lights designed for 5V low-current output: warm white copper wire strands, warm amber rice lights, and flickering flame micro-LEDs all run reliably without extra resistors or modifications. Getting the power side right is half the equation. The other half is choosing lights that are genuinely compatible with 5V USB output at low current draws. Warm white copper wire strands, warm amber rice lights, and flickering “flame” micro-LEDs all work beautifully off USB power banks for miniature LED setups when wired correctly.
If you are building a kit for the first time or upgrading an existing dollhouse, browse the full accessories collection for LED strands, wire, resistors, and connectors tested specifically for miniature-scale builds. Everything listed there is sized for the kind of low-draw circuits this guide covers, so compatibility is not a guessing game. You can also find guidance on color temperature pairing and multi-zone wiring in the miniature lighting guide.
The meditative rhythm of lighting a miniature scene, deciding which room glows first, how warm or cool the color temperature should run, whether the attic stays dark for atmosphere, is one of the most satisfying parts of the whole build. Getting the best USB power bank for miniature LED matched correctly means that rhythm never gets interrupted by a dead battery again. That small shift in how a project feels over months of display time is, honestly, worth every bit of the research.
Ready to Light Your Build?
If you know your build profile, have a low-current-compatible bank, and confirm the draw with a USB power meter, your miniature LED scene will stay lit exactly as you imagined it, no dead batteries, no mid-display surprises. If you have made it this far, you now know more about low-current USB power for miniature LEDs than the vast majority of hobbyists who simply grab whatever bank is on sale and wonder why their scene keeps going dark. Use the profile comparison table above to narrow your search, pick up a $6 USB power meter to confirm compatibility, and then enjoy the moment when you flip the switch and your little world stays lit exactly the way you imagined.
We would love to see what you build. Share your finished display in the community project board or tag us on social with your power-bank hide solution. Some of the cleverest builds we have seen came directly from community members solving this exact problem in ways none of us expected. Come show us yours.
