🎁 Buy 2 kits, get the 3rd FREE · Free shipping on every order

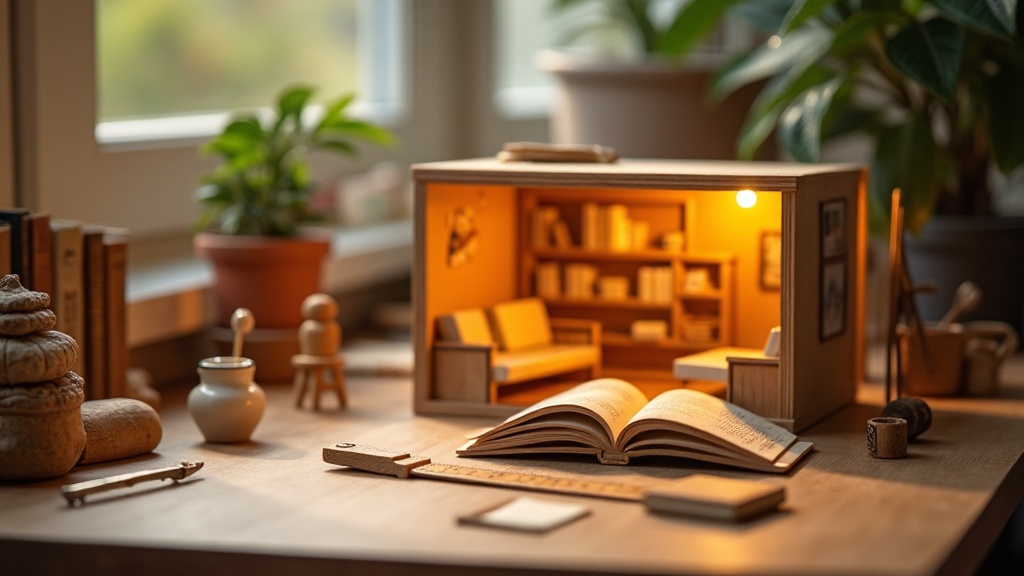
How to Make a Book Nook for Beginners: A Complete Step-by-Step Guide
A complete beginner's guide to making a book nook, covering tools, materials, step-by-step building instructions, common mistakes, and tips for both kit builds and scratch builds. Written by Hannah Brooks, founder of Yavok.

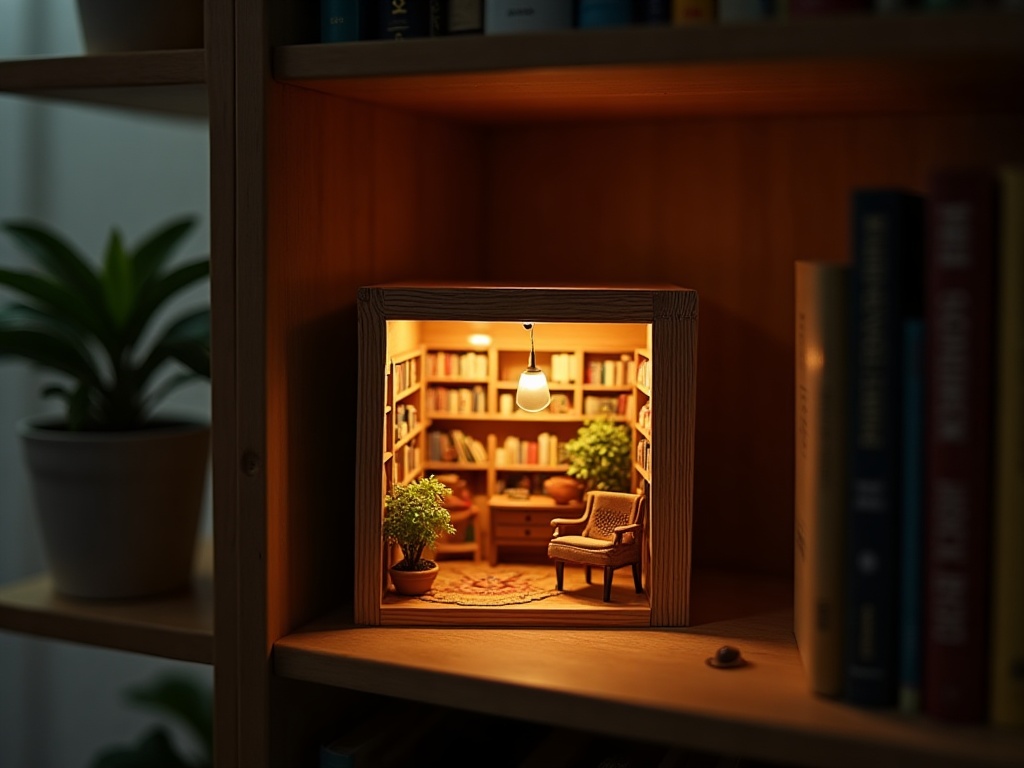
You slide it between two books on your shelf. You flip the switch. A warm amber glow spills out, illuminating a tiny armchair, a spiral staircase, a minuscule stack of leather-bound volumes. Your friends stare. Your kids ask how you did it. You smile, because you built every single piece of it yourself.
Making a book nook for beginners is more accessible than it looks. The craft has exploded in popularity over the last few years, and for good reason: it sits right at the intersection of architecture, interior design, storytelling, and meditative handwork. Whether you’re working from a kit or cutting your first balsa wood panels from scratch, this guide walks you through every stage of the process with zero assumed experience.
By the time you finish reading, you’ll know exactly which tools you need, how to plan your build, where beginners consistently go wrong, and how to light and finish your nook so it looks like something you’d find in a specialty shop. Let’s get into it.
What Is a Book Nook (and Why Are They So Addictive)?
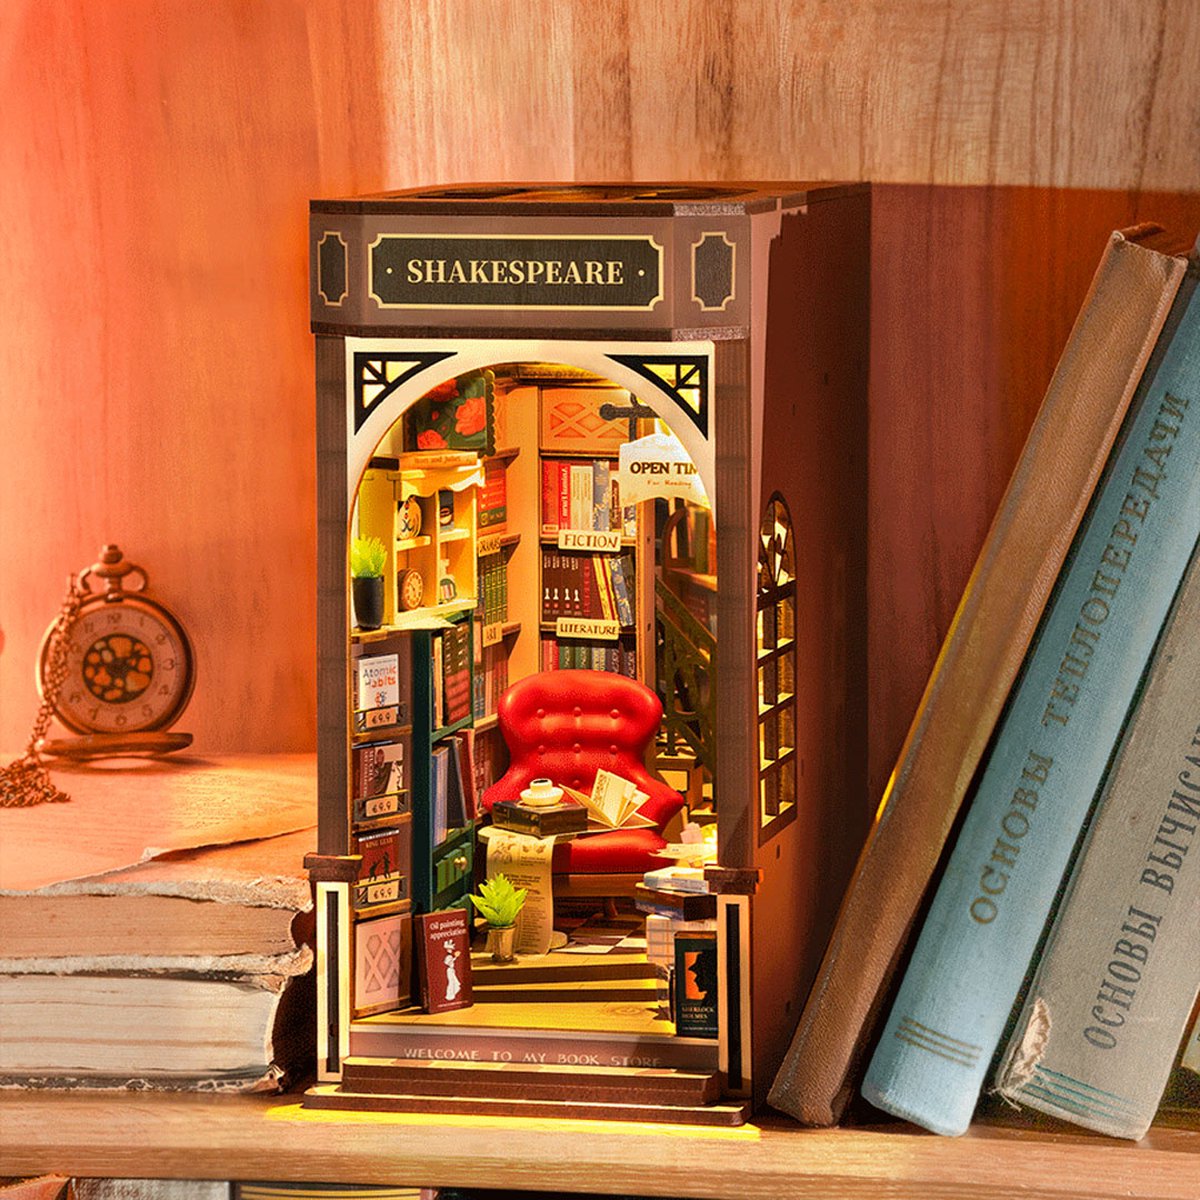
A book nook is a miniature diorama that slots between books on a shelf, creating a portal illusion through narrow depth and warm lighting, typically 5 to 7 inches wide and 4 to 9 inches deep depending on shelf space and build complexity. A book nook is a miniature diorama designed to slide between books on a standard bookshelf. From the front, it reads as a portal into another space: a moonlit alley, a Victorian library, a wizard’s study, a cozy café. The illusion works because the space is narrow and deep, and because lighting creates the sense that the scene extends far beyond its actual dimensions.
Standard book nooks measure roughly 5 to 7 inches wide and 8 to 10 inches tall, sized to fit between typical hardcover books without standing out awkwardly. Depth varies between 4 and 9 inches depending on your shelf and the complexity of your build.
Here’s something that surprises a lot of new builders: the building process itself is remarkably calming. Working at miniature scale forces you to slow down. Each tiny piece gets your full attention. There’s no rushing. Many builders describe it as the craft equivalent of meditation: hands busy, mind quiet, time disappearing pleasantly. That meditative quality is a huge part of why people come back to build a second nook, then a third, then a fifth. Hannah, the founder here, started with a single rainy-Sunday Victorian dollhouse kit in 2021 and hasn’t stopped since.
Explore the full range of book nook kits if you want a curated starting point with every component pre-sourced and pre-cut.
Kit Build vs. Scratch Build: Choosing Your Starting Point
Kit builds are the better starting point for most beginners, offering pre-cut panels, included accessories, and guided instructions for 6 to 20 hours of work, while scratch builds give complete creative control but require 15 to 40-plus hours and intermediate measuring and cutting skills. One of the first choices you’ll face is whether to start from a kit or design your own nook from raw materials. Both paths are valid. They just suit different people and different moments in a builder’s journey.
Starting with a Book Nook Kit
A quality kit gives you pre-cut wooden panels, pre-printed paper elements, miniature furniture and accessories, LED lighting components, and step-by-step instructions. You supply the glue, basic tools, and a few hours of focused time.
- Difficulty: Beginner-friendly. Most kits are rated 2 to 3 out of 5 stars for difficulty.
- Time commitment: Typically 6 to 20 hours across multiple sessions depending on kit complexity.
- Best for: First-time builders, gift recipients, anyone who wants a guided, satisfying experience without sourcing individual parts.
- What’s included: Pre-cut MDF or wooden panels, wallpaper and flooring sheets, miniature props, LED strip or fairy lights, instruction booklet.
Kits remove the intimidating early hurdles: no need to measure and cut structural walls, no need to hunt for matching miniature accessories. The creative decisions still feel meaningful because you’re assembling, painting, and arranging, but you’re not starting from a blank slate. For a gentle first experience, the Tranquil Life DIY Miniature House Kit below has become a community favorite precisely because its instructions photograph every step clearly and the included cottage scene rewards even a cautious first-timer with a genuinely beautiful result.

Building a Book Nook from Scratch
Scratch building gives you complete control over dimensions, theme, and every design choice. You’ll work with balsa wood, thin plywood, or MDF board, cutting panels to your own measurements and sourcing or handmaking all decorative elements.
- Difficulty: Intermediate. Comfortable with measuring, cutting, and planning before you begin.
- Time commitment: 15 to 40-plus hours for a first project.
- Best for: Builders who want a specific theme, experienced crafters expanding their skills, or anyone who finds the design process as satisfying as the build itself.
The step-by-step process below works for both approaches. Kit builders can skip the measuring and cutting sections; scratch builders should pay particular attention to those stages.
Kit vs. Scratch: Quick Comparison
Not sure which path fits you? This side-by-side breakdown covers the most practical differences at a glance.
| Factor | Kit Build | Scratch Build |
|---|---|---|
| Skill level needed | Beginner-friendly | Intermediate |
| Time investment | 6 to 20 hours | 15 to 40+ hours |
| Tools required | Glue, tweezers, brushes | Craft knife, ruler, saw, clamps |
| Parts sourcing | All included | You source everything |
| Creative control | Moderate (theme is set) | Complete |
| Upfront cost | $40 to $160 (all-in) | Variable; can be lower or higher |
| Best first result? | Very reliable | Depends on planning |
Tools and Materials You Need Before You Start
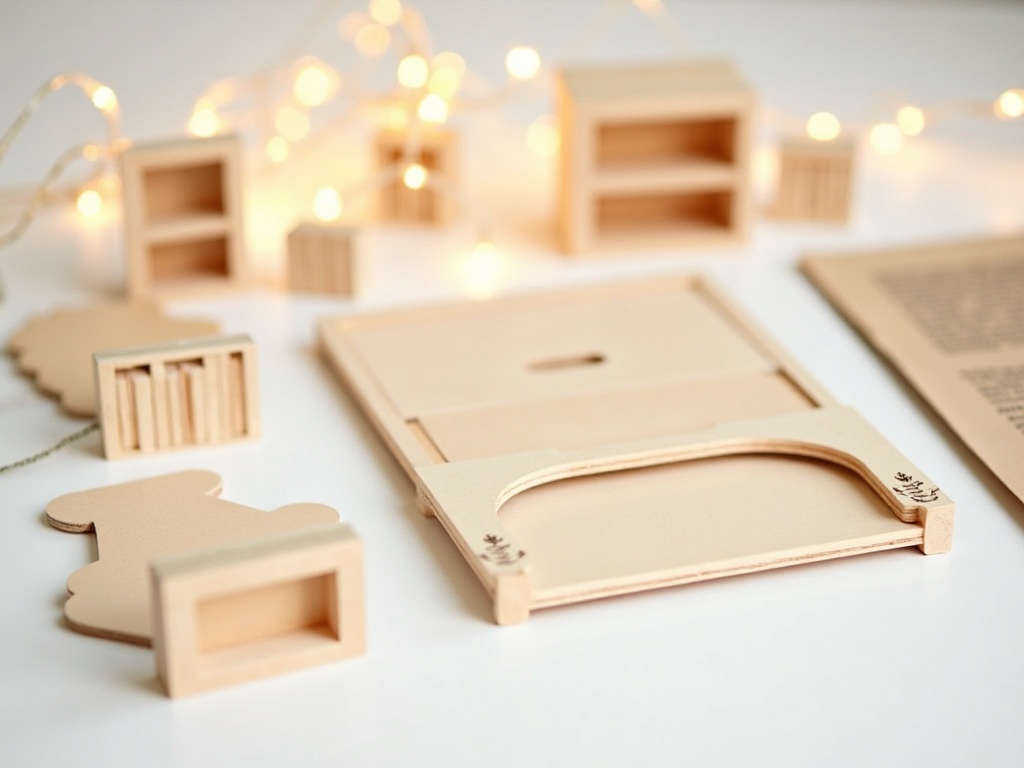
Before your first session, gather a craft knife with fresh blades, a metal ruler, a self-healing cutting mat, fine-tip tweezers, small paintbrushes, sandpaper in 120 and 220 grit, PVA glue, and warm-white LED lights rated 2700K to 3000K. Gathering everything before your first session saves you from abandoned half-built walls while you wait for a delivery. Here’s the core list.
Essential Tools
- Craft knife or X-Acto knife with fresh blades
- Metal ruler (at least 12 inches)
- Self-healing cutting mat
- Tweezers (fine-tip, at least one pair)
- Small flat and round paintbrushes (sizes 0, 2, and 4)
- Sandpaper in 120 and 220 grit
- Toothpicks or skewers (for applying glue precisely)
- Clamps or binder clips (to hold panels while glue dries)
- Scissors
Materials for a Scratch Build
- 3mm or 5mm MDF board, balsa wood, or thin plywood for walls and floor
- Acrylic paints in your chosen palette
- PVA glue and super glue (gel formula for tiny parts)
- Miniature wallpaper or decorative paper
- LED fairy lights or a USB LED strip (warm white, 2700K-3000K gives the best glow)
- Miniature accessories (furniture, plants, books, figures)
- A mirror piece for the back wall (creates depth illusion, optional but transformative)
For accessories, browse the book nook accessories collection where you’ll find miniature furniture, doors, staircases, and lighting components sized specifically for standard book nook dimensions.
✨ Hannah’s tip
Buy two sets of blades for your craft knife before you start. Dull blades cause more beginner mistakes than almost any other factor: they tear rather than cut, which ruins clean edges on your MDF panels and paper elements. Swap to a fresh blade every 20 to 30 cuts and you’ll notice an immediate difference in precision. It’s one of those small habits that separates a tidy build from a frustrating one.
Buy two sets of blades for your craft knife before you start. Dull blades cause more beginner mistakes than almost any other factor: they tear rather than cut, which ruins clean edges on your MDF panels and paper elements. Swap to a fresh blade every 20 to 30 cuts and you’ll notice an immediate difference in precision. It’s one of those small habits that separates a tidy build from a frustrating one.
Step-by-Step: How to Build Your First Book Nook
Build your book nook in seven ordered stages: plan your theme and measure your shelf gap first, then build the outer box, decorate walls before assembly, run lighting before placing any furniture, add furniture back to front, attach the back wall last, and finish the exterior. Work through these stages in order. Skipping ahead, especially on drying times, is the most common reason a nook ends up slightly warped or with visible gaps.
Step 1: Plan Your Theme and Dimensions
Measure the gap between the books on your shelf before you build anything. Write down the exact width, height, and available depth. Your nook’s outer box needs to fit those numbers with about a quarter-inch of clearance on each side.
Choose your theme now. Cozy library, enchanted forest, Asian street scene, bakery, lighthouse interior: whatever fires you up. Sketch the main elements on paper. You don’t need drafting skills. A rough bird’s-eye view of where the furniture sits and a front-view sketch of what the viewer sees is enough. Having this reference prevents mid-build second-guessing and saves real time.
Step 2: Build the Outer Box (the Shell)
If you’re working from a kit, this step is largely pre-done. Dry-fit all the panels first to confirm alignment, then glue and clamp.
For a scratch build, cut your side walls, back wall, floor, and ceiling from your chosen board. The side walls run the full depth of your nook. The floor and ceiling span between them. Sand all edges to 220 grit before assembling. Glue the floor between the two side walls first, confirm it’s square with a triangle tool, and let it cure for at least 30 minutes before adding the ceiling.
The back wall attaches last, after interior decorating is mostly complete. Working in a box with no back wall is dramatically easier.
Step 3: Decorate Interior Walls and Floor Before Assembly
This is the step most beginners skip, and they immediately regret it. Painting, wallpapering, and applying flooring textures to flat panels is ten times easier than doing the same work inside an assembled box.
- Apply a base coat of acrylic paint to any wooden surface that will show.
- Cut and dry-fit your wallpaper or decorative paper before gluing. Trim it slightly small rather than slightly large (you can add a thin strip; you can’t undo a wrinkle).
- Apply flooring sheet or paint to the floor panel before gluing it into the box.
- Let everything dry completely before the next step.
Step 4: Run Your Lighting First
Lighting goes in before furniture, not after. This is the other mistake that causes rebuilds.
Plan where your LED strip or fairy lights will run: typically along the top interior edge, tucked behind a cornice or beam, angled to wash light down the back wall. Thread the wire out through a small notch in the back wall or floor so the power source sits outside the nook.
Test the lighting before you glue anything. Check for hot spots (areas of harsh brightness) and shadows. Add a small piece of tissue paper over LED dots to diffuse light softly. A warm white temperature (2700K to 3000K) reads as candlelight and firelight, which suits almost any cozy theme.
Step 5: Build and Place Furniture from Back to Front
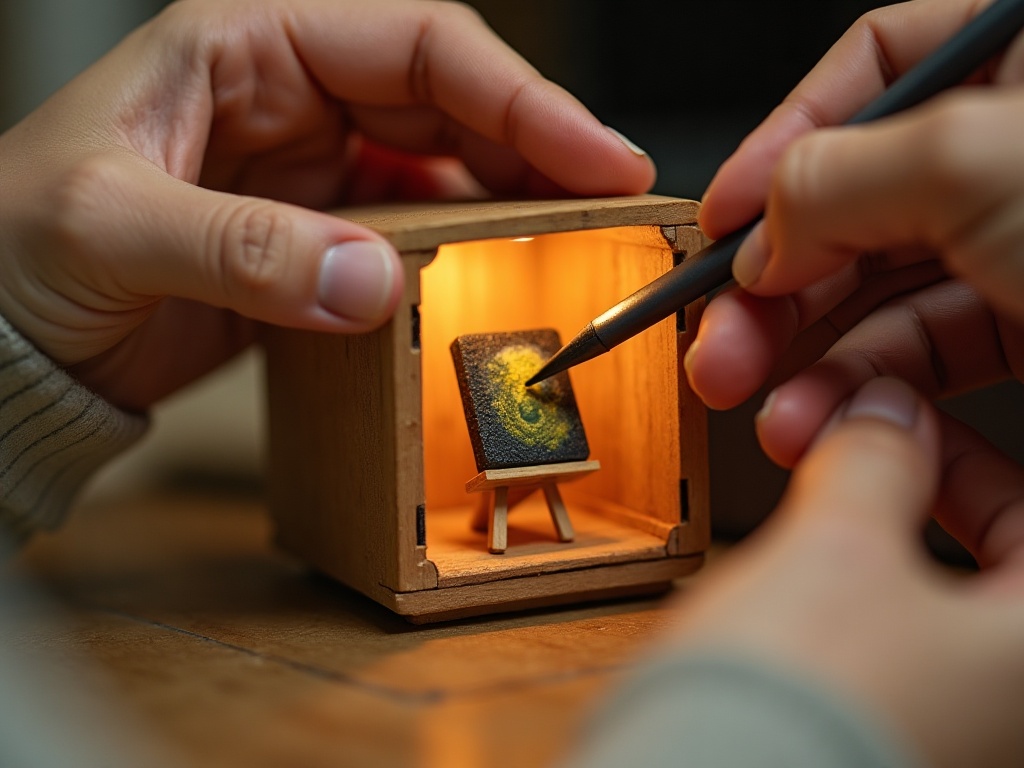
Always work from the deepest point of the nook toward the front opening. Place background elements first: a painted mural or wallpaper feature on the back wall, tall furniture, architectural elements like stairs or archways. Mid-ground pieces come next: tables, chairs, shelving units. Foreground details close to the opening come last.
Use PVA glue for paper and larger wooden pieces. Use gel super glue for tiny resin or metal accessories. Apply glue with a toothpick. When the piece is resin or has an irregular base, hold it in place for 60 seconds before releasing. Tweezers give you the control your fingers can’t at this scale.
Resist the urge to crowd every inch. Negative space, small pockets of shadow and empty floor, makes the lit elements feel more deliberate and the scene feel more like a real place. A solitary armchair with a side table and open book carries more emotional weight than a crowded room full of accessories competing for attention.
Step 6: Add the Back Wall and Depth Tricks
Before you glue the back wall permanently, consider attaching a small mirror. A mirror cut to the back wall dimensions creates an optical illusion of space: your 6-inch-deep nook appears to extend infinitely. Even an inexpensive craft mirror sheet produces a striking effect. You’ll find the right size and shape of mirror sheet in the accessories collection.
Alternatively, paint a trompe-l’oeil (forced-perspective) mural on the back wall: a corridor that narrows, a staircase that spirals upward, a window showing a distant landscape. The perspective exaggerates distance and makes the scene feel alive. Even a beginner-level rendering works at this scale because the eye fills in the details when the lighting is good.
✨ Depth trick from the workbench
Cut two or three progressively smaller doorway or window frames from thin card and stack them at intervals from front to back. Each frame is slightly smaller than the one in front of it. The result is a forced-perspective tunnel that reads as a long corridor even when the actual depth is just a few inches. Simple, inexpensive, and genuinely impressive.
Cut two or three progressively smaller doorway or window frames from thin card and stack them at intervals from front to back. Each frame is slightly smaller than the one in front of it. The result is a forced-perspective tunnel that reads as a long corridor even when the actual depth is just a few inches. Simple, inexpensive, and genuinely impressive.
Step 7: Finish the Exterior and Install

Sand the exterior of your box lightly and paint or stain it to match your shelf aesthetic. Many builders paint the exterior in matte black, dark walnut stain, or a color that matches their bookshelf so the nook appears to recede behind the books, making the interior glow even more dramatically.
Add a decorative front frame if you like: a thin strip of wood painted to look like an archway or doorframe makes the whole build look intentional and finished. This single detail is often the difference between a build that looks DIY and one that looks like something from a craft gallery.
Slide it into place. Arrange the books on either side to tuck against the nook. Turn on the lights. Take a moment to enjoy what you made.
📜 Did you know?
The modern book nook trend is widely credited to a British designer named Monde Moshari, who began sharing intricate bookshelf dioramas around 2018 to 2019. The concept caught fire on Reddit and Instagram almost immediately, spawning a global community of miniature builders. By 2023, book nook kits had become one of the fastest-growing craft kit categories in the US market, with search interest growing over 400% between 2019 and 2024 according to Google Trends data.
The modern book nook trend is widely credited to a British designer named Monde Moshari, who began sharing intricate bookshelf dioramas around 2018 to 2019. The concept caught fire on Reddit and Instagram almost immediately, spawning a global community of miniature builders. By 2023, book nook kits had become one of the fastest-growing craft kit categories in the US market, with search interest growing over 400% between 2019 and 2024 according to Google Trends data.
Common Beginner Mistakes (and How to Avoid Them)
The single most damaging beginner mistake is gluing the back wall on too early, which locks you out of your workspace; the other costly errors are using too much glue, skipping the dry-fit stage, choosing a theme that is too complex, and installing lighting after the furniture is already in place. Every builder makes some version of these errors on a first project. Knowing them ahead of time puts you genuinely ahead of the curve.
Mistake 1: Gluing the Back Wall On Too Early
The back wall closes your workspace. Once it’s on, reaching into the back corners to place accessories, fix the wallpaper, or adjust lighting is nearly impossible. Leave the back wall off until you’ve completed at least 80% of the interior work.
Mistake 2: Using Too Much Glue
PVA glue expands slightly as it dries and can warp thin paper elements. Super glue runs under pieces and leaves white haze on dark surfaces. Use both sparingly: a thin layer applied with a toothpick, not squeezed from the bottle directly. Less is genuinely more at this scale.
Mistake 3: Skipping the Dry-Fit Stage
Always assemble your box without glue first. Check that every panel aligns, every angle is square, every piece fits. Discovering a miscut panel after glue has dried is deeply frustrating. Five minutes of dry-fitting saves a potential rebuild.
Mistake 4: Choosing Too Complex a Theme for a First Build
A scene with 40 tiny accessories, intricate curved staircases, and 6 light zones is a wonderful third or fourth project. For your first nook, choose a theme with 10 to 20 focal accessories and a clear focal point. A single armchair next to a lit fireplace reads more powerfully than a cluttered scene where nothing stands out.
Mistake 5: Ignoring Scale Consistency

Most book nook accessories are sized to 1:12 scale (where 1 inch equals 1 foot in real life). Mixing accessories from different scales breaks the illusion immediately. A chair that’s twice the size of the adjacent table pulls the viewer’s eye out of the scene. Check scale before purchasing any accessory. All pieces in our accessories collection list their scale in the product description.
Mistake 6: Installing Lighting as an Afterthought
Lighting wires are stiff and bulky compared to the delicate interior of a finished nook. Running them after furniture is placed means disturbing or breaking pieces you’ve already carefully positioned. Wire first. Furniture second. Always.
Painting and Aging Techniques That Make a Nook Look Handcrafted
Three simple techniques cover nearly all the painting you need: dry brushing creates instant aged wood or stone texture in under two minutes per panel, washes add depth and shadow in recesses, and sponge stippling produces convincing mottled plaster on interior walls. Raw, unpainted MDF looks exactly like what it is. A few simple painting techniques transform it into something that reads as stone, brick, aged wood, or plaster. None of these require any prior painting experience.
Dry Brushing for Texture
Load a stiff brush with a small amount of lighter paint, wipe most of it off on a paper towel until the brush is almost dry, then drag it lightly across a textured surface. The paint catches raised edges and leaves recesses darker. Applied over a dark base coat, this technique creates instant aged wood or stone texture in under two minutes per panel.
Washes for Depth
Thin a darker paint color to a watery consistency (roughly 1 part paint to 8 parts water). Brush it across a surface and let it settle into recesses and joints. Wipe the raised areas lightly with a dry cloth while still wet. The wash reads as age, grime, and shadow, all of which add believability to a miniature scene.
Sponge Stippling for Walls
A torn piece of kitchen sponge dipped lightly in paint and dabbed on a wall surface creates a mottled plaster or stone texture that looks far more convincing than a smooth painted wall at miniature scale.
These three techniques cover 90% of what you’ll need for a realistic, finished-looking DIY book nook. Practice them on a scrap piece of wood before applying to your actual panels. Ten minutes of practice on scrap is worth more than an hour of reading about painting theory.
Lighting Your Book Nook: The Detail That Makes Everything
Warm white LEDs at 2700K to 3000K are the best default lighting choice for a book nook, hidden behind beams or cornices so the viewer sees glowing light rather than the LED chip itself, which transforms even a simple interior scene into something magical. Bad lighting turns a beautifully built scene into a flat, forgettable box. Good lighting makes even a simple scene feel magical. This is the single area where a small investment in time pays the biggest visible return.
- Warm white LEDs (2700K-3000K): The default choice. Reads as firelight, lamplight, candlelight. Works for 90% of themes.
- Cool white LEDs (5000K-6000K): Use for moonlight scenes, sci-fi themes, or window light coming from outdoors.
- Colored LEDs: Deep amber for tavern scenes, soft blue for winter/nighttime, soft green for forest themes. Use color as an accent, not the primary source.
- Fairy lights: Organic, slightly imperfect distribution of light. Great for scenes where the light source is supposed to be candles or string lights within the scene.
- USB-powered LED strips: Consistent, controllable, easy to dim. Best choice for a clean, professional finish.
Hide the light source from direct view. If the viewer can see the LED chip itself, the illusion breaks. Tuck lights behind beams, under shelves, above cornices, or behind a false ceiling. The goal is to see light, not its source.
Frequently Asked Questions about Making a Book Nook
Everything you might be wondering (click a question to expand).
How long does it take to make a book nook as a beginner?
A beginner working from a kit typically spends 6 to 15 hours on their first nook, spread across several sessions. Scratch builds take longer, usually 15 to 30 hours for a first project. Working in sessions of 1 to 2 hours rather than marathon sittings gives glue time to cure and keeps your eyes sharp for detail work. Many builders say their second nook takes about half the time of the first, simply because the process is no longer unfamiliar.
What is the best glue for book nook building?
Use PVA (white craft glue) for wood-to-wood and paper-to-wood joins. It dries clear, has a workable open time of several minutes, and doesn’t warp most materials if applied thinly. Use gel-formula super glue for resin accessories, metal parts, and any joint that needs to hold under light stress. Avoid liquid super glue for tiny pieces because it runs and leaves haze marks. A toothpick is the best applicator for both types at miniature scale.
Do I need any special skills to make a book nook?
No prior miniature-building experience is needed. Basic comfort with a craft knife and ruler helps, but most kit builds require nothing more than patience and a steady hand. If you’ve ever built a puzzle, painted a canvas, or assembled flat-pack furniture, you have the baseline skills to complete your first book nook for beginners successfully.
Can children make book nooks?
Older children (12 and up) can absolutely take part, especially with a parent present for any craft knife steps. Many families build book nooks together as weekend projects. Some kits are specifically rated for younger builders and use pre-scored panels that snap apart rather than requiring cutting. Check the difficulty rating and included tools list before buying a kit as a gift for a younger crafter.
How do I choose the right book nook kit as a complete beginner?
Look for kits rated 1 to 2 out of 5 for difficulty, with clear step-by-step photo instructions and pre-cut panels. Kits that include lighting components save a separate sourcing step. Themes with a simple interior (one room, one main light source, 15 to 25 accessories) are easier to complete successfully than multi-room or multi-level designs. The beginner book nook kits collection is filtered by difficulty so you can find the right starting point quickly.
What tools do I absolutely need versus which are optional?
The non-negotiables for any build are a sharp craft knife, a metal ruler, tweezers, PVA glue, and a self-healing cutting mat. Everything else, including clamps, specialty brushes, and gel super glue, improves results but can be improvised in a pinch. Binder clips work instead of clamps. A folded piece of card holds a panel square while you wait for glue to cure. The tools list in this guide represents the ideal setup, not a strict prerequisite list.
Taking Your Build Further: What Comes After Your First Nook
After finishing your first nook, most builders start planning the second before the glue on the first is fully cured, using that project to try more complex lighting, scratch-built furniture, and forced-perspective illusions now that the core process feels familiar. Finishing your first nook changes how you see the craft. Suddenly, you notice the miniature furniture in antique shops differently. You start sketching theme ideas on napkins. You find yourself calculating whether a gap on your shelf could fit a second diorama.
Most builders who complete one nook start planning the next before the glue on the first is fully cured. The second project is where real skill-building happens: you already know the process, so your brain is free to experiment with more complex lighting setups, scratch-built furniture, or multi-room illusions using forced perspective. Builders in our community often share that the jump between nook one and nook two is the most exciting creative leap they experience in any craft hobby.
Browsing miniature accessories between projects keeps your creative ideas flowing. Seeing a tiny brass telescope or a set of hand-painted ceramic jars often sparks a whole new theme. The community shares builds constantly, and looking at what others create at every skill level remains one of the best sources of inspiration this hobby offers.
When you’re ready to push further, the miniature house kits collection opens up a bigger canvas: full facades, multiple rooms, and more elaborate lighting schemes that build directly on every skill you’ve developed through book nook work.
Start simple. Build with patience. Light it well. The results will genuinely surprise you. ✨
