🎁 Buy 2 kits, get the 3rd FREE · Free shipping on every order

Your First Miniature Kit Toolkit for Beginners: What You Actually Need
A practical, no-fluff breakdown of every tool a beginner needs to build a miniature kit successfully, including a cost table, what to skip, and smart add-ons for a second build.

You open the box. Tiny wooden walls, miniature shingles, a sheet of printed wallpaper the size of a playing card. Everything feels precious and slightly terrifying. This is the moment almost every new miniature builder knows: the kit looks beautiful, but the tools scattered in that first frantic search through a junk drawer definitely don’t match the ambition on the box.
Building a miniature kit toolkit for beginners is not about buying everything at once. It is about knowing which six tools solve 90% of your early-build frustrations, and which purchases can wait until your second or third project. When I started with that first Victorian dollhouse kit back in 2021, I wasted close to $150 on gear I never touched before build three. This guide saves you that detour.
Why Your Tool Setup Matters More Than Your Skill Level
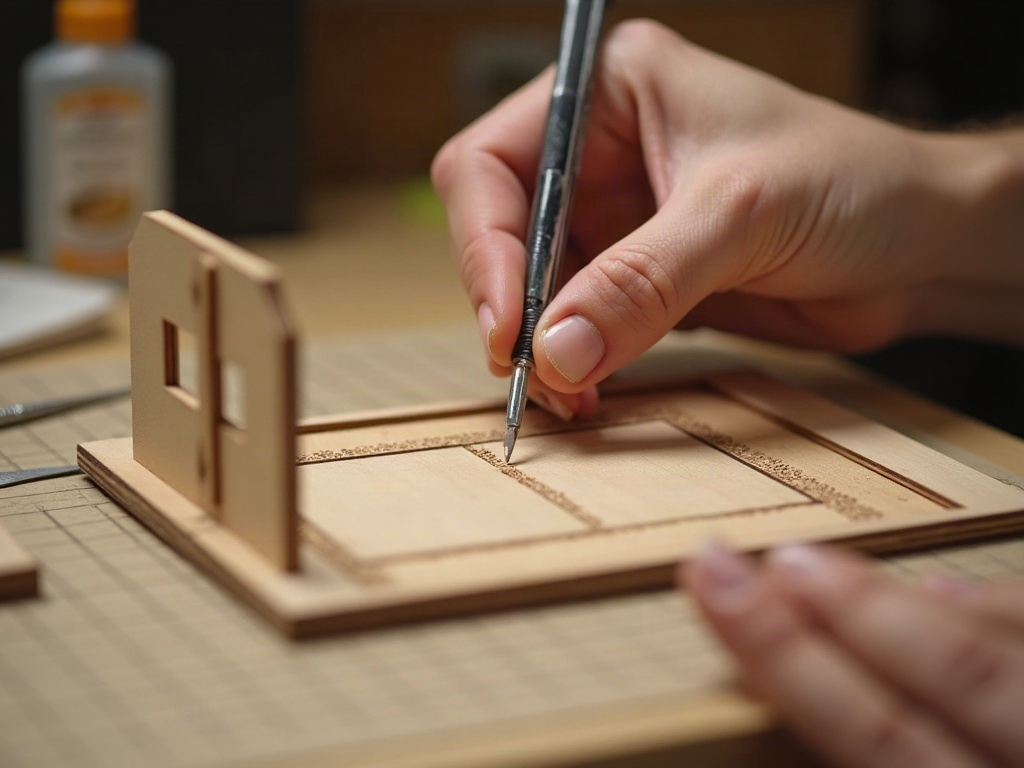
Your tool setup matters more than skill because the wrong adhesive or a dull blade causes most beginner mistakes, not lack of talent; fixing those two things alone transforms a frustrating build into an absorbing, meditative experience. New builders often blame themselves when a door frame won’t sit flush or a staircase railing looks wonky. Nine times out of ten, the real culprit is the wrong adhesive or a blade that’s three projects past its prime. Craft tools are consumables disguised as equipment, and treating them like permanent fixtures slows down every build.
Good tools do something else, too. They make the process feel meditative rather than frustrating. When I started building, I remember the exact session when a fresh #11 blade finally replaced the dull one I’d been fighting with for two weeks. The difference was immediate and almost emotional: the balsa just parted cleanly, the printed wallpaper trimmed without tearing, and I actually finished a wall section in one sitting instead of giving up after twenty minutes. When a thin blade slides cleanly through balsa wood and a precision tweezer places a 3mm flower into a window box without a fight, you enter that quiet, absorbed state that miniature builders describe again and again in the community. That feeling is worth protecting. Blunt scissors and wrong-gauge wire cutters steal it.
I’ve watched builders in our community go through the same cycle: struggle with bad tools, consider quitting, discover the right setup, fall completely in love with the hobby. The number-one regret shared in beginner build threads is not starting with better cutting and adhesive tools. Everything else is secondary.
📜 Did you know?
Miniature building as a hobby traces back at least to 16th-century Europe, where cabinet makers crafted scaled room boxes to display furniture craftsmanship to wealthy clients. The tools used then, fine chisels, bone folders, and jeweler’s tweezers, are remarkably similar to what builders reach for today. Precision has always been the point.
Miniature building as a hobby traces back at least to 16th-century Europe, where cabinet makers crafted scaled room boxes to display furniture craftsmanship to wealthy clients. The tools used then, fine chisels, bone folders, and jeweler’s tweezers, are remarkably similar to what builders reach for today. Precision has always been the point.
The Core 6: Beginner Miniature Kit Tools That Earn Their Place
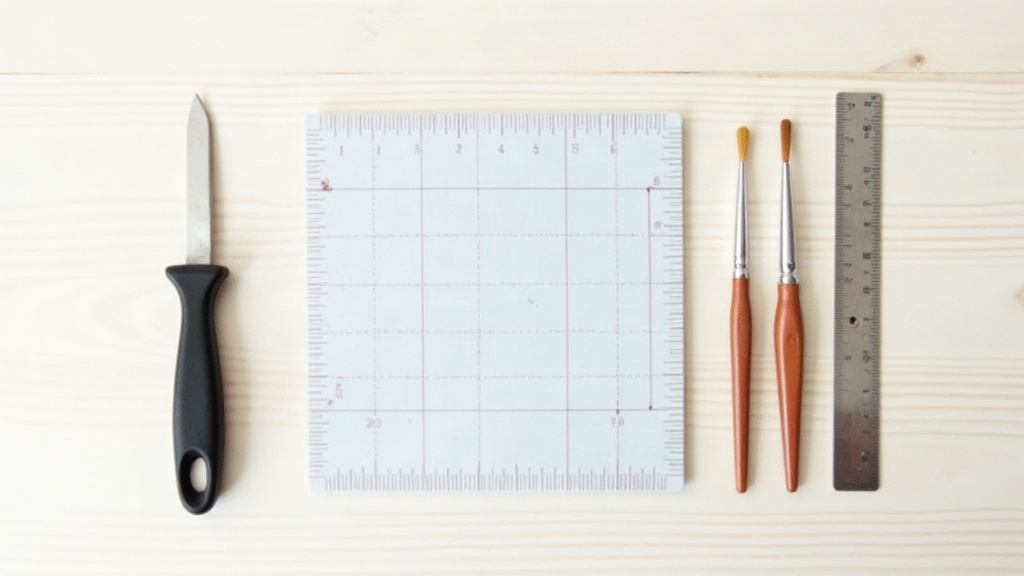
The six essential beginner miniature kit tools are a precision craft knife, a self-healing cutting mat, two pairs of tweezers, tacky glue with a precision applicator, a metal ruler, and flat brushes in two sizes. Think of your miniature kit toolkit for beginners in two tiers: the non-negotiables you buy before you crack open a kit, and the helpful additions you add after your first build. Here are the six tools that belong in tier one. I use every single one on every build, without exception.

Bestseller cottage kit
Tranquil Life DIY Miniature House Kit
The kit I recommend most to first-time builders: clean instructions, satisfying scale, and every component pre-cut so your Core 6 tools shine from the very first session.
$67.90
1. A Precision Craft Knife with Spare Blades
A #11 blade on a lightweight aluminum handle is the standard for a reason. It handles straight cuts on balsa sheets, trims printed paper panels, and scores fold lines on cardstock without tearing. Buy a pack of at least 10 spare blades. Change blades more often than you think you need to. A slightly dull blade applies pressure instead of cutting, which is what causes ragged edges and slipped cuts. A quality craft knife with a 10-blade starter pack typically runs $8 to $12 total, which makes it the best value-per-frustration-saved item on this entire list. You can find reliable options in our tools and accessories collection.
2. Self-Healing Cutting Mat (at Least 9″ x 12″)
This is not optional. Cutting on a hard table surface causes blades to skip, damages the table, and kills precision. A self-healing mat gives the blade a slight grip, extends blade life, and protects work surfaces. The grid printed on most mats also doubles as a quick squaring guide when gluing frames. When I started building, I skipped this for two weeks and then wondered why my cuts kept drifting. Five minutes after setting up the mat, every line improved. Don’t skip it.
3. Precision Tweezers (Fine-Tip and Curved Tip)
You will need at least two pairs: one straight fine-tip for placing flat items like furniture decals or pressed flowers, and one curved tip for reaching into corners or handling tiny 3D pieces without blocking your line of sight. Stainless steel tweezers in the 4-5 inch range give the best control for 1:12 scale work. I’ve tried every pair I can find and the curved-tip ones earn their keep the moment you’re placing a 2mm chair leg into a dining room scene. They’re worth the extra $3.
4. Tacky Glue and a Precision Tip Applicator Bottle
Tacky glue (also sold as thick PVA craft adhesive) is the workhorse of miniature kit assembly. It dries clear, repositions for about 30 to 60 seconds, and bonds wood, paper, fabric, and most plastics reliably. Transfer it into a small bottle with a metal precision tip. A blunt tip or wide nozzle on a standard bottle is responsible for more glue blobs on finished surfaces than any other single factor. The precision applicator bottle itself costs around $3 to $5 and is genuinely transformative for anyone who has ever squeezed a regular glue bottle and watched a fat bead land on a painted floor panel. See related tips in our guide to how to build a miniature house kit.
5. Metal Ruler (6″ or 12″)
A metal straightedge does two jobs: guide cuts with a craft knife without shaving the ruler itself (plastic rulers get nicked instantly and then guide the blade into a curved line), and check that wall panels are plumb before glue sets. A 6″ ruler handles most miniature-scale work. A 12″ version is worth having for larger kits. I keep both on my workbench and reach for the 6″ one about four times as often.
6. Flat Brushes in Two Sizes (Size 4 and Size 1)
Painting and gluing both require good brush control. A flat size-4 brush covers walls and floors quickly and evenly. A size-1 detail brush handles trim, furniture, and touch-ups. Synthetic bristles clean up fast and hold their edge longer than natural hair for water-based acrylics, which is the standard paint type for miniature kits. Keep a small cup of water nearby and rinse after every color change. Dried acrylic in bristles is the silent killer of otherwise good brushes.
🪄 Hannah’s tip: the 6-tool rule
When I’m testing a new kit at my workbench, I deliberately limit myself to these six tools for the entire first session. No extras, no “just in case” additions. It forces precision and reveals exactly where a kit’s instructions are clear versus where they need a workaround. Every kit we stock at miniature-house.com has passed this 6-tool test. If a build requires obscure equipment just to follow the basic steps, it doesn’t make it onto our shelves.
When I’m testing a new kit at my workbench, I deliberately limit myself to these six tools for the entire first session. No extras, no “just in case” additions. It forces precision and reveals exactly where a kit’s instructions are clear versus where they need a workaround. Every kit we stock at miniature-house.com has passed this 6-tool test. If a build requires obscure equipment just to follow the basic steps, it doesn’t make it onto our shelves.
Smart Add-Ons After Your First Build
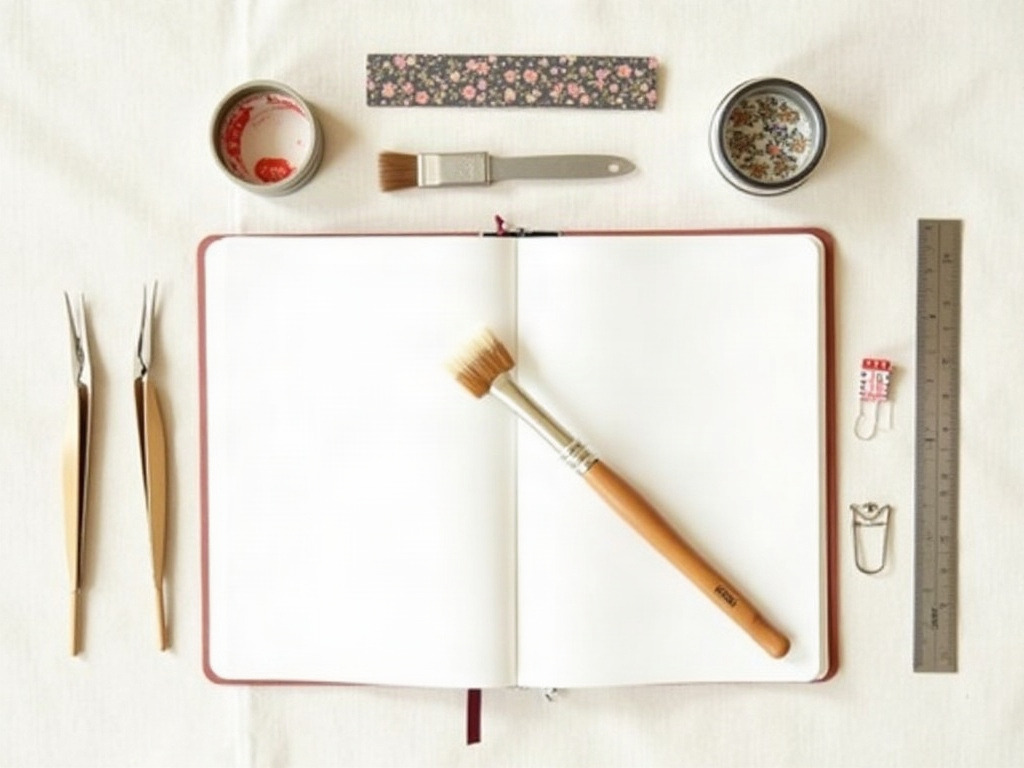
After your first build, the most useful additions are mini clamps, sandpaper strips, washi tape, and a daylight LED lamp; each one solves a specific frustration that only becomes obvious once you’ve finished a complete kit. Once you finish a first kit, you will know exactly where you struggled. That feedback is more valuable than any pre-packed tool list. Still, a few additions help almost every builder at the start of their second project. The Book Nook kit collection is a natural second build for most beginners: the contained format is forgiving and the add-on tools below slot in perfectly.

Explore the collection
All Book Nook Kits
76 handcrafted book nook kits
A brilliant second project after your first house kit: compact, self-contained, and endlessly satisfying when your add-on tools are in place.
Mini Clamps and Clothespins
Tacky glue needs 15 to 30 minutes of hold time to set properly on wood joints. Holding a wall corner in place with your fingers for 20 minutes is not practical. A pack of small binder clips and spring clothespins solves this immediately. They cost almost nothing and prevent the most common assembly frustration: walls that dried slightly out of square. I keep a small glass jar of them on my workbench at all times.
Sandpaper Strips (220 and 400 Grit)
Pre-cut kits sometimes have laser-cut edges with slight char marks or small rough spots from the cutting process. A quick pass with 220-grit paper removes those and creates a cleaner glue surface. A finishing pass with 400-grit before painting gives painted surfaces a noticeably smoother result. Keep strips small, around 2″ x 4″, for control. I fold mine into thirds so I have a fresh surface to work with without burning through a whole sheet.
Washi Tape for Masking and Clamping
Washi tape is low-tack, which means it holds parts in position while glue dries without leaving adhesive residue on finished surfaces. It also works for masking edges before painting floors or trim. One roll of neutral tan washi tape is more useful than it has any right to be. I’ve used the same roll across six builds without running out.

Easy starter under $50
Sun Room DIY Miniature House Kit
The Sun Room’s open-plan layout means your clamps and washi tape add-ons actually shine here: you’re clamping light-frame walls that need gentle, even pressure while the glue grabs, and the floor panels are wide enough to make edge-masking genuinely worthwhile.
$49.99
A Good Light Source
This one sounds obvious until you spend three hours painting tiny furniture under a ceiling light that casts shadows into exactly the corners you need to see. A small LED desk lamp with a daylight bulb (5000 to 6500K color temperature) changes the experience completely. Many builders add a magnifying lens clip to the lamp head for sub-5mm detail work. This is genuinely the add-on that gets mentioned most in our community’s second-build reflections, usually phrased as “I can’t believe I built my first kit without this.”
🪄 Hannah’s tip: the build tray habit
Before you open any kit, set up a dedicated build tray: a shallow rimmed baking sheet or a plastic organizer lid works perfectly. Every tiny piece, bead, shingle, and furniture leg goes into that tray the moment it comes out of the bag. One nudge of the elbow will not send a dozen components across the floor. This single habit has saved more builds (and sanity) in our community than any tool on this list. It costs nothing. It saves everything. 🪄
Before you open any kit, set up a dedicated build tray: a shallow rimmed baking sheet or a plastic organizer lid works perfectly. Every tiny piece, bead, shingle, and furniture leg goes into that tray the moment it comes out of the bag. One nudge of the elbow will not send a dozen components across the floor. This single habit has saved more builds (and sanity) in our community than any tool on this list. It costs nothing. It saves everything. 🪄
What You Can Skip for Now
Laser cutters, epoxy resin, airbrush kits, and heat tools can all wait; beginner miniature kit builds do not need them, and buying them too early wastes money that is better spent on a second kit. Tool marketing for miniature hobbies is enthusiastic. Some items look compelling but genuinely wait until later builds. When I started building, I bought three of the items below within my first month and used none of them before build four.
- Laser cutters and cutting machines: These are for builders who design their own components. Every kit in our miniature accessories collection already has pieces precision-cut and ready to assemble. A personal cutter adds complexity, not value, at the beginner stage.
- Epoxy resin: Beautiful for creating faux water and glass effects, but it requires ventilation, mixing precision, and a cured surface that cannot be easily corrected. Save it for year two.
- Airbrush kits: Excellent for experienced painters. For beginners, flat brushes and good acrylic paint give cleaner results with far less setup and cleanup time.
- Heat tools and embossing guns: Useful for very specific paper crafting effects. Not relevant for most miniature kit builds.
The beginner trap is buying tools for the builder you imagine you’ll become in six months rather than the build in front of you right now. Start narrow. Add tools in response to real friction, not imagined future projects. Your toolkit should grow the same way a miniature room does: one thoughtful piece at a time.
Putting Your Toolkit Together: A Practical Budget Breakdown
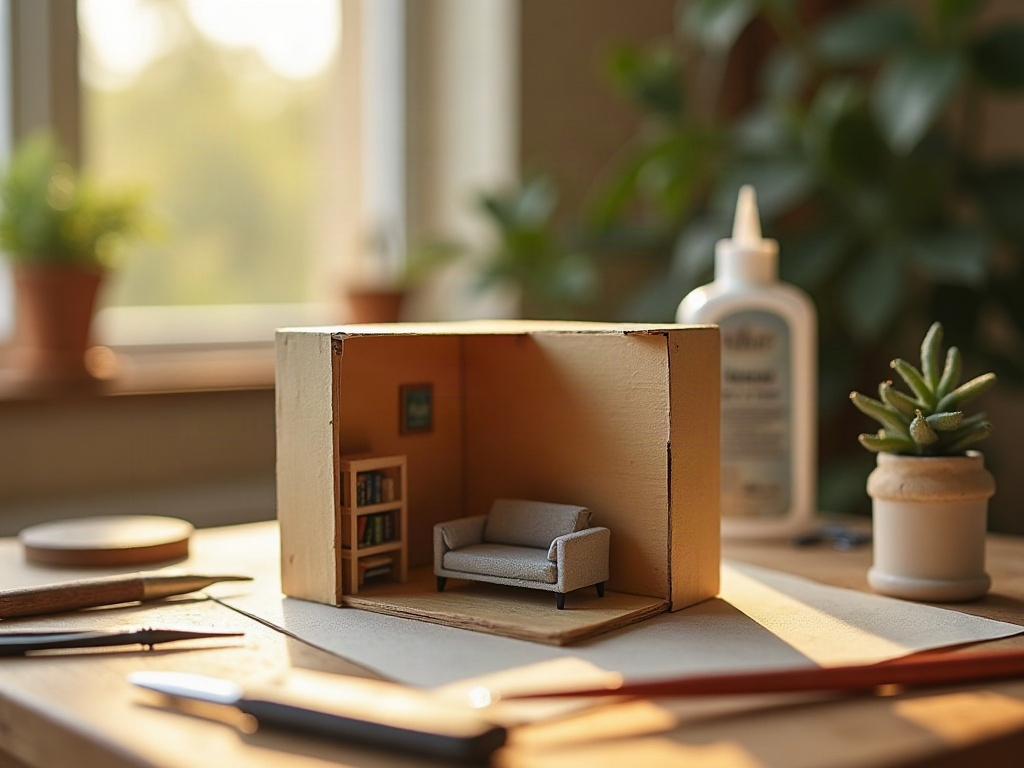
A complete beginner miniature toolkit costs $40 to $70 for the core 6 tools, and under $120 fully loaded; skipping even two of those core tools typically costs more in ruined components than you saved. One of the most common questions in beginner build groups is how much a solid starter toolkit actually costs. Here is a realistic breakdown for 2026 US prices. The short answer: the 6 tools that solve 90% of beginner struggles come in well under $70, and skipping even two of them typically costs you more in ruined components than you saved.
| Tool | Estimated Cost | Priority |
|---|---|---|
| Precision craft knife + 10 blades | $8-$12 | Non-negotiable |
| Self-healing cutting mat (9″x12″) | $10-$16 | Non-negotiable |
| Two pairs of tweezers | $7-$14 | Non-negotiable |
| Tacky glue + precision applicator | $6-$10 | Non-negotiable |
| Metal ruler (6″ or 12″) | $4-$8 | Non-negotiable |
| Flat brushes (size 4 + size 1) | $5-$9 | Non-negotiable |
| Core 6 total | ~$40-$70 | |
| Mini clamps + clothespins | $4-$7 | Add after build 1 |
| Sandpaper strips (220 + 400) | $3-$6 | Add after build 1 |
| Washi tape roll | $3-$5 | Add after build 1 |
| LED desk lamp (daylight bulb) | $18-$35 | Worth adding early |
A complete, capable toolkit comes together for under $120, often closer to $80 if you already own a desk lamp. That covers you through three or four beginner-level kits without gaps. Browse the full range of starter tools and accessories to find curated options that fit this exact list. For those ready to jump straight into a first build alongside their new tools, the miniature house kits collection is a good place to match difficulty level to your comfort zone.

Premium collector piece
Monet’s Garden DIY Miniature House Kit
Once you’ve completed two or three builds with your core toolkit dialed in, Monet’s Garden is the natural step up: the botanical detail rewards the tweezers and brush control you’ve been developing, and the LED lighting makes a daylight lamp more useful than ever.
$155.00
Frequently Asked Questions about Miniature Kit Toolkits for Beginners
Everything you might be wondering (click a question to expand).
Do beginner miniature kits come with tools included?
Most miniature house and room box kits include all the laser-cut or pre-cut components, printed paper sheets, and basic materials like thread or wire. Tools are almost never included. The kit covers what you build; you supply what you build with. A few deluxe starter sets bundle in a small bottle of glue, but a craft knife, mat, and tweezers are your responsibility to source separately. Think of it as the kit providing the canvas, and your miniature kit toolkit for beginners providing the brushes.
Can I use regular scissors instead of a craft knife for cutting?
Scissors work for paper elements and fabric scraps but cannot make the straight, guided cuts that wood panels, printed wallpaper sheets, and card stock require. A precision craft knife with a fresh #11 blade gives you control over cut direction and depth that scissors physically cannot match. For anything structural, scissors are a compromise that shows in the finished piece. I’ve tested both approaches on the same kit and the craft-knife version finishes with noticeably cleaner joins every time.
What glue works best for wood miniature kit assembly?
Thick tacky PVA glue is the right choice for most wood-to-wood joints in miniature kits. It allows a brief repositioning window (around 30 to 60 seconds), dries clear, and sands or paints over cleanly. Super glue (cyanoacrylate) works for instant bonds on non-porous surfaces like metal hardware or acrylic windows, but it sets too fast to adjust structural joints and can fog clear plastic parts if used near them. A precision applicator bottle filled with tacky PVA is the single upgrade that improves most beginners’ results fastest.
Is a magnifying glass necessary for beginner-level miniature building?
Not strictly necessary for most beginner kits, which are designed at 1:12 scale with components large enough to handle without magnification. A good daylight lamp matters more at the start. Magnification becomes genuinely useful when you move into 1:24 or 1:48 scale work, or when you begin painting sub-5mm detail pieces. A clip-on magnifying lens for a desk lamp is a low-cost way to add it when you need it.
What difficulty rating should a gift buyer look for when pairing a kit with a tool set?
For a beginner gift, choose kits rated “easy” or “beginner” explicitly on the packaging, which typically means fewer than 200 components, pre-colored or pre-finished structural parts, and step-by-step illustrated instructions. Pair that with the core-6 toolkit above and the recipient has everything needed for a complete first build. Intermediate and advanced kits assume prior experience with precision cutting and assembly sequencing. Our miniature house kits each carry a clear difficulty rating on their product pages.
How do I know when to replace my craft knife blade?
Replace the blade whenever you notice the knife requiring noticeably more pressure to cut, or when cut edges start to look slightly torn or ragged rather than clean. For most beginners working on a single kit, this means changing blades at least once mid-project, often two or three times for larger builds. Blades are inexpensive and a fresh one genuinely changes the experience. When I started building, I made the mistake of treating blades like they lasted forever. They don’t, and your build quality shows the difference immediately.
Building Confidence Piece by Piece
A well-chosen beginner miniature kit tool set removes the barrier between intention and action, so you stop second-guessing and start seeing walls go up, floors go down, and tiny rooms take shape under your hands. The most satisfying thing about a well-chosen beginner miniature kit tool set is that it removes the barrier between intention and action. You stop second-guessing whether the result will look bad and start actually seeing walls go up, floors go down, and tiny rooms take shape under your hands.
Every experienced builder in this community started with a chaotic first attempt and a slowly improving toolkit. The difference between a frustrating hobby and an absorbing one is usually not talent. It is having a sharp blade, the right adhesive in a controlled applicator, and a good light source. Those three things alone shift the entire experience. I’ve seen it happen dozens of times in our community: one tool upgrade, one technique shared in the comments, and suddenly a builder who nearly quit is finishing their third kit.
Check the full accessories collection for individually curated tools that pair directly with our kits. And when your first build is done, share it. The community learns as much from first attempts as from finished masterpieces, probably more.
