🎁 Buy 2 kits, get the 3rd FREE · Free shipping on every order

How to Build a Miniature House Kit: Your Complete Step-by-Step Guide
A complete, hands-on guide to building a miniature house kit from unboxing to finished display. Covers tools, gluing order, painting, LED lighting, and finishing touches, written by Hannah Brooks for crafters at every level.

The First Time You Open the Box
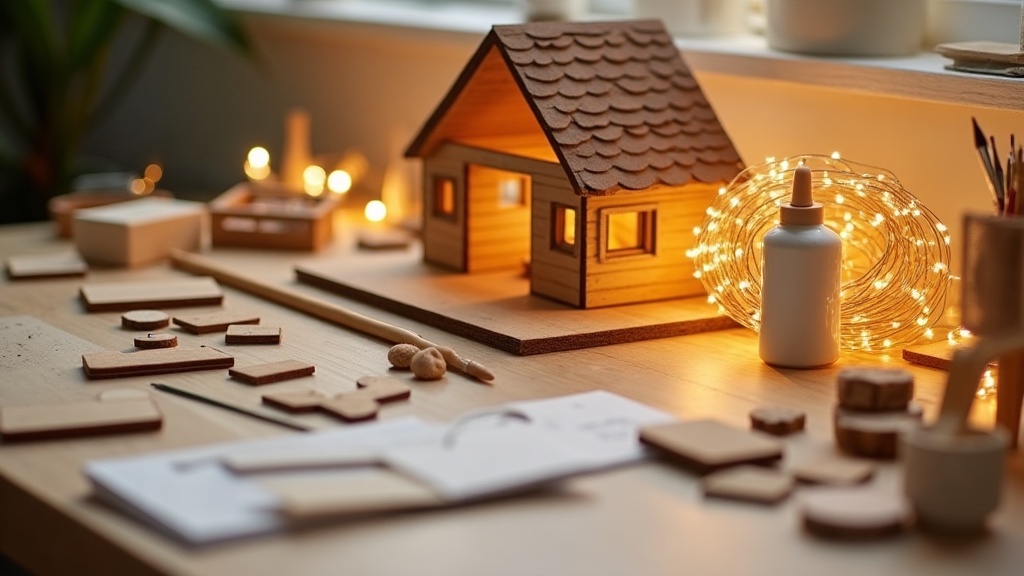
To build a miniature house kit successfully, the single most important first step is to slow down, take stock of every part, and read the entire manual before you touch a single thing. There is a specific kind of quiet that settles over a craft table the moment you lift the lid off a miniature house kit. Dozens of tiny laser-cut panels, sheets of furniture parts, coils of copper wire, and a smell of fresh wood that immediately slows your breathing down. If you have been wondering how to build a miniature house kit and where to even begin, that first breath is actually the most important step: slow down and take stock before you touch a single thing.
I built my first miniature house kit on a rainy Saturday in 2019. I was impatient, skipped the instructions on page two, and glued a wall panel in backwards. It took thirty minutes of careful unpeeling and two broken fingernails to fix. Seven years later I have built more kits than I can count, and the single lesson that never changes is this: read every page of the manual before you pick up the glue bottle. Every single page.
This guide walks you through the entire process from unboxing to lit, decorated display, covering tools, assembly sequence, painting, LED wiring, and the finishing details that separate a “nice project” from something you genuinely want to show off. Whether this is your first kit or your fifteenth, there is something here for you.
Tools and Materials to Gather Before You Start
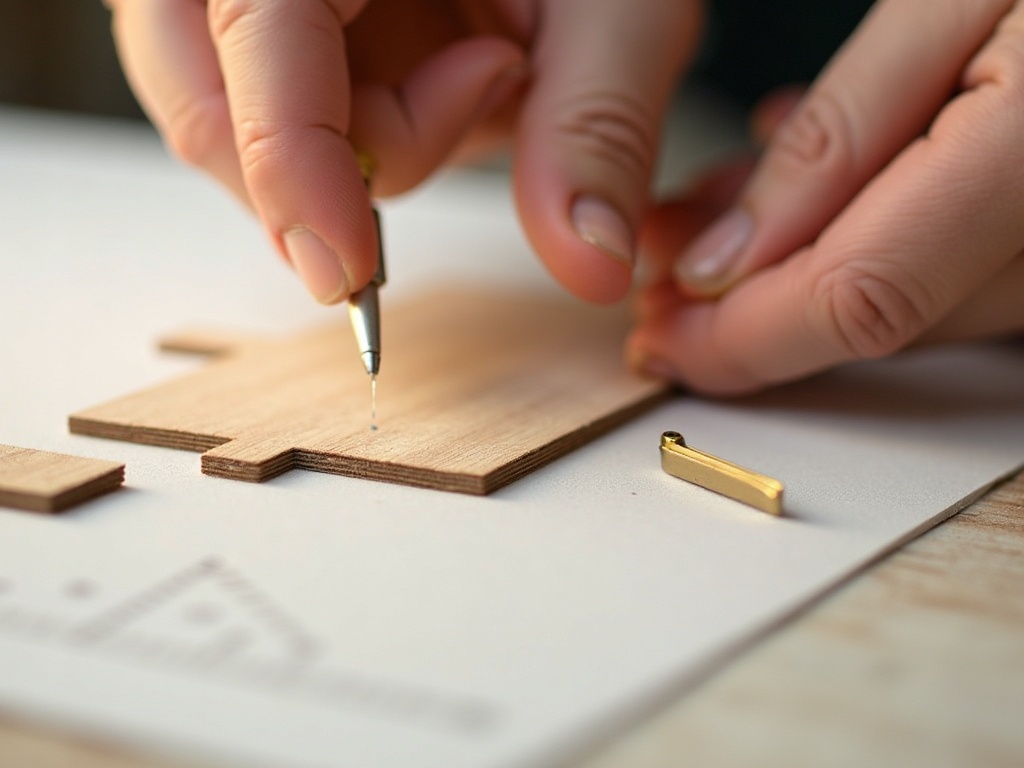
Before starting a miniature house kit build, gather white PVA wood glue, fine-tip tweezers, a self-healing cutting mat, rubber bands, binder clips, and 220-grit sandpaper, these tools make every step dramatically smoother and faster. The kit ships with most of what you need, but a handful of extra tools will make the build dramatically smoother. Gathering them first means you never have to stop mid-panel to hunt for scissors.
The Non-Negotiables
- White PVA wood glue (or a dedicated craft wood glue): dries clear, stays flexible enough to absorb minor bumps, and gives you a short working window to correct mistakes.
- Fine-tip tweezers: you will spend a surprising amount of time placing furniture pieces smaller than a fingernail.
- A self-healing cutting mat: protects your table and gives you a flat, stable surface for pressing joints.
- Rubber bands and mini binder clips: act as free clamps while glue cures.
- A toothpick or a waxed applicator stick: for spreading glue into tight spots without squeeze-out.
- Fine-grit sandpaper (220-grit): smooths any slight burrs left from laser cutting.
Nice-to-Have Additions
- Magnifying glass or a clip-on lens for your glasses: tiny parts are genuinely tiny.
- A small acrylic paint set (at least 12 colors): gives you full control over the color story of the interior.
- Flat and round detail brushes in sizes 0, 2, and 4: covers everything from broad wall washes to tiny door knob dots.
- Matte varnish spray: seals painted surfaces and kills that plastic-looking shine.
- A USB-powered LED light string (warm white, 3V): most kits include one, but a backup is cheap insurance.
Browse the full accessories collection if you want to pick up extra furniture sets, flocking material for lawns, or copper tape for wiring before your build day.
Understanding the Kit Structure Before Assembly Begins
Every miniature house kit is built around the same skeleton: a base, side walls, internal floor dividers, a back wall, and a roof, with furniture layering on top, understanding this hierarchy before you start prevents gluing yourself into an inaccessible corner. Every kit is built around the same logical skeleton: a base, side walls, internal floor dividers, a back wall, and a roof. The furniture and accessories layer on top of that skeleton. Understanding this hierarchy before you start means you will never glue yourself into a corner where a wall blocks access to a section that still needs painting or wiring.
Read the Full Manual First
Set a timer for 15 minutes and read straight through without picking up anything. Note which steps require drying time (glue cures typically need 20-30 minutes before you add load-bearing pieces on top). Mark any steps involving the LED wire, because that wire needs to be routed before walls close up permanently. Highlight steps where painting must happen before assembly, specifically interior walls and flooring.

Sort and Number Your Parts
Lay every panel on your mat. Most kits laser-engrave small numbers or letters on the edges of each piece. Cross-reference those against the parts diagram in the manual. Place parts in sequence order from left to right, or sort them into small zip-lock bags by assembly stage. This step takes 10 minutes and saves 45.
📜 Did you know?
Miniature house building as a hobby dates back to at least the 17th century, when German craftsmen created “Nuremberg houses” as teaching tools for young women learning household management. Those early models were built to 1:12 scale, the same standard used by most modern miniature house kits today. At 1:12, one inch equals one foot, which means a standard interior door stands exactly 7 inches tall in miniature.
Miniature house building as a hobby dates back to at least the 17th century, when German craftsmen created “Nuremberg houses” as teaching tools for young women learning household management. Those early models were built to 1:12 scale, the same standard used by most modern miniature house kits today. At 1:12, one inch equals one foot, which means a standard interior door stands exactly 7 inches tall in miniature.
The Assembly Order That Actually Works
The assembly order that works is: paint all interior surfaces first, then build the base and ground floor, route LED wires before upper floors close, add internal dividers, and only then attach the back wall and roof, in that sequence. Many first-time builders make the same mistake: they assemble the outer shell completely before touching anything else. Then they realize the interior walls still need paint and the LED wire has nowhere to go. The sequence below sidesteps all of that.
Stage 1: Prime and Paint Interior Surfaces (Before Any Gluing)
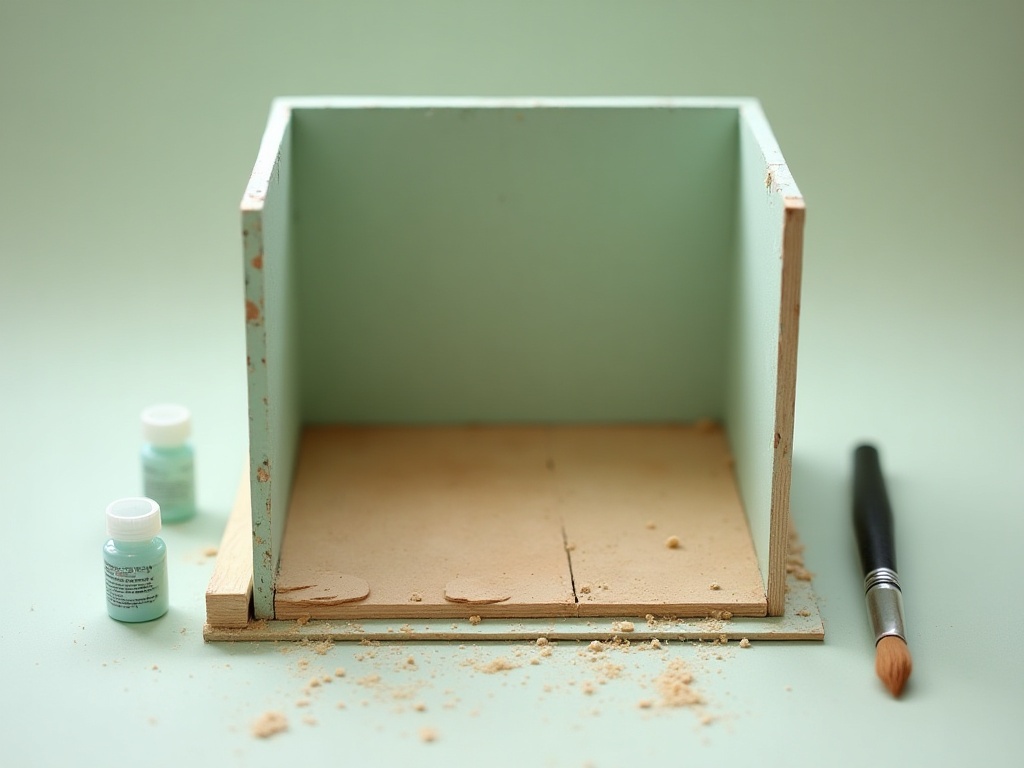
Pull out every wall panel, floor panel, and ceiling panel. Paint interior-facing surfaces now, while they are flat and fully accessible. Use a light base coat of white or cream to help subsequent colors pop, then apply your chosen wall colors. Let each coat dry fully (at minimum 30 minutes per coat for acrylic). For flooring panels, a dry-brush technique with two wood tones creates convincing plank variation in under 10 minutes.
Do not paint the glue edges. Leave a 2-3 mm strip bare on every joint surface so the PVA bonds wood to wood rather than paint to paint. Paint-to-paint joints fail.
Stage 2: Assemble the Base and Ground Floor Walls
Start with the base panel flat on your mat. Dry-fit (no glue yet) the ground floor walls to confirm they slot together correctly, then glue one wall at a time. Apply a thin, even line of PVA to the edge, press firmly, and hold with a binder clip for 2 minutes. Let the base assembly cure for at least 20 minutes before adding anything on top of it.
Stage 3: Route the LED Wire Before Upper Floors Go In
This is the step most builders skip and later regret deeply. Thread your LED string through the kit’s pre-drilled wire holes now, while the interior is still open. Leave enough slack at each floor level so a small coil of LEDs can sit in the ceiling cavity or behind a wall panel. Tape the wire lightly to hold it in position while you continue building above it.
If your kit includes a battery box or USB connector, decide now where it will exit the structure (usually through the back wall or base) and route accordingly.
Stage 4: Internal Dividers and Upper Floor Platforms
Glue internal divider walls and staircase components before closing each floor level with a ceiling/floor panel above. This is also the moment to add any built-in furniture (cabinets, shelving units) that attach directly to walls. Freestanding furniture like chairs and beds comes last, after full assembly.

Stage 5: Back Wall, Side Walls, and Roof
The back wall often carries the most decorative detail (wallpaper panels, window frames, picture hooks). Glue it in position and let it set for a full 30 minutes before adding the roof. The roof is the most structurally demanding joint in the entire kit. Apply glue generously along all roof-to-wall contact edges, press firmly, wrap rubber bands around the full structure to act as a clamp, and leave it undisturbed for at least 1 hour.
✨ Hannah’s tip
When gluing the roof, work on a surface you can rotate freely, like a lazy-susan turntable or even a dinner plate. You need to check all four roof-to-wall angles quickly, before the glue starts to grab. A joint that looks flush from the front can be a 2mm gap at the back. Spin and check before you clamp. It takes 30 extra seconds and saves a visible crack.
When gluing the roof, work on a surface you can rotate freely, like a lazy-susan turntable or even a dinner plate. You need to check all four roof-to-wall angles quickly, before the glue starts to grab. A joint that looks flush from the front can be a 2mm gap at the back. Spin and check before you clamp. It takes 30 extra seconds and saves a visible crack.
Painting, Weathering, and Surface Finishing
For exterior painting, apply two thin coats of acrylic over basswood or birch plywood, use a raw umber wash for shadow depth in panel lines, and seal everything with two light passes of matte varnish spray once fully dry. Interior surfaces are already painted from Stage 1. Now comes the exterior and the fine detailing that gives a miniature house real character.
Exterior Wall Colors
Most kits are laser-cut from basswood or birch plywood, which takes acrylic paint beautifully. Apply a thin base coat with a wide flat brush and let the wood grain show through slightly for a more natural finish. Heavy coats look plasticky and hide the laser detail. Two thin coats beat one thick coat every time.
For Tudor-style or Victorian kits, a classic look is off-white or cream for rendered panels, with a contrasting dark brown or forest green for window frames and trim. Contemporary-style kits often look striking with a single neutral tone (warm grey, dusty sage) across the entire exterior.
Weathering for Depth
A little controlled aging makes a miniature house look genuinely inhabited rather than fresh out of a mold. Try these techniques:
- Dry-brush a slightly lighter shade over raised edges and corners to simulate wear.
- Apply a very thin wash of raw umber (acrylic diluted to near-water consistency) into recessed panel lines. Wipe away excess immediately with a clean damp brush. The pigment that stays in the grooves reads as shadow and depth.
- For roofing tiles, alternate between two close shades of the same color, applied tile by tile with a fine brush. No two real tiles are identical.
Sealing and Protecting the Finish
Once all paint is fully dry (overnight is safest), seal with two light passes of matte varnish spray held 12 inches from the surface. Matte is almost always the right choice for miniature houses; gloss reads as toy-like at small scale. Let each pass dry for 20 minutes before the next.
Wiring the LED Lighting System
Wiring the LED lighting system in a miniature house kit means threading a pre-wired copper LED string through pre-drilled holes before walls close up, coiling 2-3 bulbs per room, and hiding the lead wire along back corners so only the glowing windows show. Getting warm light to glow through tiny windows is the single detail that transforms a well-built kit into something magical. The process is less intimidating than it looks.
What Most Kits Include

Current miniature house kits typically include a pre-wired copper LED string with 10-20 micro LED bulbs, a connector lead, and either a AA battery box or a USB cable. The LEDs are rated at 3V and draw almost no current, so there is no heat risk inside a wood structure.
Positioning the Lights
The best placement strategy is to think room by room rather than running one long string end to end. Coil 2-3 LEDs in the ceiling cavity above each main room. A small dollop of clear-drying craft glue holds each coil in place without permanent commitment. Avoid positioning a bare LED bulb directly against a window opening. The effect looks more realistic when the light source is hidden and the window simply glows, rather than showing a visible hot-spot bulb.
Concealing the Wire
Route the lead wire along the back corners of rooms, where it hides behind furniture. On the exterior, the wire exits through a pre-drilled hole in the base or back wall. A small drop of wood-tone paint over the hole edge makes it nearly invisible. The battery box or USB plug can sit flush against the back of the structure or tuck underneath the base.
If you want to upgrade to a more sophisticated lighting setup with individual room switches, the accessories section carries compatible add-on lighting kits and switch boards designed for 1:12 scale builds.
Adding Furniture and Finishing Touches
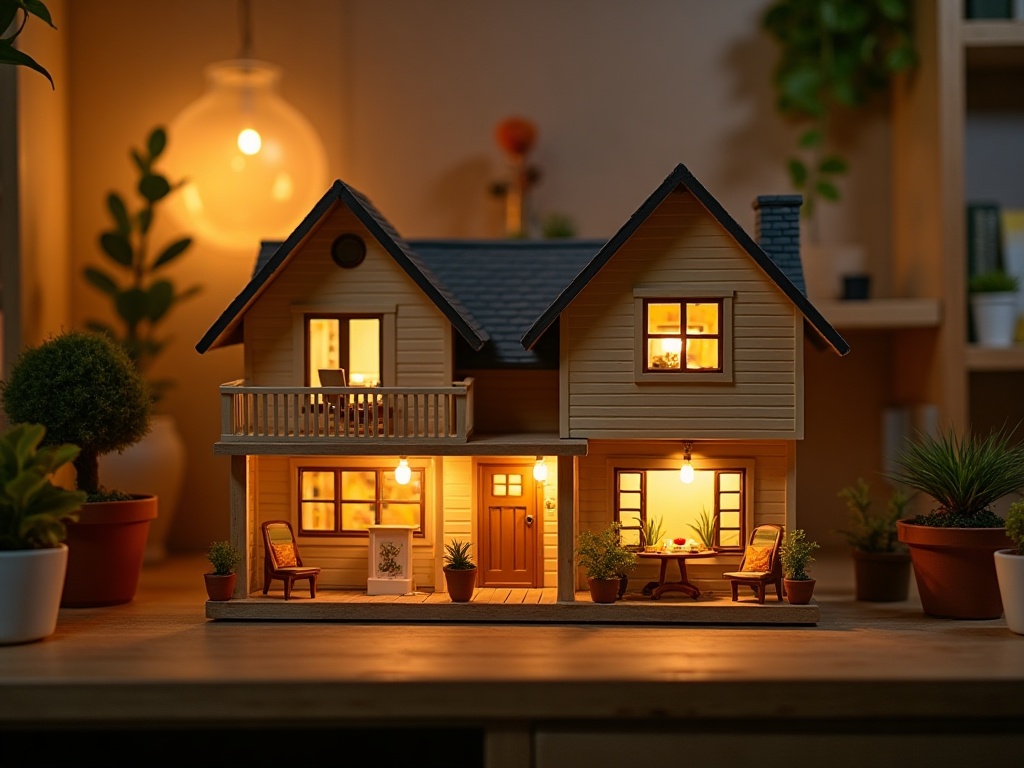
Adding furniture to a miniature house kit works best when every piece is fully assembled and painted off the structure first, then placed inside using staggered heights and small accessories to create the layered look of a genuinely lived-in room. Furniture placement is where your personal style takes over completely. The kit gives you a set of pieces; how you arrange and style them is yours alone.
Assemble Furniture Before Installing It
Build and paint every furniture piece off the structure first, on your cutting mat. It is far easier to hold a tiny sofa frame at eye level than to work hunched over a half-assembled house. Use the same PVA glue for furniture, but in even smaller amounts: a toothpick dipped in glue, not a squeeze from the bottle.
Layering for Realism
Real rooms feel layered. A flat arrangement of chairs and a table reads as a kit. Staggered heights, small accessories (books stacked at an angle, a tiny plant, a rug under the coffee table) create the visual story. A few techniques that work well:
- Curl a small rectangle of printed fabric or tissue paper for a rug. A thin line of PVA around the edges keeps it flat.
- Stack two or three books (cut from dense cardstock) at a slight angle on a shelf. Paint the spines in a coordinated palette.
- Add a tiny plant: roll a small ball of green air-dry clay, press it into a thimble-sized pot, and poke in dried herb stems or fine wire coiled to look like leaves.
Landscaping the Exterior
If your kit includes a base platform with an outdoor area, static grass flocking and fine gravel make fast, convincing ground cover. Apply PVA to the base area, press the flocking material in firmly, let dry, then seal with a matte medium. Small pebbles from a garden center (or even cracked black pepper) stand in perfectly for gravel paths.

Difficulty Ratings and Time Expectations by Kit Type
Beginner single-room kits take 4-6 hours, intermediate two-story kits with LED lighting take 12-20 hours, and advanced Victorian or multi-room builds take 25-40 hours, always spread the work across multiple 1-2 hour sessions for best results. One of the most common questions from new builders: “How long will this actually take?” The honest answer depends on the kit complexity, but here is a realistic breakdown by category.
| Kit Type | Difficulty | Typical Build Time | Best For |
|---|---|---|---|
| Single-room cottage (no lighting) | Beginner | 4-6 hours | First-time builders, ages 14+ |
| Two-story house with LED lighting | Intermediate | 12-20 hours | Builders with 1+ prior kits |
| Victorian or multi-room mansion | Advanced | 25-40 hours | Experienced crafters, collectors |
| Café or shop front (commercial style) | Intermediate | 10-18 hours | Gift buyers, decorative display |
Spread the build across multiple sessions rather than trying to finish in one sitting. The meditative rhythm of the work, sorting, gluing, painting, placing, works best in 1-2 hour blocks. Your hands stay steady, your eyes stay fresh, and you genuinely enjoy the process instead of racing through it.
Ready to pick a kit that matches your skill level? The full miniature house kits collection has every style and difficulty rating clearly marked, from first-build cottages to collector-level Victorian estates.
Common Mistakes and How to Fix Them
The most common miniature house kit mistakes are glue squeeze-out on painted surfaces, warped panels from one-sided painting, LED strings that will not light due to reversed polarity, and roof gaps, all fixable with simple techniques once you know what to look for. Even experienced builders run into trouble. Here are the issues that come up most often in our community, and the fixes that actually work.
Glue Squeeze-Out on Visible Surfaces
PVA dries clear but leaves a slightly glossy film that catches light and ruins a painted finish. Fix: let any squeeze-out dry completely (do not wipe it wet, which spreads it further), then peel or gently scrape the dried film with a fingernail or a blunt toothpick. Sand lightly with 220-grit if any residue remains, then touch up with paint.
Warped Panels After Painting
Thin wood panels warp when one side absorbs moisture from paint and the other does not. Prevention: always paint both sides of a panel with at least one coat, even if the back side will never be seen. Fix for already-warped panels: dampen the concave side lightly with a wet brush, place the panel between two heavy books, and leave it for 12 hours.
LED String That Will Not Light Up
Check the connector polarity first. Copper wire LEDs are directional: flip the connector 180 degrees if the string is dark. If individual bulbs are out, the most common cause is a micro LED that shifted loose during assembly. A tiny drop of clear glue re-seats it in its socket.
Gaps in Roof Joints
If the roof dried with a small gap at a wall joint, fill it with a mixture of fine sawdust and PVA (or commercial wood filler tinted to match) rather than trying to re-glue. Sand smooth when dry, repaint the affected area, and re-seal. The repair is invisible once done.
Frequently Asked Questions about Building a Miniature House Kit
Everything you might be wondering (click a question to expand).
Do I need any prior crafting experience to build a miniature house kit?
No prior experience is needed for beginner-rated kits. Single-room cottage kits are specifically designed for first-time builders and include step-by-step illustrated instructions. Patience and a willingness to read the manual carefully matter far more than any particular skill set. Children aged 14 and up can tackle beginner kits comfortably with light adult supervision for the gluing steps.
What glue works best for miniature house kits?
White PVA wood glue is the standard choice for almost all laser-cut miniature house kits. It bonds wood reliably, dries clear, and gives you a short window (roughly 2-3 minutes) to reposition a piece before the bond sets. Avoid super glue (cyanoacrylate) for structural walls: it grabs instantly, leaves no room for correction, and can cloud adjacent painted surfaces with fumes. Super glue is fine for tiny non-structural details like door hinges and decorative brackets.
Can I customize the colors from the suggested palette in the manual?
Absolutely. The color suggestions in most manuals are starting points, not rules. Many builders in our community go entirely off-manual with their color choices, and those builds tend to be the most striking. The only practical consideration: very dark exterior colors (deep navy, black) can slightly reduce the visible glow from interior LED lighting through windows. If dramatic LED ambiance matters to you, keep interior walls light even if you go bold on the exterior.
How do I display the finished kit safely?
Miniature house kit display works best on a stable, flat surface away from direct sunlight, which fades acrylic paint over time. A glass-front display cabinet offers the best protection from dust without losing visibility. If open-shelf display is the preference, a light dusting with a soft watercolor brush every 2-3 weeks keeps tiny furniture pieces clean without disturbing them. Avoid compressed air cans: the force knocks small accessories out of position.
Are miniature house kits a good gift for someone who has never tried the hobby?
They are genuinely one of the better creative gifts available right now, particularly for people who enjoy detail-oriented, meditative activities. The key is matching the kit complexity to the recipient’s patience level rather than their age. A beginner-rated kit with warm LED lighting tends to land best as a gift: the build is satisfying without being overwhelming, and the lit result is impressive enough to display proudly. Pairing the kit with a basic tool set (tweezers, clips, a fine brush set) means the recipient can start the same day.
Making the Build Your Own, Every Single Time
What makes building a miniature house kit truly your own is every small decision the manual never mentions: the wall color, the furniture arrangement, the tiny accessories that turn a completed kit into a personal world worth displaying. The instructions tell you where each wall goes. They do not tell you which color makes you happy, or whether that tiny kitchen should have copper pots or a vintage radio on the counter. That gap between the manual’s steps and your finished piece is exactly where the real craft happens.
Every builder who shares a finished kit photo in our community has made at least a dozen small decisions that no manual suggested: a hand-painted mural on an interior wall, a tiny cat sleeping on the staircase, fairy lights wound through a miniature bookshelf. Those details are not mistakes or deviations. They are the whole point.
The most satisfying part of building a miniature house kit is not the finished object sitting on the shelf. It is the specific afternoon you spent placing that tiny rug, adjusting it twice, deciding it was perfect, and feeling unreasonably pleased about something two inches wide. That moment is real, repeatable, and worth every minute of the build.
When you are ready for your next build or want to expand the one you just finished, the accessories and add-ons collection has everything from scaled furniture sets to specialty lighting boards. Your miniature world does not have to stop at the kit’s edges. ✨
