🎁 Buy 2 kits, get the 3rd FREE · Free shipping on every order

Acrylic Display Cases for Book Nooks: The Affordable Way to Show Off Your Build
A practical guide to choosing, measuring, and assembling acrylic display cases for book nooks. Covers cut-to-size options, affordable sourcing, DIY assembly with solvent cement, and styling ideas for a finished shelf display.

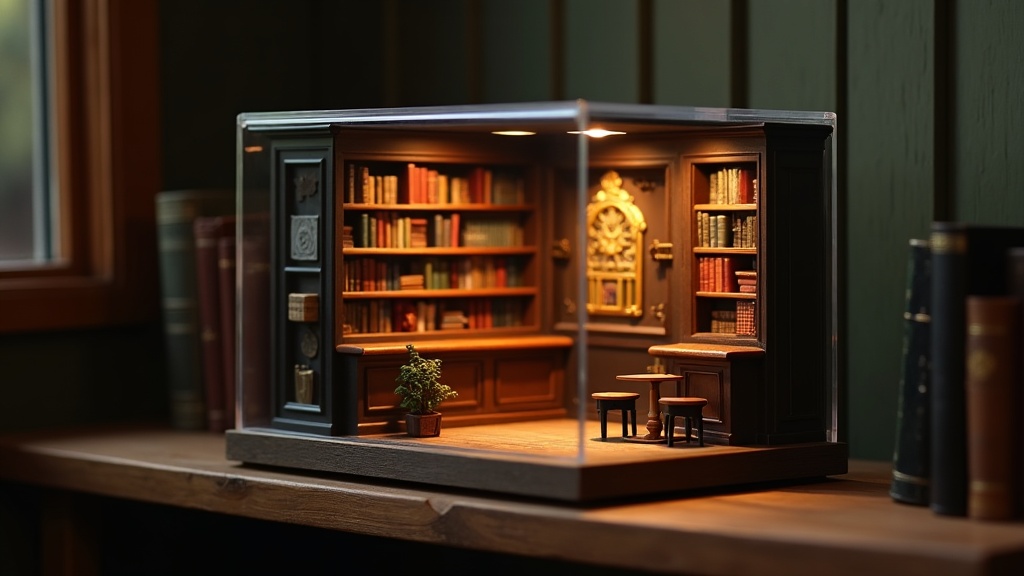
Acrylic display cases for book nooks have become one of the most-requested accessories in our community, and honestly, it makes perfect sense. You spend hours building a tiny world. You wire up miniature lights, paint brick by brick, arrange furniture at 1:12 scale. The last thing you want is for dust to settle into every crevice by Tuesday morning.
The good news: a proper protective case no longer means spending $80 on a custom glass enclosure. Acrylic has caught up, and in many ways it has surpassed glass for this specific use. Lighter weight, shatter-resistant, easier to cut to a non-standard size. For book nook dimensions, which almost never match off-the-shelf box sizes, that flexibility changes everything.
Why Acrylic Works So Well for Book Nook Protection
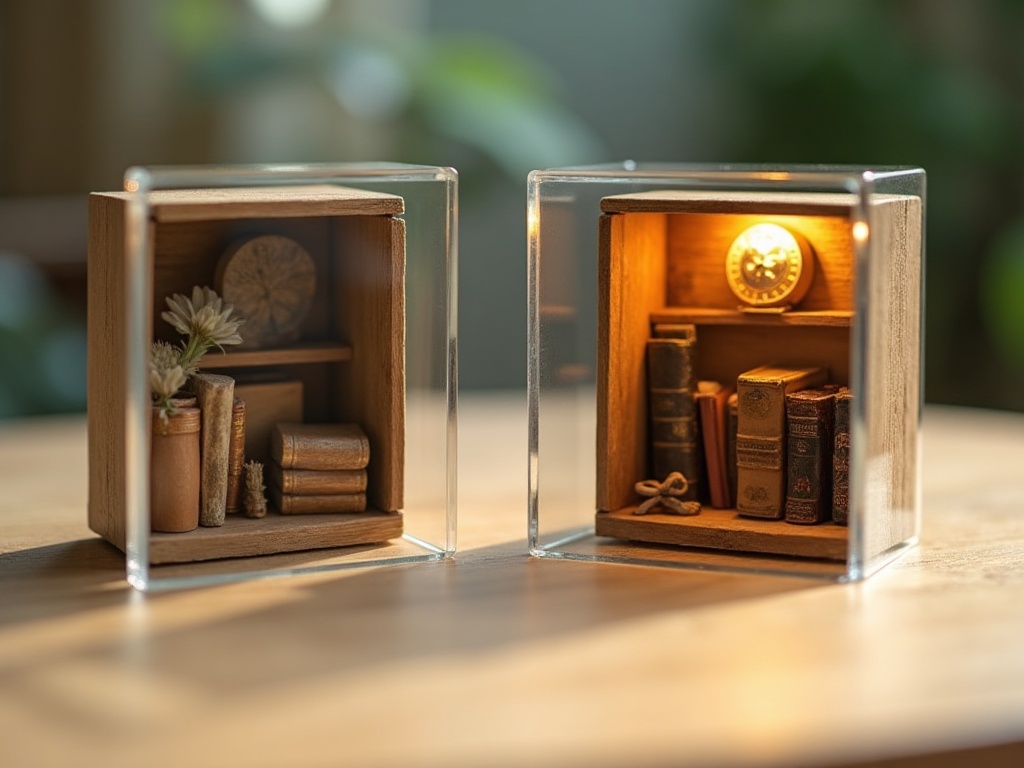
Acrylic works so well for book nook protection because it can be ordered cut-to-size online, weighs roughly half as much as glass, transmits up to 92% of visible light, and is 10 to 17 times more impact-resistant than an equivalent glass panel. Book nooks are odd objects by nature. They are deep, relatively narrow, and tall. Most standard display cases are built for figurines or trophies, which are wide and shallow. The mismatch is frustrating.

Bestseller cottage kit
Tranquil Life DIY Miniature House Kit
$67.90
One of our most-cased builds: the Tranquil Life’s overhanging eaves and front-facing window boxes make a precise acrylic display case for book nooks especially satisfying to fit.
Acrylic solves this because it comes in sheets that can be ordered cut-to-size from dozens of suppliers, including many with online configurators where you type in your exact millimeter measurements. You get a perfect fit without a woodworking saw or a glass cutter.
Here is what makes acrylic specifically suited to miniature displays:
- Optical clarity: Cast acrylic (also sold as Plexiglas or Perspex) transmits about 92% of visible light. Glass sits at roughly 90%. Your LED lighting inside the nook reads brighter through acrylic than through glass.
- UV filtering: Many acrylic sheets include a UV-blocking additive that protects painted surfaces and dyed fabrics from fading. Glass does not filter UV unless specifically treated.
- Weight: A 3mm acrylic panel weighs roughly half what a comparable glass panel does. For a shelf holding multiple nooks, that matters.
- Impact resistance: Acrylic is 10 to 17 times more impact-resistant than glass of equivalent thickness. Shelf bumps happen. Nobody wants shards near a detailed miniature build.
The tradeoff is scratch sensitivity. Acrylic scratches more easily than glass if you wipe it with a dry cloth. Always use a microfiber cloth dampened with water or a plastic-safe cleaner. Treat it well and it stays clear for years.
Acrylic vs. Glass: a quick comparison
This table captures the practical differences that matter most when you are deciding on a protective cover for a finished build.
| Property | Acrylic | Glass |
|---|---|---|
| Light transmission | ~92% (slightly better) | ~90% |
| UV protection | Available as standard additive | Requires special treatment |
| Weight (3mm panel) | ~50% lighter | Heavier |
| Impact resistance | 10 to 17x more resistant | Shatters on impact |
| Cut-to-size availability | Easy, online configurators | Requires specialist glazier |
| Scratch resistance | Scratches with dry cloth | More scratch-resistant |
| DIY bonding | Solvent cement, beginner-friendly | Requires silicone or professional |
| Typical cost (per panel) | Lower, especially cut-to-size | Higher |
📜 Did you know?
Acrylic (polymethyl methacrylate, or PMMA) was first developed commercially in 1933 by Rohm and Haas under the brand name Plexiglas. By World War II it was standard for aircraft canopies because of its combination of transparency and light weight. The same properties that made it ideal for fighter jet cockpits now make it ideal for protecting a tiny Victorian bookshop on your shelf.
Acrylic (polymethyl methacrylate, or PMMA) was first developed commercially in 1933 by Rohm and Haas under the brand name Plexiglas. By World War II it was standard for aircraft canopies because of its combination of transparency and light weight. The same properties that made it ideal for fighter jet cockpits now make it ideal for protecting a tiny Victorian bookshop on your shelf.
Cut-to-Size Acrylic: How to Measure Your Book Nook Correctly
To measure a book nook correctly for a cut-to-size acrylic cover, measure the outer shell, add 5mm clearance on each side, choose a U-cover or full-box format, and select 3mm thickness for most standard builds. Getting the measurements right the first time saves you a reorder fee and a two-week wait. Book nooks are installed between books on a shelf, so the case typically needs to clear the build on all sides while staying narrow enough to sit flush.
Here is a simple measuring process that works for most builds:
- Measure the outer shell of your nook, not the interior. Add 5mm clearance on each side, top, and front to let the case sit without pressing on the structure.
- Decide on open-bottom vs. full-box. Most builders prefer a three-sided U-cover (left panel, right panel, top panel with front face) that slides down over the nook rather than a fully enclosed box. This allows the power cable for LED lighting to exit cleanly from the bottom.
- Choose your thickness. 3mm is standard for pieces under 30cm tall. 5mm adds rigidity for taller or wider builds. 2mm bends easily and is best only for small, lightweight applications.
- Note whether you need a hinged door or a simple lift-off cover. Lift-off is cheaper to fabricate and easier to handle. Hinged doors require hardware and a slightly more complex quote from the supplier.
Choosing the right acrylic thickness at a glance
| Thickness | Best for | Notes |
|---|---|---|
| 2mm | Small builds under 15cm tall; lightweight covers only | Flexible; may warp over time if unsupported |
| 3mm | Most book nooks (the standard choice) | Rigid, polished edges look clean; easiest to bond with solvent cement |
| 5mm | Larger or heavier builds over 30cm; premium feel | Noticeably solid; adds slight weight; requires more solvent contact time |
When you submit your order to an online acrylic supplier, you will typically specify: sheet thickness, sheet dimensions (W x H in inches or mm), edge finish (polished vs. raw), and whether you want any drilled holes. Polished edges cost a few dollars more per panel but look significantly cleaner on display.
✨ Hannah’s tip
Before placing your cut-to-size order, make a mock-up with cardboard first. Cut your panels from cereal box cardboard, tape them together, and place them over your finished nook. You will catch any clearance issues around protruding chimney stacks, overhanging signs, or front-facing details that need more depth than you initially estimated. A 10-minute cardboard test prevents a costly reorder.
Before placing your cut-to-size order, make a mock-up with cardboard first. Cut your panels from cereal box cardboard, tape them together, and place them over your finished nook. You will catch any clearance issues around protruding chimney stacks, overhanging signs, or front-facing details that need more depth than you initially estimated. A 10-minute cardboard test prevents a costly reorder.
Where to Buy Affordable Acrylic Display Cases (and Cut-to-Size Sheets)
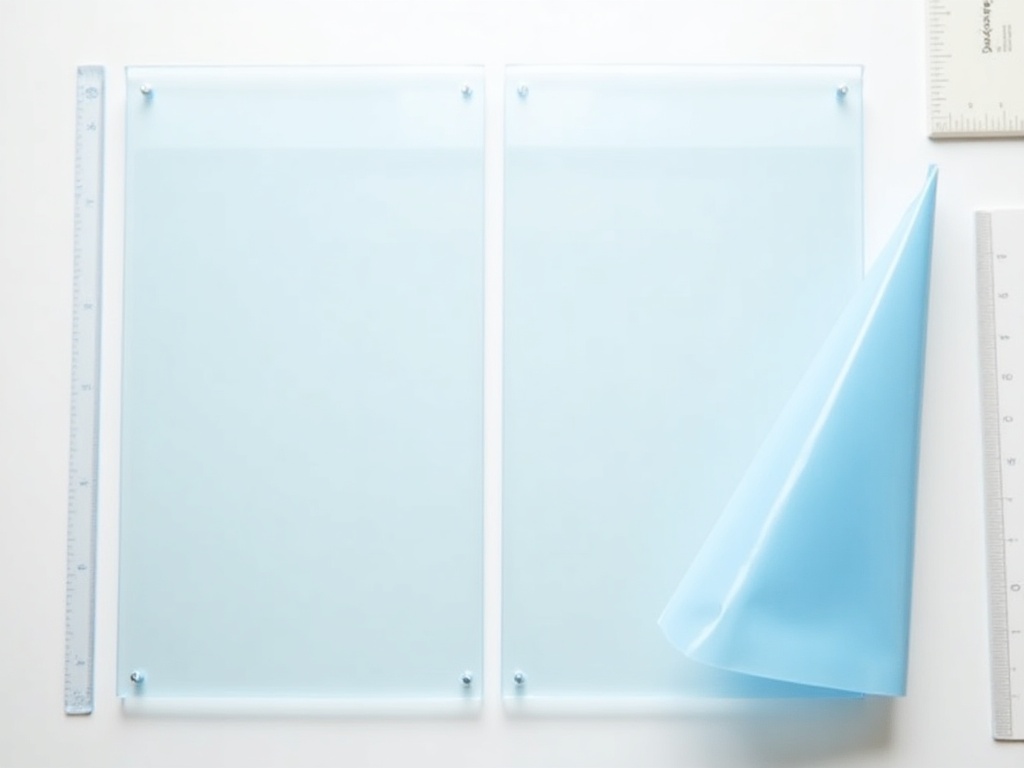
The most reliable places to buy affordable acrylic display cases and cut-to-size panels are online suppliers with configurators, Etsy shops with book-nook-specific templates, and local plastic fabricators, with custom covers typically running $18 to $35. The price gap between generic off-the-shelf cases and cut-to-size panels is smaller than most people expect. For a typical book nook measuring roughly 6 inches wide by 8 inches tall by 4 inches deep, a custom U-cover in 3mm cast acrylic with polished edges runs between $18 and $35 depending on the supplier and quantity ordered.
A few reliable sourcing options used by builders in our community:
- Online acrylic suppliers with configurators (such as ePlastics, Estreet Plastics, or Polymershapes): upload your dimensions, choose your options, and receive laser-cut or saw-cut panels shipped flat with a protective film still on. Peel the film only after assembly.
- Etsy shops specializing in custom acrylic cases: many sellers have built templates specifically sized for common book nook kits. Search for the brand and model of your kit alongside “acrylic display case” and you will often find a pre-quoted listing.
- Local plastic fabricators: a quick search for “plastics shop near me” often reveals local fabricators who will cut a set of panels while you wait. You save on shipping and can inspect the edges before you leave.
- Pre-assembled acrylic cube displays from craft stores: these rarely fit a book nook perfectly, but a 6x6x12-inch acrylic riser cube can be modified with minimal effort for shallow, wide nook designs.
Once you have your case sorted, explore the book nook accessories collection for LED strip kits, magnetic closure hardware, and shelf risers that complete the presentation. The case is only one piece of the display equation.
Assembling a DIY Acrylic Cover: Easier Than It Looks
Assembling a DIY acrylic cover is beginner-friendly: dry-fit your cut panels, apply solvent cement along each interior seam with a needle-tip applicator, hold for 30 seconds, and allow 24 hours to cure before handling. If you order flat panels rather than a pre-assembled box, you will bond them together using acrylic solvent cement (commonly sold as Weld-On 3 or Weld-On 4). This is not a glue. It is a solvent that chemically fuses the panels at a molecular level, creating a joint that is stronger than the base material.
The process for a U-cover:
- Dry-fit all panels to confirm the fit over your nook before bonding anything.
- Peel back about 1cm of protective film from each joining edge. Leave the film on the face panels to prevent scratches during assembly.
- Hold two panels at a 90-degree angle with masking tape. Apply solvent with a needle-tip applicator along the interior seam. Capillary action pulls the solvent into the joint. Hold for 30 seconds.
- Let the joint cure for at least 24 hours before handling the assembled case.
- Peel the remaining protective film only after the case is complete and positioned over your nook.
Total assembly time for a simple three-panel U-cover is about 20 minutes of active work plus curing time. Difficulty level: beginner-friendly, though good lighting and steady hands help at the solvent application step. If you enjoy this kind of careful, satisfying assembly work, you will find it pairs naturally with the meditative rhythm of building a book nook kit in the first place.
Styling Your Book Nook Display: Beyond the Case Itself
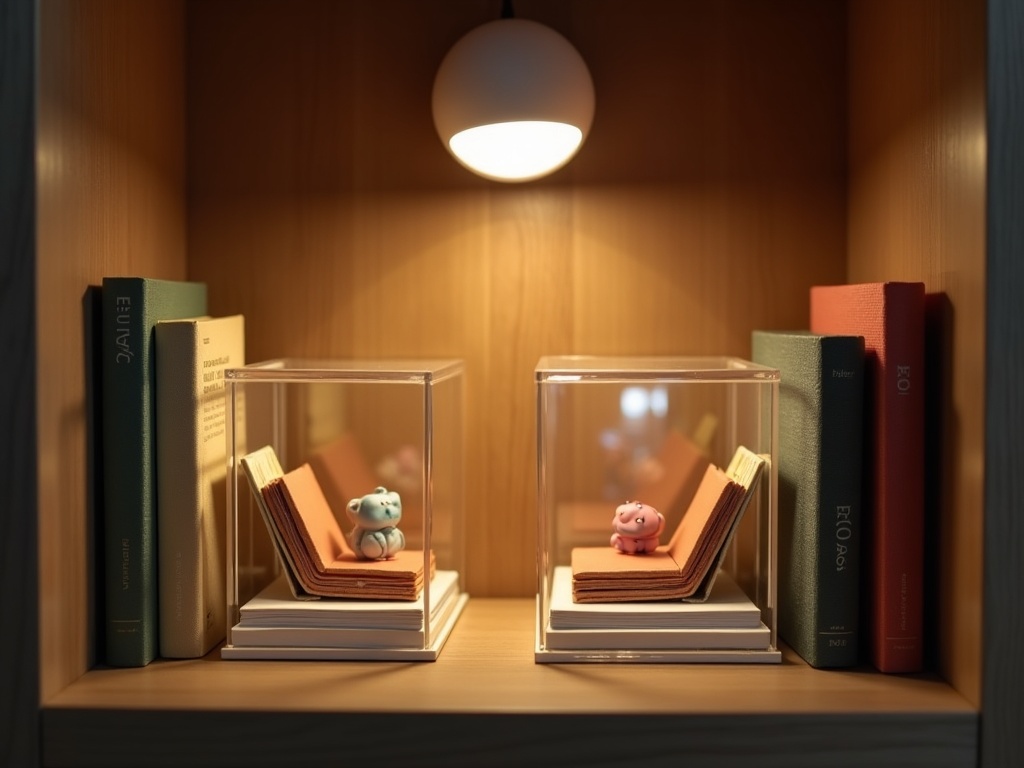
Styling beyond the case means flanking your nook with real books that match its color palette, adding a shelf light above to reduce internal reflections, and using a thin base platform to create visual separation and hide power cables. A well-fitted acrylic display case for book nooks transforms a finished build from a working project into a display piece. But the styling around it matters just as much as the protection itself.
Consider these community-tested display ideas:
- Shelf context: real books flanking the nook reinforce the illusion. Use books with spines that match the nook’s color palette or era. A Victorian Gothic nook looks at home between dark leather-bound volumes. A Japanese alleyway nook sits perfectly next to illustrated manga collections.
- Lighting beyond the nook itself: a small LED puck light placed on the shelf above the case washes light down over the acrylic top, reducing internal reflections and making the scene inside read more clearly from a distance.
- Base platforms: a thin wooden or acrylic platform lifts the nook slightly, creating visual separation from the shelf surface and allowing a power cable to exit discreetly at the back.
- Labels and tags: several builders in our community print small brass-effect tags with the kit name and build date, attaching them to the front base of the case. It turns the display into a tiny museum exhibit.
If you are looking for kits that are already sized with display in mind, browse our display accessories collection for platforms, risers, and LED solutions designed to work with standard book nook dimensions.
For builders working on their first kit, our beginner book nook accessories include pre-measured LED strip kits that route cleanly under a U-cover case without any modification.

Premium collector piece
Monet’s Garden DIY Miniature House Kit
$155.00
The Monet’s Garden kit features a wide front and dramatic vertical height: exactly the kind of build that benefits most from a custom-cut 5mm acrylic display case for a truly gallery-worthy shelf presence.
Frequently Asked Questions about Acrylic Display Cases for Book Nooks
Everything you might be wondering (click a question to expand).
Can I use a standard display case from a craft store instead of ordering cut-to-size acrylic?
Sometimes, but rarely without modification. Book nooks are unusually deep and narrow compared to the figurine cases most craft stores stock. If you find a case that fits your specific build, it is a genuine score. More often, you will find the depth is too shallow or the opening too wide. A cut-to-size panel order gives you an exact fit for $20 to $35, which is competitive with many store-bought cases anyway.
Will the acrylic yellow over time?
Cast acrylic with UV-filtering additives resists yellowing significantly better than extruded acrylic or older plastics. If you keep your display away from direct, prolonged sunlight, a quality cast acrylic case should stay optically clear for 10 or more years. Extruded acrylic (cheaper, sometimes labeled “cell cast”) yellows faster. Ask your supplier which type they stock before ordering.
How do I prevent static buildup on the acrylic surface?
Acrylic builds static charge that attracts dust. Use an anti-static spray (sold by suppliers like Novus Plastic Polish) after cleaning. Apply it with a clean microfiber cloth every month or two. It significantly reduces the dust-magnet effect and is gentler on the surface than dry wiping.
What thickness should I order for a book nook display case?
For most book nooks under 12 inches tall, 3mm (about 1/8 inch) is the standard. It is rigid enough to hold its shape, light enough to lift easily, and thick enough that polished edges look clean. For larger builds or if you want a more substantial feel, 5mm (about 3/16 inch) adds noticeable rigidity. Avoid 2mm for anything taller than 6 inches; it flexes too much to stay square.
Can I add a magnetic closure to a DIY acrylic case?
Yes, and it is a popular finishing touch in the community. Small neodymium disc magnets (6mm x 2mm) can be bonded into drilled recesses on the case front and a matching front panel or acrylic strip using epoxy. The result is a satisfying, tool-free closure that keeps the front panel aligned. Order the magnets before you finalize your case design so you can spec the hole positions correctly in your panel order.
What are the best online suppliers for cut-to-size acrylic panels?
ePlastics, Estreet Plastics, and Polymershapes are the three most consistently recommended by builders in our community for their online configurators, clean edge finishing, and reliable protective film packaging. If you are in the UK or Europe, suppliers like Perspex Distribution or Simply Plastics offer similar configurator tools with faster local shipping. Always ask specifically for cast acrylic (not extruded) to get the best optical clarity and UV resistance.
Making Your Build Last: the Case as Part of the Craft
Making your build last means treating the display case as the final act of the craft: choose cast acrylic over extruded, go 3mm for most builds, do a cardboard mock-up before ordering, and use solvent cement for a seamless long-lasting bond. There is something quietly satisfying about fitting a finished acrylic cover over a completed nook. The scene locks in place. The dust stays out. The lights glow a little warmer through the clear panels, and the whole thing starts to feel permanent in the best possible way.
Many builders tell us the display step is where the meditative quality of the hobby really lands. The building is done. The stress of tiny parts and tight deadlines dissolves. What remains is a small, lit world behind clear walls that you made entirely by hand.
A good acrylic display case for book nooks is not an afterthought. It is the final act of the build, the moment you decide this miniature world is worth keeping exactly as it is. Whether you order cut-to-size panels from an online supplier or source a pre-assembled acrylic box that fits by happy accident, the investment is modest and the payoff is a shelf that looks genuinely considered.
To recap what makes the difference: choose cast acrylic over extruded, go 3mm for most builds (5mm for anything over 30cm tall), always do a cardboard mock-up before ordering, and use solvent cement rather than glue for a seamless, long-lasting bond. Those four decisions alone put you ahead of most first-time display builders.
Ready to choose your next build and start planning the case alongside it? Browse our full book nook kit collection to find a scene worth protecting, or head to our accessories range for the lighting and base platforms that complete the display. Your finished nook deserves a proper home.
