🎁 Buy 2 kits, get the 3rd FREE · Free shipping on every order

Best Storage for Miniature Parts: How to Finally Keep Track of Every Tiny Piece
A complete guide to the best storage for miniature parts, covering compartment boxes, labeling systems, tiered organization setups, and specialty solutions for painted, electronic, and fabric miniature components. Practical, tested advice for hobbyists at every level.

You open your craft box and a cascade of tiny hinges, micro beads, and 1:12 scale doorknobs spills across the table. Again. If that scene feels familiar, you already know the frustration: best storage for miniature parts is not just a nice organizational upgrade, it is what separates a relaxing creative session from a stressful scavenger hunt. The right system turns a 10-minute setup into a 30-second grab-and-go, and it keeps the meditative flow of building exactly where it belongs: on the craft itself, not on finding a 2mm hinge.
This guide walks through real, tested approaches for every scale and budget. Whether you are just starting with your first roombox kit or you manage hundreds of components across multiple builds, there is a system here that will change how you work.
Why Miniature Part Organization Matters More Than You Think
Miniature building is intimate work. The pieces are small, the details are intricate, and the satisfaction comes from slow, deliberate assembly. Losing a component mid-session does not just waste time. It breaks concentration in a way that is genuinely hard to recover from. Experienced builders consistently say that a good miniature parts organizer is the single non-kit purchase that most improved their hobby experience.
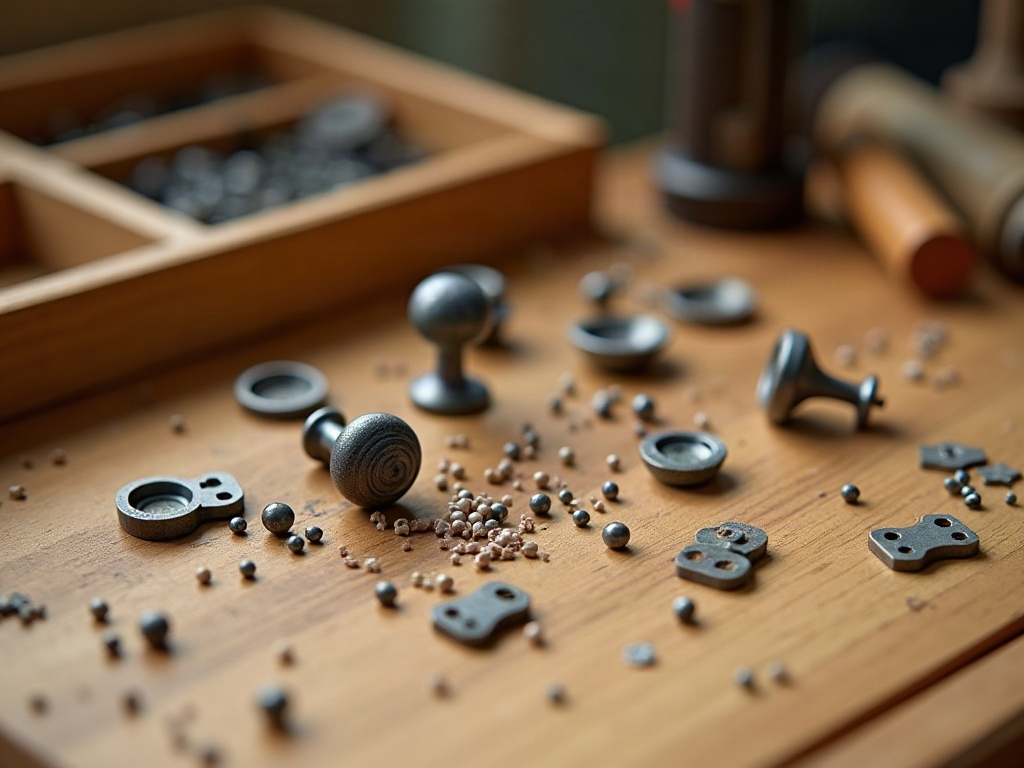
There is a practical side too. Delicate resin parts, hand-painted furniture pieces, and precision-cut wood panels can warp, chip, or scratch when they rattle loose in a shared bin. Dedicated compartments protect your investment in quality components and keep paint finishes intact between sessions.
Beyond protection, a labeled storage system is a memory aid. If you build across multiple projects over weeks or months, clear labels mean you never guess whether that tiny brass bracket belongs to the Victorian parlor or the Japanese tea room. When **Hannah Brooks** first assembled her Victorian dollhouse kit back in 2021, a single unlabeled tin held every component. By the third session, two window latch sets were missing and a sash weight had rolled under the radiator. That frustration is what drove the storage approach described throughout this guide: simple enough to set up in an evening, thorough enough to support years of building.
Compartment Boxes: The Core of Any Smart System
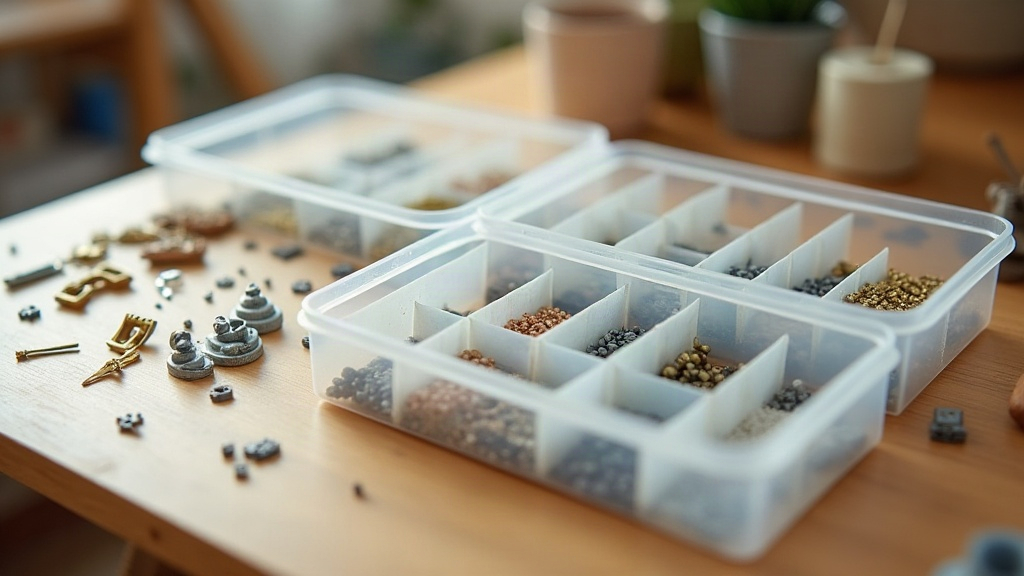
The compartment box is the workhorse of the best storage for miniature parts. The key variables are compartment count, compartment depth, lid security, and stackability. Here is how to think through each one.
Compartment Count and Size
A 24-compartment box sounds generous until you realize micro-scale hardware (anything under 3mm) needs its own isolated slot per type, or pieces migrate through the dividers and mix. For small hardware like nails, pins, and micro hinges, look for boxes with compartments no wider than 1.5 inches. For larger painted furniture pieces or resin architectural details, wider sections of 2 to 3 inches give you room without risking surface contact between pieces.
Adjustable-divider boxes offer flexibility but tend to shift during transport. Fixed-grid boxes are less flexible but more reliable for pieces you move around often. A practical middle ground: use adjustable boxes at your primary workstation and fixed-grid boxes for long-term archival storage of completed-project extras.
Compartment Depth: The Dimension Builders Overlook
Compartment depth is the single most underrated measurement when choosing a storage box. A compartment that is wide enough for a 1:12 scale chair leg but too shallow will let the lid press directly onto the piece, crushing fine painted details or snapping fragile resin joints. The rule of thumb used by many experienced builders: the compartment depth should be at least 1.5 times the height of your tallest stored part. For standard 1:12 scale furniture hardware, that typically means a minimum depth of 0.75 inches. For taller architectural details like turned newel posts or column capitals, look for compartments at least 1.25 inches deep. Before buying any new box, measure your three tallest parts and check them against the listed interior depth in the product specifications, not the exterior box height.
Lid Security Matters for Tiny Parts
A snap-latch lid is not optional when your inventory includes 1mm seed beads or micro-scale clock parts. Friction-fit lids fail. One tip from the community: before committing to a box, flip it upside down over your palm and shake it. If anything rattles through, the compartments are too loose for serious miniature work. Hinged lids with individual per-compartment latches (common in jewelry storage) are the gold standard for the smallest components.
🪄 Hannah’s tip
Before you buy a new organizer box, take three of your smallest parts to the store (or measure them first). The compartment depth should be at least 1.5x the height of your tallest part. If a delicate furniture leg sticks out above the rim, the lid will crush it. This one check has saved me more ruined pieces than any other habit.
Before you buy a new organizer box, take three of your smallest parts to the store (or measure them first). The compartment depth should be at least 1.5x the height of your tallest part. If a delicate furniture leg sticks out above the rim, the lid will crush it. This one check has saved me more ruined pieces than any other habit.
Material: Plastic vs. Wood vs. Metal Tins
Clear plastic wins for visibility: you can see contents at a glance without opening anything. Polypropylene boxes resist warping in humid workshops and clean up easily with a damp cloth. Wood compartment trays look beautiful on a shelf and protect static-sensitive electronic components (relevant for LED lighting builds), but they are harder to label cleanly. Metal tins with divided inserts are excellent for transport but tend to be shallower, which limits them to flat parts like decals and thin veneer sheets.
Labeling Systems That Actually Hold Up
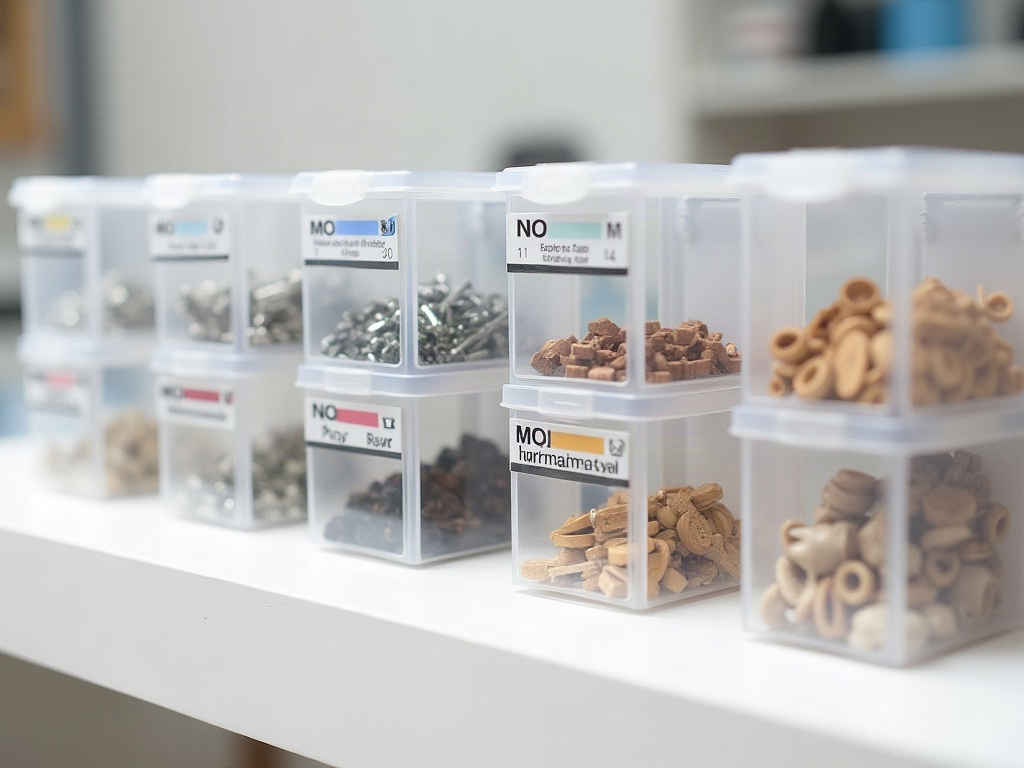
A box without labels is a mystery box. The goal of a labeled miniature storage system is instant identification without opening: you read, you grab, you build. Three labeling approaches stand out for longevity and practicality.
Printed Label Sheets
Print-at-home labels on standard 8.5×11 label sheets give you total control over font size, color coding, and naming conventions. Use a 9pt or 10pt font, bold, on a white label background. Laminate the sheet before cutting if you work near water-based adhesives or in a humid space. Color coding by project (blue labels for the English cottage, green for the botanical greenhouse) means you can reorganize in seconds when you pivot between builds.
P-Touch Style Label Makers
Tape-printed labels from a handheld label maker adhere directly to the box face or lid. They are water-resistant by default and look clean on transparent plastic. The limitation is character count: anything longer than 20 characters gets hard to read at a glance. Keep naming conventions short. “VIC-HNG-BRASS-SM” beats “Victorian brass small hinges” for quick scanning.
Magnetic Labels and Dry-Erase Panels
For builders who reorganize frequently or repurpose boxes across projects, a strip of dry-erase magnetic sheet on the box face is a low-friction solution. Write with a fine-point dry-erase marker, wipe, rewrite. No label waste, no adhesive residue. This works especially well on metal storage bins mounted to a pegboard or shelf rail system.
📜 Did you know?
The earliest known purpose-built miniature storage systems appeared in 18th-century European cabinet-making workshops, where master craftsmen kept hand-carved furniture maquettes (scale models) in divided wooden drawers lined with chamois leather. The individual compartment system we use today for hobby miniatures is a direct descendant of that professional tool organization tradition. The logic has not changed in 300 years: small parts need individual homes.
The earliest known purpose-built miniature storage systems appeared in 18th-century European cabinet-making workshops, where master craftsmen kept hand-carved furniture maquettes (scale models) in divided wooden drawers lined with chamois leather. The individual compartment system we use today for hobby miniatures is a direct descendant of that professional tool organization tradition. The logic has not changed in 300 years: small parts need individual homes.
Building a Tiered Storage Setup by Part Type
No single box solves every storage problem. The most effective miniature workshops use a three-tier approach that matches container type to part fragility and access frequency.
- Tier 1 – Active build tray: A shallow divided tray (8 to 12 compartments) sitting open on your workstation. Holds only what you need for the current session. Keeps your work surface clear and your focus tight.
- Tier 2 – Project archive boxes: Per-project compartment boxes, labeled by build name, stored on a shelf at arm’s reach. Each box contains all hardware, fixtures, and small decorative elements for one specific project. When you return to a build after a break, everything is in one place.
- Tier 3 – Bulk supply storage: Larger bins or stackable drawer units for raw materials bought in quantity: bags of 100 micro nails, bulk seed bead assortments, rolls of miniature wallpaper trim. These sit further away and feed the project archive boxes as needed.
This separation prevents the most common frustration: rooting through bulk supplies to find a single finished component. Active builds stay separate from raw stock at all times. If you are building one of our book nook kits, which often include 50 or more individual wood and acrylic pieces, this three-tier approach is particularly valuable: kit contents go straight into a dedicated Tier 2 box the moment you open the package, sorted by assembly stage.
Specialty Solutions for Specific Part Categories
Storing Painted and Fragile Resin Pieces
Painted miniature furniture and hand-cast resin architectural details need cushioning, not just compartmentalization. Line individual compartments with a thin layer of foam craft sheet (2mm thickness works well) before placing finished pieces. The foam prevents surface-to-surface contact and absorbs vibration during any transport. Never store painted pieces in the same compartment as metal hardware: brass and steel will scratch acrylic and enamel paint finishes on contact.
For very delicate resin pieces such as filigree railings, open-frame window casings, or thin-walled urns, an extra step pays off: wrap each piece loosely in a small square of acid-free tissue before placing it in its foam-lined compartment. Acid-free tissue is inexpensive, widely available from art supply shops, and will not react with resin surfaces over long storage periods the way standard tissue or newsprint can.
Paint Pot and Hobby Paint Storage
Miniature paints present a different challenge. A 10ml dropper bottle is tall and narrow; a 17ml hobby pot is squat and wide. Neither fits neatly into a standard compartment box. The most practical solution used in the community is a dedicated paint storage rack, either a wall-mounted pegboard rail with bottle clips or a tiered lazy Susan turntable that keeps every color visible without stacking. Group paints by color family rather than brand, and add a small dot of the actual paint color to the lid of each bottle so you can identify shades at a glance without reading labels. This single habit saves an astonishing amount of time when you are color-matching mid-session.
Thread, Ribbon, and Fabric Trim Storage
Rolled thread spools and fabric trim scraps are bulky relative to their functional size. Small cardboard bobbins (cut from leftover packaging) wound with each color and slipped into a clear zip bag tagged by color number keep fiber supplies from tangling. Stack those bags flat in a shallow bin. This takes up far less space than any dedicated spool rack and costs almost nothing to set up. For builders working on kits with significant textile components, such as the curtains and upholstery fabrics included in many of our miniature house kits, keeping one labeled zip bag per fabric type prevents the maddening mix-up of similar-looking ivory and cream trims.
LED and Electronic Components
If your builds include LED lighting kits or battery packs, store electronic components in anti-static bags before placing them in a compartment box. Static discharge from plastic boxes can damage micro LEDs. A small silica gel packet in each electronic storage box prevents moisture damage, especially in seasonal climates where workshop humidity swings significantly. Label each anti-static bag with the kit name and the specific LED color or wattage so you never install the wrong light during assembly. Our miniature greenhouse kits, for example, often include warm-white and cool-white LEDs that look nearly identical out of the bag but produce noticeably different atmospheres once installed.
For a full range of containers, tools, and organizers built around the needs of miniature builders, browse our miniature accessories and tools collection. It includes compartment boxes, labeled storage kits, and specialty tools tested by our community across hundreds of builds.

Bestseller cottage kit
Tranquil Life DIY Miniature House Kit
Comes with pre-sorted parts by assembly stage, making it the ideal kit to start a tiered storage habit from day one.
$67.90
Putting It All Together: A Practical First Setup
If you are starting from zero, the fastest way to build a working system is to do it alongside your first kit unboxing. Lay every part out on a clean surface. Group by type: wood panels together, hardware together, transparent pieces together, fabric together. Then assign each group a compartment in a clear 24-slot box. Label immediately, before anything gets moved. This single session costs about 20 minutes and saves hours of searching across the entire life of your build.
If you are retrofitting an existing, disorganized collection, block out one full hour, put on a podcast, and sort by project first. Everything that belongs to a single build goes into one pile, then gets subdivided into part types within a dedicated box. Resist the urge to create a perfectly universal system on the first pass. A good-enough system you will actually use beats a perfect system that stays theoretical.

Frequently Asked Questions about Best Storage for Miniature Parts
Everything you might be wondering (click a question to expand).
What is the best compartment box size for 1:12 scale miniature hardware?
For standard 1:12 scale hardware (hinges, doorknobs, window latches), compartments between 1 inch and 1.5 inches wide work well. Depth should be at least 0.75 inches so pieces sit below the rim and the lid closes without pressure. A 24-to-36-compartment box covers most hardware assortments for a single project without over-segmenting your space.
What compartment depth do I need for miniature parts that include taller pieces like newel posts or column capitals?
Taller architectural detail parts in 1:12 scale, including turned newel posts, column capitals, and decorative finials, typically stand between 1 and 1.5 inches tall. You need a compartment depth of at least 1.25 to 1.5 inches to store these safely with the lid fully closed. Standard jewelry compartment boxes (often labeled as 36- or 48-slot) are rarely deep enough for these pieces. Look instead at fishing tackle boxes or craft organizers marketed for bead storage, which tend to offer greater internal depth. Always measure your tallest part against the listed interior depth before purchasing.
How do I prevent tiny parts from escaping between compartment dividers?
The most reliable fix is to cut small squares of thin foam sheet (the kind sold for jewelry making) and press them into the base of each compartment. The foam grips parts and blocks gaps at the divider seams. For the very smallest pieces under 2mm, use individual small zip-lock bags inside each compartment as a secondary containment layer.
Can I use fishing tackle boxes for miniature storage?
Yes, and many builders do. Tackle boxes have deep compartments, secure latches, and handle rough transport well. The main drawback is opacity on some models: you cannot see contents without opening. Opt for tackle boxes with clear lids and clear-bottomed trays if visibility matters to your workflow. Avoid models with spring-loaded dividers, which tend to shift and mix small parts over time.
How should I label storage boxes if I reorganize frequently between projects?
Dry-erase labels on a magnetic strip are the best option for frequent reorganization. Write part names in fine-tip dry-erase marker, wipe clean when the project ends, relabel for the next build. If you prefer permanent labels, use a color-coded system where the label color signals the project and the text names the specific part type. That way, relabeling only requires swapping the color strip, not rewriting every individual label.
Is it worth investing in a dedicated storage system or can I use repurposed containers?
Repurposed containers (pill organizers, ice cube trays, egg cartons) work well as a starting point, and there is no shame in using them. The limitation is structural: they are not built to stack safely, lids rarely seal securely, and compartment sizes rarely match miniature part dimensions. Once you have more than two active projects running simultaneously, a dedicated compartment box system pays for itself in recovered time and protected parts within a few months of regular use.
Turning Your Storage System Into a Creative Ritual
The best part about getting your storage dialed in is what happens after. Setup becomes a ritual rather than a chore. You open your labeled project box, arrange your active tray, and the act of preparing your workspace already puts you in the right headspace for building. Experienced crafters often describe this 5-minute setup sequence as the transition that signals “build time” to their brain, making it easier to slip into the focused, meditative state where the best work happens.
Good storage is not just about efficiency. It is about respecting the small, careful work you put into every build. When a finished brass sconce sits in its own foam-lined compartment instead of rattling loose in a bag, it tells you something about how you value the craft. That mindset carries forward into every cut, every glue joint, every tiny tile you lay by hand.
Start with one box, one labeling pass, one tier of your new system. The habit builds itself from there. And when you open your workspace next session and every piece is exactly where you left it, you will wonder how you ever built any other way. The best storage for miniature parts is ultimately whatever removes every barrier between you and the building itself. That is a goal worth organizing around. 🪄



