🎁 Buy 2 kits, get the 3rd FREE · Free shipping on every order

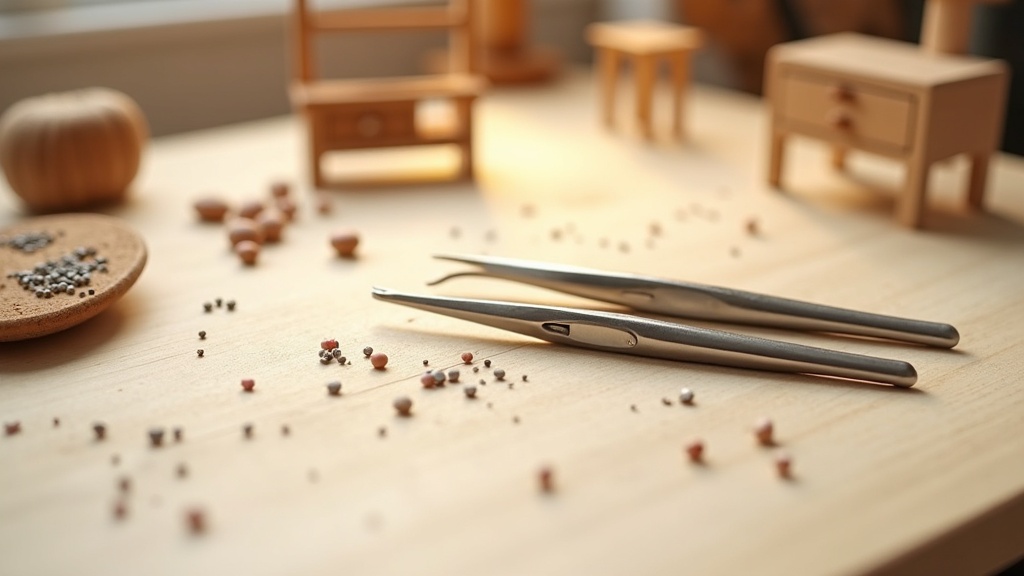
Best Tweezers for Miniatures: How to Pick the Right Pair for Your Build
A complete guide to choosing the best tweezers for miniatures: tip profiles, stainless vs. anti-magnetic steel, care tips, and how to match your tools to specific kit types. Written by Hannah Brooks for hobbyists at every skill level.

The best tweezers for miniatures are the ones that disappear in your hand. You stop thinking about the tool and start thinking about the piece. A tiny door hinge drops perfectly into place. A half-millimeter windowpane sits flush. That quiet click of precision is half the satisfaction of working in small scale.
But not all tweezers are created equal. The wrong pair grips too hard, magnetizes after one bad encounter with a screwdriver, or flexes at the worst possible moment. After years of building kits and hearing from hundreds of crafters in our community, I’ve put together everything you need to know before buying. Whether you’re searching for top tweezers for miniatures as a first-time builder or refining a tool collection you’ve spent years assembling, this guide covers the real decisions.
Why Tweezers Matter More Than Most Crafters Expect
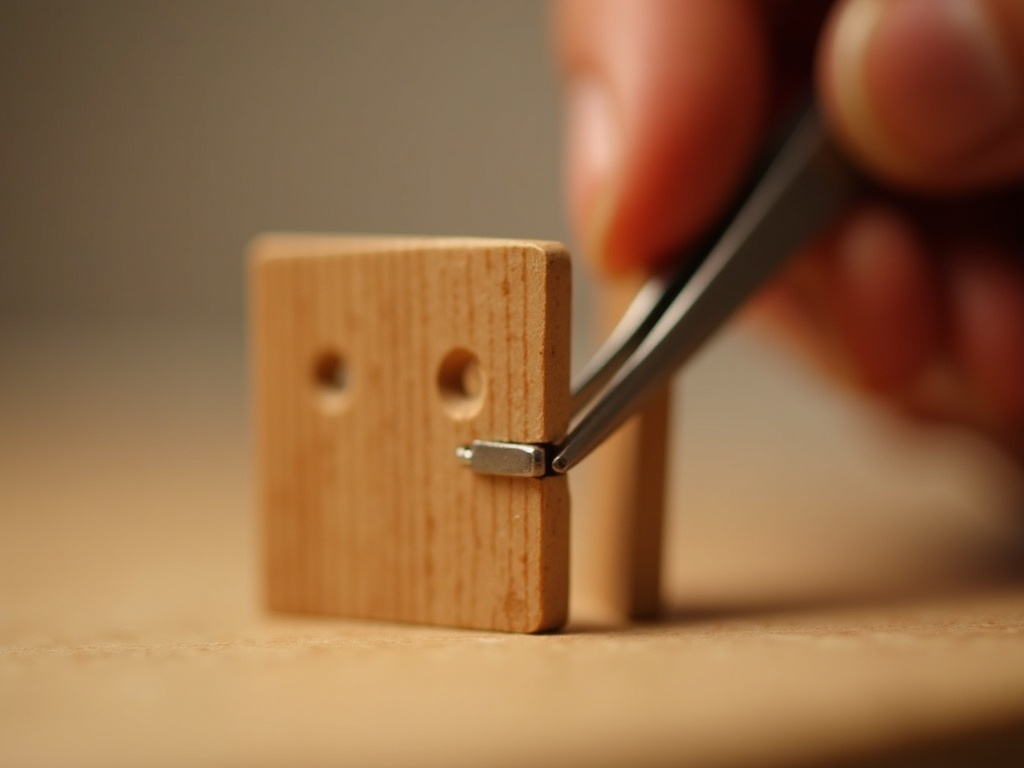
Tweezers matter for miniature work because fingers max out at around 3-4 mm of precision, while miniature builds routinely demand placement at 1 mm or less, a gap only the right tool can reliably close. Fingers are remarkable tools. They can feel texture, gauge pressure, and adapt in real time. But they max out around 3-4 mm of precision, which is roughly the width of a grain of rice. Miniature work regularly demands placement at 1 mm or less. At that scale, a fingertip becomes a bulldozer.
Good tweezers extend your proprioception into that tiny world. The best precision tweezers for miniatures transfer tactile feedback from the tip to your fingers so naturally that you can feel the moment a bead of glue reaches just the right spot. That sensitivity is not a luxury. It’s what separates a clean build from a frustrating afternoon of dropped parts.
There’s also a meditative side to this. Slow, precise placement forces you to breathe. Time stretches. The repetitive micro-movements are genuinely calming, in a way that big crafts simply aren’t. The right tweezers amplify that. Slippery or stiff ones break the spell entirely.
I felt this acutely during my first Victorian dollhouse build in 2021. I started with a cheap pair of hardware-store tweezers, and I spent twenty minutes trying to seat a single brass window latch that was 2 mm wide. The tips were too blunt to grip it without skating sideways. Swapping to a proper fine-point pair from a watchmaking supplier took that same placement to under five seconds. It wasn’t just faster; it was a completely different experience of the craft. That’s when I started taking tools seriously.
Stainless Steel vs. Other Materials: What Actually Holds Up
📜 Did you know?
Watchmakers have used fine-pointed steel tweezers since at least the 17th century. The Geneva watchmaking guilds standardized tip profiles, including the “00” and “000” designations still used today, to handle components smaller than 0.5 mm. Many modern miniature crafting tweezers borrow these exact profiles directly from horological toolmakers. The “00” tip (converging to roughly 0.3 mm) became the standard for handling balance wheel jewels and escape wheel teeth. The “000” goes finer still, to around 0.1 mm, and is the choice for the smallest photo-etch railings in scale modelling and the tiniest seed beads in miniature jewelry work. When you pick up a pair of quality craft tweezers today and see those designations stamped on the handle, you’re holding a tool with a lineage stretching back centuries. That history matters because it means the design is genuinely refined: generations of watchmakers, jewelers, and surgeons iterated on tip geometry, spring tension, and steel grade long before miniature crafting existed as a hobby category.
Watchmakers have used fine-pointed steel tweezers since at least the 17th century. The Geneva watchmaking guilds standardized tip profiles, including the “00” and “000” designations still used today, to handle components smaller than 0.5 mm. Many modern miniature crafting tweezers borrow these exact profiles directly from horological toolmakers. The “00” tip (converging to roughly 0.3 mm) became the standard for handling balance wheel jewels and escape wheel teeth. The “000” goes finer still, to around 0.1 mm, and is the choice for the smallest photo-etch railings in scale modelling and the tiniest seed beads in miniature jewelry work. When you pick up a pair of quality craft tweezers today and see those designations stamped on the handle, you’re holding a tool with a lineage stretching back centuries. That history matters because it means the design is genuinely refined: generations of watchmakers, jewelers, and surgeons iterated on tip geometry, spring tension, and steel grade long before miniature crafting existed as a hobby category.

Bestseller cottage kit
Tranquil Life DIY Miniature House Kit
$67.90
This kit includes over 200 individual components, many under 3 mm. It’s exactly the kind of build where choosing the best tweezers for miniatures pays off immediately.
Stainless steel, typically 410 or 420 grade, hits the right balance of spring tension, corrosion resistance, and surface hardness for miniature crafting tweezers, making it the material most builders should choose first. Stainless steel (typically 410 or 420 grade for crafting tools) hits the right balance of spring tension, corrosion resistance, and surface hardness. The steel resists micro-scratches that would otherwise mar delicate wood veneer or resin parts. It also cleans easily: a quick wipe with isopropyl alcohol removes CA glue, acrylic paint, and epoxy residue without degrading the metal.
Carbon steel tweezers are cheaper but rust if they get damp, and they magnetize easily. Magnetized tweezers sound harmless until you’re trying to place a tiny metal hinge and it snaps sideways to the tip at the last second. Titanium tweezers are genuinely excellent but priced for medical and electronics use, usually $40-$80 per pair. For most miniature builders, quality stainless is the sweet spot.
Anti-magnetic stainless is worth seeking out specifically. It uses a steel alloy (often austenitic grades like 316L) that resists magnetic fields even after repeated contact with magnets or electronic components. If your builds ever include metal fittings, lighting kits, or watch-style mechanisms, anti-magnetic tips protect the precision of every placement. Several builders in our community who work on detail-heavy accessories and hardware sets have switched entirely to 316L anti-magnetic pairs and report that misplaced metal parts dropped to near zero.
Tip Profiles: Matching the Tool to the Task
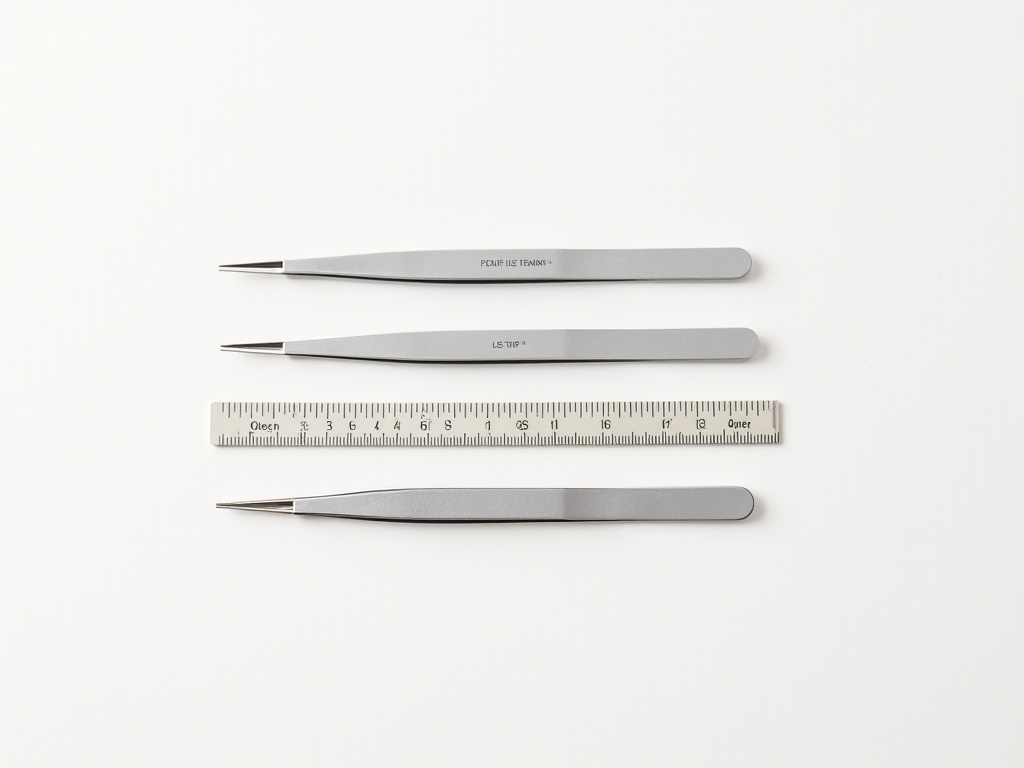
Tip profile is the single most important spec to match to your task: a straight fine-point handles most placements, an angled pair reaches inside enclosed builds, and a reverse-action tip holds parts hands-free while glue sets. This is where crafters most often go wrong. They buy one pair and expect it to do everything. A single tip profile handles maybe 60% of miniature tasks well. A small set of three covers virtually every scenario you’ll encounter. Knowing which profile to reach for is one of those small competencies that makes long build sessions feel effortless rather than grinding.
Straight Fine-Point (Type 1 or “00”)
The workhorse. Straight tips converging to a point below 0.5 mm handle seed beads, wire ends, photo-etch railings, and fabric swatches. They give you the most direct line of sight to the placement zone. Most crafters reach for this pair 70% of the time. If you’re only buying one pair of best tweezers for miniatures to start, a quality straight “00” is the answer.

Explore the collection
All Book Nook Kits
76 handcrafted book nook kits
Book nook builds involve deep, narrow scene boxes where angled tweezers shine. See our full book nook range to understand why tip profile selection matters so much for enclosed builds.
Curved or Angled (45 degrees)
When your straight tweezers block your view of where the part lands, angled tips solve the problem instantly. They’re particularly useful inside room boxes or any enclosed structure where you’re reaching around a wall. The 45-degree bend keeps your wrist in a neutral position too, which matters during long sessions. Our builders who work on book nook kits report that an angled pair is almost mandatory once you’re placing furniture and foliage inside a tight scene box.
Flat or Spade-Tip (Reverse-Action)
Reverse-action tweezers stay closed at rest and open when you squeeze. Great for holding irregularly shaped pieces while glue dries, since you can release your grip without disturbing the part. Flat-tip versions cradle small planks, roof tiles, or fabric panels without leaving dent marks. Think of them as a third hand that doesn’t get tired.
✨ Hannah’s tip
Store your tweezers tip-down in a small ceramic cup or a purpose-made tweezer stand, never loose in a drawer. Tip damage from metal-on-metal contact is the number one reason crafters complain that their tweezers “stopped gripping properly.” A 5-second storage habit adds years to a good pair’s life. I keep three cups on my bench: one for dry-placement tools, one for adhesive tools, and one for the angled pair. The separation alone prevents most of the contamination issues that shorten tweezer lifespan.
Store your tweezers tip-down in a small ceramic cup or a purpose-made tweezer stand, never loose in a drawer. Tip damage from metal-on-metal contact is the number one reason crafters complain that their tweezers “stopped gripping properly.” A 5-second storage habit adds years to a good pair’s life. I keep three cups on my bench: one for dry-placement tools, one for adhesive tools, and one for the angled pair. The separation alone prevents most of the contamination issues that shorten tweezer lifespan.
How to Test Tweezers Before You Buy (or Right After They Arrive)
Test any pair of miniature tweezers by checking tip alignment against light, picking up a single human hair, running your thumbnail across both tips for even finish, and confirming the spring fully rebounds after ten seconds of firm closure. Manufacturers don’t always quality-check tip alignment at the retail level. A misaligned pair looks fine from a distance but crosses slightly off-center under magnification. Here’s a quick field test that any crafter can run in under two minutes:
- Hold the tweezers up to a light source and slowly close the tips. They should meet simultaneously along the full tip length, with no gap and no overlap.
- Pick up a single human hair. If the tweezers grab it reliably without bending or deflecting sideways, the spring tension is right.
- Run your thumbnail across both tips. They should feel identically smooth. Any roughness on one side means the finish is inconsistent and may scratch resin or veneer.
- Close the tips firmly and hold them closed for ten seconds. Release and observe: the tips should spring back to the exact same resting gap as before. If they stay slightly more closed, the steel is too soft and will fatigue quickly under real use.
Crafters in our community who build miniature accessories and detail kits often share their go-to brands in the comments section of kit pages. That community knowledge is worth reading before you spend money. A tip that works for a 1:12 scale room box may not be fine enough for 1:24 scale furniture hardware, so reading build-specific feedback pays off.

Easy starter under $50
Sun Room DIY Miniature House Kit
$49.99
A gentle introduction to kit building. The Sun Room’s components are slightly larger than average, making it a great first build to practice tweezer technique before tackling finer-detail kits.
Precision Tweezers for Specific Miniature Builds
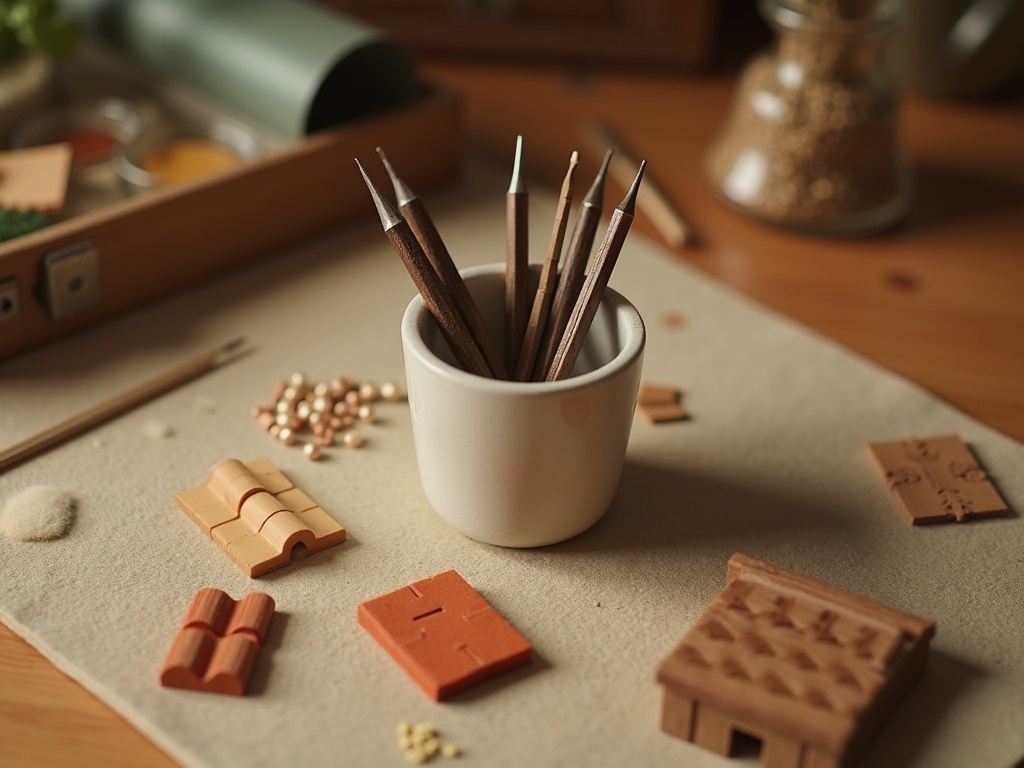
The right precision tweezers for a miniature build depend on build type: dollhouse kits need straight plus angled pairs, scale architecture demands sub-0.1 mm anti-magnetic tips, and botanical kits require soft-tip variants that won’t tear delicate paper or dried petals. Different kit styles genuinely call for different setups. The best tweezers for miniatures in a botanical kit are not the same as the best pair for a scale architecture model. Here’s how to match tweezers to build type:
Dollhouse and Room Box Kits
You’re working with wood veneer, tiny furniture hardware, fabric swatches, and sometimes miniature food. A straight fine-point pair for hardware placement, a curved pair for inside-room work, and a rubber-tipped pair for fabric (so it doesn’t snag) covers every scenario. Difficulty rating for these kits ranges from beginner to advanced, and the tweezers you need scale with the complexity of the included parts. Our miniature house kit collection spans that full range, so matching tool choice to kit complexity is something we think about with every new arrival.
Scale Model Vehicles and Architecture
Photo-etch metal parts, decals, and wire details demand the sharpest possible tips. Look for tip widths stated as 0.1 mm or less. Anti-magnetic stainless is non-negotiable here because many model builders also use neodymium magnets for removable panels. The “000” tip profile is worth the investment at this detail level: it’s the difference between guiding a 0.8 mm window glazing bar into position cleanly and nudging it three times before it finally drops into the recess.
Botanical and Floral Miniatures

Rare in the niche
Miniature Greenhouse Kits
22 LED-lit greenhouse builds
Greenhouse kits include delicate paper and dried botanical elements. Rubber-tipped tweezers are essential for placing these without tearing. Our full greenhouse range notes which kits include floral components where tip choice really matters.
Delicate dried petals and paper flowers tear under metal tips. This is one case where silicone-coated or rubber-tipped tweezers earn their place alongside the stainless pair. The best precision tweezers for miniatures in the botanical category are specifically the soft-tip variants: they cradle fragile elements without leaving crush marks or micro-tears. Crafters who build our greenhouse and floral kits ask about this constantly, and the short answer is always the same: keep one soft-tip pair dedicated to organic materials and never cross-contaminate it with adhesive work.
Jewelry and Bead Work at Miniature Scale
Seed beads (size 15/0, about 1.5 mm) need a crisp, narrow grip with zero lateral play. Cross-locking tweezers, which clamp when you squeeze and release when you let go, work well here. Standard spring tweezers with very fine points work too, as long as tip alignment is perfect. At this scale, a 0.05 mm tip misalignment causes a bead to roll off rather than seat, and you’ll spend ten minutes tracking it across the workbench floor.
If you’re stocking a complete tool kit, our curated accessories collection includes precision tools selected specifically for the kit types we carry. It’s a reliable starting point for both beginners building their first setup and experienced crafters who want to consolidate around tools that are actually tested at the workbench.
Caring for Your Tweezers So They Stay Precise
Good stainless tweezers last a decade or more: clean with isopropyl alcohol after every session, store tip-down, keep a dedicated adhesive pair separate from your dry-placement pair, and never drop them on their tips. Good stainless tweezers last a decade or more with basic care. The enemies are tip misalignment (from dropping), corrosion (from wet storage), and adhesive buildup (from uncleaned CA glue). None of these are hard to avoid once you have a maintenance habit.
- Clean with isopropyl alcohol (90%+) after every session. CA glue softens and wipes away cleanly within the first hour; after that it needs acetone, which is harsher on any coating.
- If the tips drift out of alignment, gently bend them back using your fingers against a flat surface. Never use pliers; you’ll kink the steel unevenly.
- For anti-magnetic tweezers specifically, avoid leaving them near strong permanent magnets for extended periods. Even non-magnetizing alloys can acquire a weak charge over long exposure.
- Keep a dedicated pair for adhesives and a separate pair for dry placement. Adhesive residue eventually affects grip texture, and you don’t want that on your cleanest pair.
- Once a year, run your fingernail down the inside face of each tip. If you feel any roughness or pitting, a light pass with 2000-grit wet-dry sandpaper on a flat surface restores a clean contact face without removing meaningful material.
Experienced crafters who’ve spent hundreds of hours on detail-oriented kit builds will tell you: replacing a $4 pair every two months costs more in frustration and money than investing once in a $20-$30 stainless set that lasts years. The math is obvious once you’ve lived through one cheap pair that magnetized at the worst possible moment.
Premium collector piece
Monet’s Garden DIY Miniature House Kit
$155.00
One of the most detailed kits in our collection. Monet’s Garden includes miniature floral arrangements, LED lighting wiring, and painted resin components that each demand a different tweezer approach: soft-tip for botanicals, fine-point for wiring, angled for deep-scene placement.
Frequently Asked Questions about Tweezers for Miniature Crafting
Everything you might be wondering (click a question to expand).
What tip size is best for placing parts under 1 mm?
Look for tweezers labeled “00” or “000,” which indicates tips converging to 0.3 mm or less. These designations come directly from the watchmaking tradition and are the standard for the smallest miniature hardware, seed beads size 15/0, and micro photo-etch components. The “000” goes finer, to around 0.1 mm, and is worth having if you regularly work at 1:24 scale or smaller.
Are anti-magnetic tweezers really necessary for hobby crafting?
Not for every builder. If your kits are wood and paper only, standard stainless is fine. But if you work with any metal fittings, lighting modules with small magnets, or scale model details, anti-magnetic stainless prevents frustrating mis-placements caused by tip magnetization. Once a tip magnetizes, small metal parts snap toward it unpredictably. Anti-magnetic grades like 316L austenitic stainless cost only marginally more than standard 420-grade craft tweezers and are well worth the difference for mixed-material builds.
How do I know if my tweezers have lost their calibration?
Close them slowly and watch the tips under bright light. If they meet off-center, overlap on one side, or show a gap at the very tip when fully closed, they’re out of alignment. A minor drift can sometimes be corrected by hand, pressing each arm gently against a flat surface. A severe bend usually means it’s time for a new pair. The spring-back test is also reliable: close the tips firmly, hold for ten seconds, release. They should return to the original resting gap exactly.
Can I use medical or laboratory tweezers for miniatures?
Yes, and they’re often excellent. Medical-grade stainless (316L) is anti-magnetic, corrosion-resistant, and machined to tight tolerances. The main downside is cost: medical tweezers run $30-$80 per pair. For most hobbyists, quality craft-grade stainless at $15-$25 performs comparably for miniature work. The key advantage of medical-grade is consistency: every pair is individually inspected, so you’re unlikely to receive a misaligned pair.
How many pairs do I actually need?
For most builds, three pairs cover everything: a straight fine-point (“00”) for primary placement, a 45-degree angled pair for working inside enclosed structures, and a reverse-action or flat-tip pair for holding parts while glue sets. A fourth rubber-coated or silicone-tip pair is worth adding if you work with delicate fabric, dried botanicals, or paper elements regularly. Building up to four pairs gradually, one per build, is a sensible approach that avoids unnecessary spending early on.
What is the best way to clean tweezers after using CA glue?
Wipe immediately with a cloth dampened with isopropyl alcohol (90% or higher). Fresh CA glue comes off easily within the first hour. If it has fully cured, a brief soak or wipe with acetone dissolves it, but acetone is harsh on any rubberized coating, so keep it away from soft-tip pairs. After cleaning, let the tips air-dry fully before storing tip-down in your ceramic cup. A clean pair grips reliably; a gummed-up pair skates and frustrates.
Building a Tool Kit That Grows With Your Skills
Start with one quality straight fine-point pair, master its feel across a full build, then add the second and third pair only when you notice a specific gap in your reach or grip, that’s the approach that builds a genuinely useful kit. Start with one quality straight pair. Get comfortable with it. Feel how spring tension translates to grip pressure. Notice when you reach for a different angle, and that’s the moment you’ll know exactly which second pair to buy.
The crafters who feel most confident at the workbench aren’t the ones who bought every tool at once. They’re the ones who learned each tool’s personality over real builds, real mistakes, and the real satisfaction of a part that finally sits exactly where it belongs. Finding the best tweezers for miniatures for your specific style of building is a process, not a single purchase. But once you’ve worked with a well-matched pair, you’ll understand why experienced builders get slightly evangelical about their tools.
The right tweezers won’t make you a better builder overnight. But they’ll stop being the thing between you and the build you’re imagining, and that’s worth a lot.
Browse our full range of precision crafting tools and accessories to find the pairs and kits that match where you are right now, whether that’s your very first room box or your fiftieth detailed scene.
