🎁 Buy 2 kits, get the 3rd FREE · Free shipping on every order

Best Wire for Miniature LED Rewiring: Gauge, Color, and Soldering Basics
A practical guide to choosing the best wire for miniature LED rewiring, covering gauge selection (28-32 AWG), stranded vs. solid core, color conventions, and beginner-friendly soldering basics for dollhouse and scale model projects.

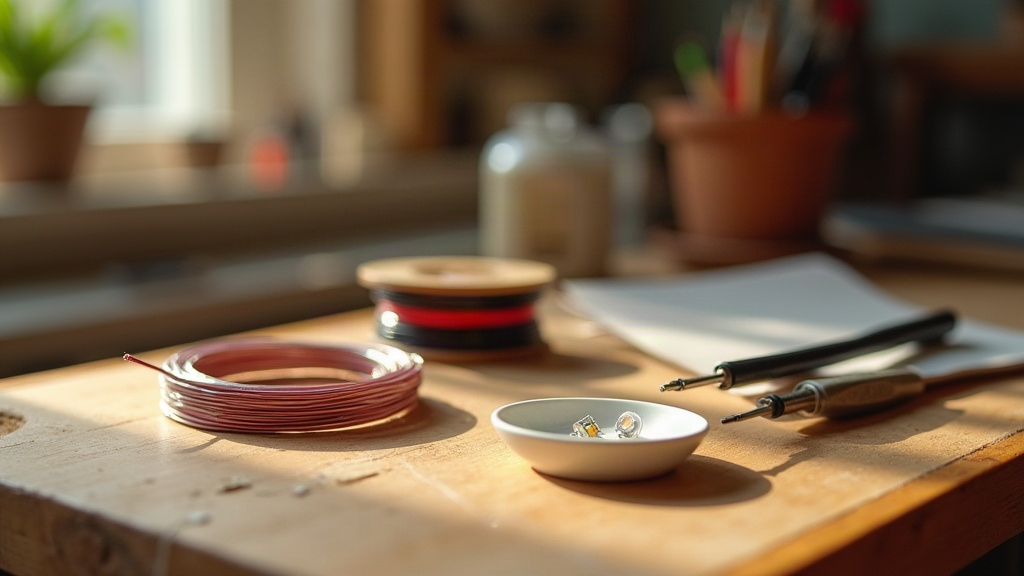
Picking the best wire for miniature LED rewiring feels deceptively simple until you strip the wrong gauge and watch a tiny bulb flicker out for good. The right wire changes everything: clean solder joints, consistent brightness, and a finished piece that still lights up five years later. Hannah Brooks, the founder behind this shop, ran into exactly this problem while rewiring the chandeliers in her very first Victorian dollhouse kit back in 2021. She burned through two strands of fairy lights and one afternoon before landing on the combination covered below. Here is what actually matters, without the jargon overload.
Why Wire Gauge Makes or Breaks a Miniature Build
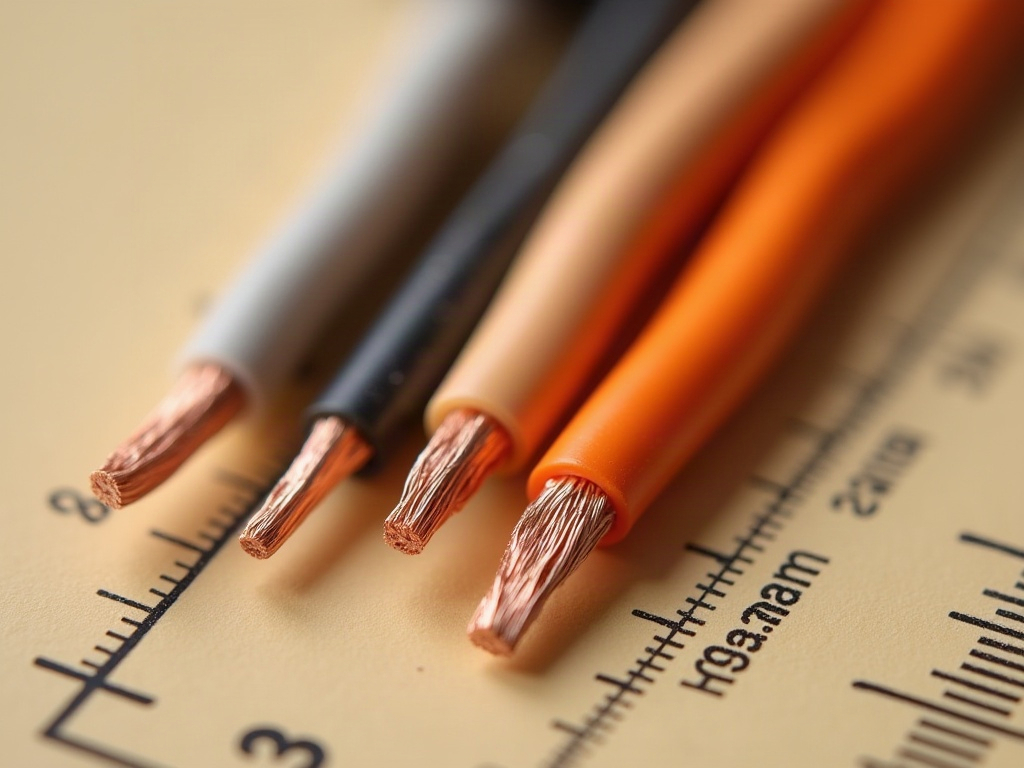
Wire gauge is the single most argued topic in miniature lighting forums, and for good reason. Too thick, and you cannot thread it through a 1:12 scale wall without splitting the plaster. Too thin, and resistance creeps up, voltage drops, and your LEDs glow at half their rated brightness.
For most dollhouse and miniature LED projects, the sweet spot sits between 28 AWG and 32 AWG. Here is a quick breakdown of what each gauge does best:
- 28 AWG: Best for main power runs from a battery pack or transformer to a junction point. Flexible enough to hide under floorboards, sturdy enough to handle repeated handling.
- 30 AWG: The all-around workhorse. Fits comfortably through 1mm drill holes, solders cleanly on 0603 SMD LED pads, and coils without kinking. Most experienced miniaturists keep a 100-foot spool of 30 AWG on hand at all times.
- 32 AWG: Reserve this for ultra-tight spaces: inside a chandelier arm, along a 1:24 scale corridor, or anywhere a thicker wire would show. It breaks under tension more easily, so handle it with patience.
- 34 AWG and finer: Specialty use only. Fragile, time-consuming to strip, and prone to cold joints. Skip it unless you are building a competition-level micro scene.
A good rule: match gauge to the tightest point on the run, then step up one size for the main feed. That keeps total resistance manageable while still threading through tight spots.
AWG Gauge Comparison at a Glance
Choosing between gauges gets much easier when the numbers are side by side. This table covers the four gauges used in miniature LED work, so you can match your project’s requirements in seconds:
| Gauge | Diameter (approx.) | Best Use | Flexibility | Solder Ease |
|---|---|---|---|---|
| 28 AWG | 0.32 mm | Main power runs, transformer feeds | Good | Easy |
| 30 AWG ★ | 0.25 mm | General LED wiring, 1:12 scale rooms | Excellent | Easy |
| 32 AWG | 0.20 mm | Tight runs, chandelier arms, 1:24 scale | Very good | Moderate |
| 34 AWG | 0.16 mm | Competition micro scenes only | Fragile | Difficult |
📜 Did you know?
The AWG (American Wire Gauge) system was standardized in 1857 by the American Wire Gauge committee. The numbering runs backwards: the higher the number, the thinner the wire. A 32 AWG wire has a diameter of roughly 0.20 mm, about twice the width of a human hair. That physical reality is what makes it so satisfying to route invisibly through a miniature room.
The AWG (American Wire Gauge) system was standardized in 1857 by the American Wire Gauge committee. The numbering runs backwards: the higher the number, the thinner the wire. A 32 AWG wire has a diameter of roughly 0.20 mm, about twice the width of a human hair. That physical reality is what makes it so satisfying to route invisibly through a miniature room.

Pre-wired LED kit
Tranquil Life DIY Miniature House Kit
Includes 30 AWG pre-wired LED strands ready to install
$67.90
Stranded vs. Solid Core: The Flexibility Question
Both types show up in LED wiring guides, and both have legitimate uses. Solid-core wire holds its shape after bending, which makes it handy for rigid structures where you want a wire to stay exactly where you put it. Think a lamp post wired into a base that never moves.
Stranded wire, though, is almost always the better pick for dollhouse rewiring. It bends repeatedly without breaking internally, which matters when you open and close rooms for maintenance. For anything that flexes even once or twice a year, stranded is worth the slightly trickier stripping process.
Magnet wire (also called *enameled copper wire*) deserves its own mention. It carries no plastic insulation; instead, a thin lacquer coating insulates the copper. You need to burn or sand the tip before soldering, which adds a step, but the wire is nearly invisible at 32 AWG. For surface-mounted runs along a beam or cornice where you cannot drill, magnet wire painted over with acrylic simply disappears.
If you are just getting started and want to skip the stranded-versus-solid decision entirely, the miniature house kits in our shop ship with the right wire gauge already chosen for each build, so you can focus on the construction and lighting placement rather than sourcing components.
Choosing Wire Color for Invisible Rewiring

Color choice is equal parts aesthetics and practical organization. When you have four or five lighting circuits in one room, keeping polarity consistent with two distinct colors saves real troubleshooting time six months later.
Standard convention borrowed from electronics:
- Red for positive (+) runs.
- Black for negative (-) / ground runs.
That convention works perfectly for exposed wiring inside a wiring bay or behind a removable back panel. For surface runs that will be painted or papered over, color barely matters since you will bury the wire anyway. In that case, pick whatever spool is already on your bench.
One trick worth adopting: use white or cream wire for runs that travel across ceiling plaster before painting. The wire disappears under a single coat of flat white without the dark shadow that a black wire creates through thin paint. Small detail, big visual difference on final inspection.
For best wire for miniature LED rewiring setups involving multiple rooms, some builders keep a small wire journal: a folded index card noting which color serves which circuit in each structure. It takes two minutes to write and saves an hour of tracing later.
🪄 Hannah’s tip
Before threading any wire through a drilled channel, run a piece of electrical tape around the wire at the entry point. It acts as a depth stop so you pull exactly the right length through without overshoot. Nothing is more frustrating than pulling 3 extra inches of wire through a ceiling you just finished wallpapering. Trust me on this one.
Before threading any wire through a drilled channel, run a piece of electrical tape around the wire at the entry point. It acts as a depth stop so you pull exactly the right length through without overshoot. Nothing is more frustrating than pulling 3 extra inches of wire through a ceiling you just finished wallpapering. Trust me on this one.
Soldering Basics for Miniature LED Connections
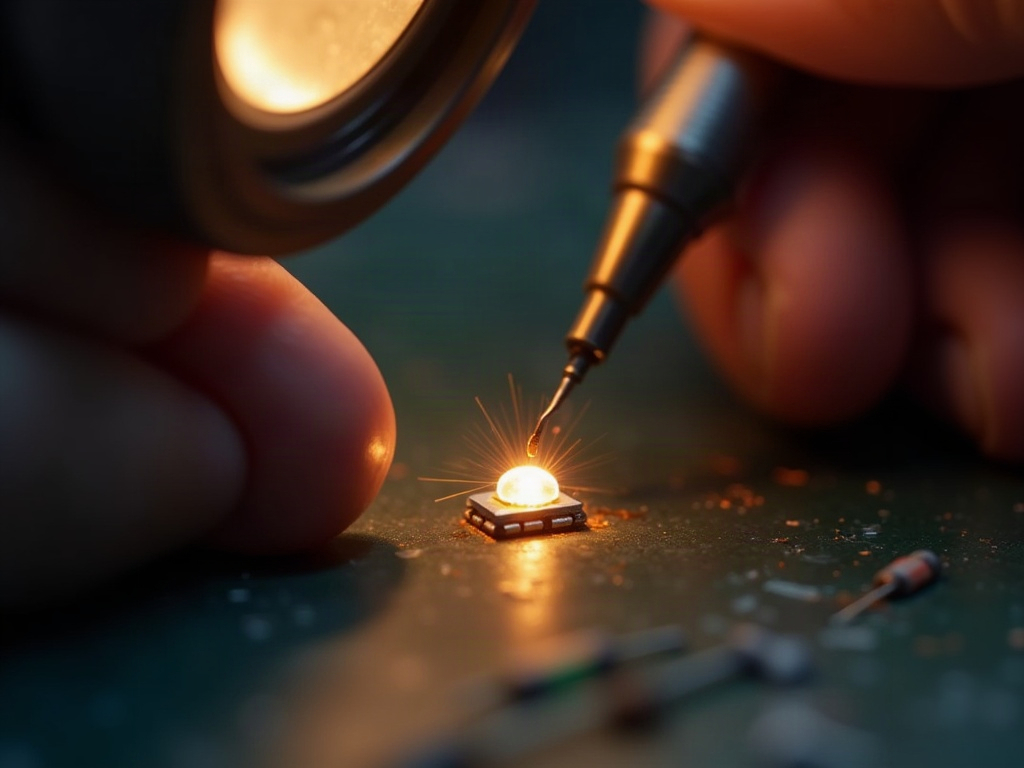
Soldering small LEDs intimidates a lot of new builders, but the actual skill requirement is lower than it looks. What matters is heat control and the right tools, not years of practice. Hannah spent her first session burning three LED pads before discovering that the iron temperature was the only variable that actually needed fixing.
The Iron: Temperature and Tip Size
Temperature range
A temperature-controlled iron set between 300°C and 320°C (572°F to 608°F) covers 90% of miniature LED work. Cheap fixed-temperature irons overshoot and cook tiny LED dies in under two seconds. If you are serious about rewiring, a station with a digital readout pays for itself on the first salvaged strand of lights.
Tip selection
Tip size matters just as much as temperature. A fine conical tip (0.4 mm to 1 mm diameter) gives you enough control to hit a single LED pad without bridging the adjacent contact. Chisel tips are great for through-hole work but too broad for SMD pads on 0402 or 0603 packages. Keep both on hand and swap them rather than compromising on either type of joint.
Solder and Flux: The Two Non-Negotiables
Which solder to buy
Use 60/40 rosin-core solder at 0.5 mm or 0.6 mm diameter for miniature work. The thinner diameter lets you feed small amounts and avoid flooding tiny pads. Lead-free solder requires higher temperatures and produces duller joints that are harder to inspect visually; for hobby use where you control the workspace, 60/40 remains the practical choice.
The role of flux
Flux is the underrated hero of clean joints. A small jar of no-clean flux paste, applied with a toothpick to the pad before touching the iron, lets solder flow smoothly and prevents the cold, grainy joints that cause intermittent failures. After soldering, wipe residue away with isopropyl alcohol on a cotton swab. This single habit eliminates the majority of flickering connections that plague early builds.
Common Soldering Mistakes on Miniature LEDs
- Holding the iron on the pad longer than 2-3 seconds. Sustained heat migrates into the LED die and kills it.
- Skipping flux and trying to compensate with more solder. More solder never fixes a contaminated pad.
- Pulling the wire before the joint fully cools. Give it 5 seconds after lifting the iron.
- Working without magnification. A 10x loupe or a clip-on magnifier lens changes the entire experience. Joints that looked fine to the naked eye reveal cold spots instantly under magnification.
✅ Quick-reference soldering checklist
- Iron set to 300-320°C with a fine conical tip
- Flux paste applied to pad with a toothpick
- Wire tinned before touching the pad
- Iron contact held 2 seconds maximum
- Joint cooled 5 seconds before moving the wire
- Joint inspected under 10x magnification
For builders who want a complete toolkit already curated for miniature lighting work, the miniature building accessories collection carries precision tools, pre-cut wire assortments, and LED components sized for 1:12 and 1:24 scale projects.
Pre-Wired vs. DIY Rewiring: Knowing When to Solder
Not every project needs from-scratch wiring. Pre-wired LED strands designed for dollhouse scale ship with 30 AWG leads already attached, which cuts the soldering step entirely for standard room installations. They work beautifully for quick builds or gift projects where the recipient is not yet comfortable with a soldering iron.
DIY rewiring earns its place when you need a non-standard color temperature, a specific beam angle, a tighter wire run than a pre-made strand allows, or when you are repairing a vintage kit where the original wiring has corroded. In those cases, knowing your gauges and solder basics puts you fully in control of the outcome. Choosing the best wire for miniature LED rewiring for your specific project is ultimately what separates a build that ages gracefully from one you are tracing faults in three years later.
For curated LED components that pair with the wire types covered here, browse the accessories collection where each listing notes compatibility by scale and wiring method.

Easy starter under $50
Sun Room DIY Miniature House Kit
Perfect first kit for learning LED placement before DIY rewiring
$49.99
Frequently Asked Questions about Miniature LED Rewiring Wire
Everything you might be wondering (click a question to expand).
What is the best wire gauge for rewiring a 1:12 scale dollhouse?
30 AWG stranded copper wire is the most practical choice for the majority of 1:12 scale work. It threads through 1mm drill holes, solders cleanly to common LED package sizes, and is flexible enough to survive the repeated opening and closing that comes with a living display piece. Use 28 AWG for the main power feed from transformer to junction, then drop to 30 AWG for individual room circuits.
Can I use regular craft wire for LED connections?
Regular craft wire is typically uninsulated aluminum or copper with no consistent gauge rating. It oxidizes quickly, resists solder adhesion, and carries no polarity marker. Stick with insulated copper wire rated for electronics use, even if it costs a few dollars more per spool. The consistency in diameter and conductivity is not comparable, and the time saved troubleshooting intermittent connections is worth every cent.
How do I keep wire invisible on finished miniature walls?
The most reliable approach combines two methods: drill channels wherever possible and use magnet wire for surface runs that cannot be drilled. Magnet wire painted over with matching acrylic wall color becomes truly invisible. For runs under flooring, lay the wire in a shallow groove carved with a hobby knife before gluing down the floor material. White or cream insulated wire under flat white paint also disappears without needing to drill.
What temperature should I solder miniature LEDs at?
Set your iron between 300°C and 320°C (572°F to 608°F) and use a fine conical tip. Apply flux paste to the pad first, touch the iron for no longer than 2-3 seconds, and let the joint cool for 5 seconds before moving the wire. Those three habits prevent the vast majority of failed joints and dead LEDs.
Does wire color affect LED performance in any way?
No. Wire insulation color is purely organizational and aesthetic. The electrical performance depends entirely on the metal conductor inside (copper is standard and ideal), the wire gauge, and the quality of the solder joint. Choose colors for polarity tracking or camouflage, not for any performance reason.
Is stranded or solid-core wire better for miniature LED rewiring?
Stranded wire is almost always the better pick for dollhouse and miniature builds. It handles repeated bending without developing internal breaks, which matters every time you open a room for maintenance or photography. Solid-core wire is only preferable for completely rigid structures (such as a permanently fixed lamp post base) where the wire will never flex after installation.
Building Confidence One Solder Joint at a Time
Rewiring miniature LEDs rewards patience more than any special talent. Each project you complete leaves you slightly faster, slightly more precise, and significantly more comfortable with heat and small-scale work. That accumulating confidence is genuinely one of the most satisfying things about this craft. Hannah still remembers the specific moment in her Victorian dollhouse build when a solder joint landed perfectly on the first try: the copper flowed bright and smooth, the LED lit immediately, and the whole room suddenly felt alive at 1:12 scale. That moment is waiting for you too.
Start with a forgiving 30 AWG stranded spool, a temperature-controlled iron, and a jar of no-clean flux. The first clean joint you pull off a tiny LED pad will make the learning curve feel entirely worth it. And when you are ready to put those skills to work on a build, browse our full range of miniature house kits to find the project that fits your current level and ambition. 🪄
