🎁 Buy 2 kits, get the 3rd FREE · Free shipping on every order

Best Work Surface for Building Miniatures: Mat, Light, and Organizer Setup That Actually Works
Set up the best work surface for building miniatures with the right cutting mat, daylight lamp, and parts organizer. Practical advice on ergonomics, lighting temperature, and stage-based sorting for hobbyists at every level.

The moment you sit down to build a miniature kit, your work surface either fights you or supports you. Tiny pieces vanish into carpet. Glue bleeds onto the wrong spot. A shadow falls exactly where you need to see a 2mm joint. Getting your physical setup right is not a luxury; it is the first real craft decision you make.
This guide walks through what a solid work surface for building miniatures actually looks like in practice, from the mat under your hands to the light above your head to the small-parts organizer keeping your sanity intact. No vague advice. Real choices, real reasoning.
Why Your Work Surface Matters More Than Your Tools
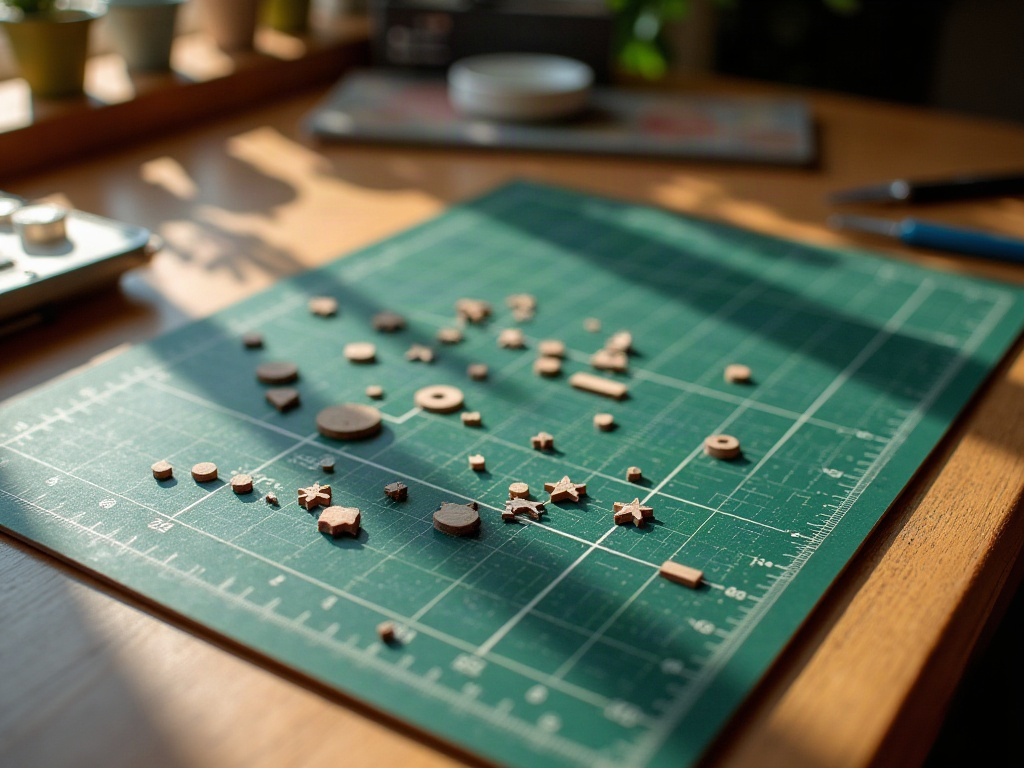
Your work surface for building miniatures matters more than your tools because grip, light, and order are what prevent lost pieces, misplaced glue, and eye strain, and no tool can compensate for a setup that fights you from the start. Most beginners assume the kit itself is the hard part. Veteran builders know better. A slippery table sends parts skidding. A dark corner turns a delicate paint job into guesswork. And a cluttered surface means you spend 40 percent of your session hunting for pieces rather than building them.
The ideal miniature building setup solves three problems at once: it gives you grip, it gives you light, and it gives you order. None of those three works alone. You can have the brightest lamp in the room and still lose a 1mm window frame because your cutting mat is the same beige as the laser-cut wood. Color contrast matters. Surface texture matters. The height of your chair relative to your table matters.

Think of your work surface as a quiet collaborator. When it is set up right, you stop thinking about it entirely and sink into the satisfying, meditative rhythm of building. That is the goal.
Choosing the Right Cutting Mat for Miniature Work
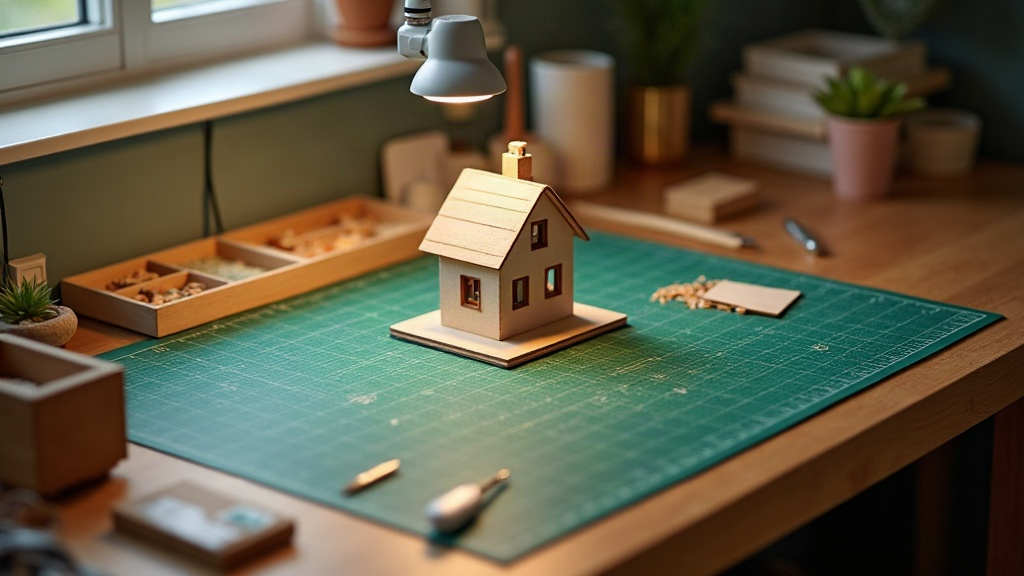
The right cutting mat for miniature work is a dark-colored self-healing mat sized at least 12 x 18 inches, with a printed grid and a minimum thickness of 2mm, these four features together protect your table, show light pieces clearly, and keep cuts straight. A self-healing cutting mat is non-negotiable if you use a craft knife or scoring tool, and almost every miniature kit requires at least some light cutting. The surface closes back up after each slice, staying flat and grip-friendly for months.
For miniature building specifically, look for these features:
- 📐 Size: A 12-inch x 18-inch mat works for most kits. Go 18 x 24 inches if you regularly build larger room-box-scale projects.
- 🎨 Color: Dark green or gray mats show light-colored wood pieces clearly. Avoid beige or tan.
- 📏 Grid printed on surface: Helpful for squaring up wall panels before glue dries.
- 🔲 Thickness: At least 2mm. Thin mats buckle under ruler pressure and ruin straight cuts.
One practical tip: rotate your mat 180 degrees every few sessions. Cutting in the same spot repeatedly creates shallow grooves that eventually guide your blade off course. Rotating spreads the wear evenly and extends the mat’s life by months. If you are just starting out, the miniature house kits in our beginner range pair well with a standard 12 x 18-inch dark green mat.
📜 Did you know?
The self-healing cutting mat was originally developed for use in the garment and leather industry in the early 1970s. The material uses a PVC compound with microscopic fibrous particles that close around a blade’s path after each cut. Miniature hobbyists adopted it widely through the 1990s as laser-cut wood kits became more widely available, and it remains the standard surface for precision hobby work today.
The self-healing cutting mat was originally developed for use in the garment and leather industry in the early 1970s. The material uses a PVC compound with microscopic fibrous particles that close around a blade’s path after each cut. Miniature hobbyists adopted it widely through the 1990s as laser-cut wood kits became more widely available, and it remains the standard surface for precision hobby work today.
Lighting Setup for Fine Miniature Detail Work
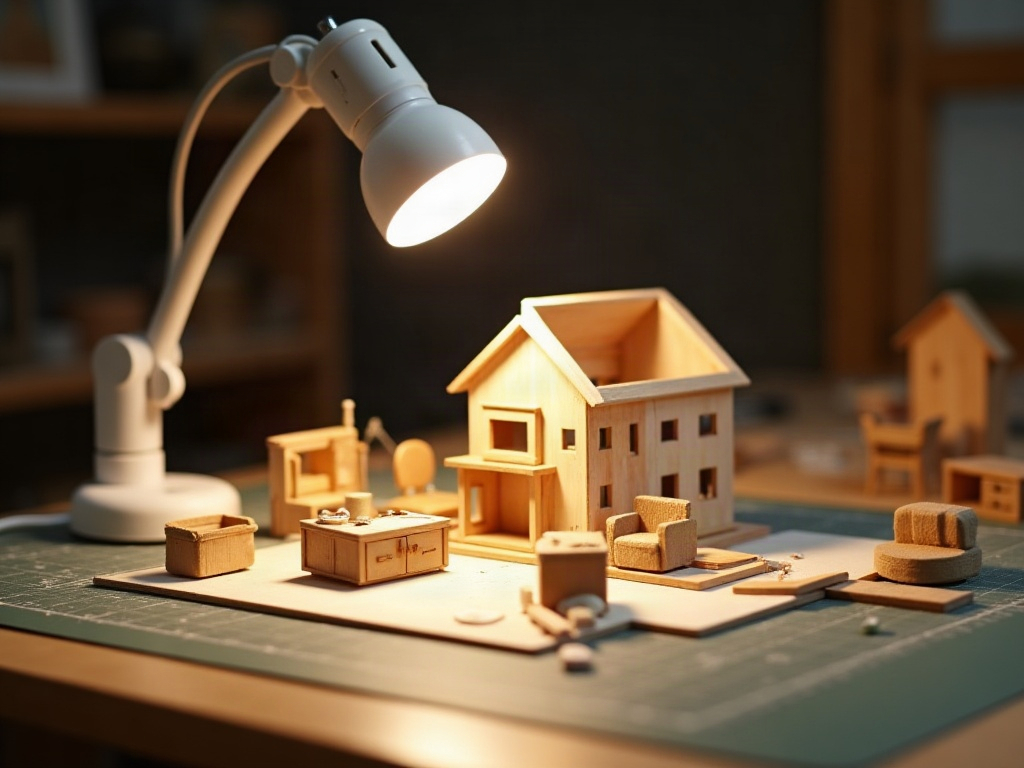
The best lighting setup for miniature detail work combines a daylight LED task lamp at 45 degrees to your dominant hand with a secondary fill light on the opposite side, eliminating hand shadow and rendering paint colors accurately at 5000-6500K. Lighting is where hobbyists most consistently underinvest, and where they feel the biggest improvement after upgrading. A single overhead ceiling light casts shadows directly onto your hands while you work. That shadow lands exactly where you need to see.
The best lighting setup for miniature detail work combines two light sources at different angles:
- A daylight LED task lamp positioned at 45 degrees to your dominant hand side. This eliminates hand shadow on your working area. Look for lamps rated at 5000-6500K color temperature; this range renders colors accurately and reduces eye fatigue during long sessions.
- A secondary ambient fill light behind or to the opposite side. This softens hard shadow edges so you can read depth on tiny 3D surfaces.
Lumens matter more than wattage for LED lamps. For close detail work, aim for at least 800 lumens at the work surface. Many hobby-specific lamps include a built-in magnifier lens, which becomes genuinely useful when you are painting window muntins or threading micro-scale curtain rod wire.
If you build near a window, natural north-facing light is the gold standard for color accuracy, but it changes throughout the day. Supplement it with a daylight lamp so your color-matching stays consistent from morning to evening. This matters especially for the fine painted details found in kits like our Monet’s Garden DIY Miniature House Kit, where subtle color gradients in the foliage really show under a proper daylight bulb.
📜 Did you know?
The concept of color temperature in lighting traces back to physicist William Kelvin’s 19th-century work on blackbody radiation. The practical upshot for crafters: incandescent bulbs sit around 2700K (warm yellow), while noon daylight on a clear day measures roughly 5500-6500K (neutral white-blue). Hobby manufacturers did not widely adopt daylight-rated LED lamps until the 2010s, but the difference in paint accuracy they deliver was immediately recognized by miniaturists and scale modelers.
The concept of color temperature in lighting traces back to physicist William Kelvin’s 19th-century work on blackbody radiation. The practical upshot for crafters: incandescent bulbs sit around 2700K (warm yellow), while noon daylight on a clear day measures roughly 5500-6500K (neutral white-blue). Hobby manufacturers did not widely adopt daylight-rated LED lamps until the 2010s, but the difference in paint accuracy they deliver was immediately recognized by miniaturists and scale modelers.
🪄 Hannah’s tip
Before every session, I do a quick “shadow check”: I hold my non-dominant hand flat over the work area and look for dark patches. If I see one, I adjust the lamp angle before I start. It takes ten seconds and saves a lot of squinting. Color temperature is just as important as brightness; I switched to a 5500K lamp two years ago and my painted details improved noticeably because I could finally see the actual color I was applying.
Before every session, I do a quick “shadow check”: I hold my non-dominant hand flat over the work area and look for dark patches. If I see one, I adjust the lamp angle before I start. It takes ten seconds and saves a lot of squinting. Color temperature is just as important as brightness; I switched to a 5500K lamp two years ago and my painted details improved noticeably because I could finally see the actual color I was applying.
Small Parts Organization: The Third Leg of Your Setup
The most effective miniature parts organizer system sorts pieces by build stage rather than type, uses shallow divided trays to keep everything visible, and designates a small active-work zone on your mat so clutter never builds up mid-session. A great mat and great light still leave you frustrated if parts from three different build stages are scattered across your table. Organization is the third pillar, and the one most people bolt on as an afterthought.
The most practical miniature parts organizer system for hobbyists breaks down into two layers:
🗂️ Stage-Based Sorting
Sort pieces by build stage, not by type. Put all wall-assembly pieces in one container, all roof pieces in another, all furniture flat-packs in a third. When you sit down to work, you only open the container for today’s stage. Everything else stays closed, stays organized, and stays off your mat.
Small divided bead organizer boxes (the kind with removable dividers) work extremely well. The shallow trays keep pieces visible without stacking. Magnetic parts trays used by automotive mechanics are another strong option; the magnet holds metal brads and hinges without them tipping.
🎯 The “Active Work” Zone
Keep a small silicone craft mat or a folded piece of white cardstock in the center of your main cutting mat as your “active zone.” Pieces in active use live here. Finished subassemblies go immediately into a labeled box or tray off to the side. This two-zone discipline stops the creeping clutter that swamps most build sessions after the first hour.
For kits from our accessories collection, which includes dedicated organizer trays, sorting tools, and craft mats sized for miniature builds, the system above integrates directly with the products. Everything is scaled for the small parts that come in a standard dollhouse or room-box kit. If you enjoy builds with many tiny botanical elements, our miniature greenhouse kits are a great test of just how much stage-based sorting pays off.

Ergonomics: Protecting Your Hands and Eyes Over Long Sessions

Protecting your hands and eyes over long miniature building sessions comes down to four adjustments: table height at elbow level, working at your natural focal distance, a wrist rest to reduce tremor, and a 20-second eye break every 45 minutes. Miniature building is meditative precisely because it asks for sustained, quiet focus. That focus only stays pleasant if your body is not fighting your chair height, your wrist angle, or your focal distance.
A few adjustments make a real difference:
- 🪑 Work surface height: Your elbows should be roughly at table height when you sit normally. If your table is too high, your shoulders ride up and fatigue within 30 minutes. A seat cushion or an adjustable chair solves this cheaply.
- 👁️ Focal distance: Hold a piece at arm’s length and bring it slowly toward your eyes. The point where it snaps into sharpest focus is your natural working distance. Build at that distance, not closer. Working too close for too long strains the ciliary muscles in your eyes.
- 🤲 Wrist support: A folded craft towel or a small foam wrist rest under your forearm reduces the micro-tremor that makes fine gluing inconsistent.
- ⏱️ Break rhythm: Every 45 minutes, look at something at least 20 feet away for 20 seconds. This resets eye focus and prevents the dull headache that ends a good build session too early.
Crafters in our community frequently mention that once they sorted out their ergonomics, building stopped feeling tiring and started feeling restorative. That shift is real. The physical setup is not separate from the experience; it is the experience. It is what transforms a Sunday afternoon project into the kind of quiet, absorbing session you find yourself thinking about on Monday morning.

Frequently Asked Questions about Miniature Work Surfaces and Setup
Everything you might be wondering (click a question to expand).
What size cutting mat is best for building miniature dollhouse kits?
For most standard dollhouse and room-box kits, an 18 x 24-inch self-healing cutting mat gives you enough room to stage pieces, cut, and still keep your lamp base off the work zone. If you build exclusively small-scale kits (1:24 or smaller), a 12 x 18-inch mat works fine and takes up less desk space.
Is a daylight bulb really necessary, or does a regular lamp work?
A regular warm-white bulb (around 2700-3000K) skews colors yellow. This is a real problem when you are mixing paint or choosing wood stains. A 5000-6500K daylight bulb renders colors close to natural sunlight. The difference shows immediately in paint accuracy and in reading fine laser-engraved texture on wood panels.
How do I keep tiny laser-cut pieces from warping while I sort them?
Lay the punch-out sheet flat on your mat under a heavy book for 30 minutes before you start. Humidity causes most warping in thin laser-cut wood. If warping persists, lightly mist the back of the piece with water and press it flat under a heavy object overnight. This relaxes the wood fibers without damaging the detail.
Can I use a glass cutting mat instead of a self-healing mat?
Glass mats stay perfectly flat and clean easily, which makes them attractive. The downside: they are slippery, they reflect glare from overhead lights, and they provide no grip for small pieces. For miniature work where pieces are light and small, the grip and non-reflective surface of a self-healing cutting mat is consistently more practical.
What is the best way to store a half-finished miniature kit between sessions?
A shallow cardboard box lined with a soft cloth works well. Store subassemblies upright if possible, separated by folded cardstock dividers. Avoid plastic bags for wood pieces; trapped humidity causes warping. Label the box with the build stage so you can pick up exactly where you left off without a re-orientation session.
Do I need a dedicated workbench, or can I build at my kitchen table?
A kitchen table works perfectly well as a work surface for building miniatures, provided you protect it with a cutting mat and bring in a proper task lamp. The key is consistency: keep your mat, lamp, and parts organizer together so setup takes under two minutes. When starting a session feels easy, you actually start it more often. A dedicated corner of a table you can leave semi-set-up between sessions is genuinely better than a purpose-built workbench you have to assemble each time.
Building a Setup You Will Actually Use Every Session
The best work surface for building miniatures is not the most expensive one. It is the one you keep set up, ready to go, so that sitting down to build takes zero friction. A mat that stays on your desk, a lamp that stays plugged in, and a parts organizer that stays sorted between sessions turns building from a project you “get around to” into a ritual you genuinely look forward to.
Start with the cutting mat and the daylight lamp. Those two changes alone will make your next session noticeably more pleasant. Add the organizer system once you have a feel for how your build process flows. Browse the full accessories collection for mats, organizer trays, and lighting tools that are sized and tested for miniature-scale work.
Your hands will thank you. So will the tiny building waiting on your desk. 🪄
