🎁 Buy 2 kits, get the 3rd FREE · Free shipping on every order

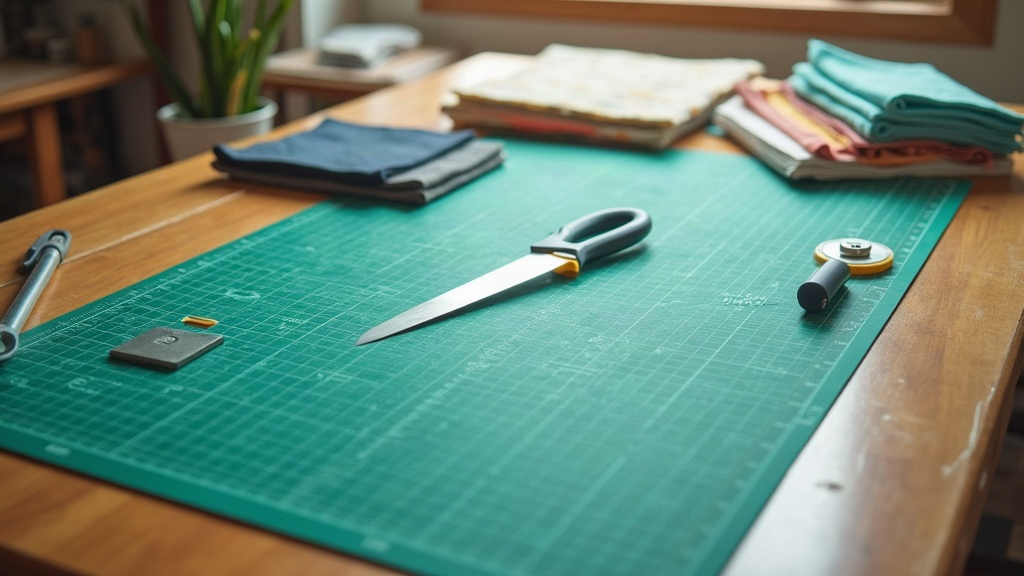
Cutting Mats for Hobby Crafts: How to Pick the Right One and Actually Use It
A practical guide to self-healing cutting mats for hobby crafts: how they work, which sizes suit which projects, blade compatibility, and care habits that extend mat life well past the first year.

Your blade slips, your table gets gouged, and your cut line drifts a quarter-inch off. Sound familiar? The right cutting mat for hobby crafts fixes all three problems at once, and it costs less than the table you are about to scratch. But not every mat is built for the same hand, the same project, or the same space.
This guide covers what self-healing mats actually do, which sizes match which projects, how to choose a cutting mat for hobby crafts that fits your specific workflow, and how to keep yours working for years instead of months. No fluff, just the stuff that changes how you work.
What “Self-Healing” Actually Means (and What It Doesn’t)
The term is everywhere on packaging, but it deserves a quick reality check. Self-healing cutting mats for hobby crafts are made from multiple layers of compressed PVC or vinyl composites. When a blade cuts through the surface, the material around the incision contracts back together, closing the groove so it does not become a channel that guides future cuts off-course.
That is the real value. It is not magic regeneration. It is groove-resistance, which keeps your cut lines accurate over hundreds of sessions. A non-healing mat develops trenches after a few weeks of regular use, and those trenches literally steer your knife away from where you want to go.
What self-healing does not mean: the mat will look pristine forever. Surface scuff marks accumulate. Deep repeated cuts in the same spot will eventually compromise any mat. The healing mechanism works best when you vary your cutting paths rather than scoring the same line fifty times in the same millimeter.
📜 Did you know?
The first commercial self-healing cutting mats were introduced in the early 1980s by Japanese stationery manufacturers serving the graphic design and architectural drafting industries. Crafters adopted them through the quilting community during the late 1980s rotary cutter boom, and the format has barely changed structurally since then. The composites have gotten denser and the grid printing more precise, but the core multi-layer PVC concept is about 40 years old.
The first commercial self-healing cutting mats were introduced in the early 1980s by Japanese stationery manufacturers serving the graphic design and architectural drafting industries. Crafters adopted them through the quilting community during the late 1980s rotary cutter boom, and the format has barely changed structurally since then. The composites have gotten denser and the grid printing more precise, but the core multi-layer PVC concept is about 40 years old.
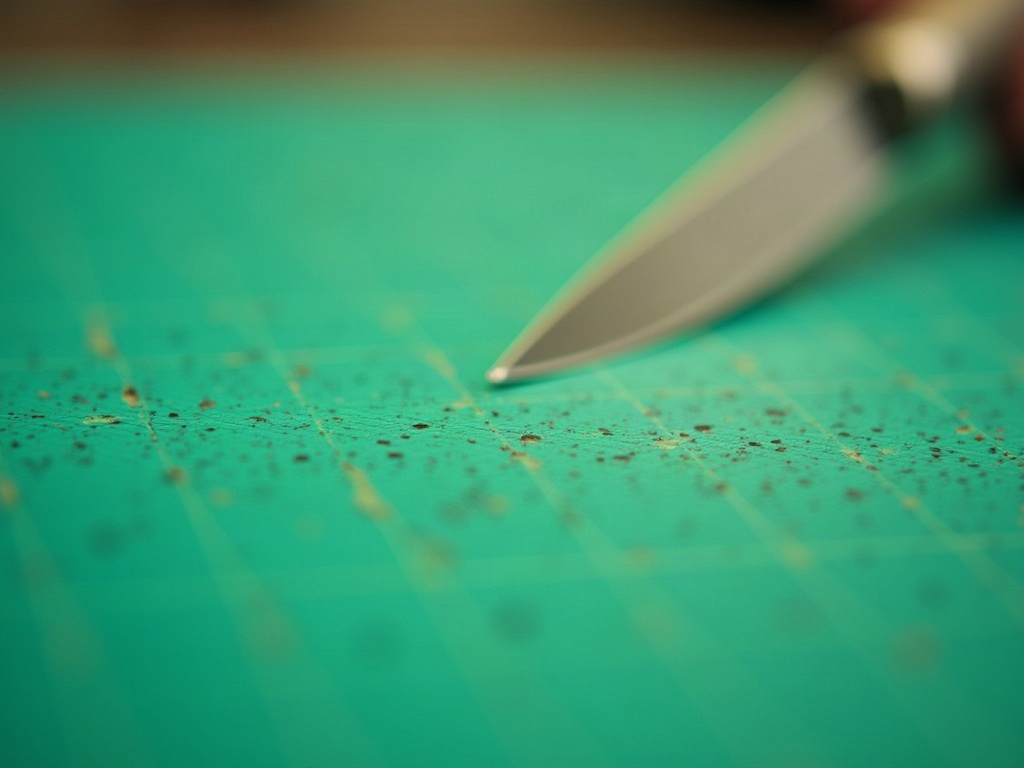
Sizes That Match Real Projects
Choosing a mat by “bigger is better” logic leads to a cluttered desk and a mat that warps from uneven storage. Match the size to your primary craft instead. To help you decide quickly, here is a side-by-side comparison of the three most common size tiers:
| Size tier | Dimensions | Best for | Typical price | Est. lifespan* |
|---|---|---|---|---|
| Small | 6×9 / 9×12 in | Card making, journaling, miniature cutting, workshops | $10 – $22 | 1 – 2 years |
| Mid-range | 12×18 / 18×24 in | Scrapbooking, paper crafts, fabric cutting, kit building | $25 – $55 | 2 – 4 years |
| Large format | 24×36 in + | Quilting, garment patterns, architectural models | $60 – $120 | 3 – 6 years |
*With proper rotation, cleaning, and flat storage. Heavy daily use shortens these estimates; occasional hobby use extends them.
Small Mats: 6×9 and 9×12 inches
These are the travel-and-tuck sizes. A 6×9 fits in a tote bag for workshops or crops. The 9×12 handles card making, journaling inserts, and small paper-cutting projects without overwhelming a compact desk. If you do miniature work, like building dollhouse accessories or cutting tiny pattern pieces for soft-sculpture dolls, a 9×12 gives you enough real estate while keeping your workspace tight and organized.
Mid-Range Mats: 12×18 and 18×24 inches
The 12×18 is the community favorite for a reason. It handles a standard 12×12 scrapbook page with room to rotate. It fits on most craft tables without taking over. The 18×24 steps up for quilting, garment pattern cutting, and larger mixed-media canvases. Both sizes are practical daily drivers that work for everything from precision paper crafts to fabric cutting with a rotary blade.
If you build miniature house kits or book nook kits, the 12×18 is the sweet spot: large enough to lay out all the pre-cut pieces from a kit at once, small enough to slide aside when you switch to gluing and assembly. The flat, grid-lined surface doubles as a reference board for checking that walls and frames sit at true right angles before the glue sets.

Explore the collection
All Book Nook Kits
76 handcrafted book nook kits
Every kit includes pre-cut balsa and laser-scored card pieces. A 12×18 cutting mat for hobby crafts is the ideal companion surface for trimming, squaring, and fitting each component before assembly.
Large Format: 24×36 inches and beyond
Quilters, sewists cutting yardage, and anyone working with architectural model boards will need a 24×36 or larger. These mats are a serious investment (typically $60-$120 for a quality mat), but they protect large cutting surfaces and eliminate the need to fold or reposition fabric mid-cut. Store them flat or rolled loosely. Folding a large mat causes permanent creases that destroy the flat cutting surface.
Hannah’s tip
If you do both paper crafts and fabric work, buy two separate mats rather than sharing one. Rotary blades leave a different cut profile than craft knives, and fabric fibers can embed in the mat surface and affect paper cuts. I keep a dedicated 12×18 for paper and a 18×24 for fabric. Each one lasts twice as long because it is not absorbing both types of stress.
If you do both paper crafts and fabric work, buy two separate mats rather than sharing one. Rotary blades leave a different cut profile than craft knives, and fabric fibers can embed in the mat surface and affect paper cuts. I keep a dedicated 12×18 for paper and a 18×24 for fabric. Each one lasts twice as long because it is not absorbing both types of stress.
Grid Lines, Angles, and What the Printed Surface Actually Helps With
Almost every self-healing mat comes printed with a 1-inch grid, 45-degree angle guides, and sometimes diagonal guides at 30 and 60 degrees. These are not decorative. Used correctly, they save significant measuring time and improve cutting accuracy without a ruler for most standard increments.
The grid is most useful when you are cutting multiples, squaring up paper or fabric, or checking that two pieces are identical in size. The angle guides help you miter cuts for frames, envelopes, or paper boxes. For miniature builders, they are invaluable when you are cutting basswood strips at precise angles for hobby craft accessories like window frames or wall panels.
One underrated feature: the printed surface helps you see where previous cuts landed. That visual feedback trains better cutting habits over time, especially for beginners who are still learning to keep consistent pressure on a ruler.
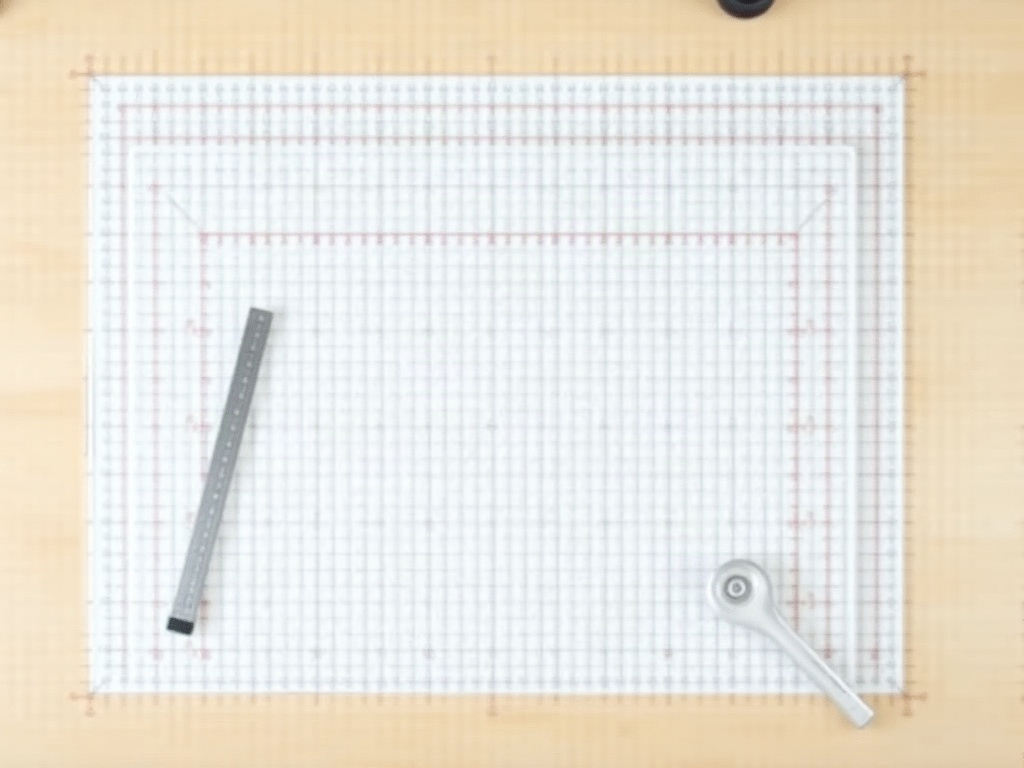
The Sun Room kit (shown below) is a good example of a project where the grid really earns its keep. Its thin balsa panels need to be trimmed square on all four sides, and the 1-inch grid lets you check alignment at a glance rather than reaching for a separate set square every two minutes.

Easy starter under $50
Sun Room DIY Miniature House Kit
$49.99
A beginner-friendly build with delicate balsa panel cuts and fine wallpaper trimming. Lay it all out on a 9×12 or 12×18 mat and the grid handles squaring for you.
Which Blade Types Work on a Self-Healing Cutting Mat
Self-healing mats are compatible with most hand-held cutting tools. Here is a practical breakdown:
- Craft knives (X-Acto #11 blade): The gold standard pairing. Light, precise, and gentle on the mat surface when pressure is controlled.
- Rotary cutters (28mm, 45mm, 60mm): Work well on mats rated for rotary use. A 28mm for curves and small pieces; 45mm for straight fabric cuts; 60mm for heavy layers or batting.
- Scalpels and surgical blades: Fine for paper and thin card stock. The extremely sharp edge can micro-score the mat surface more aggressively, so vary your cutting lanes.
- Box cutters / utility knives: These apply heavy downward pressure and chew through mat surfaces faster. Reserve them for thicker materials like foam board, and use a sacrificial non-healing mat underneath.
- Scoring tools and bone folders: Safe on any mat. They do not cut the surface at all.
Scissors do not need a mat. Paper trimmers with their own cutting channel do not either. The mat is specifically for free-hand or ruler-guided blade cuts.
A note on blade sharpness: a dull blade actually does more damage to a self-healing mat than a sharp one. Dull edges require extra downward pressure to cut through material, driving the blade deeper into the mat composite. Fresh blades are cheap; replace the #11 every two to three sessions rather than pushing a tired edge.
Caring for Your Cutting Mat for Hobby Crafts So It Lasts Past the First Year
Most mats die from neglect, not overuse. A few consistent habits extend the lifespan dramatically.
Cleaning Without Warping
Wipe the mat monthly with a damp cloth and a drop of mild dish soap. Rinse gently and lay flat to dry away from direct sunlight or heat vents. Heat is the enemy of PVC-composite mats. A mat left near a sunny window for a few weeks will bow upward at the edges and lose its flat surface permanently. Do not soak mats in water, and never run them through a dishwasher.
Rotating Your Cutting Zones
Think of the mat as divided into quadrants. Rotate which area you use for each project. Concentrating all your cuts in the center creates a worn-out core surrounded by pristine edges. Deliberate rotation distributes wear evenly and can double the usable life of a mid-range mat.
Storage Position Matters
Store flat whenever possible. If space is tight, store vertically against a flat wall with support along the full length of the mat. Storing it leaning at an angle causes a warp that no amount of flattening under heavy books fully corrects.
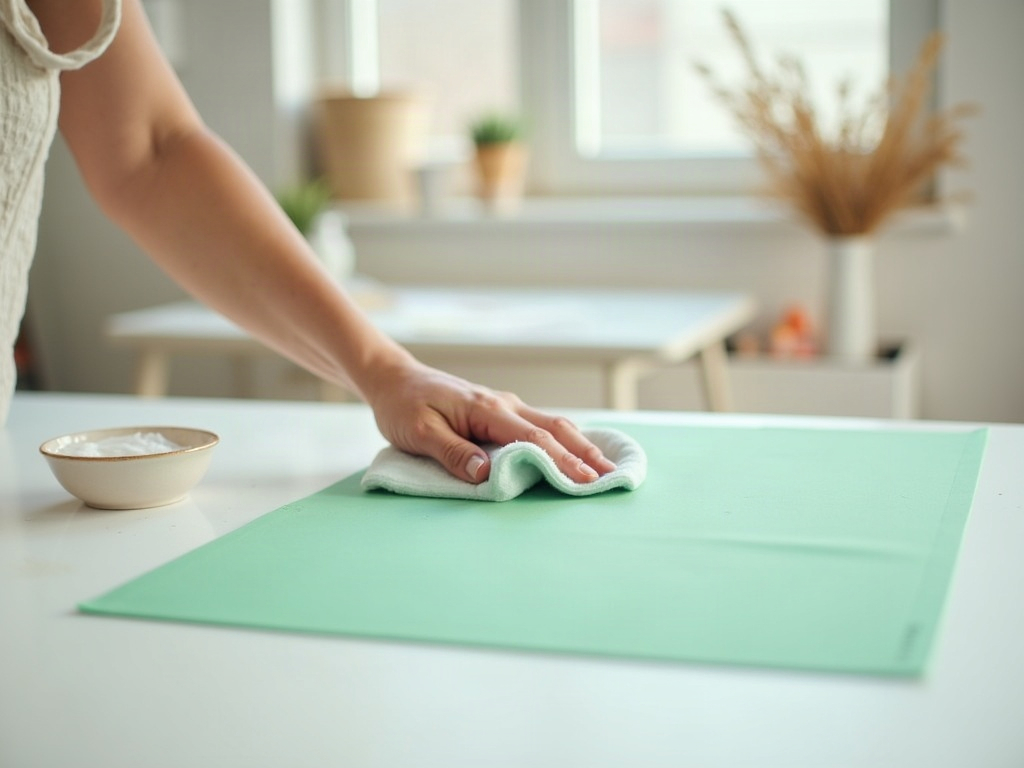
The Tranquil Life and Monet’s Garden kits both include ultra-fine laser-etched wood pieces that shed tiny fiber dust during trimming and fitting. After a build session like that, a quick wipe of the mat prevents that dust from embedding in the surface and dulling your next blade before the cut even starts.

Bestseller cottage kit
Tranquil Life DIY Miniature House Kit
$67.90
Dozens of fine basswood and paper trim pieces to cut and fit. A quality 9×12 mat keeps every cut precise from the first piece to the last. All tools listed in the guide above apply here.

Rare in the niche
Miniature Greenhouse Kits
22 LED-lit greenhouse builds
Greenhouse builds involve lots of transparent acrylic-style panels alongside fine wood strips. A rotary-rated 12×18 mat handles both material types cleanly.
Premium collector piece
Monet’s Garden DIY Miniature House Kit
$155.00
A complex, rewarding build with intricate garden fencing and tiny architectural details. Precise cuts on a self-healing surface are what keep those details looking intentional, not hurried.
Frequently Asked Questions about Cutting Mats for Hobby Crafts
Everything you might be wondering (click a question to expand).
What is the best cutting mat size for miniature house kits and book nook kits?
A 9×12 or 12×18 mat covers the vast majority of miniature kit work. The 9×12 handles individual piece trimming and fine detail cuts. The 12×18 lets you lay out multiple components at once and use the grid to check right angles during dry-fitting. For larger display kits like Monet’s Garden, the 12×18 is more comfortable. See the size comparison table above for a full breakdown.
Can I use a self-healing mat with a Cricut or Silhouette cutting machine?
No. Electronic cutting machines use their own proprietary sticky mats designed to hold material flat during the automated cutting cycle. A self-healing mat is a surface for hand-held blades only. Using one with a machine cutter will damage both the mat and the machine’s cutting head.
How do I know when my cutting mat needs replacing?
Three signs: (1) your blade follows old grooves instead of your intended line, (2) the surface has raised ridges that catch your ruler and cause it to rock, (3) the mat has visible warping that makes it buckle off the table. Surface scuffs and light discoloration are cosmetic and do not affect performance.
What is the difference between a green mat and a gray mat?
Color is mostly a brand convention, not a functional difference. Olfa traditionally uses yellow; Fiskars uses green; Dahle uses gray. The material composition matters far more than color. Check for a mat that is at least 3mm thick and labeled specifically as “self-healing” rather than just “cutting mat.” Thinner mats (under 2mm) wear through significantly faster.
Is a more expensive cutting mat always better?
Not always, but there is a meaningful quality floor around $25-$35 for a 12×18 mat. Below that price point, the composite material is often too soft, heals poorly, and warps after a few cleanings. Above $60 for a 12×18, you are mostly paying for brand prestige. Mid-range mats from Olfa, Fiskars, or Dahle hit the performance sweet spot for most crafters.
Can I repair a warped cutting mat?
Sometimes. Place the mat in direct sunlight for 20-30 minutes until it softens slightly, then press it flat under a heavy, even weight (a stack of hardcover books works) for 24 hours. This works for mild warps. Severe bowing, especially from heat damage, is usually permanent. Prevention through flat storage beats any repair attempt.
Building a Craft Setup That Grows With You
A good cutting mat for hobby crafts is the foundation of a reliable craft workspace, but it works best as part of a considered setup. Pair it with a quality steel ruler (never plastic, which your blade will shave into), a sharp blade you replace regularly, and a mat size honest to your actual projects rather than your aspirational ones.
For hobbyists who build kits, make miniatures, or tackle mixed-media projects, browsing through craft accessories and tools often turns up the specific sizes and complementary supplies that make the whole workflow click together. A 12×18 self-healing mat, a size 11 craft knife, and a 30cm steel safety ruler cover about 80% of the cutting tasks that come up in hobby craft building, from paper scoring to thin balsa trimming.
Start with what fits your current projects. Upgrade when a specific task demands more surface. That approach keeps your workspace functional without cluttering it with equipment you will move around for the next three years without actually using. And if you are just getting started with kit building, the Tranquil Life kit or the Sun Room kit paired with a 9×12 mat is a genuinely satisfying first setup that does not cost a fortune or take over your desk.
