🎁 Buy 2 kits, get the 3rd FREE · Free shipping on every order

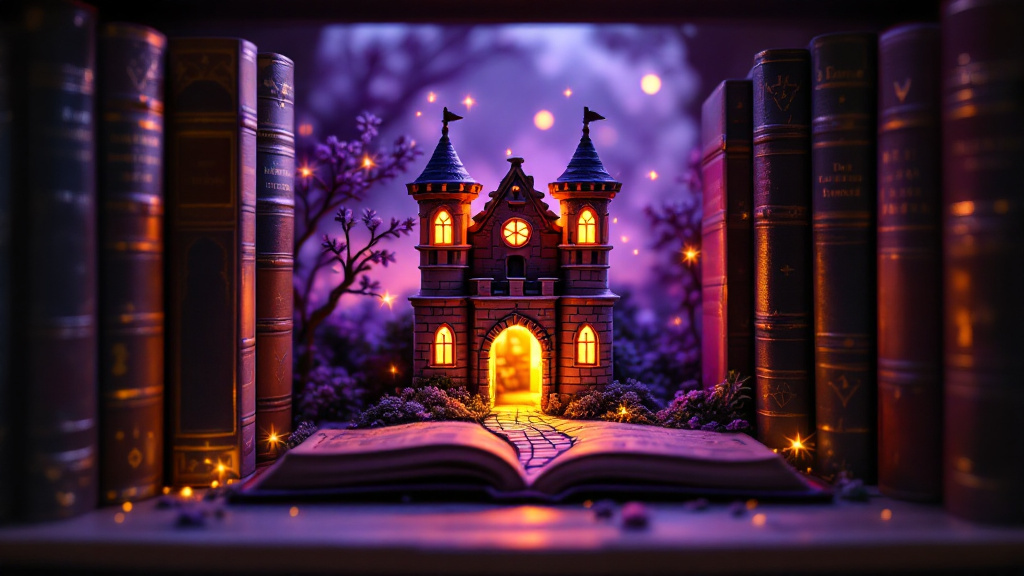
Disney Inspired Book Nook Ideas: 9 Magical Builds for Your Shelf
Nine detailed Disney inspired book nook ideas ranked from beginner to advanced, covering Cinderella, Beast's Library, Rapunzel's Tower, The Little Mermaid, Haunted Mansion, and more. Includes materials, difficulty ratings, and lighting tips for every skill level.

Picture a tiny glowing castle tucked between your favorite hardcovers, light spilling from miniature windows at 10 p.m. while the rest of the room goes quiet. That is what a well-built book nook does. It stops you mid-reach, makes you forget which book you came for, and pulls you into a world roughly the size of a brick. Disney inspired book nook ideas hit different because the source material is already visual, already spatial, and already emotionally loaded for most people who grew up watching those films.
This guide covers nine distinct Disney inspired book nook ideas, from beginner-friendly princess towers to multi-panel enchanted forests. Each entry notes difficulty level, what you typically need, and the specific design choices that make the illusion hold up. Whether you are building for yourself or hunting for a gift, there is a concrete starting point here for every skill level. If you are newer to the hobby, our guide to miniature house kits for beginners is a great companion read before you dive in.
Why Fairy-Tale Architecture Works So Well at Miniature Scale
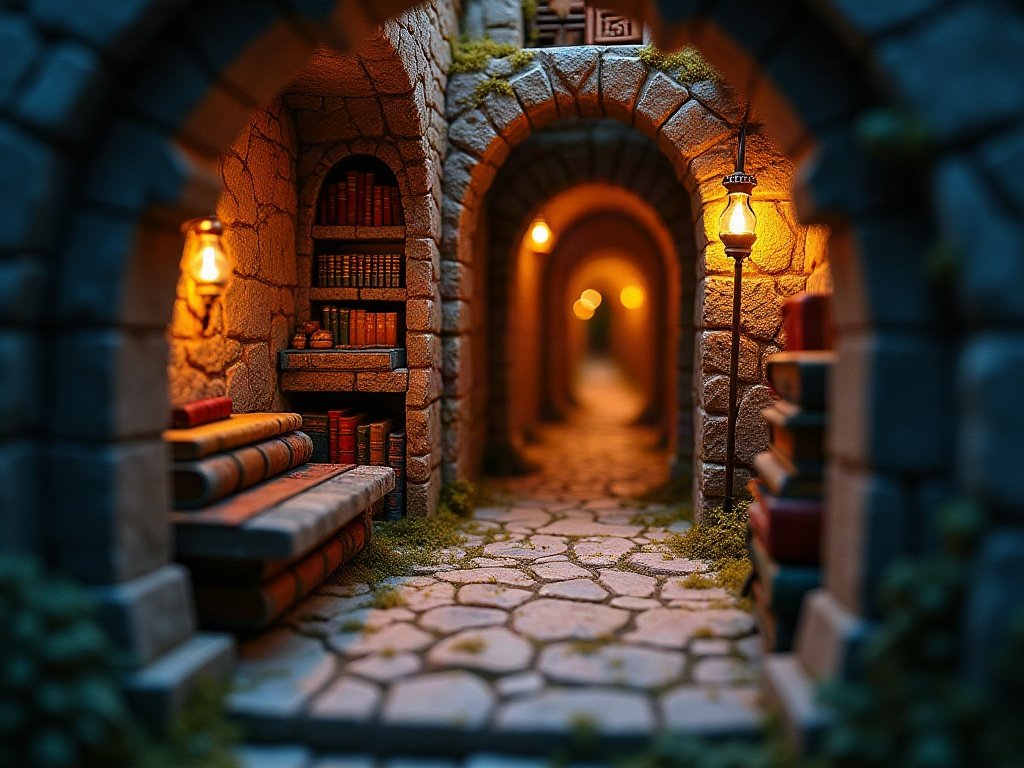
Fairy-tale architecture works so well at miniature scale because Disney castles are already stylized and non-literal, so viewers bring no strict expectations, a compressed tower reads as magical rather than wrong, and forced perspective can stretch four inches of shelf into a grand corridor. Disney castles are already stylized. The spires of Cinderella’s castle, the gothic angles of Beast’s manor, the cliff-carved towers of Rapunzel’s kingdom: none of them follow real-world building logic. That actually helps miniature builders, because viewers don’t bring strict architectural expectations. A slightly compressed tower reads as “magical” rather than “wrong.” The brain fills in the rest.
Forced perspective is the core technique behind every convincing Disney inspired book nook. By making the back of the nook slightly smaller than the front, you trick the eye into reading much more depth than physically exists. A 4-inch deep shelf can appear to extend 20 feet into a royal corridor. LED strip lighting along that receding corridor seals the effect. Even beginners pick this up fast, usually within their second build.
📜 Did you know?
Disney’s Imagineers have used forced perspective at theme parks since 1955. Cinderella Castle at Walt Disney World is only 189 feet tall but appears far taller because the upper stories are built to a smaller scale. Miniature book nook builders independently rediscovered the same trick decades later.
Disney’s Imagineers have used forced perspective at theme parks since 1955. Cinderella Castle at Walt Disney World is only 189 feet tall but appears far taller because the upper stories are built to a smaller scale. Miniature book nook builders independently rediscovered the same trick decades later.
✨ À retenir
The single biggest reason Disney themes photograph so well in miniature: every iconic location already has a signature color palette. Rapunzel’s tower is warm amber and rose. The Little Mermaid’s grotto is teal and coral. Beast’s library is burgundy and candlelight gold. Committing to that palette from the very first paint layer is what separates a convincing nook from a generic one.
The single biggest reason Disney themes photograph so well in miniature: every iconic location already has a signature color palette. Rapunzel’s tower is warm amber and rose. The Little Mermaid’s grotto is teal and coral. Beast’s library is burgundy and candlelight gold. Committing to that palette from the very first paint layer is what separates a convincing nook from a generic one.
9 Disney Inspired Book Nook Concepts, Ranked by Difficulty
1. Cinderella’s Pumpkin Carriage Alley (Beginner)
These nine Disney-themed book nook builds span difficulty 2 through 4.5, covering everything from a beginner-friendly pumpkin carriage alley to advanced moving-mechanism builds like the Fantasia sorcerer’s workshop, every skill level has a concrete entry point here. Difficulty: 2 out of 5. A cobblestone laneway at dusk, one glowing carriage visible through an archway, midnight-blue sky behind it with warm amber LEDs. The build relies on pre-painted foam brick sheets, a single resin or polymer clay carriage, and warm amber LEDs. No complex woodworking required. Total part count stays low enough that a first-time builder completes this in a weekend.

Perfect weekend starter kit
Tranquil Life DIY Miniature House Kit
$67.90
Ideal first build: pre-cut pieces, warm LED, full guide included. Build your confidence here before moving up to fairy-tale builds.
What’s needed: foam core base, brick-texture sheet, polymer clay or resin pumpkin carriage, 3V warm LED strand, blue-gradient cardstock for the sky panel, optional silver glitter for “fairy dust” scatter. Adhesive: PVA and a hot glue gun. Completing this build first gives you the hand-skills and lighting confidence to tackle everything below it.
2. Beast’s Library Wing (Intermediate)
Difficulty: 3 out of 5. Two or three stories of book-lined shelves visible through a doorway, a tall arched window letting in snow light, a floating candelabra frozen mid-flight. The appeal is wonderfully meta: a book nook about a library, sitting inside your actual library. Community builders report this is consistently one of the most photographed nook themes on social media, and it is easy to see why once the candelabra light comes on.
The candelabra detail is the hardest part. Most builders wire three small warm-white LEDs into a scratch-built or resin-cast candelabra and thread the wire through the back panel. Skill required: basic wire soldering or confidence with pre-wired LED modules. The tiny books on those interior shelves are worth the extra hour; cut them from cardstock spines and stagger the heights so no row looks uniform.
🕯 Hannah’s tip
For Beast’s Library, paint the interior shelves two shades darker than you think looks right before the LED goes in. The warm candelabra glow washes out color dramatically. Dark burgundy reads as rich chestnut brown once lit. Trust the process and paint dark.
For Beast’s Library, paint the interior shelves two shades darker than you think looks right before the LED goes in. The warm candelabra glow washes out color dramatically. Dark burgundy reads as rich chestnut brown once lit. Trust the process and paint dark.
3. Rapunzel’s Tower at Sunset (Intermediate)
Difficulty: 3 out of 5. A circular stone tower rising out of frame, long painted hair cascading down one side, a warm orange-pink sky behind it with paper-cut lanterns that glow faintly. The lanterns are the signature element: punched tissue paper circles over micro LEDs. When lit, they float convincingly.
Color is everything here. The sunset gradient (deep orange at the base, rose pink, then pale lavender at the top) needs to be painted or printed on the back panel in bands, not as a flat color. Watercolor washes on cardstock work beautifully and dry flat without warping if you seal the back panel first with a thin coat of matte medium. Give yourself at least three wash layers, letting each dry completely before the next.
4. Aladdin’s Agrabah Market Street (Intermediate)

Explore the collection
All Book Nook Kits
76 handcrafted book nook kits, from beginner to advanced. Every kit ships with pre-cut components, step-by-step instructions, and warm LED lighting.
Difficulty: 3 out of 5. A narrow market alley, fabric canopies in jewel tones, patterned tile floors, a magic lamp on a rug. The depth of this build comes from layering: foreground canopy, mid-ground stall, background minaret visible through a gap. Three layers in four inches of depth, each slightly smaller than the last.
Fabric scraps cut to canopy shapes, painted balsa wood stalls, and a gold-painted resin lamp are the hero pieces. The tile floor can be printed, laser-cut, or hand-drawn on thin cardstock and sealed with matte varnish. Warm amber LEDs overhead, with a touch of teal gel behind the minaret, recreate the golden-hour Agrabah sky without any complex equipment.
5. Sleeping Beauty’s Enchanted Forest (Intermediate-Advanced)
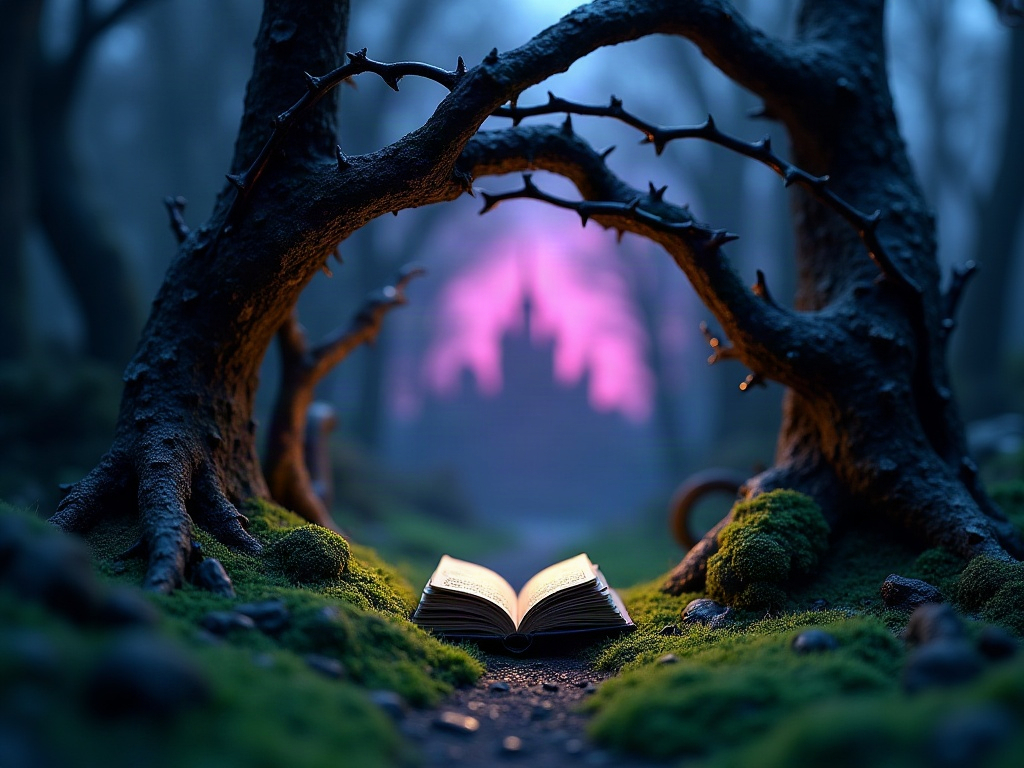
Difficulty: 3.5 out of 5. Thorned branches arcing across the frame, a distant pink glow from the hidden castle, deep jewel-green undergrowth lit from below. The branches are the centerpiece. Most builders use twisted wire armatures wrapped in air-dry clay, then painted and dry-brushed. The thorns are cut from thin card or wire snips.
Under-lighting (LEDs pointing upward through green acetate) gives the forest floor that uncanny glow you remember from the film. Pair it with a cool purple backlight at the far end to suggest an enchanted sky. This is one of the builds where spending extra time on the branch texturing pays off enormously; rough bark, tiny knots, and uneven thorn angles all read at shelf-viewing distance and make the whole piece feel genuinely wild rather than constructed.
6. The Little Mermaid’s Sunken Grotto (Intermediate-Advanced)
Difficulty: 4 out of 5. Curved coral walls, a treasure collection on shell shelves, dappled caustic light patterns rippling across every surface. The lighting effect is the real challenge. Caustic light (the dancing underwater shimmer) requires either a moving LED projector or a hand-cut acetate mask placed over a static light source. The mask method is cheaper and surprisingly effective when the holes are cut in an organic, irregular pattern.
Resin casting becomes genuinely useful here. A thin resin pour over the floor panel creates a convincing water surface with actual depth. Cure time: 24-48 hours depending on ambient temperature and resin brand. Sand and polish the surface for clarity. First-time resin users: do a test pour on scrap material first. Bubbles are the enemy, and a slow stir with a wooden stick before pouring removes most of them.

Easy starter under $50
Sun Room DIY Miniature House Kit
$49.99
A gentle introduction to LED wiring and resin-free builds. Finish this one and you will have the core skills for The Little Mermaid grotto.
7. Haunted Mansion Corridor (Advanced)
Difficulty: 4.5 out of 5. Stretching portrait frames on the walls, purple-grey stonework, a chandelier with flickering candles, a ghost figure barely visible at the far end. This build rewards patience more than raw skill. The flickering candle effect uses a 5V “candle flicker” LED module, available from most electronics hobbyist suppliers.
The ghost at the end of the corridor is typically a gauze or organza cutout backlit in pale green or white. Positioned at the deepest layer of the forced-perspective corridor, it reads as genuinely far away. Several community builders add a sound module that plays low organ notes. Technically optional. Personally? I think it completes the piece. The stretching portraits are easier than they look: print the same face twice at different heights, mount them in identical frames, and position them side by side so the viewer’s brain does the stretching.
8. Fantasia’s Sorcerer’s Workshop (Advanced)
Difficulty: 4.5 out of 5. Brooms marching in formation, potion bottles glowing on shelves, a swirling magical vortex in the background. The vortex is a spinning color wheel behind a circular aperture. A small 5V DC motor, a printed color wheel disk, and a diffusion panel are all you need mechanically. The effect when running: a slow, hypnotic swirl of blue, purple, and silver.
This is one of the few book nook designs where movement genuinely improves the final piece rather than distracting from it. Keep the motor speed low. Fast rotation looks mechanical; slow rotation looks magical. The marching brooms are best built from wooden craft sticks and tiny straw bristles from a natural-fiber brush, painted in stripes and positioned at slightly varied angles so no two look identical.
9. Enchanted Rose Under Glass (Beginner-Intermediate, Gift-Ready)
Difficulty: 2.5 out of 5. A single glowing rose under a glass dome, velvet-lined room visible around it, gold-accented walls, warm amber light. This is the most gift-friendly design on the list because it is self-contained, compact, and immediately recognizable. It also happens to be one of the most meditative builds: the slow process of forming each petal from polymer clay, baking, painting, and sealing is deeply satisfying in a way that larger, more complex builds sometimes aren’t.

Glass-and-light builds in the niche
Miniature Greenhouse Kits
22 LED-lit greenhouse builds. These kits use the same enclosed glass-and-warm-LED concept as the Enchanted Rose build, making them a natural next step or a beautiful companion piece.
Pre-made resin rose components exist if clay work isn’t your thing. A glass or acrylic dome (50-80mm diameter) from a craft supplier or online marketplace makes the perfect enclosure. Wire in a single warm LED at the base, pointing upward through the rose petals, and the glow takes care of itself. Red and deep burgundy petals work best; pale pink disappears under warm light and loses the drama entirely.
🪄 Hannah’s tip
Before you cut a single piece of wood or foam, build your lighting plan first. Place your LED source in the empty shelf space and look at where the shadows fall. Most first-time builders add lights last and then wonder why the shadows work against them. Light shapes the entire mood of a Disney inspired book nook. Plan it before anything else is in the way.
Before you cut a single piece of wood or foam, build your lighting plan first. Place your LED source in the empty shelf space and look at where the shadows fall. Most first-time builders add lights last and then wonder why the shadows work against them. Light shapes the entire mood of a Disney inspired book nook. Plan it before anything else is in the way.
Materials That Make Disney Themes Pop
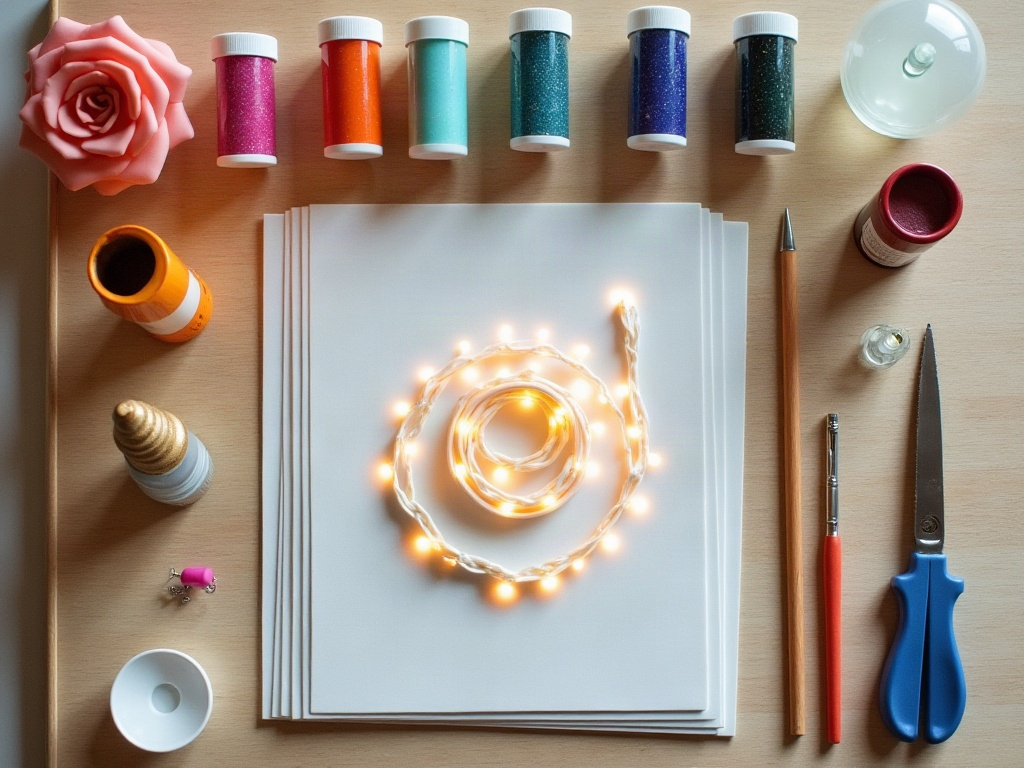
Disney themes pop because a small, focused toolkit, foam core, polymer clay, warm LEDs, layered acrylic paint, and two-part resin, covers every texture, glow effect, and surface finish that the nine builds in this guide rely on. Certain materials show up repeatedly across all nine of these builds for a reason. Here is a practical breakdown:
- Foam core and XPS foam: Carves easily with a craft knife, accepts paint, and holds its shape. The go-to for walls, floors, and architectural details.
- Polymer clay: Ideal for small sculpted elements like roses, candelabras, and food items. Bakes in a standard oven at 230-275°F.
- Warm white and color LED strips (3V or 5V): The difference between a flat diorama and a glowing world. Warm white for interior scenes, cool white or blue for outdoor night scenes.
- Acrylic paint: Layered dry-brushing creates stone, wood grain, aged metal, and organic textures far better than any printed texture sheet alone.
- Resin (2-part epoxy): For water, glass surfaces, glowing potions, and translucent effects. Start with small pours to build confidence.
- Micro-scale accessories: Miniature books, tiny furniture, scale figures at 1:12 or 1:24 ratio. These details are what make a viewer stop and look closer.
⚠️ Attention
Two-part epoxy resin releases fumes during mixing and curing. Always work in a well-ventilated space, wear nitrile gloves, and keep resin away from children and pets until fully cured (typically 24-48 hours). A respirator rated for organic vapors is worthwhile if you are doing multiple pours on the same build session.
Two-part epoxy resin releases fumes during mixing and curing. Always work in a well-ventilated space, wear nitrile gloves, and keep resin away from children and pets until fully cured (typically 24-48 hours). A respirator rated for organic vapors is worthwhile if you are doing multiple pours on the same build session.
For builders who want a structured starting point rather than sourcing every component separately, our fantasy book nook kits bundle the core materials, LED components, and step-by-step guides into a single box. Several of the designs above map directly onto kit formats we have developed based on what the community kept asking for. You can also browse our full range of book nook kits sorted by theme and difficulty.
Scaling Difficulty for Your Skill Level
Scaling difficulty correctly means starting one step above your current level: beginners should complete a difficulty-2 build before moving to 3, since jumping straight to advanced builds like the Haunted Mansion corridor leads to frustration rather than the meditative flow this hobby delivers. The nine Disney inspired book nook ideas above span a real range. A complete beginner should start at difficulty 2, finish it, and then move to 3. Jumping straight to the Haunted Mansion corridor or Fantasia workshop as a first build leads to frustration rather than the satisfying meditative flow that makes this hobby so compelling long-term.
Skill level also affects time commitment. Beginner builds typically run 6-10 hours of actual build time spread across a weekend. Intermediate builds: 15-25 hours. Advanced builds can stretch to 40 hours or more, which is not a warning so much as a feature. The people who choose 40-hour builds usually know exactly what they are signing up for and find the process itself deeply rewarding. Many builders describe this kind of focused, repetitive craft work as genuinely meditative, a way to quiet the mind that feels productive rather than passive.
If you are buying as a gift, stick to difficulty 2-2.5 unless you know the recipient already has several completed builds. A beautiful enchanted rose under glass at 2.5 will delight someone far more than an ambitious project that sits unfinished because the learning curve arrived unexpectedly. When in doubt, include a small handwritten note with material suggestions; it shows you thought about the build, not just the box.
Premium collector piece
Monet’s Garden DIY Miniature House Kit
$155.00
For builders ready for their most ambitious project yet. Detailed scene layers, full LED kit, and rich botanical detail that rivals any of the advanced Disney builds above.
Frequently Asked Questions about Disney Inspired Book Nooks
Everything you might be wondering (click a question to expand).
What size shelf do I need for a book nook?
Most standard book nooks fit a shelf opening of 6-8 inches wide, 8-10 inches tall, and 4-6 inches deep. Some designs, like the Haunted Mansion corridor, benefit from extra depth (6-8 inches) to make the forced perspective work more convincingly. Measure your shelf before buying or building a kit. If your shelf is shallower than 4 inches, beginner builds like the Cinderella Carriage Alley can be adapted by flattening the background layers slightly.
Do I need woodworking tools to build a Disney themed book nook?
Not for beginner or intermediate builds. Foam core, cardstock, hot glue, and a craft knife handle most of the construction. Woodworking tools become useful for advanced builds where you want durability and precision, but they are not a barrier to entry at the lower difficulty levels. A self-healing cutting mat and a sharp spare blade for your craft knife are the two investments that make the biggest difference for clean cuts.
Are Disney book nooks covered by copyright if I sell them?
Building a Disney inspired book nook for personal use or as a personal gift sits in a legally comfortable space. Selling items commercially that replicate specific Disney characters or trademarked IP is a different matter and involves copyright and trademark law. For commercial sales, consult a legal professional or focus on “fairy-tale inspired” designs that reference the aesthetic rather than specific protected characters.
How do I power the LEDs inside a book nook?
Most builders use one of three options: a USB cable routed out the back of the shelf (clean and rechargeable), a 3V coin cell battery pack hidden inside the structure (wireless but finite), or a 5V wall adapter for more complex multi-LED setups. USB is the most practical for permanent display pieces. Routing the cable through a small notch cut at the back of the shelf keeps the exterior tidy and avoids visible wires.
Can a complete beginner finish one of these builds without a kit?
Yes, for difficulty-2 builds. You will need to source foam core, craft paint, a basic LED strand, and small decorative items from a craft store. The main advantage of a dedicated book nook kit is that every component is already scaled and matched, which removes a lot of the early frustration around finding parts that fit together correctly. Most beginners who start with a kit report finishing their first build with energy left over, rather than fatigue.
Which Disney theme is best for a first book nook build?
The Enchanted Rose Under Glass (difficulty 2.5) is the most forgiving first build for anyone drawn to Disney aesthetics. It is compact, self-contained, and the polymer clay rose is satisfying to make even if your sculpting is imperfect. Imperfect petals still catch the LED light beautifully. The Cinderella Carriage Alley (difficulty 2) is a close second, especially if you prefer building architectural elements to sculpting organic shapes.
Starting Small, Building Something That Lasts
Starting small means choosing a Disney-themed book nook one step above your current skill level, planning the lighting before the walls go up, and giving yourself two weeks instead of one weekend, that combination is the most reliable path to a finished, glowing result. The best Disney inspired book nook ideas are the ones you will actually finish. That sounds obvious, but the number of half-built projects abandoned because someone aimed too high on a first attempt is real. Pick a design one step above your current skill level, not three steps. Give yourself two weeks instead of one weekend. And put the lighting in before the walls go up.
Once the first one is done and glowing on the shelf, you will understand the pull. The tiny world sits there quietly, doing its thing, and every time you reach for a book you pause for just a second longer than you meant to. That pause is the whole point. Explore the full range of fantasy book nook kits to find a build that matches where you are right now, and where you want to go next. You can also browse all of our book nook kits by theme to compare difficulty levels side by side before committing. 🪄
