🎁 Buy 2 kits, get the 3rd FREE · Free shipping on every order

DIY Fairy Garden Under Glass Dome: A Complete Step-by-Step Guide
Build a stunning DIY fairy garden under a glass dome with miniature plants, tiny furniture, and enchanting details. Hannah shares her personal process, tool tips, plant picks, and display ideas for beginners and seasoned crafters alike.

Why a Glass Dome Changes Everything for a Fairy Garden
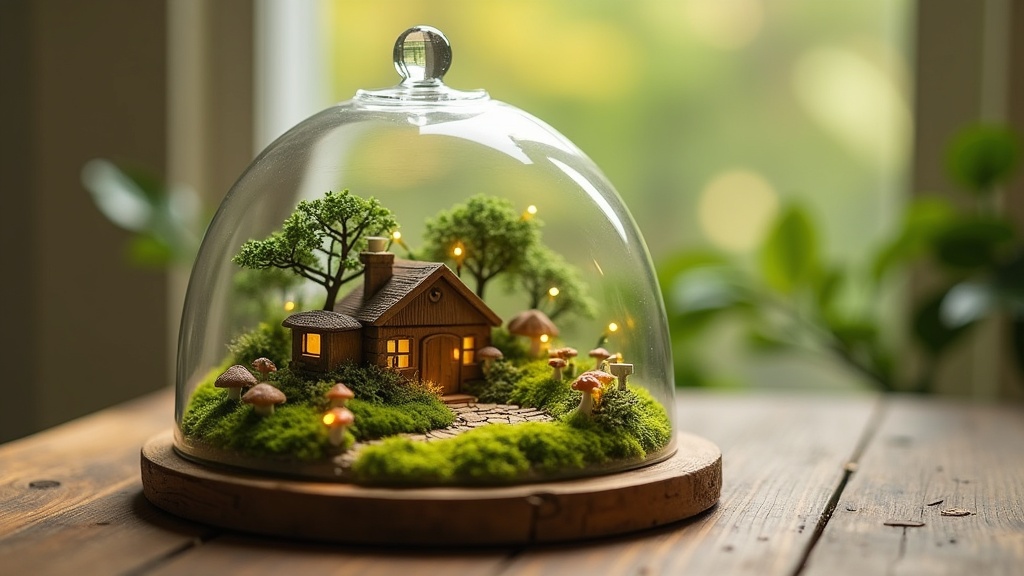
A glass dome transforms a simple fairy garden into a self-contained living world: it protects moisture balance, keeps dust and pets out, and gives the whole composition a finished, intentional look that an open garden simply cannot match. A DIY fairy garden under a glass dome feels different the moment you set it on a shelf. There’s something about that curved glass wall that turns a handful of moss and tiny plants into a whole private world. The scale shifts. The light bends. Visitors lean in close to look.
I built my first one on a rainy Saturday afternoon with leftover terrarium soil, a cloche from a thrift store, and a ceramic mushroom I’d been holding onto for months. It took about two hours from start to finish, and I’ve barely moved it since. That’s the quiet power of this project: it stays put, it stays alive, and it rewards you every single time you walk past it.
Glass domes also solve a real practical problem. Open fairy gardens dry out fast, collect dust, and get bumped. A dome protects the moisture balance, keeps curious pets at bay, and gives the whole composition a finished, intentional look. Whether you’re building one for yourself or making it as a gift, the dome is what makes it feel complete. If you enjoy this kind of slow, satisfying making, you might also love our guide to miniature house kits for another way into the craft.
Choosing the Right Glass Dome and Base for Your DIY Fairy Garden
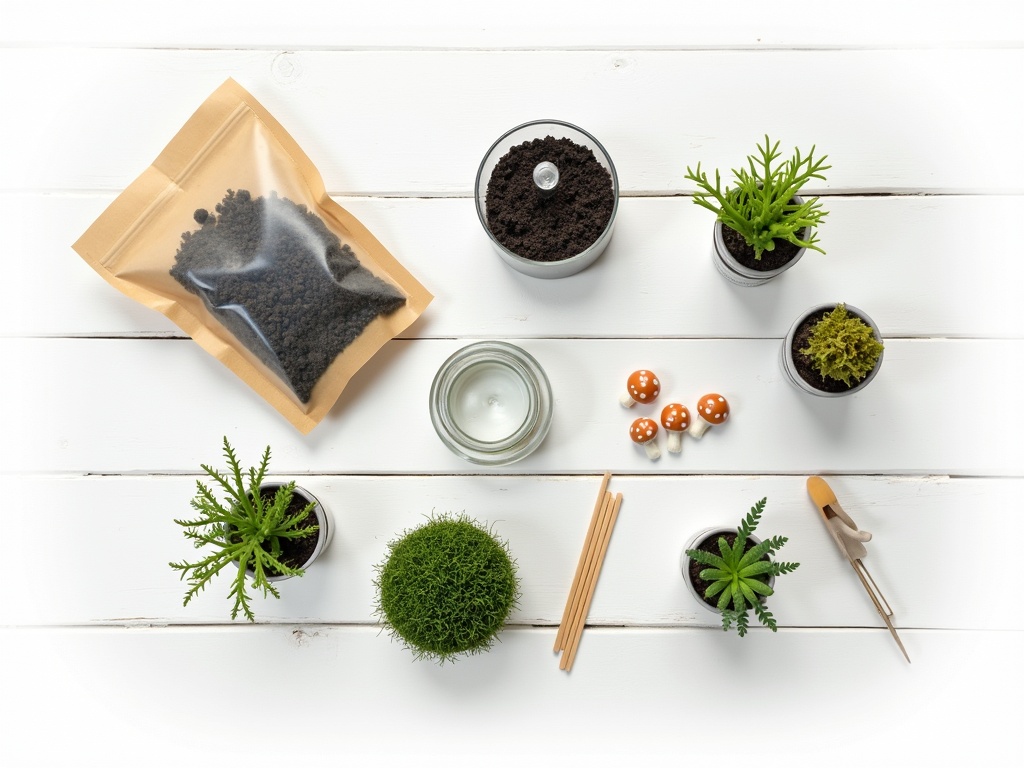
The right dome needs to be at least 8 inches tall and 6 inches wide at its base: that minimum size gives you enough depth for a proper drainage layer plus 3 to 4 inches of growing medium, which is what keeps plants alive long-term. Choosing the right vessel is the first real decision in any DIY fairy garden under a glass dome project, and it shapes every choice that follows. Size matters more than most beginners expect. A dome that’s too small forces you to compromise on planting depth, and shallow roots mean stressed plants within weeks. Aim for a dome that’s at least 8 inches tall and 6 inches in diameter at its widest point. That gives you enough vertical space for a proper drainage layer plus 3 to 4 inches of growing medium.
Dome Styles Worth Knowing
Each dome style suits a different aesthetic and a different level of maintenance commitment. Here’s a quick comparison to help you choose before you buy:
| Style | Best for | Seal type | Maintenance |
|---|---|---|---|
| Cloche with wooden base | Classic, natural compositions; moss and fern | Semi-open (slight gap at base) | Weekly moisture checks |
| Flat glass base dome | Sealed terrariums; tropical micro-plants | Near-sealed (glass-on-glass) | Every 2 to 4 weeks |
| Geometric terrarium globe | Modern, architectural look; open or semi-open | Open panels or hinged door | Weekly; dries faster |
- Cloche with a wooden base: The classic look. The wooden base holds moisture slightly, gives you a surface to drill or carve, and pairs beautifully with natural moss and fern compositions.
- Flat glass base dome: Better for sealed terrariums. The glass-on-glass seal slows moisture loss dramatically, which suits tropical micro-plants like nerve plant and baby tears.
- Geometric terrarium globe: More modern aesthetic. Less traditional for fairy gardens but stunning if you lean toward a more architectural, minimalist style.
Check that the dome lifts off cleanly. You’ll need to water occasionally, remove any dying leaves, and swap decorative elements with the seasons. A dome with a tight but accessible fit is non-negotiable for long-term maintenance.
📜 Did you know?
Glass bell jars, called *cloches*, were first used in 17th-century French market gardens to protect seedlings from frost. By the Victorian era, gardeners repurposed them as decorative displays for ferns and orchids indoors, a trend called Wardian case gardening. The glass dome fairy garden is a direct descendant of that Victorian obsession with miniature enclosed plant worlds.
Glass bell jars, called *cloches*, were first used in 17th-century French market gardens to protect seedlings from frost. By the Victorian era, gardeners repurposed them as decorative displays for ferns and orchids indoors, a trend called Wardian case gardening. The glass dome fairy garden is a direct descendant of that Victorian obsession with miniature enclosed plant worlds.
✨ Hannah’s tip
When I source domes, I look for one thing most listings don’t mention: the thickness of the glass rim at the base. A thin rim chips easily when you lift and replace the dome repeatedly. Tap the glass gently before buying. A clear, resonant ring means good-quality glass. A dull thud means thinner, more fragile walls. Thrift stores and antique markets are brilliant for cloches, but run that tap test every time.
When I source domes, I look for one thing most listings don’t mention: the thickness of the glass rim at the base. A thin rim chips easily when you lift and replace the dome repeatedly. Tap the glass gently before buying. A clear, resonant ring means good-quality glass. A dull thud means thinner, more fragile walls. Thrift stores and antique markets are brilliant for cloches, but run that tap test every time.

Bestseller cottage kit
Tranquil Life DIY Miniature House Kit
The most popular starter kit in our range. Many builders use it as the cottage focal point inside a wide-base dome (10 inches or larger). The wooden frame and warm-toned panels sit beautifully against sheet moss and cushion fern.
$67.90
The Layering System: Building Your DIY Fairy Garden From the Bottom Up
A successful dome garden needs five distinct layers in order: drainage gravel, activated charcoal, an optional sphagnum moss barrier, terrarium potting mix, and a decorative top moss, skip any of these and the whole ecosystem suffers within weeks. Skipping the drainage layer is the single most common reason a DIY fairy garden under a glass dome turns brown within a month. There’s nowhere for excess water to go, and root rot sets in fast. The good news: the right layering system takes about 15 minutes and adds years to your composition.
Layer 1: Drainage Gravel (1 inch)
Small river pebbles or horticultural gravel. This layer holds excess moisture away from roots. Rinse it thoroughly before adding it to prevent cloudy water pooling at the base.
Layer 2: Activated Charcoal (0.5 inch)
This is the layer most guides skip. Activated charcoal filters the water cycling through your closed or semi-closed system and prevents the bacterial buildup that causes that sour, swampy smell. A thin layer goes a long way. You’ll find it at aquarium supply shops or in our terrarium accessories collection.
Layer 3: Sphagnum Moss Barrier (optional, 0.5 inch)
A thin sheet of sphagnum moss between the charcoal and the soil stops fine particles from migrating down into the drainage layer over time. It also retains moisture close to the roots of shallow-rooted plants like mosses and baby tears.
✨ Hannah’s tip
Before you add any soil, test your drainage layer by pouring a small cup of water into the empty dome. Watch how quickly it drains through the gravel. If it pools and sits, your gravel particle size is too small. Swap it for a coarser grade. Getting drainage right at the start saves the whole garden.
Before you add any soil, test your drainage layer by pouring a small cup of water into the empty dome. Watch how quickly it drains through the gravel. If it pools and sits, your gravel particle size is too small. Swap it for a coarser grade. Getting drainage right at the start saves the whole garden.

Layer 4: Terrarium Potting Mix (3 to 4 inches)
Standard potting soil tends to compact and drain poorly inside a dome. Use a mix formulated for terrariums or make your own: two parts peat-free potting mix, one part perlite, one part coarse sand. This keeps the medium aerated and prevents waterlogging even in a sealed environment.
Layer 5: Decorative Top Moss
Sheet moss or cushion moss pressed onto the soil surface does three things at once: it looks beautiful, it retains surface moisture, and it hides the soil for a cleaner finished look. Mist it lightly before pressing it into place so it stays flat.
✨ Hannah’s tip
Press your top moss down firmly with two fingers and hold it for about ten seconds. That brief contact point activates its surface tension against the damp soil underneath. Moss that’s just laid on top tends to curl at the edges within a few days. Moss that’s been gently pressed in stays flat and looks lush for months.
Press your top moss down firmly with two fingers and hold it for about ten seconds. That brief contact point activates its surface tension against the damp soil underneath. Moss that’s just laid on top tends to curl at the edges within a few days. Moss that’s been gently pressed in stays flat and looks lush for months.
Choosing Plants for Your DIY Fairy Garden Under Glass
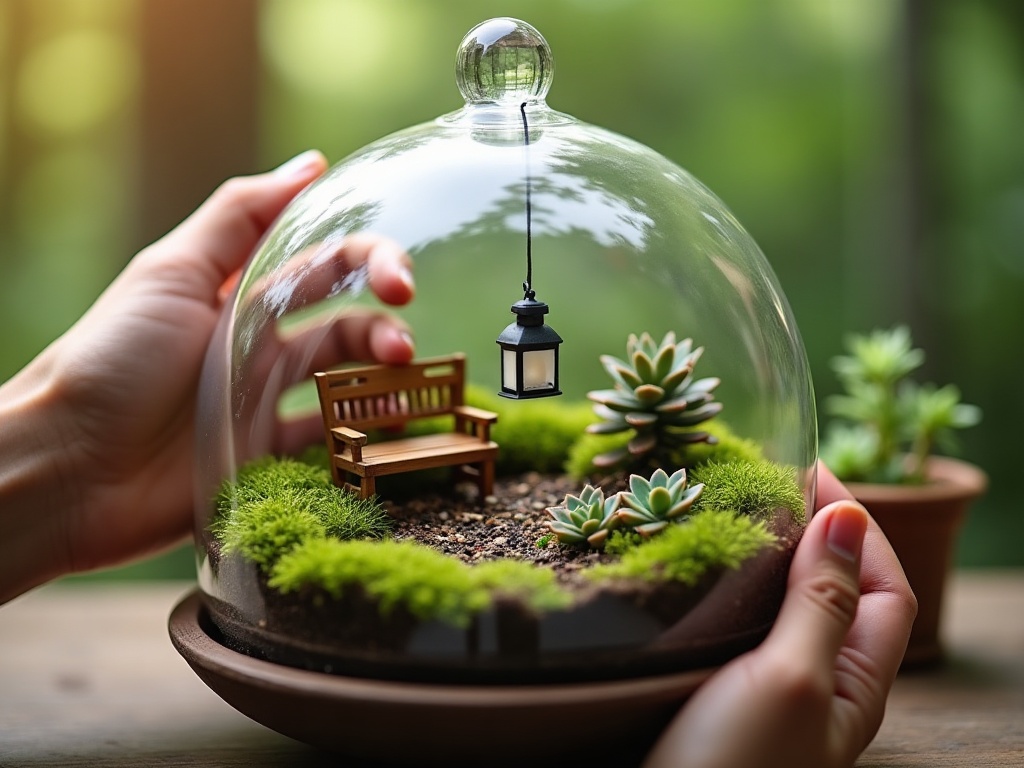
The best plants for a fairy garden under glass stay small, tolerate high humidity, and grow slowly enough not to crowd their neighbors, mosses, baby tears, and miniature ferns are the most reliable choices for beginners. The best plants for a DIY fairy garden under a glass dome share three traits: they stay small, they tolerate humidity, and they grow slowly enough that they won’t outgrow your dome in six weeks. Fast growers are tempting at the nursery, but they’ll push against the glass and suffocate their neighbors before the season is out.
Top Plant Picks by Difficulty
- Beginner-friendly: Cushion moss, sheet moss, baby tears (Soleirolia soleirolii), mind-your-own-business. These are forgiving, grow flat, and fill gaps beautifully.
- Intermediate: Miniature ferns (Asplenium, Button Fern), nerve plant (Fittonia), creeping fig. These need slightly more consistent humidity and indirect light.
- Advanced: Miniature orchids (Lepanthes, Stelis), Selaginella moss varieties, micro-carnivorous plants. Stunning, but they require precise moisture and light control.
For a first build, stick to two or three plants maximum. Overcrowding is the enemy of a balanced dome garden. Leave negative space. The moss and soil surface, dotted with tiny stones or a ceramic path, are as much a part of the composition as the plants themselves.
One combination I keep returning to: a single small Asplenium fern off-center, a carpet of baby tears at its feet, and a thumbnail-sized cushion of cushion moss tucked against the back wall. Three plants, no more. The restraint is what makes it breathe. For more inspiration on pairing plants with structures, see our miniature greenhouse kits, several of which are designed with planting space around the base.

Easy starter under $50
Sun Room DIY Miniature House Kit
A light-filled, glass-panelled design that pairs well with a wide-base dome. Its open-air aesthetic makes it feel like the garden and the building belong together. A strong choice if you want the structure to feel botanical rather than purely architectural.
$49.99
Avoid succulents and cacti unless your dome is left fully open. They need dry air and bright direct sun, conditions that are nearly impossible to maintain under glass.
Adding the Fairy Garden Details That Make It Feel Real
The details that make a fairy garden feel real come down to three principles: consistent scale throughout, grouping elements in odd numbers, and placing your focal point slightly off-center before anything else goes in. This is the part people love most, and honestly, it’s where the meditative quality of the project really kicks in. Arranging tiny furniture, setting a miniature gate into a moss hillside, pressing a pebble path one stone at a time: it asks you to slow down completely. There’s no rushing a fairy garden path.
Scale and Proportion
Stick to one scale throughout. Mixing 1:12 scale furniture with 1:24 scale figures looks chaotic rather than charming. Most miniature fairy garden accessories are sold at 1:12 (one inch equals one foot) or 1:24 scale. Pick one and commit. Browse our full range of miniature garden accessories filtered by scale if you’re unsure where to start.
The Rule of Odd Numbers
Group decorative elements in threes or fives, never twos or fours. Three mushrooms clustered near a mossy rock. Five tiny pebbles arranged as stepping stones. Odd groupings read as natural. Even groupings read as arranged, and the goal here is to make it look like you found this tiny world, not built it.
Focal Point First

Rare in the niche
Miniature Greenhouse Kits
22 LED-lit greenhouse builds. Several designs are sized to sit inside or alongside a 10-inch dome, making the greenhouse-within-a-dome combination genuinely achievable without custom cutting or modification.
Place your main structure first, whether that’s a tiny cottage, a miniature greenhouse, or an arched gate. Everything else positions relative to it. The focal point goes slightly off-center for the most visually satisfying composition. Dead-center placements tend to look static.
A glass dome fairy garden with a miniature greenhouse focal point is one of the most requested combinations our community has asked for. The greenhouse-within-a-dome concept layers scales in a way that feels playful and genuinely surprising. If you want to try it, our miniature greenhouse kits include several designs that fit comfortably inside a 10-inch dome or wider.
Caring for Your Dome Garden Long-Term
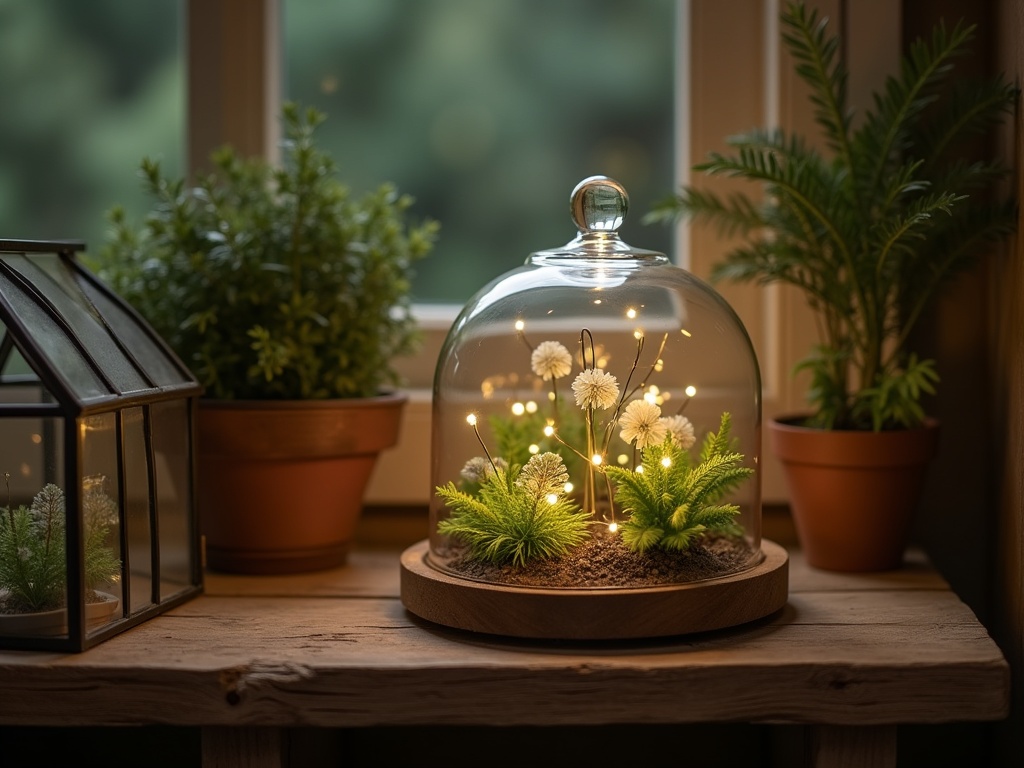
A correctly built dome garden needs almost no intervention: water only when the top inch of soil feels dry, keep it in bright indirect light, and trim any plant that touches the glass, those three habits alone will keep it thriving for years. A properly built dome garden needs very little intervention. That’s part of the appeal. Water vapor cycles through the system, moss stays moist, and the plants grow slowly in the stable humidity. Still, a few habits keep it healthy for years rather than months.
- Watering: Lift the dome once a week and check the soil with a finger. Water only when the top inch feels dry. Use a syringe or a narrow-spout watering can to target the soil, not the glass walls.
- Light: Bright indirect light is ideal for most dome compositions. Direct afternoon sun through glass creates a heat trap that scorches plants within hours. A north or east-facing window works well year-round.
- Condensation: A little morning condensation on the inside of the dome is healthy and means your moisture balance is right. Heavy, constant fogging means the system is too wet. Leave the dome off for 24 hours to let excess moisture escape.
- Pruning: Trim back any plant that starts pressing against the glass. A clean pair of micro scissors handles this without disturbing the surrounding plants.
- Refreshing decor: Seasonal swaps keep the garden feeling current. Swap in tiny pumpkins for autumn, small bare branches for winter, tiny eggs for spring. The plants stay. The mood changes.
✨ Hannah’s tip
I keep a small notebook next to my dome gardens where I log the date of each watering and note what the condensation looked like that morning. It sounds overly careful, but after two or three months you start to see patterns specific to your home’s light and humidity. That knowledge is worth more than any general guide. Your dome garden will tell you what it needs if you pay attention.
I keep a small notebook next to my dome gardens where I log the date of each watering and note what the condensation looked like that morning. It sounds overly careful, but after two or three months you start to see patterns specific to your home’s light and humidity. That knowledge is worth more than any general guide. Your dome garden will tell you what it needs if you pay attention.
Displaying Your Glass Dome Fairy Garden at Home
A single dome on a windowsill is lovely, but grouping two or three domes at different heights on a wooden shelf turns them into a full installation, pair them with complementary objects and the display becomes something editorial and intentional. Where you place the dome shapes how it reads in a room. A single dome on a windowsill is lovely. Two or three domes grouped at different heights on a wooden shelf become a whole installation. Pairing them with complementary objects like stacked craft books, a small watering can, or a wood-and-glass miniature greenhouse kit creates a vignette that looks intentional and editorial without trying too hard.
For gifting, the dome is already self-contained and self-explanatory. Tie a small tag with basic care instructions and the recipient has a living, breathing piece of art that requires almost no effort to maintain. It’s a genuinely thoughtful gift for plant lovers, craft enthusiasts, and anyone who appreciates slow, careful making.
If you want to expand the display further, our accessories collection carries fairy doors, miniature bridges, tiny lanterns, and seasonal decor packs that refresh any dome composition without requiring a full rebuild.
Premium collector piece
Monet’s Garden DIY Miniature House Kit
This is a display-piece as much as a building project. The garden-themed architecture and warm LED lighting pair beautifully with a dome composition placed beside it on the same shelf. The two scales in conversation make both objects more interesting.
$155.00
Frequently Asked Questions about DIY Fairy Gardens Under Glass Domes
Everything you might be wondering (click a question to expand).
What size glass dome works best for a beginner fairy garden?
An 8 to 10-inch tall dome with a 6 to 8-inch base diameter gives beginners the most workable space. You can fit a proper drainage layer, 3 to 4 inches of soil, and a few plants without things feeling cramped. Smaller domes look beautiful but require more precision with plant selection and watering.
Can I use real plants or should I stick to artificial ones?
Real plants are far more rewarding. The slow growth, the living smell, the natural variation in texture: none of that translates with artificial plants. Mosses and miniature ferns are forgiving enough for complete beginners. If you’re concerned about maintenance, sheet moss on its own (no flowering plants) is nearly indestructible and looks stunning under glass.
How often do I need to water a sealed glass dome garden?
A correctly sealed dome with a good moisture balance can go two to four weeks between watering sessions. The water vapor cycles internally. Check weekly by observing condensation levels: a little is healthy, none might mean it’s too dry, and heavy fogging means it’s too wet. Adjust by lifting the dome for a few hours when needed.
What’s the best way to add fairy lights inside a glass dome?
Use micro LED fairy lights on a thin copper wire, battery-operated. Thread the wire through the base gap or under the dome’s rim before sealing. LEDs generate almost no heat, so they won’t stress the plants. Keep the battery pack outside the dome where it stays dry and accessible.
Can children help build a glass dome fairy garden?
Absolutely, with some supervision. The layering and soil work suits ages 7 and up. Tweezers for placing tiny furniture work fine for ages 10 and up. The project moves at a calm, focused pace that most kids find genuinely absorbing rather than frustrating. It’s a great rainy afternoon activity that produces something they’ll want to display in their room.
How long does a glass dome fairy garden stay healthy?
A well-layered DIY fairy garden under a glass dome with the right plants can stay healthy for two to five years with minimal intervention. The limiting factor is almost always the first six months: if the drainage and soil mix are correct and the light is right, the ecosystem stabilises and becomes largely self-sustaining. Moss compositions with no flowering plants are the most durable, often outlasting the dome itself.
What are the most common mistakes to avoid?
Three mistakes come up again and again in our community. First, skipping the activated charcoal layer, which leads to that swampy smell within weeks. Second, overcrowding plants, giving them no room to grow without pressing against the glass. Third, placing the dome in direct afternoon sun, which creates a heat trap that can kill moss and ferns within a single warm afternoon. Get those three right and the rest is details.
Building Small, Thinking Big: What These Tiny Gardens Teach Us
There’s something almost philosophical about building a world small enough to hold in your hands. Every decision matters at this scale. The angle of a tiny gate. The curve of a moss path. The choice between two ceramic mushrooms of slightly different heights. These are not big decisions, but they ask for full attention. And full attention, even for two hours on a Saturday afternoon, has a way of clearing the noise out of a busy week.
The community around DIY fairy gardens under glass domes keeps growing because the projects deliver something beyond decoration. They deliver the experience of making something considered and complete. That’s worth a lot more than the sum of a few layers of soil and a handful of moss.
Start small, layer carefully, and trust the process. The tiny world inside the glass will take care of itself from there. ✨
