🎁 Buy 2 kits, get the 3rd FREE · Free shipping on every order

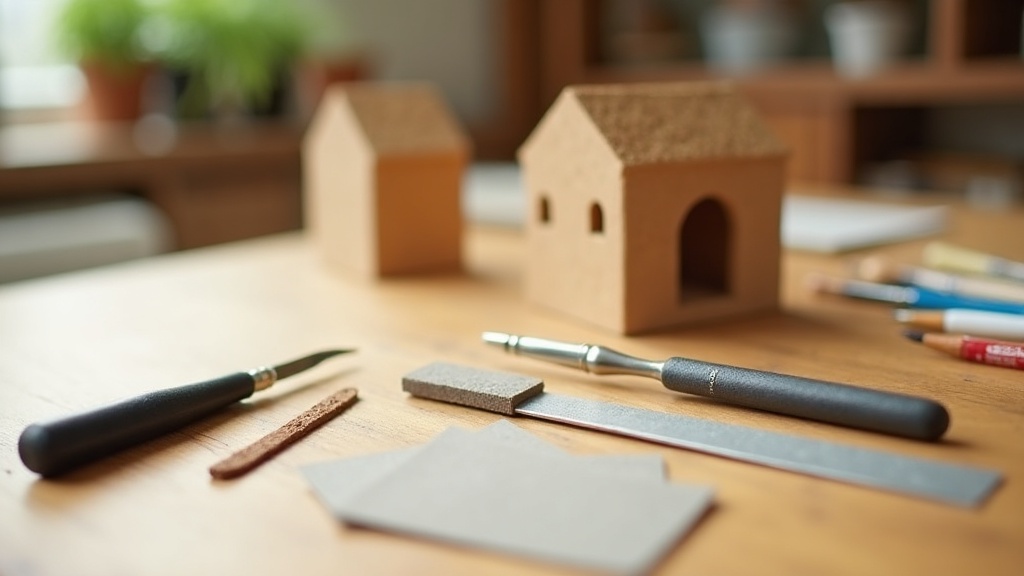
Essential Tools for Building a Book Nook: A Complete Crafter’s Toolkit
A practical guide to the essential tools for building a book nook, covering tweezers, hobby knives, sandpaper grits, steel rulers, and brushes. Includes pro tips from Hannah, workspace setup advice, and a FAQ for beginners and experienced crafters alike.

The right tools for building a book nook make the difference between a frustrating afternoon and a deeply satisfying one. I learned that the hard way on my first kit, when I tried to fold a 3 mm paper wall with my fingernails and ended up with a crumpled mess. Once I swapped in a decent pair of tweezers and a fresh hobby knife blade, the whole process clicked. If you want clean joints, crisp folds, and tiny details that actually look right, you need a small, specific set of tools. Not dozens. Just the right ones.
This guide walks through every hand tool you genuinely need, explains why each one matters at a practical level, and helps you avoid the beginner mistake of grabbing whatever is in the junk drawer. Whether you are assembling your first kit or building a fully custom scene from scratch, these are the tools that will carry you through.
Why Your Tool Choices Directly Affect the Finished Scene
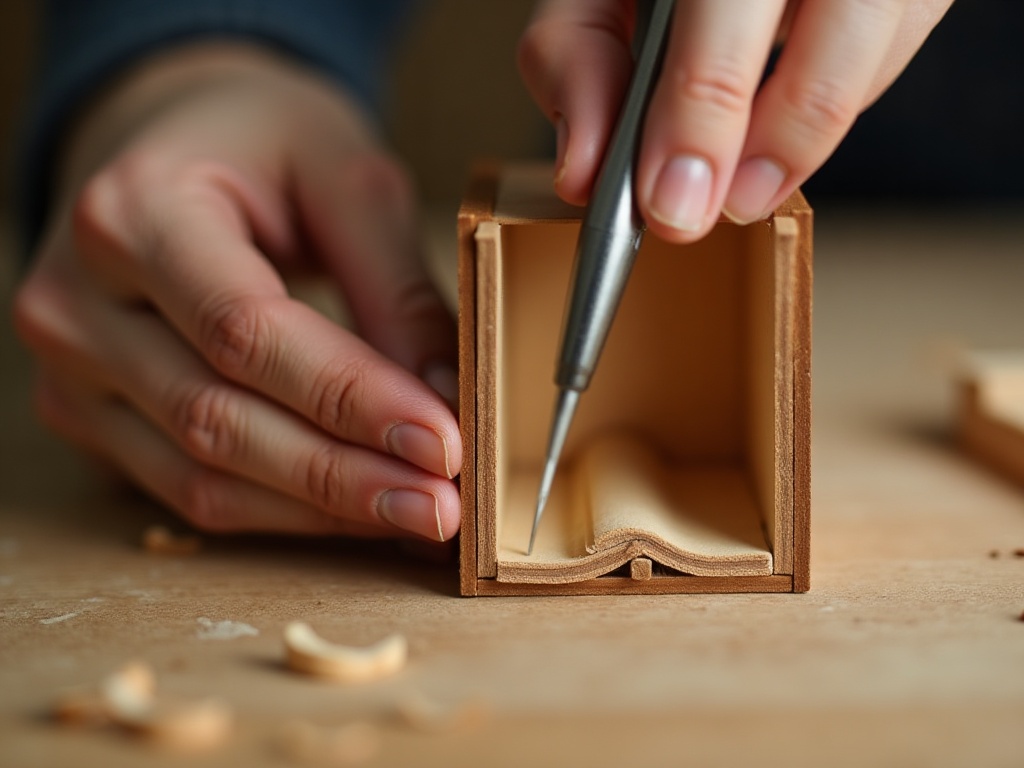
Your tool choices directly shape every seam, fold, and painted surface in the finished scene: at miniature scale, the difference between a sharp cut and a ragged one is visible from across the room, and the right miniature crafting tools remove that problem entirely. Book nooks live at a very small scale. Most interior elements, tiny bookshelves, miniature lanterns, paper bricks, sit between 5 mm and 30 mm in their largest dimension. At that scale, the gap between a clean cut and a ragged one is visible to the naked eye from across the room. A dull blade drags. A flimsy ruler flexes. Sandpaper that is too coarse chews through balsa instead of smoothing it.
The satisfying, almost meditative rhythm of building a book nook comes from a long chain of small, precise actions. That rhythm breaks every time a tool fights you. When your tweezers grip exactly where you aim them, or your knife scores a fold line on the first pass, you stay in the zone. You stop thinking about the tool and start thinking about the scene. That is the state every crafter is chasing.
Good tools also protect your materials. Kits from our book nook accessories collection include pre-cut laser parts and delicate paper elements that can warp or tear if handled with blunt or oversized tools. Treating them with purpose-built instruments means far less waste and far less frustration.
Tweezers: The Extension of Your Fingertips

Bestseller cottage kit
Tranquil Life DIY Miniature House Kit
Perfect first build for testing your new tools on real laser-cut parts
$67.90
Tweezers are the single most-used tool in any miniature build: buy the best fine-point stainless steel pair you can justify, because cheap tips that cross at the point will drop tiny parts at the worst possible moment. Tweezers are, without debate, the single most-used tool in any miniature build. Buy the best pair you can justify. A cheap pair with uneven tips will cross at the point, which means you drop tiny parts at the worst possible moment.
Which tip shape to choose
Not all tweezers behave the same way, and the tip geometry changes everything. Here is a quick comparison so you can shop with intention rather than guesswork:
| Tip type | Best for | Limitation | Priority |
|---|---|---|---|
| Straight fine-point | Picking up laser-cut pieces, threading wire, holding parts while glue sets | Hand blocks sightline in enclosed scenes | Buy first |
| Curved (angled) | Reaching inside a half-assembled box, placing parts at an angle | Less intuitive for flat surfaces | Natural second purchase |
| Flat-paddle | Pressing paper layers, holding a flat face while glue cures | Too wide for very small parts | Optional add-on |
For most builders, one straight fine-point pair handles 80% of tasks. Adding a curved pair later is a natural upgrade once you hit your first enclosed-box build. Look for stainless steel with a non-slip grip coating. Titanium-coated tips resist corrosion from PVA glue, which matters if you build regularly.
✨ Hannah’s tip: the two-pair system
Keep a second, cheaper pair of tweezers specifically for applying glue. Residue builds up fast on the tips, and a gummy pair will contaminate your cleaner tools. Label them with a small piece of tape. Your primary pair stays pristine; your glue pair gets sacrificial duty. I ruined my first good tweezers on the Tranquil Life build before I figured this out.
Keep a second, cheaper pair of tweezers specifically for applying glue. Residue builds up fast on the tips, and a gummy pair will contaminate your cleaner tools. Label them with a small piece of tape. Your primary pair stays pristine; your glue pair gets sacrificial duty. I ruined my first good tweezers on the Tranquil Life build before I figured this out.
The Hobby Knife: Precision Cutting and Scoring
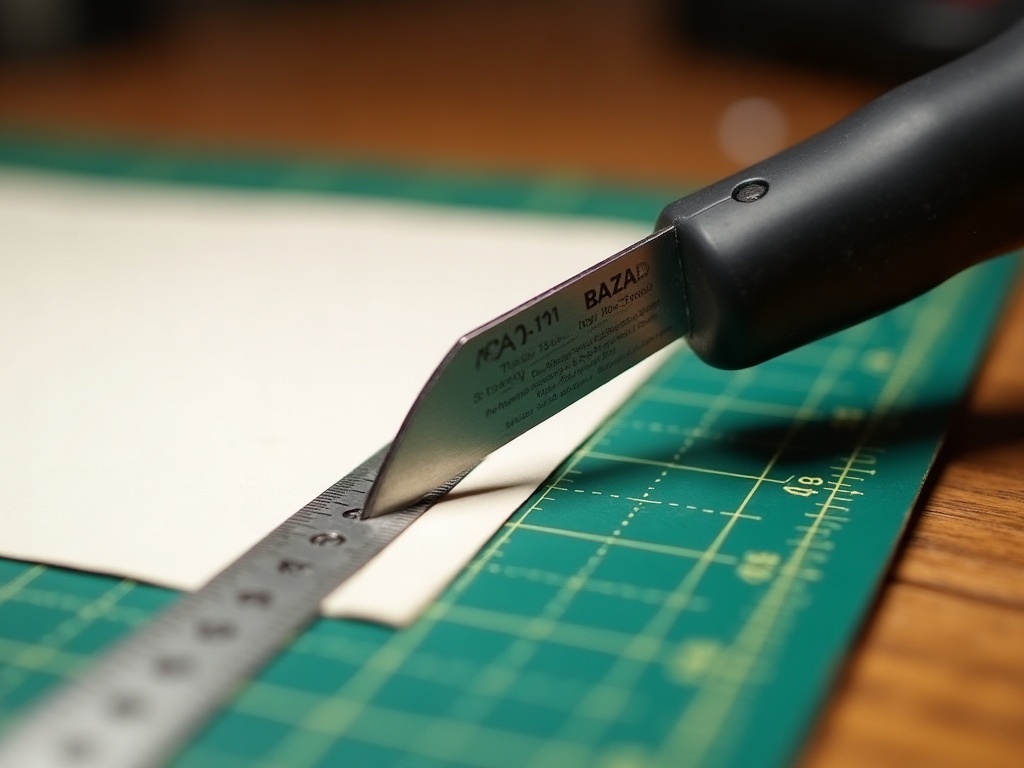
A hobby knife is non-negotiable for book nook building: you will use it to trim laser-cut parts, score fold lines, shave wooden strips to width, and clean up dried glue blobs, with no other tool replicating that full range. A standard craft knife or X-Acto-style hobby knife is non-negotiable for precise book nook cutting and scoring. You will use it to trim laser-cut parts free of their sheets, score fold lines in card stock, shave a fraction of a millimeter off a wooden strip that sits just a hair too wide, and clean up dried glue blobs. No other tool replicates that range.
Blades matter more than the handle
The handle is just a holder. The blade is the tool. Change it more often than you think you need to. A blade that has made 50 cuts on balsa wood is already noticeably duller than a fresh one, even if it still feels sharp to the touch. Dull blades require more pressure, which means less control and more chance of slipping across a delicate surface.
#11 blades are the industry standard for this scale of work. They have a narrow pointed tip that handles curves and corners cleanly. Keep a pack of at least 10 blades on hand before you start any build. Swapping a blade mid-session takes five seconds and transforms the experience completely.
⭐ Quick rule of thumb
If you have to lean into the cut, the blade is done. A sharp #11 glides through 1.5 mm balsa with almost no downward pressure. The moment you feel resistance building, swap it out. Blades are cheap; ruined parts are not.
If you have to lean into the cut, the blade is done. A sharp #11 glides through 1.5 mm balsa with almost no downward pressure. The moment you feel resistance building, swap it out. Blades are cheap; ruined parts are not.

Explore the collection
All Book Nook Kits
76 handcrafted book nook kits, pre-cut parts let you focus on technique, not measuring
Always cut on a self-healing cutting mat. The surface grips your material, protects your table, and keeps the blade edge from dulling on a hard surface. A 12×18 inch mat covers most book nook layouts without needing to reposition constantly.
Scoring fold lines without cutting through
For paper and card stock elements, scoring before folding gives you a sharp, controlled crease. Run the back of a #11 blade (or a dedicated bone folder) along the fold line with a ruler as a guide. Press firmly but do not pierce the paper. Then fold toward the scored side. The result looks intentional rather than improvised, and it is one of those tiny techniques that immediately elevates a build from “homemade” to “handcrafted.”
The Precision Tool Set: Buying Smart Instead of Buying Twice

Easy starter under $50
Sun Room DIY Miniature House Kit
Compact layout ideal for practicing cuts, folds, and brush work all in one build
$49.99
A well-curated precision tool set is excellent value for book nook building: it should include at minimum a fine-point tweezer pair, a hobby knife with spare blades, a bone folder, and needle files, all for $35 to $55. One question I get constantly from first-time builders is whether to buy tools individually or as a kit. The honest answer: bundled sets are excellent value if the contents are purposeful. A quality precision tool set for book nook building should include at minimum a fine-point tweezer pair, a hobby knife handle with spare #11 blades, a small bone folder or scoring tool, and a set of needle files for cleaning up laser-cut edges. That combination, bought separately, typically runs $35 to $55. A well-curated set lands in the same range and saves you three separate Amazon orders.
What to avoid: sets that pad the count with oversized tools (full-sized metal files, large scissors, thick-handled brushes) that feel impressive in the photo but are simply too large for 1:12 scale work. Scale matters as much for tools as it does for the miniatures themselves.
💡 Worth knowing
Needle files (sometimes sold as limes à aiguilles in European craft shops) are underrated for book nook building. A flat needle file cleans up the tiny burn residue left on laser-cut edges in about 10 seconds per piece. Without it, that residue shows through paint as a dark line at every joint. A six-piece needle file set costs around $8 and lasts indefinitely.
Needle files (sometimes sold as limes à aiguilles in European craft shops) are underrated for book nook building. A flat needle file cleans up the tiny burn residue left on laser-cut edges in about 10 seconds per piece. Without it, that residue shows through paint as a dark line at every joint. A six-piece needle file set costs around $8 and lasts indefinitely.
Sandpaper: The Difference Between Good and Great Joints
Skipping sandpaper is the single biggest visual giveaway of a first-time miniature build: two minutes with the right grit before assembly closes the gap between a beginner finish and an experienced one. Most beginner builders skip sandpaper entirely. That is the single biggest visual giveaway of a first-time build. Unfinished edges on balsa and basswood have micro-fibers that catch paint and glue unevenly. Two minutes with sandpaper before assembly eliminates most visible seams and closes the gap between a beginner finish and an experienced one.
Grits to keep in your toolkit
- 120 grit: initial shaping, removing excess material, evening up two pieces that do not quite align.
- 220 grit: smoothing surfaces before painting or staining. This is the workhorse grit for most miniature wood prep.
- 400 grit: final pass before a top coat or varnish. Gives wood a satin feel that accepts paint with no visible tooth texture.
Wrap small pieces of sandpaper around a wooden coffee stirrer or a thin strip of balsa to create a sanding stick. It gives you control in tight spaces and stops your finger from rounding over edges you want sharp. Sanding sticks are also ideal for working inside a partially assembled box where your fingers simply will not fit.
📜 Did you know?
The earliest commercially produced miniature room settings, including the famous Thorne Miniature Rooms now housed at the Art Institute of Chicago, were built between 1932 and 1940 using techniques that included hand-sanding every wooden element to tolerances under 0.5 mm. Narcissa Niblack Thorne employed professional craftspeople who used the same grit progressions (coarse to fine) that miniature builders still follow today.
The earliest commercially produced miniature room settings, including the famous Thorne Miniature Rooms now housed at the Art Institute of Chicago, were built between 1932 and 1940 using techniques that included hand-sanding every wooden element to tolerances under 0.5 mm. Narcissa Niblack Thorne employed professional craftspeople who used the same grit progressions (coarse to fine) that miniature builders still follow today.
The Steel Ruler: Your Straight-Line Guarantee
A stainless steel ruler with a cork backing is the correct choice for straight cuts and score lines in book nook building: plastic and aluminum rulers flex or compress under knife pressure, producing lines that are visibly out of true at miniature scale. A 6-inch or 12-inch steel ruler is a cutting guide as much as a measuring tool. Plastic rulers flex under knife pressure and can crack. Aluminum rulers are better but still compress slightly at the edge. A stainless steel ruler with a cork backing (to prevent slipping on the mat) is the correct choice for book nook building.
Use it to guide every straight cut and every score line. Freehand straight cuts at 1:12 or 1:24 scale look obviously off. The human eye is remarkably good at detecting a line that is two degrees out of true, especially in a rectangular scene where walls are supposed to be parallel.
For measuring, combine the steel ruler with a sharp mechanical pencil (0.3 mm or 0.5 mm lead). Mark your cut points with a dot rather than a line. A line drawn with a regular pencil is already 0.5 mm wide at this scale, which introduces error before you even pick up the knife.
If you are serious about accuracy, a small engineer’s square (L-shaped, 3-inch arm) lets you check 90-degree corners during dry-fit assembly. Walls that are even slightly out of square become obvious once the scene is finished and lit. Checking before glue goes down costs nothing and saves a lot of grief.
Brushes: Painting and Detailing at Miniature Scale
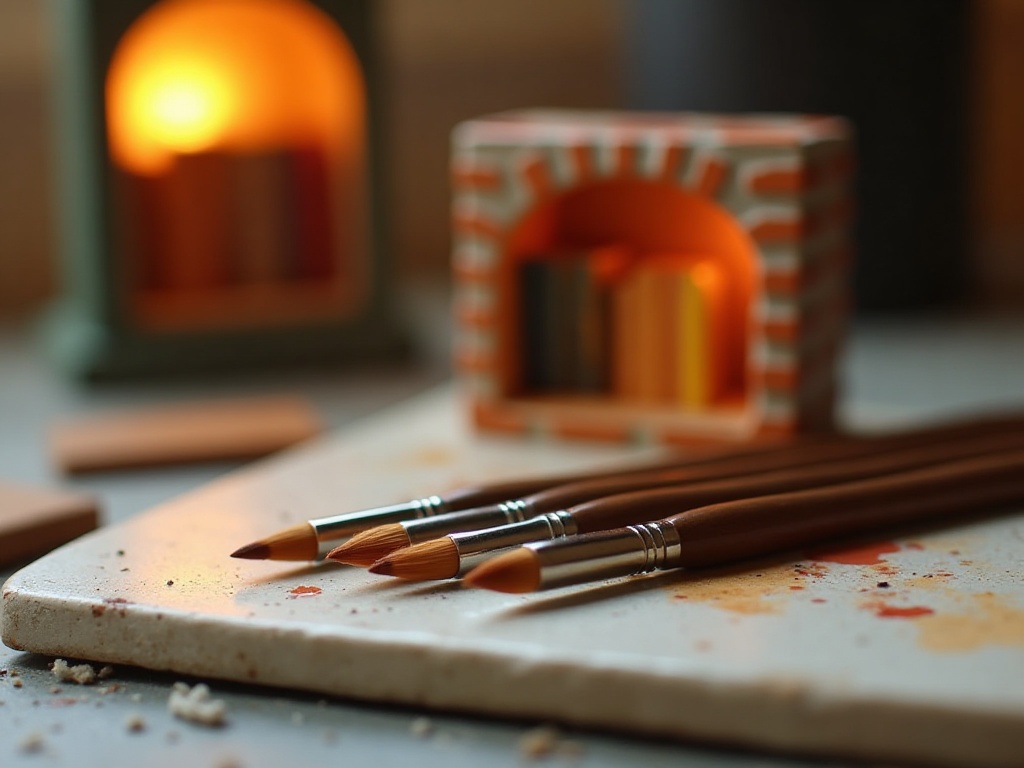
Brushes for book nook builds fall into two categories: base-coating brushes for walls and structural panels, and fine detail brushes in sizes 0, 00, and 000 for book spines, brick courses, and miniature furniture. Brushes for book nook builds fall into two categories: base-coating brushes and detail brushes. They serve completely different purposes and should be stored separately to protect the tips.
Base-coating and dry brushing
A 1/2-inch flat brush handles base coats on walls, floors, and large structural panels. For dry-brushing wood grain texture or adding a subtle weathered effect to a stone wall, a stiff-bristled brush (even an old, splayed brush works well here) gives the best result. Apply a small amount of paint, wipe almost all of it off on a paper towel, then drag across the surface. The raised grain catches the pigment and the effect is immediate and convincing.

Rare in the niche
Miniature Greenhouse Kits
22 LED-lit greenhouse builds, great for practicing transparent surface painting
Detail brushes for the finishing work
Round brushes in sizes 0, 00, and 000 handle fine detail: painting individual book spines, adding shadow lines to brick courses, touching up miniature furniture. Synthetic brushes hold their point well with acrylic paints. Natural hair brushes (kolinsky sable) give more precision but require more care and a higher budget.
Keep brushes rinsed. Acrylic paint that dries in the ferrule (the metal collar at the base of the bristles) will splay the brush permanently within a few sessions. Rinse in water immediately after use, reshape the tip, and store upright or horizontally. Never tip-down in a cup.
For applying PVA glue to small areas, a size 2 round brush beats any bottle tip for control. Thin the PVA slightly with water (roughly 1 part water to 4 parts glue) for paper decoupage work. The thinner mix soaks into the paper fibers without creating raised edges at the seam.
✨ Hannah’s tip: the brush rinse test
After rinsing, drag the brush across your thumbnail. If you see any color at all, rinse again. Residual pigment left in the ferrule is invisible in the water but shows up in your next color. This quick thumbnail check has saved dozens of my paint jobs on tiny book spines where a stray color streak would be glaring.
After rinsing, drag the brush across your thumbnail. If you see any color at all, rinse again. Residual pigment left in the ferrule is invisible in the water but shows up in your next color. This quick thumbnail check has saved dozens of my paint jobs on tiny book spines where a stray color streak would be glaring.
Assembling Your Workspace Around These Tools
A well-set workspace amplifies every hand tool you own: good lighting, a non-slip glue palette, a rotating turntable under your build, and the right clamping supplies turn a frustrating session into a focused, productive one. The tools above work best when your workspace supports them. A few quick setup notes that experienced builders rarely mention but genuinely matter:
- Good lighting is not optional. A daylight LED lamp (5000K or higher color temperature) positioned to eliminate hand shadows makes detail work dramatically easier. Eye strain is the number one reason crafters quit a session early.
- A small ceramic tile or piece of glass makes an ideal glue palette. PVA peels off cleanly once dry, and the smooth surface lets you thin paint without the paper absorbing it.
- A rotating turntable (plateau tournant, sometimes called a lazy Susan) under your build lets you reach all sides without picking up a partially glued assembly. A kitchen turntable from a home goods store, around $8, works perfectly.
- Binder clips and rubber bands are low-tech but critical for clamping while glue sets. Keep a range of sizes. The tiny 19 mm binder clips are sized almost perfectly for miniature wall joints.
Pairing these tools with quality materials matters just as much. Browse the full range of book nook accessories and building supplies to find precision adhesives, specialty papers, and finishing materials designed specifically for this scale of work. For first-time builders, our starter book nook kits include pre-cut parts that let you focus on learning tool technique rather than measuring from scratch.
If you are exploring how to choose your first book nook kit, the tool list above gives you a checklist to gather before your kit arrives. Having everything ready before you open the box means you start building the moment inspiration hits, not three days later when your tweezers finally arrive. You can also check our guide on beginner painting techniques for book nooks to understand how the brush work connects to the bigger scene you are creating.
Premium collector piece
Monet’s Garden DIY Miniature House Kit
Intricate foliage and painted surfaces reward every technique in this guide
$155.00
Frequently Asked Questions about Tools for Building a Book Nook
Everything you might be wondering (click a question to expand).
Can I build a book nook with basic household tools?
You can start with scissors and a ruler, but you will quickly hit the limits of those tools. Paper and card stock elements especially benefit from a hobby knife, because scissors compress the material rather than shearing it cleanly. Tweezers are genuinely hard to replicate with any household substitute. The good news is that a basic precision toolkit for book nook building costs under $30 total and lasts for years.
How often should I replace my hobby knife blades?
Change your blade after roughly every 20 to 30 cuts on wood, or 50 to 60 cuts on paper. If you notice you are pressing harder than usual to make a cut, or the blade skips slightly instead of gliding, it is time for a fresh blade. Keeping dull blades in rotation is the most common reason beginners get ragged cuts and torn paper edges.
What grit sandpaper is best for miniature woodwork?
Start with 220 grit for most balsa and basswood prep. Drop to 120 grit only if you need to reshape or remove material. Finish with 400 grit before any paint or stain goes on. Those three grits cover every situation you will encounter in a standard book nook build.
Do I need special brushes for acrylic paints on miniatures?
Standard synthetic round brushes work well with water-based acrylics. Sizes 0 and 00 cover almost all detail work. The key variable is condition, not brand: a well-maintained mid-range brush outperforms a neglected premium one every time. Rinse immediately after use and the brushes will hold their point for a long time.
Is a self-healing cutting mat necessary?
Yes, for two reasons. First, it grips your material so parts do not shift during cutting. Second, it preserves your blade. Cutting on a hard surface (glass, wood, ceramic tile) dulls a blade in just a few passes. A self-healing mat is a one-time purchase that pays for itself in blade longevity within the first build.
What tools should a complete beginner buy first?
Start with three things: a straight fine-point tweezer pair, a hobby knife handle with a pack of #11 blades, and a 12×18 inch self-healing cutting mat. Those three cover the overwhelming majority of tasks in a first kit. Add a steel ruler and 220-grit sandpaper before you do any wood trimming. That is a full starter kit for well under $40, and every item will still be in your toolkit years from now.
Building the Habit of Using the Right Tool Every Time
The tools described in this guide are not glamorous purchases, but they are the direct reason finished scenes come out looking the way they do: every clean fold and flush joint traces back to a moment when the right miniature building tool was in hand. There is something genuinely calming about reaching for exactly the right instrument and having it perform exactly as expected. The tools described here are not glamorous purchases. They do not photograph as beautifully as a finished Tudor facade or a tiny glowing library. But they are the reason those scenes come out looking the way they do. Every clean fold, every flush joint, every perfectly smooth painted surface traces back to a moment when the right tool was in hand.
Start with tweezers and a hobby knife if you are buying from zero. Add the steel ruler and sandpaper grits before your first wood build. Round out with brushes once you are ready to paint. That sequence matches how most builds actually unfold, and it keeps the investment spread across your learning curve rather than front-loaded before you know what you actually need.
The craft rewards patience and the right equipment in equal measure. Once your tools stop being something you think about and start being a natural extension of your hands, that is when a book nook stops feeling like a project and starts feeling like a tiny world you are actually living in for a while.
