🎁 Buy 2 kits, get the 3rd FREE · Free shipping on every order

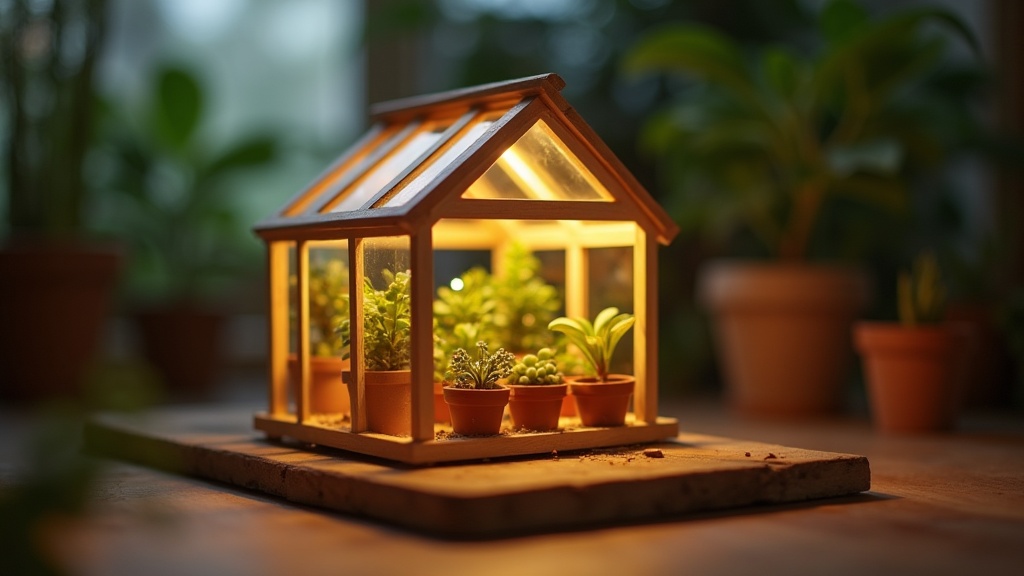
How to Build a Miniature Greenhouse Kit: Step-by-Step Assembly Guide
A complete hands-on guide to building a miniature greenhouse kit from scratch, covering frame assembly, glass panel placement, LED wiring, and finishing touches. Written for hobbyists and gift buyers at every skill level.

You open the box, and for a moment everything smells like fresh-cut wood and possibility. Forty-some pieces, a small sheet of acrylic, a coil of copper wire, and a handful of tiny terracotta pots stare back at you. The question isn’t whether you can build this thing. The question is where to start so you get it right the first time. That’s exactly what this guide covers: how to build a miniature greenhouse kit from the first dry-fit to the final flick of the LED switch, with zero guesswork and plenty of “oh, that’s the trick” moments along the way.
Whether this is your first ever miniature build or you already have a finished Victorian cottage on your shelf, the techniques here apply. Grab your tweezers, clear your table, and let’s get into it.
What’s Inside a Miniature Greenhouse Kit (and Why It Matters)
A quality miniature greenhouse kit typically includes pre-cut wooden frame pieces, clear acrylic panels, a micro LED strip, wood glue, and miniature plant accessories, knowing exactly what’s in your box before you start prevents surprises and speeds up every stage of assembly. Not all kits ship the same components, so knowing what you’re working with upfront prevents surprises halfway through assembly. A quality miniature greenhouse kit typically includes:
- Pre-cut wooden frame pieces (laser-cut balsa or birch plywood, 1-3 mm thick)
- Clear acrylic or PET “glass” panels in multiple sizes
- A micro LED strip or LED fairy light string (usually 3V or 5V USB-powered)
- Wood glue and sometimes a small brush applicator
- Miniature accessories: pots, faux plants, a tiny watering can, seed trays
- Instruction sheet (printed or QR-code linked)
Before touching any glue, inventory every part against the parts list. Lay them out in rows by size. This takes about five minutes and prevents the frustrating mid-build discovery that a panel is missing. If something is absent, contact the seller right away rather than improvising.
Difficulty rating for most greenhouse kits: 2 out of 5. The frame geometry is simpler than a multi-room dollhouse because a greenhouse is essentially a rectangular box with a peaked or arched roof. The trickiest parts are the acrylic panel placement and the LED wiring, both of which get dedicated sections below.
📜 Did you know?
The first decorative miniature greenhouses appeared in Europe in the 1830s, mirroring the era’s obsession with botanical collecting. Wealthy households kept scaled glass-and-iron “Wardian cases” as status symbols long before the hobby spread to the general public. Today’s laser-cut DIY kits are a direct descendant of that tradition, just far more accessible and far less expensive.
The first decorative miniature greenhouses appeared in Europe in the 1830s, mirroring the era’s obsession with botanical collecting. Wealthy households kept scaled glass-and-iron “Wardian cases” as status symbols long before the hobby spread to the general public. Today’s laser-cut DIY kits are a direct descendant of that tradition, just far more accessible and far less expensive.
Setting Up Your Workspace Before You Glue Anything
Before gluing anything on your miniature greenhouse kit, set up a flat, well-lit surface with a set square, fine-tip tweezers, binder clips, and a toothpick for precise glue application, the right workspace prevents angled joints and stray glue from ruining your build. A clean, flat surface is non-negotiable. Even a 1-degree tilt in your work mat can cause a wall panel to cure at a slight angle, and you’ll only notice when the roof refuses to sit flush. A self-healing cutting mat on a solid table works perfectly. Add:
- Two or three small binder clips or rubber bands (for clamping while glue cures)
- A ruler and a small set square (to check 90-degree corners)
- Fine-tip tweezers (at least one pair, ideally two)
- A toothpick or thin wire for applying tiny amounts of glue precisely
- Paper towel or a silicone mat to protect acrylic surfaces from scratching
Phone lighting is never enough. Point a daylight desk lamp directly at your work zone. You’ll catch gaps, misaligned pieces, and stray glue blobs before they set permanently.
✨ Hannah’s tip
I always keep a small spray bottle of water nearby when working with PVA glue. A single spritz on a joint that has grabbed too fast buys you another thirty seconds to adjust the angle. It sounds like a small thing until you need it at 11 pm on a Sunday.
I always keep a small spray bottle of water nearby when working with PVA glue. A single spritz on a joint that has grabbed too fast buys you another thirty seconds to adjust the angle. It sounds like a small thing until you need it at 11 pm on a Sunday.
Step-by-Step Frame Assembly for Your Miniature Greenhouse

Build the miniature greenhouse frame in four stages, dry-fit first, then glue base and walls, then end walls and door, then the roof, letting each joint cure before adding load, and the structure essentially builds itself. This is where most first-timers rush, and rushing is the only real way to get it wrong. Work in stages, let each joint cure before adding load to it, and the structure essentially builds itself.
Step 1: Dry-Fit the Entire Frame First
Before applying a single drop of glue, assemble the entire frame dry. Push tabs into slots, rest roof beams in their notches, and stand the walls up against each other. This run-through shows you the assembly logic. You’ll notice which pieces are numbered to go in order and which can be added in any sequence.
Mark any pieces that feel too tight with a light pencil dot. A tiny pass of 220-grit sandpaper on that tab makes the fit smooth without loosening the joint. Laser-cut pieces sometimes carry a small amount of char residue on the edges; wipe that off with a dry cloth before gluing so the bond holds cleanly.
Step 2: Glue the Base and Side Walls
Start from the bottom. Glue the floor panel to the base frame first, clamp it flat, and wait the full cure time listed on your glue bottle (typically 5-10 minutes for PVA wood glue to hold, 30 minutes for full strength). Then attach the two long side walls, one at a time. Use your set square at each corner before the glue sets. A 90-degree corner takes two seconds to check and saves 20 minutes of sanding later.
Apply glue to the tab, not the slot. This keeps excess glue from pooling inside the joint where it’s invisible but blocks panel insertion later.
Step 3: Add the End Walls and Door Frame
Most greenhouse kits feature one or two end walls with a door cutout. Fit these after the side walls are firm. The door frame pieces are usually the thinnest in the kit, so handle them with tweezers rather than fingers. If your kit includes a working hinge for the door, thread it before gluing the surrounding frame; it’s nearly impossible to retrofit.
📜 Did you know?
The tiny hinges in miniature kits are often modeled after the parlamentaire hinge style used in Victorian conservatory doors. If yours looks like a miniature version of something from a stately home, that’s entirely intentional. Keeping the hinge pin clean of glue preserves the satisfying swing of the door once the build is done.
The tiny hinges in miniature kits are often modeled after the parlamentaire hinge style used in Victorian conservatory doors. If yours looks like a miniature version of something from a stately home, that’s entirely intentional. Keeping the hinge pin clean of glue preserves the satisfying swing of the door once the build is done.
Step 4: Build the Roof Structure

The roof is the crown of the build. Ridge beams, rafter strips, and sometimes decorative finials all come together here. Work from the ridge down: glue the peak beam first, then angle the rafter pieces down to the top of each side wall. Many kits include small pre-drilled holes along the ridge beam specifically for routing LED wire later. Don’t fill those holes with glue.
✨ Hannah’s tip
After gluing the first rafter, hold a ruler from the ridge beam down to the wall top before attaching the second. Both rafters should be the same angle on each side. If they’re even slightly off, your acrylic roof panels won’t sit flush and you’ll end up with visible gaps. Thirty seconds of checking saves a frustrating re-do.
After gluing the first rafter, hold a ruler from the ridge beam down to the wall top before attaching the second. Both rafters should be the same angle on each side. If they’re even slightly off, your acrylic roof panels won’t sit flush and you’ll end up with visible gaps. Thirty seconds of checking saves a frustrating re-do.
How to Place Acrylic Glass Panels Without Cracking or Clouding Them
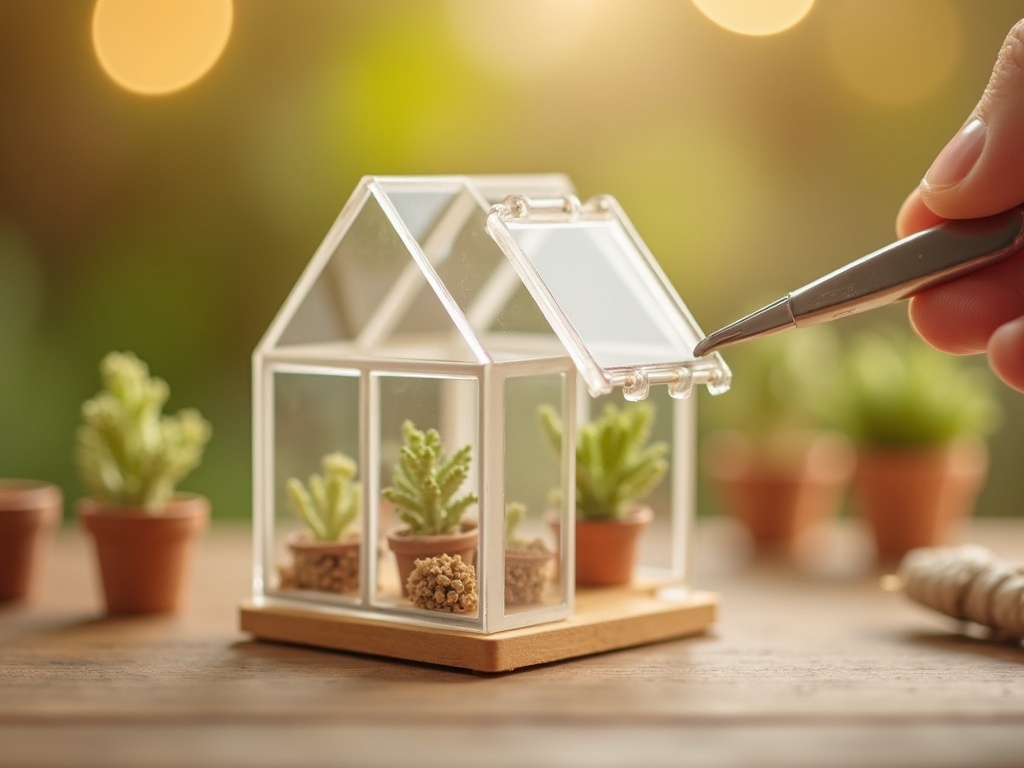
Peel the protective film immediately before insertion, slide each panel into its frame channel from the top down using a toothpick edge, and clean smudges with isopropyl alcohol on a microfiber cloth, never use ammonia sprays, which permanently craze acrylic surfaces. Acrylic is forgiving up to a point. Force it, and it snaps. Scratch it, and the haze never fully comes out. Here’s how to handle the panels cleanly every time.
Removing the Protective Film
Most panels ship with a thin protective film on both faces. Peel it off immediately before insertion, not before. Leaving bare acrylic sitting on the table while you assemble the frame invites fingerprints, fine scratches, and dust that bonds to the surface with static. Peel, place, done.
Fitting Panels into Frame Channels
The frame channels (the thin grooves routed into the wooden beams) hold each panel without glue in most kits. Slide the panel in from the top down, angling slightly so the bottom edge seats first. Use the flat side of a toothpick to nudge it fully into the channel. Never press with your fingertip directly on the panel face; the oils etch faint prints into the surface over time.
If a panel feels loose after seating, a micro-dot of clear-drying craft glue at each corner channel point is enough to hold it. Avoid running a bead along the entire edge; thermal expansion makes acrylic move slightly with temperature changes, and a rigid full-edge glue bond can cause cracking over months.
Cleaning Smudges Off the Panels
A microfiber cloth barely dampened with isopropyl alcohol (70% or less) cleans fingerprints without clouding the surface. Wipe in one direction, not circles. Paper towels leave micro-scratches. Avoid window cleaner; ammonia-based sprays craze acrylic.
The kits in our miniature greenhouse kit collection each note exactly which panel type is included, so you know whether you’re working with PET or cast acrylic before the box even arrives.

Wiring LED Lights into Your Miniature Greenhouse Kit
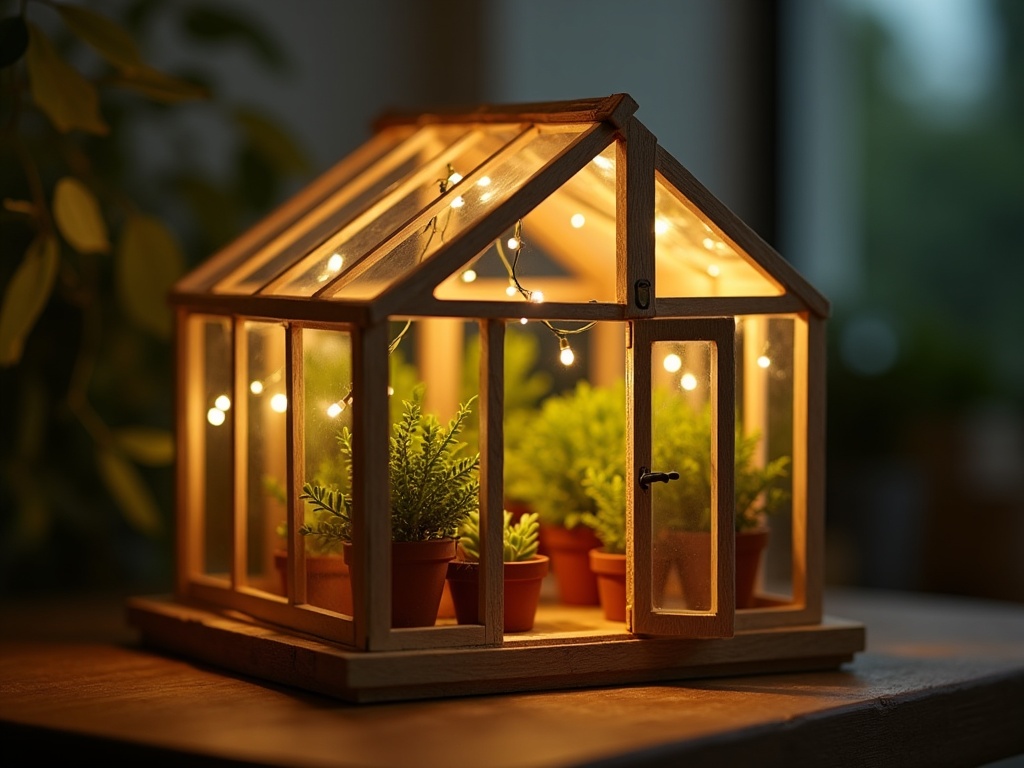
Route all LED wire before gluing the final roof panel, position lights along the interior ridge beam facing downward, and always test the circuit before sealing, catching a dead LED through a fully assembled roof is the single most frustrating mistake in the whole build. This is the step that transforms a pretty wooden box into something that stops people mid-conversation. Good LED placement makes the plants glow, the shadows play across the rafters, and the whole scene feel inhabited. It’s also simpler than it sounds.
Choosing the Right LED Type
Most miniature greenhouse kits include one of three LED options:
- Copper wire fairy lights (3V, battery-powered): flexible, easy to shape around interior structures, ideal for beginners. The thin copper is almost invisible once the lights are on, and the warm glow is genuinely lovely filtered through clear acrylic panels at dusk.
- USB micro-LED strip (5V): brighter and more consistent, better for display pieces meant to stay lit for long periods. The adhesive backing sticks cleanly to the inside of the ridge beam with no extra fixings needed.
- Pre-soldered LED bead on a resistor wire: smallest footprint, best for accent lighting in tight spaces or a single dramatic spotlight effect on a feature plant.
Warm white (2700K-3000K color temperature) reads as sunlight filtering through glass and is the choice Hannah returns to on every build. Cool white (5000K+) looks clinical in a miniature context. If you can choose, pick warm white every time.
Routing the Wire Through the Frame
Route all wire before gluing the final roof panel. Thread the wire through the pre-drilled holes in the ridge beam (or along the back wall if your kit lacks pre-drilled holes). Leave at least 10 cm of slack wire exiting through a discrete gap at the back base of the greenhouse, where the power source (battery pack or USB cable) will connect. Tuck wire against wood surfaces using small dabs of hot glue from a low-temp mini glue gun; this hides the copper against the frame color.
Positioning LEDs for Maximum Impact
The best placement is along the interior ridge beam, facing downward. This mimics overhead grow-light logic and casts soft shadows through the plant accessories below. A secondary string coiled loosely on the floor level, among the tiny pots, adds depth and warmth. Two light sources at different heights make the scene look three-dimensional rather than flatly lit.
Once the wire is placed, test the lights before sealing any roof panels. Chasing a dead LED through a fully assembled roof is miserable. Test, confirm, then close.
LED Installation: Final Steps and Troubleshooting
With the lights tested and the wire tucked, glue the final roof panel into place. If you’re using a battery pack, now is the moment to decide where it lives. A flat CR2032 coin-cell holder fits neatly beneath most base platforms. If your kit uses a USB strip, route the cable through the back-right corner of the base, where it’s invisible from the standard front-left viewing angle.
Common LED issues and fast fixes:
- One section of fairy lights stays dark: almost always a kinked wire. Gently straighten the copper at the dark segment and the circuit restores itself.
- Lights flicker intermittently: the battery contacts are slightly oxidised. Remove the batteries, rub the contact points with a pencil eraser, and reinsert. Works nine times out of ten.
- LED strip is too bright for the scale: a single layer of thin tracing paper tucked between the strip and the ridge beam diffuses the light beautifully and drops the intensity to something that reads as natural filtered sunlight.
- Wire visible through the acrylic panels: re-route it along the inside edge of the frame beams rather than crossing open panel space. Two small dabs of low-temp hot glue are all you need to hold it in place permanently.
✨ Hannah’s tip
Photograph your LED placement before you close the roof. When someone asks you how you achieved that particular glow six months later, you’ll have the answer right there in your camera roll. I have a whole folder labeled “how did I do that” for exactly this reason.
Photograph your LED placement before you close the roof. When someone asks you how you achieved that particular glow six months later, you’ll have the answer right there in your camera roll. I have a whole folder labeled “how did I do that” for exactly this reason.

Hiding the Power Source
Battery packs tuck cleanly under the base if your kit includes a recessed floor. USB-powered strips can exit through the back and plug into a phone charger block kept out of sight. A small piece of trim wood glued over the exit point at the base hides the wire completely from the front viewing angle.
If you’re giving this kit as a gift and want to include everything the recipient needs to light their build, our LED-ready miniature greenhouse kits ship with a pre-wired strip and a USB power cable already included.
Decorating and Finishing Your Miniature Greenhouse
Paint or stain the wooden frame before inserting acrylic panels, then layer miniature plant accessories from heaviest to lightest, varying heights from floor pots to hanging vines, this sequence keeps everything clean and makes the interior look genuinely planted rather than posed. Assembly done, lights on, now the fun part. Finishing separates a completed kit from a finished piece worth displaying for years.
Painting and Staining the Frame
Birch and balsa both accept water-based acrylic paint beautifully. Popular frame finishes for miniature greenhouse kits:
- Aged white or cream (classic Victorian botanical look)
- Forest green or hunter green (nods to traditional cast-iron greenhouse frames)
- Raw wood with a satin varnish coat (modern, Scandi-influenced aesthetic)
Apply paint before inserting acrylic panels. Masking acrylic is possible but fiddly. Paint the frame in sub-assemblies, let it cure fully (24 hours for acrylic paint on raw wood), then assemble and panel. For an aged patina effect, mix a tiny amount of burnt umber into your base white and dry-brush it along the frame corners. This mimics decades of gentle wear and looks particularly convincing on Victorian greenhouse styles.
Placing Miniature Plants and Accessories
Position the heaviest accessories (terracotta pots, seed trays) first, securing them with a micro-dot of clear adhesive to the floor. Add faux greenery last, bending wire stems to look organic rather than planted in a straight row. Vary the heights: ground-level pots, a hanging vine draped from a rafter, a shelf with tiny specimens at mid-height. The layered depth makes the interior look genuinely planted rather than posed.
Looking for extra accessories to populate your greenhouse? Our miniature plant and accessory add-ons include over a dozen botanically accurate faux specimens scaled to 1:12.
Displaying and Protecting Your Finished Build
Keep your finished miniature greenhouse away from direct sunlight to prevent acrylic yellowing and paint fade, dust the interior weekly with a large soft watercolor brush, and store the piece in tissue-lined packaging if you ever need to transport it. A completed miniature greenhouse kit deserves a spot where it can actually be seen, and a little forethought about placement goes a long way toward keeping it looking its best for years.
Keep the finished piece away from direct, prolonged sunlight. UV exposure yellows acrylic panels and fades painted frames faster than anything else. A north-facing shelf or an interior display cabinet is ideal. If you love the look of it backlit by a window, consider applying a UV-filtering window film to the glass behind it; these are inexpensive, removable, and genuinely extend the life of the build.
Dust is the other enemy of a miniature. A soft watercolor brush (size 10 or larger) reaches into the interior through the door opening without disturbing the plant arrangement. A can of compressed air is faster but risks dislodging loosely placed accessories. The brush takes three minutes and doubles as a meditative end-of-week ritual.
If you want to move or transport the finished piece, place it inside a shoebox lined with tissue paper and travel at low speed. The acrylic panels are the most vulnerable component; even small vibrations can work them loose from their channels over a long drive.
✨ Hannah’s tip
I keep a small index card tucked under the base of each finished piece with the build date, the paint colors I used, and which LED type is inside. Six months later when someone asks, or when I need to touch up a chip, I’m not guessing. It takes thirty seconds and is genuinely worth it.
I keep a small index card tucked under the base of each finished piece with the build date, the paint colors I used, and which LED type is inside. Six months later when someone asks, or when I need to touch up a chip, I’m not guessing. It takes thirty seconds and is genuinely worth it.
Making the Build Yours: Customization Ideas Worth Trying
Small swaps, a two-tone paint job, a baking-soda gravel floor texture, or a tunable LED strip, transform a standard greenhouse kit into a one-of-a-kind display piece that reflects your own taste and style. The kit is a starting point. Some of the most striking finished pieces the community shares come from builders who swapped one small detail and changed the entire mood of the scene. A few ideas worth trying:
- Paint the frame two-tone: white interior for brightness, dark green exterior for contrast
- Add a thin layer of baking soda mixed with PVA to the base floor panel before it cures for a realistic gravel texture
- Hang a tiny printed “seed catalog” or vintage botanical print on the interior wall (printable files are widely available in 1:12 scale communities)
- Swap the included warm-white LEDs for a tunable strip that shifts from golden morning light to cool dusk through a small dial
- Seal the exterior with a light coat of satin varnish to make the frame slightly weather-resistant if you plan to display it near a window with direct sun
- Add a miniature chalkboard sign near the door with a tiny plant name written in white paint pen (a toothpick loaded with paint works perfectly for lettering at 1:12 scale)
If you enjoy the botanical theme and want to extend it beyond the greenhouse build, the full miniature house kit range includes several cottage and garden designs that pair beautifully with a greenhouse as a companion piece on the same shelf.
The meditative rhythm of this kind of build, fitting piece to piece, seeing the structure rise from a flat pile of parts, is genuinely one of the most satisfying afternoons you can spend at a craft table. There’s no screen, no algorithm, just wood, light, and something beautiful taking shape under your hands. That’s the part that keeps builders coming back. ✨
Ready to start your own build? Browse every style, from classic Victorian ridge-roof designs to modern barrel-vault frames, in our full miniature greenhouse kit collection and find the one that matches the scene already in your head.
Frequently Asked Questions about Building a Miniature Greenhouse Kit
Everything you might be wondering (click a question to expand).
How long does it take to build a miniature greenhouse kit from start to finish?
Most builders complete a standard kit in 3 to 6 hours of active work. Spread across a weekend, with glue cure times built in between sessions, the pace feels relaxed rather than rushed. More complex kits with working doors, multiple shelf tiers, or pre-painted panels can push that to 8-10 hours total.
Do I need any special tools beyond what’s in the kit?
The kit supplies glue and the core components, but you’ll get better results with a set square for corner alignment, fine-tip tweezers, a low-temp mini glue gun for LED wire tacking, and a microfiber cloth for cleaning acrylic. None of these are expensive, and most crafters already own at least two or three.
Can a complete beginner build a miniature greenhouse kit?
Yes, with confidence. The greenhouse form is one of the more forgiving miniature structures because its geometry is simple: rectangular walls, a peaked or barrel roof, flat panels. The laser-cut tabs and slots do most of the alignment work for you. First-time builders consistently rate greenhouse kits as a satisfying entry point precisely because the finished piece looks impressive relative to the skill required.
What’s the best glue for miniature greenhouse kit assembly?
PVA wood glue (like Titebond or a generic craft PVA) is the standard choice for wood-to-wood joints. It dries clear, sands cleanly, and is forgiving because you have 2-3 minutes of working time to adjust a piece before it grabs. For acrylic panel corner dots, use a clear-drying craft glue or a gel-type super glue applied in a micro-amount with a toothpick. Avoid liquid super glue near acrylic panels; capillary action pulls it across the surface and leaves a permanent haze.
How do I keep the LED lights from overheating inside the kit?
The LED types included in craft kits draw very low current (typically under 0.1W per light) and produce negligible heat. Battery-powered copper wire fairy lights and 5V USB micro-strips are both safe to leave on for hours in an enclosed miniature space. If you ever add third-party LEDs, check the wattage rating; standard miniature-scale craft LEDs never get warm enough to pose any risk to wood or acrylic.
How do I display and protect my finished miniature greenhouse long-term?
Keep it away from direct sunlight to prevent acrylic yellowing and paint fading. A north-facing shelf or display cabinet is ideal. Dust the interior every few weeks with a large soft watercolor brush, which reaches through the door without disturbing accessories. A light coat of satin varnish on the exterior frame adds moisture resistance if the piece lives near a window. Tuck a small index card under the base with the build date and paint colors used; it takes thirty seconds and saves a lot of guesswork later.
