🎁 Buy 2 kits, get the 3rd FREE · Free shipping on every order


How to Clean a Book Nook: Keep Your Miniature Scene Dust-Free and Stunning
Learn how to clean a book nook without damaging paint, paper elements, or LED lighting. This guide covers the right tools (soft brush, air blower, microfiber cloth), a step-by-step cleaning method, humidity tips, and protective habits to keep your miniature scene looking fresh for years.

You built it over a weekend, maybe two. You painted tiny bricks, glued minuscule lanterns, and arranged little books no bigger than your thumbnail. Now your book nook sits on the shelf looking magical, and then, about six weeks later, you notice it: a thin grey film settling over every horizontal surface like a very unwelcome houseguest. Cleaning a miniature scene feels intimidating at first. Get it wrong and you could knock a chimney loose, smear paint, or warp a paper facade with a damp cloth. Get it right and your insert looks brand new indefinitely.
This guide covers how to clean a book nook properly, from the tools that actually work to the habits that prevent grime from building up in the first place. Whether your scene is a cozy apothecary, a neon-lit alley, or a towering Gothic library, the method stays largely the same. By the end, you will know exactly how to clean a book nook safely, confidently, and quickly.
Why Book Nooks Attract Dust Faster Than You’d Expect

A book nook lives between books on a shelf, which means it sits at roughly nose height, right in the path of household air circulation. Warm air rises, cool air falls, and floating particulates get deposited on every ledge and outcrop. Miniature architecture is essentially a dust trap by design: recessed doorways, tiny windowsills, overhanging roofs, and rows of micro-books all create low-airflow pockets where particles settle and stay.
Static electricity makes things worse. Resin, acrylic paint, and foam substrates carry a slight static charge, especially in dry winter months. Dust clings rather than sitting loosely. That is why a single pass of a feather duster rarely does the job and can actually scatter debris deeper into the scene.
Humidity is another factor worth understanding. Homes that run below 30% relative humidity in winter tend to be dustier because there is less moisture in the air to weigh particles down. Homes above 60% risk a different problem: paper elements, cardstock roofs, and MDF bases can absorb ambient moisture and warp or soften over time. The sweet spot for displaying any paper-and-wood miniature is 40-55% relative humidity. I noticed this firsthand with my first Victorian dollhouse build: after one particularly damp August, a cardstock dormer window developed a slight bow. Once I sorted out a small dehumidifier in the room, the problem never came back.
📜 Did you know?
Museum conservators have studied miniature object deterioration since the 1970s. The Victoria and Albert Museum in London uses a strict 45-55% RH range in its miniature galleries, citing humidity fluctuations as the leading cause of paint delamination on small-scale objects, ahead of light damage and physical handling. The same principle applies to your shelf: stable humidity is one of the kindest things you can do for a finished scene.
Museum conservators have studied miniature object deterioration since the 1970s. The Victoria and Albert Museum in London uses a strict 45-55% RH range in its miniature galleries, citing humidity fluctuations as the leading cause of paint delamination on small-scale objects, ahead of light damage and physical handling. The same principle applies to your shelf: stable humidity is one of the kindest things you can do for a finished scene.

The Right Tools for Cleaning a Miniature Book Nook

You do not need a cabinet full of specialty products. You need a short, specific list of the right things, used in the right order. Here is a quick reference before we go into detail:
Quick-Reference: Tools vs. What to Avoid
| Use this | Instead of this | Why |
|---|---|---|
| Rubber accordion blower | Pressurized aerosol cans | Aerosols can freeze paint and blast small parts loose |
| Soft sable/goat-hair brush | Stiff-bristle or synthetic brush | Stiff bristles lift drybrushed acrylic layers |
| Dry lint-free microfiber cloth | Paper towels or tissues | Paper products are abrasive on acrylic surfaces |
| Fluffy kabuki makeup brush (near LEDs) | Any damp cloth near wiring | Moisture risks short-circuiting LED components |
Soft-bristle brush (your primary tool)
A wide, flat watercolor brush in the 1-2 inch range is ideal for sweeping dust out of open areas. For tight corners, switch to a smaller detail brush, size 4 or 6. Natural bristles are gentler than synthetic on painted surfaces; a sable or goat-hair brush holds its shape well and releases dust rather than dragging it. Never use a stiff-bristle brush on book nook scenes; the mechanical friction can lift thin layers of acrylic paint, especially on aged or drybrushed textures.
Compressed air blower (the accordion bulb type)
A photography hand blower (the rubber bulb with a nozzle, sometimes called a “rocket blower”) is perfect for dislodging dust from recessed areas a brush cannot reach: window frames, interior staircase railings, shelves lined with micro-books. Point the nozzle at a low angle and use short, controlled puffs. Avoid pressurized aerosol cans meant for electronics. The propellant in those cans can freeze delicate painted surfaces, and the pressure spike is far too strong for lightweight decorative elements that are only glued in place.

Lint-free microfiber cloth (for smooth exterior surfaces)
Some book nooks have flat painted side panels, acrylic windows, or resin-coated floors. A dry, lint-free microfiber cloth picks up dust from these surfaces without scratching. Fold it into a small pad and drag it very lightly. Keep a dedicated cloth for this; washing it with fabric softener reduces its static-attracting properties and makes it less effective.
A soft makeup brush for LED wiring areas
If your book nook is lit, there are LED strips, battery boxes, or USB connectors to think about. A large, fluffy makeup brush (kabuki style) is excellent around wiring because the bristles are very fine and the handle is easy to control in tight spaces. Keep moisture entirely away from any electrical component.
✨
Hannah’s tip: always bring it to a clear surface first
Hannah’s tip: always bring it to a clear surface first
Before you start any cleaning session, remove your book nook from the shelf and bring it to a well-lit surface. A kitchen counter or a craft table works perfectly. Working with the piece in front of you rather than reaching into a shelf gap means you can see what you are doing, control your pressure, and catch any loose elements before they fall. I keep a small tray under mine while I clean, just in case a tiny chimney pot decides today is its day to escape. It has saved me more than once.
How to Clean a Book Nook: The Step-by-Step Process
Follow this sequence every time you tackle how to clean a book nook. The order matters because you always want to move debris outward, not push it deeper into the scene.
- Remove the piece from the shelf. Place it on a clean, padded surface. Check for any loose elements before you begin and set them aside safely.
- Start with the air blower. Work from back to front, top to bottom. Short puffs, low angle. This dislodges debris hiding in corners without dragging a brush across fragile painted surfaces first.
- Follow with the soft brush. Use the wide brush to sweep dust off roofs, floors, and ledges. Switch to the smaller detail brush for doorways, window recesses, and miniature bookshelves. Always brush outward toward the open face of the nook.
- Wipe smooth exterior panels. Using your dry microfiber cloth, lightly wipe any flat exterior surfaces, side walls, the base, and any acrylic glazing on windows. One slow pass is enough.
- Inspect the LED area if present. Use the makeup brush, dry only, to clear dust from around battery compartments or USB ports. Never use liquid near electronics.
- Check for loose parts. After cleaning, run your fingers gently along the scene. Any element that wobbles needs a tiny drop of PVA glue or superglue before the piece goes back on display. A clean scene is also a good maintenance check.
- Return the piece to the shelf and do a final visual pass with a flashlight or your phone torch. Raking light shows any remaining dust you missed.
That is the full method. Most sessions take under fifteen minutes once you have the tools to hand, and the results are immediately visible. Community members in our builder group often say this routine is when the scene really comes alive again, because you are forced to look at it slowly rather than in passing.

Protecting Your Book Nook Between Cleaning Sessions
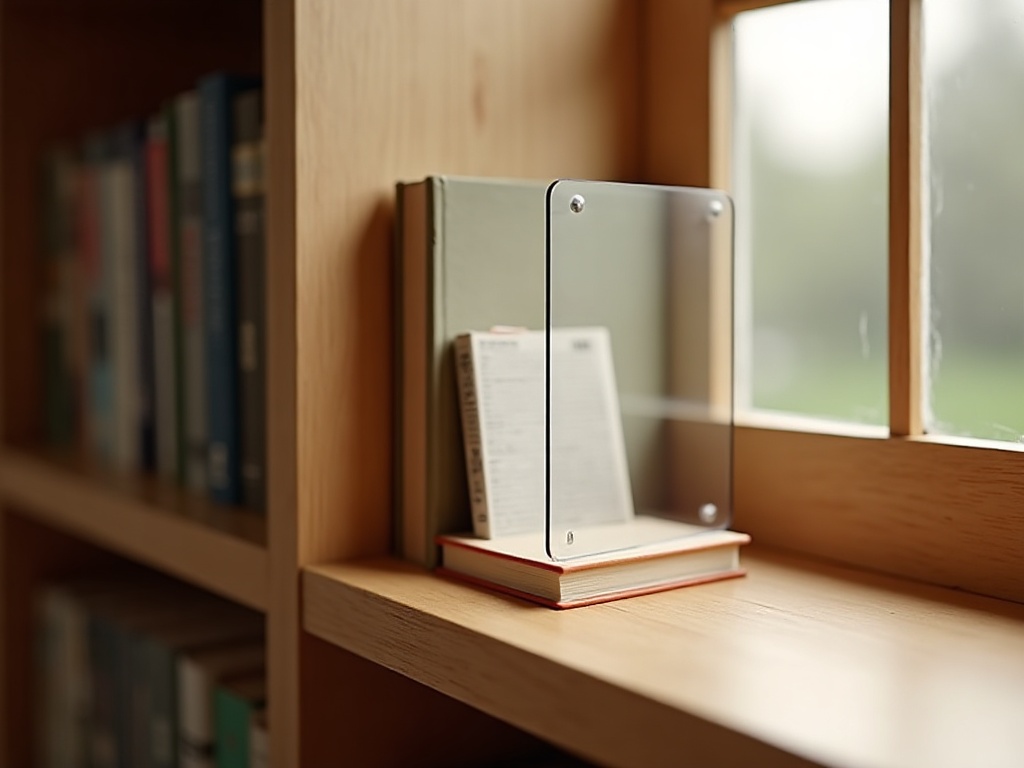
Prevention is far easier than cleaning. A few consistent habits cut your cleaning frequency from monthly to once every two or three months. If you are also curious about longer-term storage options, our guide to book nook accessories includes protective display gear chosen specifically for miniature scenes.
Use a dust cover when the piece is not on display
If you rotate seasonal scenes or store extras, a simple clear acrylic box or even a clean cotton pillowcase draped over the shelf section dramatically reduces particle buildup. Some crafters cut a sheet of thin acrylic (available at hardware stores) to sit as a lightweight facade cover. It is not museum-grade, but it works surprisingly well for everyday protection.
Mind the shelf location
Avoid displaying book nooks directly below HVAC vents or ceiling fans. The constant airflow deposits particulates many times faster than still air. Direct sunlight is another issue: UV fades acrylic paint and can yellow resin components. A north-facing wall or a shelf with indirect lighting gives the piece the best longevity. When I moved my Gothic library insert away from a south-facing window, the colour held noticeably better through the following summer.

Handle minimally
Skin oils transfer on contact. When you do need to handle the piece, grip it by its outer frame rather than the scene elements. If you show it to guests, offer it for viewing but avoid passing it around; the more hands, the more fingerprints and the higher the risk of a tiny turret taking a tumble.
For all the tools and accessories mentioned in this article, our book nook accessories collection stocks soft-bristle brushes, storage solutions, and protective display gear selected specifically for miniature scenes. It is worth browsing before you start your next kit so everything is on hand from day one.
What to Do If Your Book Nook Gets Wet or Stained
Accidents happen. A glass tips, a humid summer condensates on the shelf. Act quickly and stay calm.
- Water exposure: Blot, never wipe. A dry microfiber cloth pressed gently against the wet area lifts moisture without spreading it. Then let the piece air dry at room temperature for at least 24 hours, ideally 48, before touching it again. Direct heat like a hairdryer warps MDF and melts hot-glue joints.
- Grease or fingerprint smear: A cotton swab barely dampened with 70% isopropyl alcohol can clean fingerprints from painted resin or acrylic surfaces. Test on an inconspicuous corner first. Keep the swab almost dry; you want a trace of alcohol, not a puddle.
- Mold or mildew (from sustained high humidity): This is the most serious scenario. A 1:10 dilution of white vinegar in water applied with a cotton swab can address surface mold on non-paper areas. Paper and cardstock elements that have visible mold growth usually cannot be salvaged; replacement parts are often available from kit manufacturers.
If you are sourcing replacement components or looking for extra detailing elements after a repair, check our range of display and finishing accessories, which includes spare scenic elements and adhesives compatible with the most common kit materials.
Frequently Asked Questions about Cleaning a Book Nook
Everything you might be wondering (click a question to expand).
How often should I clean my book nook?
For a piece displayed on an open shelf in a typical home, a light dusting every four to six weeks keeps things looking sharp. If you live in a dusty environment or have pets, bump that to every two to three weeks. A full cleaning session using the complete step-by-step method once every two to three months is usually sufficient for most households.
Can you use water to clean a book nook?
Generally, no. Most book nook components, including MDF panels, cardstock facades, paper details, and hot-glue joints, are sensitive to moisture. Water can warp flat surfaces, loosen glued elements, and cause paper parts to buckle or discolour. The only exception is a microfiber cloth very lightly dampened with plain water for wiping solid painted resin or acrylic window panes, and even then you should test on a hidden corner first. For everything else, stick to dry tools: the rubber blower and soft brush do the job without any risk.
Can I use a vacuum cleaner on a book nook?
Not directly. A vacuum’s suction is strong enough to pull off small decorative elements, particularly anything attached only with PVA or hot glue. However, you can hold the vacuum hose about six inches away from the scene to capture debris that your brush dislodges. Think of it as a dust catcher, not a dust remover. Keep the hose moving and never rest it against the scene itself.
My book nook has an acrylic window pane. How do I clean it without scratching it?
Use only a soft microfiber cloth, dry or very lightly dampened with plain water. Acrylic scratches far more easily than glass. Avoid paper towels, tissues, and anything abrasive. If there is a stubborn smudge, a drop of acrylic-safe lens cleaner (the kind sold for eyeglasses) works well. Spray it on the cloth, not directly on the panel.
Will cleaning damage my book nook’s painted finish?
Only if you use wet cloths, stiff brushes, or abrasive materials. Dry soft bristles and controlled air puffs are completely safe for acrylic paint, chalk paint, and even lightly dry-brushed surfaces. The main risk is mechanical: pressing too hard with any tool can chip or scuff thin paint layers. Light touch, every time.
Is there a protective spray I can apply to make future cleaning easier?
A matte or satin varnish sealer, applied before display, creates a smoother surface that dust sits on rather than bonding to. Many builders apply a final coat of Mod Podge Matte or a dedicated acrylic varnish spray (Krylon or Rust-Oleum craft lines work well) as the last step before placing the scene on the shelf. It also unifies the finish and can add a subtle depth to painted textures. Skip gloss finishes on most architectural elements; they look plasticky at miniature scale and show fingerprints more readily.
Keeping the Craft Alive: Maintenance as Part of the Building Practice
There is something genuinely meditative about a slow, careful cleaning session. You are forced to look closely at your own work, to notice the tiny brick you painted at 1 a.m., the lamp post that took three attempts to get upright, the little stack of books you labored over. Cleaning is also, quietly, a moment of appreciation.
Many builders in our community have told us that their first proper cleaning session was when they really fell in love with their scene, because they finally slowed down enough to see it. That is worth protecting. A well-maintained book nook can hold its quality for years, even decades, with nothing more than a soft brush, a rubber blower, and fifteen minutes of attention every couple of months.
Now you know how to clean a book nook safely and confidently. If you are still looking for your next project or searching for a kit that matches your skill level, our full range of book nook accessories and building kits covers everything from beginner-friendly single-room inserts to complex multi-story facades. Each listing includes a difficulty rating and a clear contents list so you know exactly what you are getting before the box arrives. And if you want to go deeper on the building side, our guide to choosing your first book nook kit is a good next read.
Build it. Display it. Care for it. That is the whole loop. ✨
