🎁 Buy 2 kits, get the 3rd FREE · Free shipping on every order

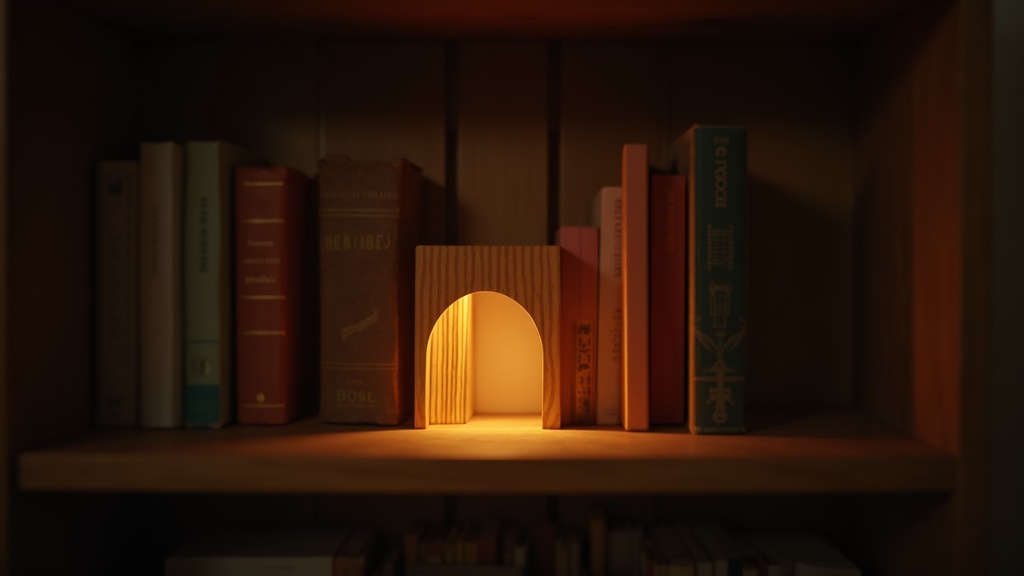
How to Display a Book Nook: Shelves, Domes, and Lighting Done Right
A practical, scene-by-scene guide to displaying your finished book nook insert, covering shelf placement, desk setups, glass dome protection, LED lighting tricks, and how to keep dust away without hiding your hard work.

You spent hours (maybe weeks) building it. The tiny streetlamp is glued. The miniature books are stacked at just the right angle. Now your book nook is sitting on the kitchen counter, and you have absolutely no idea where to put it. That moment is more common than you think, and it deserves a proper answer.
How to display a book nook is not just about finding a spare gap on a shelf. It is about choosing a setting that honors the scale, the lighting, and the story inside that tiny space. A thoughtful placement transforms the whole corner of a room. A careless one makes all that careful work read as clutter.
Below is every placement method worth knowing, from classic bookshelf inserts to glass domes and dedicated desk setups, plus the dust protection and lighting details that most guides skip over entirely.
Why Placement Changes Everything About a Book Nook
Placement shapes the entire illusion: the wrong backdrop exposes raw edges and kills the forced perspective, while the right one uses surrounding objects, ambient light, and depth of field to make the miniature world feel completely believable. A book nook is built around forced perspective. The scene looks believable because your eye fills in the gaps, tricked by scale, shadow, and light. Plop it on a bright white countertop under fluorescent overhead lighting and the illusion collapses. The wrong backdrop exposes seams, raw edges, and construction details you never meant to show.
Good placement does the opposite. It uses surrounding objects, ambient light, and depth of field to reinforce the miniature world rather than compete with it. Think of it less like hanging a picture and more like staging a theater set. Context is part of the experience.
A few things to settle before you commit to a spot:
- Is the book nook a shelf insert (designed to sit between books) or a standalone box (freestanding on all four sides)?
- Does it have built-in lighting, or will you need to add a light source?
- How much dust traffic does the room get? A kitchen nook needs protection a bedroom shelf does not.
- Who is the primary audience? A gift display case in a living room gets treated differently from a personal piece on your work desk.
The Classic Shelf Insert: Making It Work Between Books
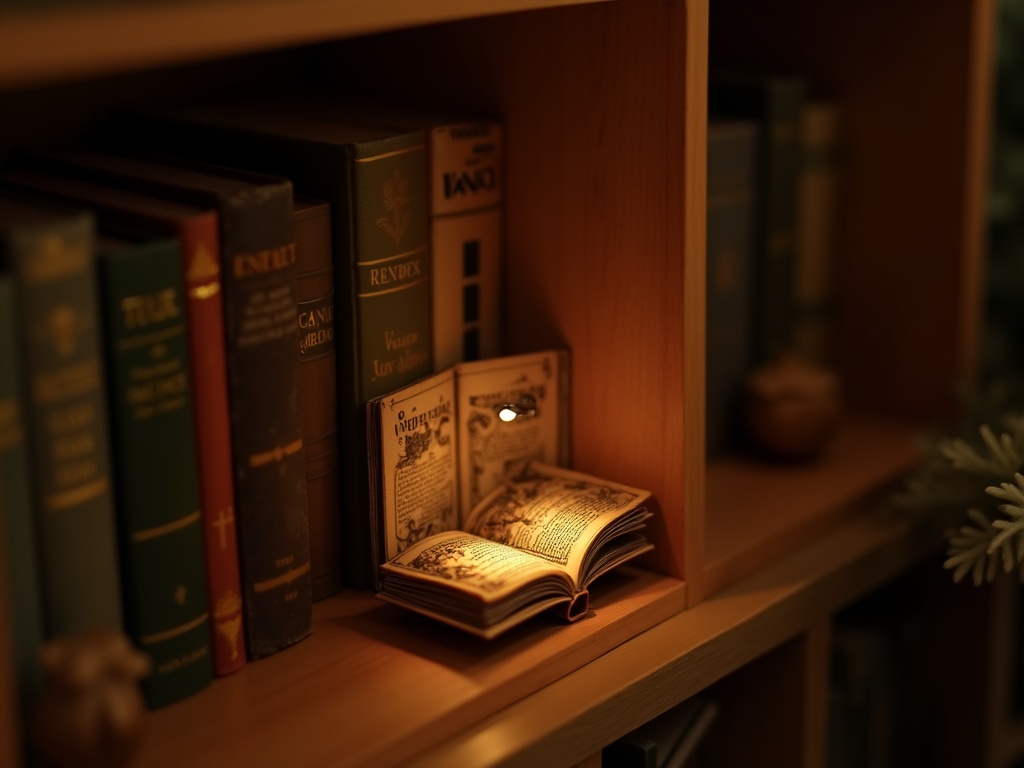

A shelf insert works best when the surrounding books match it in height, the shelf sits at or just below eye level, and the open face is flush with the spines around it, those three conditions together lock in the “hidden world” illusion. Most book nook kits are designed as shelf inserts. The open face sits flush with the book spines around it, and the illusion of a hidden world peeking through a gap in your library is the entire visual hook. It is a wonderful format, but only if the shelf conditions support it.
Choosing the Right Shelf Height and Depth
Standard bookshelves run between 10 and 12 inches deep, which matches most book nook kits well. The critical measurement is height. Most kits arrive at roughly 7 to 9 inches tall, sized to fit trade paperback and hardcover sections. Measure your shelf opening before you position anything permanently.
Avoid placing the insert on the very top or very bottom shelf. Top shelves sit above comfortable sightlines, so the downward viewing angle flattens the forced perspective. Bottom shelves suffer the same problem in reverse: viewers look down into them instead of straight across. The sweet spot is a shelf that sits roughly at or slightly below eye level when seated or standing casually in the room.
Book Selection Matters More Than You Think
The books flanking your nook are part of the composition. Slim paperbacks leave visible gaps on either side of the insert box. Tall art books can dwarf it. Aim for hardcovers of similar height with muted or warm-toned spines. Avoid books with loud neon spine colors immediately adjacent to the opening. The goal is a visual frame that pulls the eye inward, not a color competition.
If you want more control over the look, consider placing a small decorative shelf accessory like a tiny plant or a ceramic figure on the same shelf, a few books away. It extends the curated feel without drawing attention away from the nook itself.
Securing the Insert So It Stays Put
Books lean. Shelves vibrate from foot traffic and nearby doors. Use the bookend function of the insert itself: push it firmly against a stack of books on one side, then use a weighted bookend on the other side to hold the flanking books snug against it. No adhesive needed, and you can reposition freely.
📜 Did you know?
Book nook inserts first gained mainstream popularity around 2019 when independent makers on Etsy began selling laser-cut plywood versions inspired by Japanese hon no kubomi (本のくぼみ) crafts. By 2023, the global miniature kit market had grown to an estimated $2.8 billion, with book nook inserts among the fastest-growing subcategories. The format taps into a centuries-old tradition of cabinet curiosities: miniature rooms displayed in shadow boxes for wealthy European collectors as far back as the 17th century.
Book nook inserts first gained mainstream popularity around 2019 when independent makers on Etsy began selling laser-cut plywood versions inspired by Japanese hon no kubomi (本のくぼみ) crafts. By 2023, the global miniature kit market had grown to an estimated $2.8 billion, with book nook inserts among the fastest-growing subcategories. The format taps into a centuries-old tradition of cabinet curiosities: miniature rooms displayed in shadow boxes for wealthy European collectors as far back as the 17th century.

Desk and Tabletop Displays: Bringing the Scene Closer
A standalone build displayed on a desk or side table, raised three to four inches on a riser and angled about 10 to 15 degrees off-center, puts the scene at interaction range and lets viewers study every detail of the craftsmanship up close. Not every book nook belongs on a shelf. Standalone builds, dioramas, and kits with complex exterior details often read better up close, where visitors can really study the craftsmanship. A desk or side table display puts the scene at interaction range and turns a quiet afternoon of looking into something genuinely absorbing.
Orientation and Viewing Angle on a Flat Surface
When a book nook sits flat on a desk, the ideal viewing angle is slightly above eye level when seated. If the nook feels too low, a simple wooden riser or even a small stack of art books underneath it raises the scene to a more compelling angle. Three to four inches of elevation is usually enough to shift the sightline from “looking down into a box” to “peering through a doorway.”
Rotate the build slightly, about 10 to 15 degrees off-center from the viewer. Dead-on symmetry feels static. A slight angle gives the scene dimensionality and makes it look more like a discovered space than a posed display.
Pairing With Desk Objects for Context
A book nook on a clean, empty desk can look abandoned. Cluster it with contextually related objects: a small potted succulent, a vintage magnifying glass, a few real books lying flat nearby. These items frame the miniature world without competing with it. Keep the cluster tight, within about 12 inches of the nook, so the grouping reads as intentional rather than scattered.
✨ Hannah’s tip
When I first displayed my Victorian dollhouse build on my desk, I spent weeks trying to find the “perfect” backdrop. The fix turned out to be embarrassingly simple: I leaned a piece of dark green mat board (cut to about 12×16 inches) behind the build. The dark neutral absorbed reflected light and made the interior glow pop noticeably brighter. You can find mat board at any craft store for under $5. Try slate gray or deep forest green before you invest in anything fancier.
When I first displayed my Victorian dollhouse build on my desk, I spent weeks trying to find the “perfect” backdrop. The fix turned out to be embarrassingly simple: I leaned a piece of dark green mat board (cut to about 12×16 inches) behind the build. The dark neutral absorbed reflected light and made the interior glow pop noticeably brighter. You can find mat board at any craft store for under $5. Try slate gray or deep forest green before you invest in anything fancier.
Glass Domes and Display Cases: Dust Protection That Still Shows Off the Detail
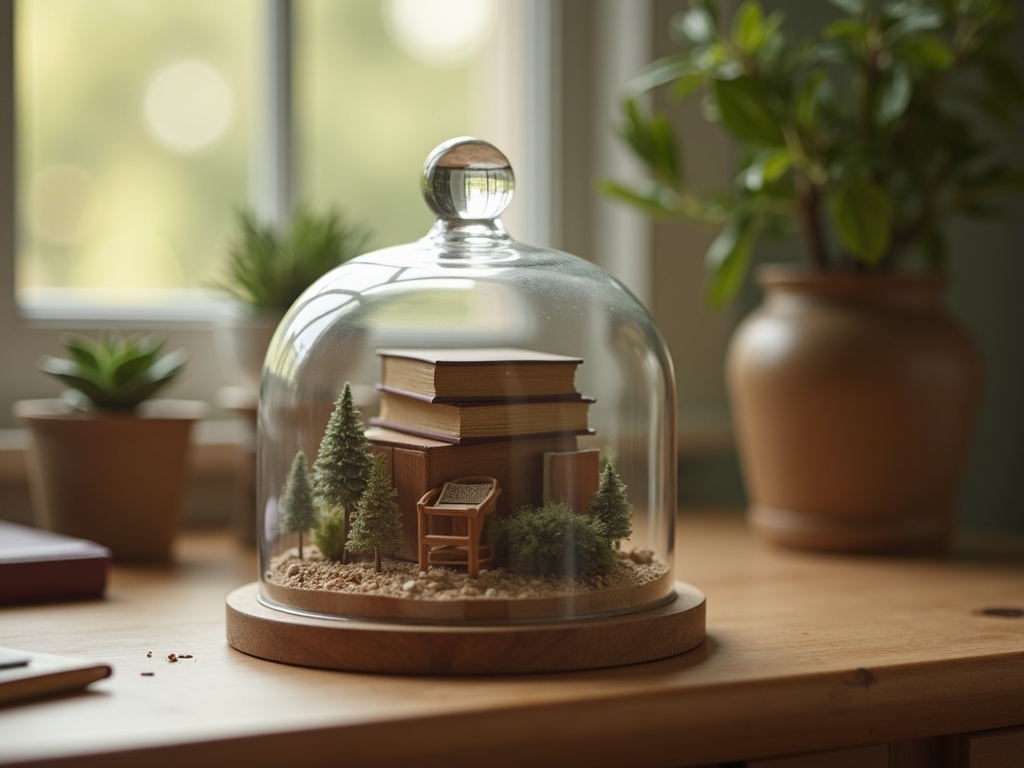
A glass dome or enclosed display case for book nooks solves the dust problem without hiding the scene: the curved glass acts like a gentle lens, drawing the eye inward while keeping every hand-placed detail clean and protected. Dust settles into every crevice of a miniature build faster than you would expect. Tiny hand-placed details, open doorways, and textured surfaces collect particles quickly, and getting a brush into a 1:12 scale alleyway without knocking something loose is genuinely stressful. A glass dome or enclosed display case for book nooks solves the problem without hiding the scene.
Glass Cloches and Bell Jars: A Quick Comparison
Glass cloches (cloche is French for bell) work beautifully for standalone book nook builds that do not rely on flanking books for their context. A 10-inch diameter cloche fits most standard kits. The curved glass acts like a gentle lens, subtly drawing the eye to the center of the scene. Place it on a wooden or marble base rather than directly on a shelf surface; the slight elevation separates the display from its environment and makes it read as a deliberate object rather than an incidental one.
One practical note: cloches trap humidity. If your build includes paper elements (tiny newspapers, aged book pages, printed wallpaper sheets), choose a cloche with a small gap at the base or add a tiny silica gel packet underneath the build base. Paper warps faster than you expect in a sealed microenvironment.
When choosing between glass and acrylic for a dome or bell jar, the table below covers the key trade-offs:
| Feature | Glass cloche | Acrylic dome |
|---|---|---|
| Optical clarity | Excellent; no yellowing over time | Good; may yellow slightly after several years |
| Weight | Heavier; stable on a base | Lightweight; easier to lift off for access |
| Scratch resistance | High | Lower; buff with a plastic polish if needed |
| Cost | $15 to $40 for a 10-inch dome | $8 to $20 for a comparable size |
| Best for | Permanent display pieces; living rooms | Desks, shelves, gifted builds on a budget |
Acrylic and Glass Display Cases
For shelf inserts that need dust protection without the dome aesthetic, a three-sided acrylic display case (open at the back) is a practical option. These cases slide over the front of the nook and are nearly invisible from a normal viewing distance. They protect against dust, accidental touching, and pet interference (a very real concern for cat owners, specifically).
Full glass display cases with lockable fronts are the best choice for gifted book nooks in high-traffic areas like living rooms or offices. If you are building a nook as a gift, pairing it with a display case adds genuine value and shows the recipient you thought about long-term care. Browse our display accessories collection for cases sized to common kit dimensions.
Lighting Placement: Getting the Glow Right
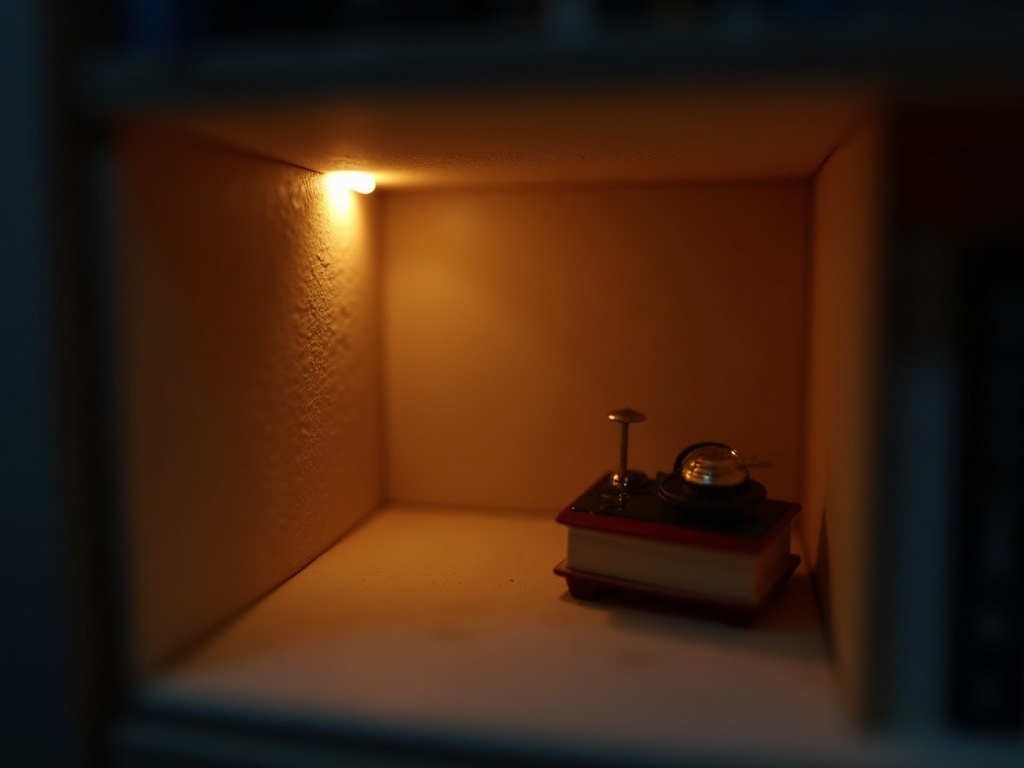
Lighting is what separates a good book nook display from a truly memorable one: a warm-white LED strip at 2700K to 3000K placed along the top inner edge creates a natural overhead glow that deepens the scale illusion in just minutes. Lighting is what separates a good book nook display from a truly memorable one. The glow from within is the core visual hook of the format, and it takes about five minutes to get right once you know what to look for.
Warm White vs. Cool White LEDs

Warm white LEDs (2700K to 3000K) read as candlelight, firelight, and interior lamplight. They suit fantasy taverns, Victorian libraries, cozy bookshops, and any scene with a “lived-in” feel. Cool white LEDs (5000K and above) read as daylight or moonlight. Use them for modern urban scenes, sci-fi builds, or any scene set outdoors at night.
Most kits ship with warm white strips, which is the right default. If you are swapping or adding lights, a USB-powered warm white LED strip at 3000K is a safe starting point for 90% of builds.
Where to Position the Light Source
Top-of-interior placement (the light strip runs along the top inner edge of the box) creates a natural overhead lighting effect that matches how real rooms are lit. It casts downward shadows that reinforce the scale illusion. Avoid back-wall placement, which flattens the scene and makes it look like a backlit photograph rather than a three-dimensional space.
If your build has multiple rooms or floors, a light source on each level produces a far more convincing result than a single strip trying to cover the whole depth. Even a single 20cm LED strip per level, daisy-chained to one USB power source, keeps the wiring simple.
Controlling Ambient Room Light
The internal glow of a book nook looks dramatically better in lower ambient light. That does not mean you need a dark room. It means avoiding direct overhead fluorescent or bright LED room lighting aimed straight at the nook’s face. Position the nook so room light hits it from the side or slightly from behind. If the shelf is near a window, angle the nook so direct sunlight does not wash out the interior during peak hours.
Many builders in our community use a small inline USB dimmer switch (these cost around $8) to adjust the nook’s internal brightness throughout the day: brighter in the evening when the room darkens, softer during the day when ambient light competes. It is a small detail that makes a real, noticeable difference.
Looking for LED lighting kits sized for common builds? Check our best-selling lighting and accessory bundles for options already matched to popular kit dimensions.
A Note on LED Lifespan and Battery-Powered Options
Most USB LED strips included with kits are rated for 25,000 to 50,000 hours of use, so daily display is perfectly safe long-term. If you prefer a cord-free setup, small button-cell or AA-powered LED strips with an inline switch work well and are easy to replace when batteries run low. Many builders in the community use rechargeable USB battery packs tucked discreetly behind the nook for clean, wire-free shelf displays. Explore our accessories page for battery-compatible lighting options.
Frequently Asked Questions about Displaying a Book Nook
Everything you might be wondering (click a question to expand).
Can I display a book nook without a bookshelf?
Yes. Book nooks work just as well on desks, side tables, mantels, and windowsills. The shelf insert format looks most natural between books, but standalone and diorama-style builds often shine on flat surfaces where viewers can study them up close. A small riser or base (wood, marble, or acrylic) helps by lifting the scene to a better viewing angle and separating it visually from the surface beneath.
How do I keep dust off my book nook without using a glass dome?
A three-sided acrylic display cover (open at the back) sits flush over the front of a shelf insert and is nearly invisible at normal viewing distance. Alternatively, a light-touch weekly dusting with a soft makeup brush or a compressed air canister (held at least 6 inches away) keeps surfaces clean without dislodging tiny pieces. Avoid cotton swabs on textured surfaces; they snag on fine details. For builds with lots of open framework or exposed interiors, an acrylic cover is genuinely worth it.
What is the best lighting color temperature for a book nook?
Warm white at 2700K to 3000K suits most fantasy, historical, and cozy-themed builds. It mimics interior lamplight and firelight, which reinforces the “lived-in” feeling those scenes aim for. Reserve cool white (5000K+) for modern, urban, or outdoor night scenes. Avoid mixing color temperatures within the same build unless the scene deliberately calls for it, such as a warm interior visible through a window with a cool moonlit exterior.
How do I display a book nook as a gift so it looks presentable on arrival?
Pack the finished build in a snug box lined with tissue paper, with the open face protected by a sheet of foam cut to size. Include a small card with display suggestions: a recommended shelf height, lighting advice, and a note about the cloche option for dust protection. Pairing it with a display accessory (a cloche, an acrylic case, or a USB dimmer) shows thoughtfulness and removes the “what do I do with this?” uncertainty for the recipient.
Will direct sunlight damage a book nook?
Over time, yes. UV exposure fades printed papers, painted surfaces, and fabric elements faster than most builders expect. Avoid placing a book nook in a spot that gets direct midday sunlight for more than an hour a day. A windowsill can work if the window faces north (minimal direct sun) or if UV-filtering window film is in place. For builds with a lot of paper or fabric detail, a glass display case with UV-filtering glass is worth the investment.
Is glass or acrylic better for a book nook display dome?
Both work well; the right choice depends on your priorities. Glass cloches offer superior optical clarity, resist scratching, and will not yellow over time, making them the better long-term choice for a permanent display or a cherished gift. Acrylic domes are lighter, less expensive, and easier to lift off for occasional access to the build. If budget allows, go glass for living room displays. Acrylic is a perfectly good choice for desk setups and shelf inserts where you access the nook more often.
Building a Display That Grows With Your Collection
A dedicated shelf cleared of everything except your nooks and a handful of curated objects creates a unified gallery that reads as intentional design rather than accumulated clutter, and lets each interior glow carry the visual weight. One book nook is a conversation piece. Three on the same shelf become a gallery. If you are already thinking about your second or third build, plan your display space with that in mind from the start.
A dedicated shelf, cleared of everything except the nooks and a handful of curated objects, creates a unified vignette that reads as intentional design rather than accumulated clutter. Keep the color palette of your flanking objects consistent. Neutral spines, natural wood, and matte ceramics let each nook’s interior glow carry the visual weight.
Varying the themes across a collection tells a story on its own. A Victorian library next to a Japanese tea house next to a seaside lighthouse reads like a set of portals, each one opening onto a different world. That sequencing is part of the craft, and it is worth thinking about as you plan your next build. For more on choosing scenes that work well together, see our guide on picking your first book nook kit.
Ready to expand your display? Explore the full range of our best-selling book nook kits and find your next scene, or pick up the accessories that make every finished build look its absolute best in our accessories collection. Your shelf is waiting. ✨
