🎁 Buy 2 kits, get the 3rd FREE · Free shipping on every order

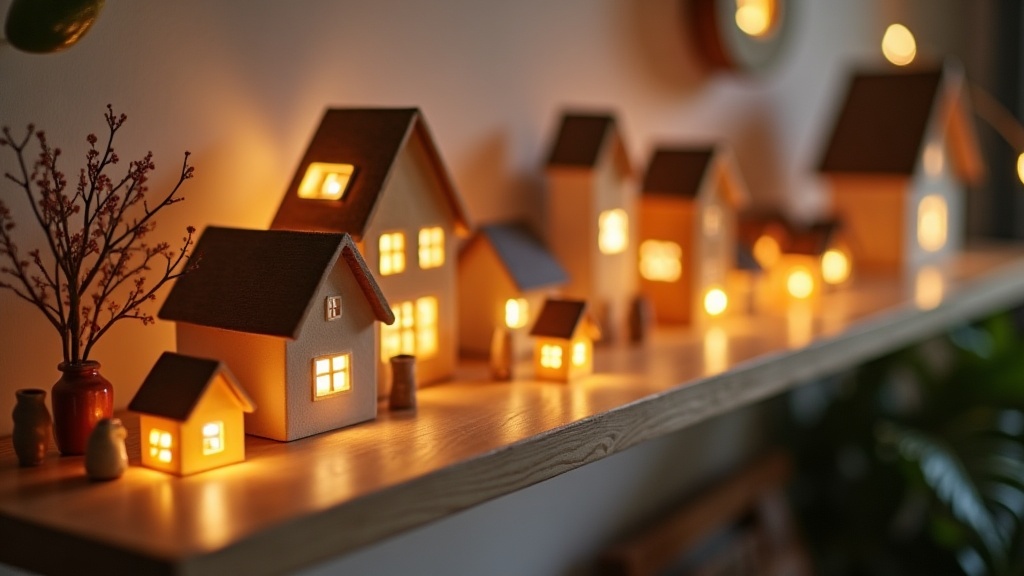
How to Display a Miniature House Collection: Shelf Curation, Lighting and Theme Grouping
A practical guide to displaying a miniature house collection beautifully, covering shelf curation strategies, lighting choices, theme grouping ideas, and the small details that turn a hobby shelf into a real focal point.

How to display a miniature house collection is one of those questions that starts small and quietly takes over an entire Saturday afternoon. You built the kit with care, painted every roof tile, glued every tiny curtain into place. Now it deserves a home that actually does it justice. A genuinely stunning display does not require a dedicated room or a custom cabinet from a specialty shop. It requires a few clear principles, a little patience, and an honest look at the space you already have.
Below you will find every technique I have tested personally, plus ideas borrowed from the community members who send me their shelf photos every week. These are real solutions for real shelves, real apartments, and real collections that keep growing faster than anyone planned for. And before we get into the finer details: if you are still searching for the right kit to anchor your display, the full miniature house kits collection is worth browsing first. Choosing a kit whose footprint, color palette, and scale suit your shelf makes every display decision after it much easier.
Start With the Right Shelf Setup for Miniature House Displays
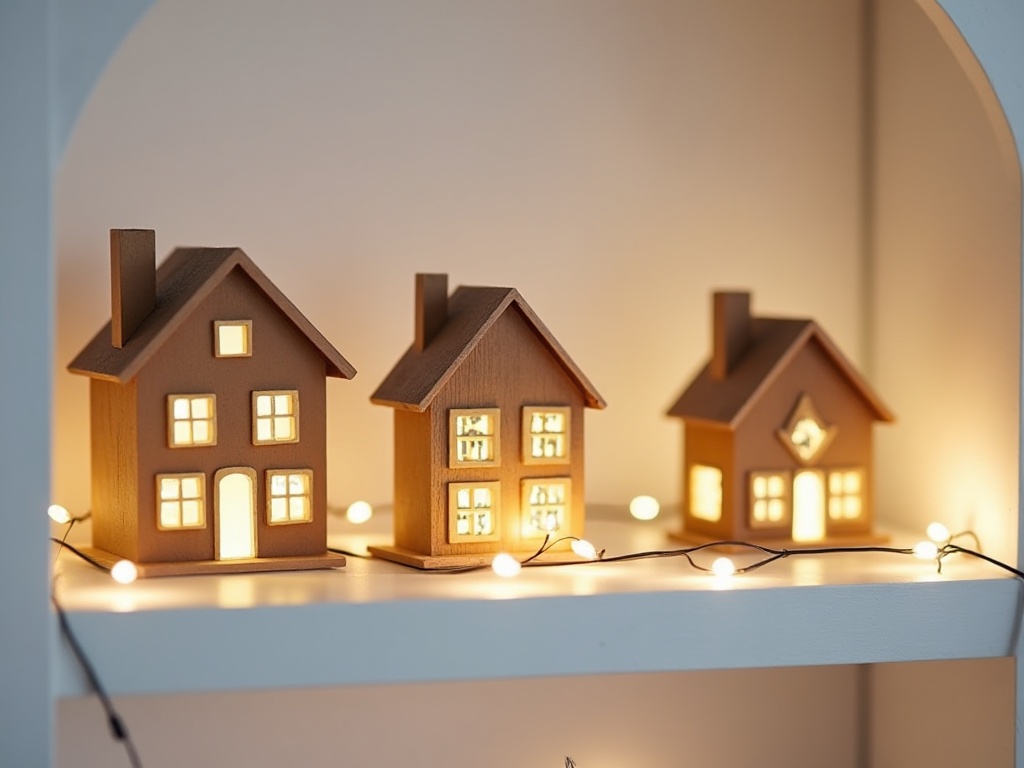
The right shelf setup for a miniature house display starts with three variables: depth of at least 10 to 12 inches, enough height clearance above each kit’s tallest point, and a calm surface color that lets your pieces speak for themselves. The shelf itself is the foundation. Get this wrong and even the most beautiful kit looks cluttered or cramped. The three variables that matter most are depth, height clearance, and surface color.
Depth and Height Clearance
Most 1:12 scale kits run between 8 and 14 inches deep. A shelf with only 6 inches of depth forces your piece to hang over the edge, which looks precarious and genuinely puts the kit at risk. Aim for at least 10 to 12 inches of depth for standard kits, and 14 to 16 inches if you build larger multi-story structures.
Height clearance is just as important. A kit that brushes the shelf above it loses all visual breathing room. Give each piece at least 2 to 3 inches of air above its tallest point, whether that is a chimney, a rooftop antenna, or a decorative dormer window. That negative space is not wasted. It signals to anyone looking at the shelf that each piece was placed with intention.
Surface Color and Texture
✨ Hannah’s tip: choosing a kit that suits your shelf
When I first set up my Victorian build, I made the mistake of picking a kit before measuring the shelf. The roofline cleared the shelf above by less than half an inch and I could not add any lighting without rebuilding the whole display. My advice: measure your available depth, height clearance, and width before browsing kits. The Tranquil Life kit at roughly 9 inches deep and 12 inches tall fits neatly on most standard Ikea-depth shelves, which is part of why it has become such a reliable starting point for new collectors.
When I first set up my Victorian build, I made the mistake of picking a kit before measuring the shelf. The roofline cleared the shelf above by less than half an inch and I could not add any lighting without rebuilding the whole display. My advice: measure your available depth, height clearance, and width before browsing kits. The Tranquil Life kit at roughly 9 inches deep and 12 inches tall fits neatly on most standard Ikea-depth shelves, which is part of why it has become such a reliable starting point for new collectors.

Bestseller cottage kit
Tranquil Life DIY Miniature House Kit
Compact footprint, pre-drilled LED channels, warm wood tones that suit almost any shelf color
$67.90
White and off-white shelves work well for almost any kit style because they read as neutral without washing out color. Raw wood adds warmth and suits cottagecore, farmhouse, and Japanese streetscape themes especially well. Avoid busy shelf liners or heavily patterned wallpaper behind the display. The kits themselves carry all the visual complexity the eye needs. A calm backdrop lets them speak.
If your existing shelves feel too dark or too plain, a coat of matte chalk paint in a soft linen or warm gray takes about 45 minutes and costs under $15. That is one of the highest-return upgrades you can make before placing a single kit.
Lighting Strategies That Make Miniature Houses Come Alive
Lighting is the single biggest difference between a miniature house display that reads as a shelf of models and one that stops guests mid-sentence: warm LEDs at the shelf edge combined with interior kit lighting create the depth and glow that make a collection genuinely memorable. Lighting is the single biggest difference between a display that looks like a shelf full of models and one that stops guests mid-sentence. Miniature houses are, at their core, architecture in miniature. Light plays across rooflines, glows through tiny windows, and casts micro-shadows that give the whole scene three-dimensional depth. Getting the lighting right is not optional if you want your collection to look its best.
Warm LED Strip Lights Along the Shelf Edge
A 2700K LED strip tucked under the shelf above (so it shines down onto your kits) creates the closest thing to natural golden-hour light. Avoid cool white LEDs at 5000K or above. That color temperature reads as clinical and flattens the warm tones most kits use in their wood stains, painted facades, and fabric details. Warm strips cost between $12 and $25 for a standard 6-foot roll and are cuttable to fit any shelf width.
Internal LED Lighting Inside the Kit
Many kits include provisions for interior lighting. If yours does not, a small 3V coin-battery LED or a micro fairy light strand threaded through a window opening changes everything. A kit that glows from within looks inhabited. That tiny orange light behind a 1-inch curtain triggers something genuinely emotional for viewers. It is the detail people photograph and share. Several of our miniature house kits include pre-drilled cable channels specifically for this purpose, so the wiring stays completely hidden.
Spotlights for Statement Pieces

If you have one kit that anchors the whole collection, a small clip-on picture light or a compact LED puck light positioned 12 to 18 inches above it gives it gallery-level presence. Point the light at a 30 to 45 degree angle to create directional shadows. Flat, overhead light is the enemy of texture. Angled light is the friend of every carved wooden detail and hand-painted shingle you spent hours on.
✨ Hannah’s tip: the 10-minute lighting test
Before committing to any lighting setup, do a quick 10-minute test with a cheap flashlight or phone torch. Hold it at different angles and heights around your kit. You will immediately see which angle brings out the roof texture and window depth. That angle is where your permanent light source should live. It saves a lot of repositioning later, and it is genuinely one of the more satisfying experiments in this hobby.
Before committing to any lighting setup, do a quick 10-minute test with a cheap flashlight or phone torch. Hold it at different angles and heights around your kit. You will immediately see which angle brings out the roof texture and window depth. That angle is where your permanent light source should live. It saves a lot of repositioning later, and it is genuinely one of the more satisfying experiments in this hobby.
Theme Grouping: The Secret to a Cohesive Miniature House Display

Theme grouping transforms a miniature house collection from a shelf of individual kits into a curated display with a story: group by architectural style, by season, or by scale to give every viewer’s eye a clear and satisfying path to follow. A collection without grouping logic reads as clutter, no matter how beautiful the individual pieces are. Theme grouping is what transforms a shelf of kits into a curated display with a story. There are several approaches that consistently work well, and none of them require starting over from scratch.
Group by Architectural Style or Era
Victorian rowhouses together, modern farmhouses together, Japanese townscapes together. This is the most intuitive grouping method and the one that creates the clearest visual narrative. It also has a practical benefit: pieces within the same style tend to share a color palette, which produces natural visual harmony without any extra effort.
If your collection spans many styles, consider giving each style its own shelf tier rather than its own section of a single shelf. Vertical separation reinforces the grouping even more clearly than horizontal separation.
Group by Season or Color Story
Some collectors rotate their display seasonally. A winter grouping might feature snow-dusted rooftops, warm amber interior lights, and bare-branched miniature trees. A spring arrangement brings in pastel facades, tiny blooming gardens, and lighter wood tones. Seasonal miniature house display groupings give you a reason to revisit your collection actively rather than letting it become invisible wallpaper. They also make excellent social content for the community, which many of you know I love to see.

Easy starter under $50
Sun Room DIY Miniature House Kit
Bright, airy palette with lots of open glazing, pairs beautifully with spring and summer seasonal groupings
$49.99
Group by Scale to Maintain Visual Consistency
Mixing 1:12 and 1:24 scale pieces on the same tier creates an unintentional forced-perspective effect that can look accidental rather than artistic. If you collect across scales, keep them on separate shelves or use height risers to create clear visual breaks. Wooden crate risers, small painted blocks, or stacked vintage hardcover books all work beautifully as platforms.
📜 A note on miniature house history
Miniature houses have been displayed as decorative objects for centuries. Dutch poppenhuis (cabinet houses) were commissioned by wealthy merchants in 17th-century Europe, not as children’s toys but as status symbols and household inventories. Some of the most detailed surviving examples, housed at the Rijksmuseum in Amsterdam, contain over 2,500 individual handcrafted objects. Modern miniature collecting draws from that same impulse: the desire to hold an entire world at a human scale. Your shelf is part of a very long tradition.
Miniature houses have been displayed as decorative objects for centuries. Dutch poppenhuis (cabinet houses) were commissioned by wealthy merchants in 17th-century Europe, not as children’s toys but as status symbols and household inventories. Some of the most detailed surviving examples, housed at the Rijksmuseum in Amsterdam, contain over 2,500 individual handcrafted objects. Modern miniature collecting draws from that same impulse: the desire to hold an entire world at a human scale. Your shelf is part of a very long tradition.
Styling Details That Elevate the Overall Scene
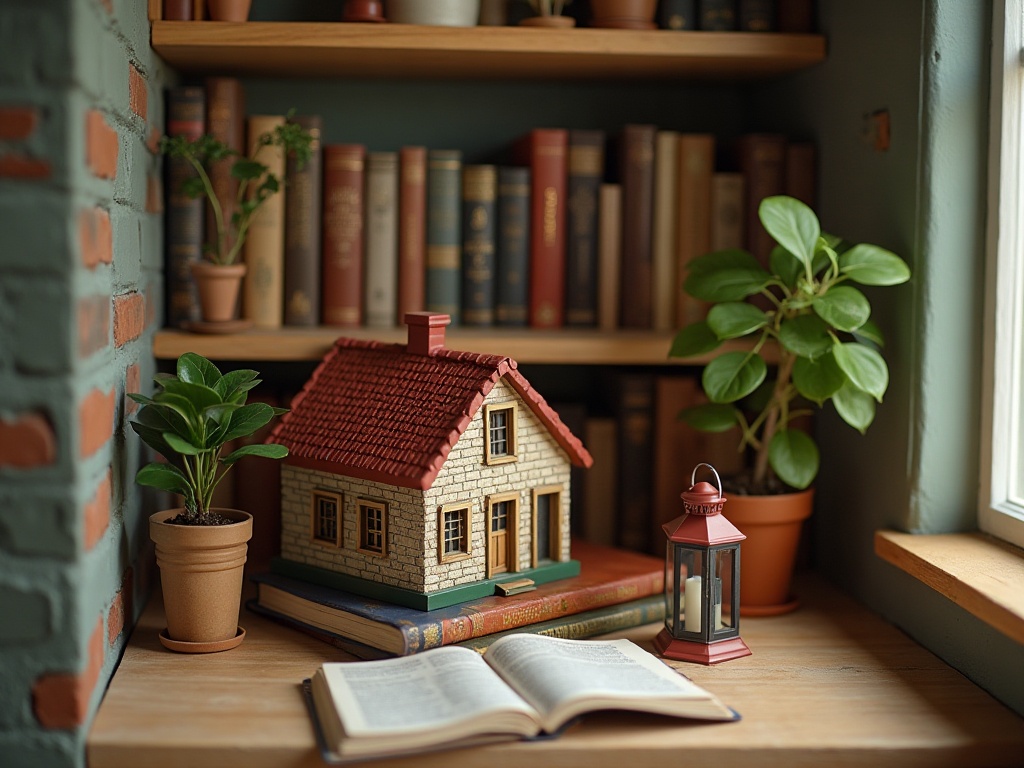
Styling details elevate a miniature house display by pairing each kit with three or four carefully chosen accessories, varying height across the shelf, and using framing elements at each end to give the eye a clear beginning and end. The kits are the stars. The accessories are the supporting cast. Getting that relationship right is what separates a display that feels finished from one that feels almost-there.
Miniature Accessories as Scene-Setters
A single kit on a bare shelf looks like a model. The same kit surrounded by a tiny park bench, a miniature potted plant, and a small street lamp looks like a world. Miniature accessories do not need to be numerous to be effective. Three or four carefully chosen pieces placed within 2 to 4 inches of the kit anchor it in a scene. Resist the urge to fill every inch. Negative space in a display does exactly what white space does on a page: it gives the eye somewhere to rest and makes the focal points pop harder.
Height Variation Within a Single Shelf
Flat arrangements where every piece sits at the same elevation look static. Introduce height variation using small wooden risers, mini pedestals, or even a stack of 2 to 3 hardcover books wrapped in kraft paper for a neutral look. Place taller kits toward the back of the shelf and shorter accent pieces toward the front. That staggered depth creates a sense of layering that photographs beautifully and reads as considered from across the room.
Framing the Display With Non-Miniature Elements

A small framed print of an architectural drawing, a sprig of dried botanicals in a bud vase, or a single candle at one end of the shelf gives the eye a natural start and stop point. These are not distractions from the kits. They are visual brackets that tell the viewer: the display begins here and ends there. Everything between them belongs together.
Practical Dust and Maintenance Considerations
Open shelving is visually the most appealing option, but it means dust management becomes part of the routine: a soft watercolor brush, compressed air, and a quarterly rotation away from sunlight are the three habits that keep a miniature house collection looking its best. Open shelving is the most visually appealing option, but it does mean dust management becomes part of the routine. Miniature houses, with all their tiny ledges, window recesses, and open rooms, collect dust faster than most display objects. A few habits keep the collection looking fresh without turning maintenance into a chore.
- Use a soft watercolor brush (size 10 or 12) for detail cleaning inside window frames, along rooflines, and in any recessed area. It reaches places a cloth cannot.
- A can of compressed air, held 8 to 10 inches away from the piece, clears dust from open rooms and fabric details without risk of damage.
- For glass display cases, a weekly wipe with a microfiber cloth on the exterior keeps fingerprints from dulling the visibility of your lighting effects.
- Rotate pieces every 3 to 4 months if they sit in direct sunlight. Even indirect UV exposure yellows painted surfaces and fades fabric details over time.
If you are displaying in a high-traffic area, a shallow glass-front cabinet with interior lighting (like a shadow box or a bookcase with glass doors) gives you the visual impact of an open display with meaningfully less maintenance. The kits still glow beautifully behind glass, especially with warm LED strips running along the interior top edge.
Building Your Display Gradually as Your Collection Grows
Building a miniature house display gradually works best when you plan the space for where your collection is going, not just where it stands today: set up the full shelf from the start, fill open spots with complementary objects, and let each new kit slot naturally into an existing composition. One of the most common questions I get from newer builders is how to make a display look intentional when it only has two or three pieces. A well-lit trio of kits on a single shelf, grouped by a common color story and anchored by a handful of accessories, reads as curated rather than sparse. The display does not need to be full to be beautiful.
Plan the space for where the collection is going, not just where it is now. If you know you want eight kits eventually, set up a shelf that can hold eight from the start. Fill the open spots with complementary objects until the kits arrive. That way, adding a new kit is always an addition to an existing composition rather than a disruption of one.
The kits themselves shape what comes next. After completing a Victorian build, many people in our community find themselves drawn toward period accessories, period-adjacent kits, or contrasting modern pieces that create a deliberate visual tension. Let the collection tell you what it wants to become. That is part of what makes the hobby genuinely meditative: each decision opens the next one rather than closing it off.
If you are still choosing your first or next kit, browsing the full range of miniature house kits available here is a good place to start, especially if you have a shelf space and a color story already in mind. And if you are ready to add scene-setting details to an existing display, the accessories collection has everything from micro furniture to street-scale props that work across multiple kit styles.
Frequently Asked Questions about Displaying a Miniature House Collection
Everything you might be wondering (click a question to expand).
What shelf depth do I need for most miniature house kits?
Most standard 1:12 scale kits need at least 10 to 12 inches of shelf depth to sit securely without overhanging the edge. Larger multi-story kits can reach 14 to 16 inches deep, so check the kit dimensions before choosing your shelf. Always add 2 to 3 inches of height clearance above the tallest point of each kit. The Tranquil Life kit, for example, sits comfortably on a standard 12-inch shelf with room to spare for a small accessory or two at the front.
What is the best lighting color temperature for a miniature house display?
Warm white LED strips rated at 2700K to 3000K work best for almost every kit style. That color temperature replicates the warmth of incandescent or candlelight, which brings out wood tones, warm paint colors, and fabric details. Cool white or daylight bulbs (5000K and above) tend to flatten these tones and make the display look clinical rather than cozy.
How do I prevent my miniature house display from looking cluttered?
The main causes of visual clutter are inconsistent scale, too many accessories per kit, and no clear grouping logic. Stick to one scale per shelf tier, limit accent accessories to three or four pieces per kit, and use a unifying element (color, era, or architectural style) to tie each grouping together. Negative space between pieces is your ally, not wasted shelf real estate.
Can I display miniature houses in a glass cabinet and still see the interior lighting?
Yes, and glass-front cabinets actually enhance interior lighting effects by reducing ambient light interference. Warm LED strips along the top interior edge of the cabinet, combined with any internal kit lighting, create a beautiful layered glow visible through the glass. The enclosed environment also significantly reduces dust accumulation, which is a real practical benefit for detailed kits.
How often should I rotate or update my miniature house display?
A seasonal rotation (roughly every 3 months) keeps the display feeling fresh and gives you a regular reason to clean each piece carefully. Beyond that, rotate any pieces that sit in direct or indirect sunlight every 3 to 4 months to prevent uneven fading. Adding a new kit or a set of accessories is a natural trigger for a full rearrangement, which is honestly one of the most satisfying parts of the hobby.
What accessories work best for staging a miniature house display?
The most versatile staging accessories are small items that anchor the kit in a believable scene: a park bench or lamppost at street level, a potted plant or window box at mid-height, and a textured surface (a square of craft moss, a thin fabric runner, or a painted wooden base) underneath the kit. Three or four pieces placed within 2 to 4 inches of the kit are usually enough. Beyond that, the scene can start to feel busy. Browse the accessories collection for pieces sized and styled to work across multiple kit themes.
How to Display a Miniature House Collection: Final Thoughts
How to display a miniature house collection well comes down to four things working together: a shelf that fits the kit, lighting that flatters the details, a grouping logic that gives the eye a story to follow, and just enough accessory styling to make each scene feel inhabited rather than staged. None of these need to be perfect from day one.
A miniature house display is not a static object. It is something you return to, adjust, photograph, and occasionally dismantle entirely to start fresh with a new idea. That cycle is part of what makes this hobby so absorbing. The shelf is never quite finished, and that is exactly the point.
The builders in this community who have the most visually striking displays almost never started with a perfect setup. They started with one kit on a bare shelf, added a second piece a few weeks later, found a lighting solution that worked, and iterated from there. The principles above work at any stage of that process. Apply one at a time, see what shifts, and trust that your miniature house display will grow into itself. It always does. ✨
