🎁 Buy 2 kits, get the 3rd FREE · Free shipping on every order

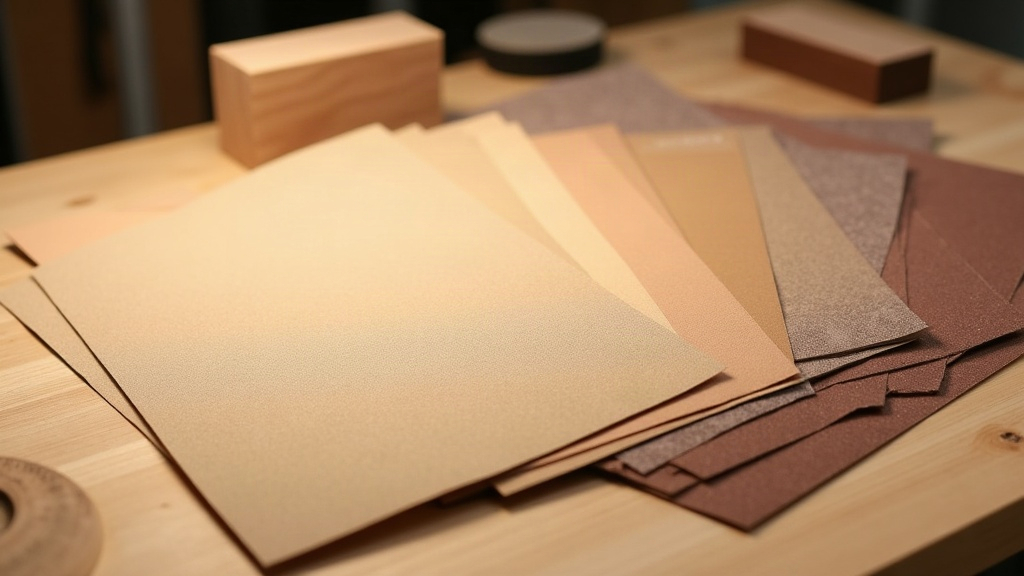
Miniature Sandpaper Grit Guide: Which Grit for Every Finishing Step
A practical miniature sandpaper grit guide covering every finishing stage, from rough shaping at 60-80 grit through high-gloss polishing at 2000+. Includes a quick-reference grit chart, tips for laser-cut kit parts, and technique advice for curved and tiny components.

You pick up a freshly cut balsa wall panel, run your thumb across it, and feel every fiber standing on end. The wood is rough, the seams are visible, and the paint you just imagined on it feels miles away. That single moment is exactly why sanding matters more in miniature work than almost any other prep step. Choosing the right miniature sandpaper grit at each stage is the difference between a piece that looks handcrafted and one that looks handmade in a rush.
This guide walks through every sanding stage, from raw wood to final polish, with specific grit numbers and honest advice on what each one actually does to your surfaces. Whether you are just opening your first miniature house kit or chasing a near-mirror lacquer finish on a collector build, the progression below applies to every project.
Why Grit Numbers Matter More at Miniature Scale
At 1:12 scale, every scratch is multiplied proportionally, so a single wrong grit choice reads as a deep gouge on a finished surface; being deliberate about grit numbers at every stage is the only way to avoid that. At 1:12 scale, scratches that would be invisible on full-size furniture read as deep gouges. A 60-grit scratch on a dollhouse floor looks, proportionally, like a furrow plowed across your living room. That scale multiplication means you need to be deliberate about every number on that sandpaper sleeve.
Grit refers to the number of abrasive particles per square inch. Low numbers (60, 80, 100) mean larger particles and more aggressive cutting. High numbers (400, 800, 2000) mean finer particles and gentler polishing. The standard progression moves from coarse to fine, and skipping steps almost always shows up later, usually right after you have applied a coat of primer and the light catches every scratch you thought you had erased.
📜 Did you know?
Sandpaper as we know it was first patented in the United States in 1834 by Isaac Fischer Jr. in Springfield, Vermont. Early versions used crushed glass bonded with glue, a far cry from the aluminum oxide and silicon carbide sheets used in modern fine-finishing work. The principle, abrasive particles on a flexible backing, has not changed in nearly 200 years.
Sandpaper as we know it was first patented in the United States in 1834 by Isaac Fischer Jr. in Springfield, Vermont. Early versions used crushed glass bonded with glue, a far cry from the aluminum oxide and silicon carbide sheets used in modern fine-finishing work. The principle, abrasive particles on a flexible backing, has not changed in nearly 200 years.
The Tranquil Life DIY Miniature House Kit below is a wonderful first project to practice this full grit sequence on: its laser-cut basswood panels arrive clean but benefit enormously from a proper 120-to-180 pre-primer run before you reach for any paint.

The Four Sanding Stages for Miniature Projects
Miniature projects call for four distinct sanding stages: coarse shaping (60 to 100 grit), pre-primer preparation (120 to 180 grit), between-coat scuffing (220 to 400 grit), and a final polish pass for topcoats. This is your roughest work. Use coarse grits when you need to remove material fast: leveling a glue joint, knocking down a proud edge, or cleaning up a laser-cut piece with burn residue along the kerf. At 60 grit, you are cutting aggressively, so keep your passes short and controlled on small pieces.
Stage 1: Stock Removal and Shaping (60 to 100 Grit)
This is your roughest work. Use coarse grits when you need to remove material fast: leveling a glue joint, knocking down a proud edge, or cleaning up a laser-cut piece with burn residue along the kerf. At 60 grit, you are cutting aggressively, so keep your passes short and controlled on small pieces.
80 grit is the safer starting point for most miniature builders. It removes material efficiently without the risk of cutting through thin basswood or balsa in one careless stroke. If your kit parts are already well-cut and just need light cleanup, you can skip 60 entirely and open at 80.
100 grit closes out this stage. Run it across the surface after your heavier passes to knock back the coarser scratches before you move on. The goal here is not smoothness yet; it is a flat, consistent surface with no high or low spots that will telegraph through every subsequent layer.
If you enjoy exploring book nook builds, the same coarse-to-medium progression applies to their small interior panels and shelving. The book nook kit collection includes pieces ranging from single-room vignettes to elaborate multi-shelf scenes, all built from the same basswood that rewards careful stage-one sanding.

Stage 2: Surface Preparation Before Primer (120 to 180 Grit)
This is the stage most beginners rush, and it is where most uneven paint jobs are born. 120 grit removes the scratches left by 80 and 100, smoothing the profile of the wood without yet polishing it. 150 grit is a comfortable middle ground for soft woods like balsa and basswood, the two most common materials in miniature house kit builds.
180 grit is your pre-primer standard. The surface should feel smooth to the bare hand but still have just enough tooth to hold primer. Run 180 across every surface that will receive paint or stain, always moving with the grain when grain is visible.
Check your work under a raking light (a single lamp held low and angled across the piece). Any scratch running against the grain will glow. Fix it now, not after priming. This two-minute check has saved more paint jobs than any other habit at the workbench.
Stage 3: Between Coats (220 to 400 Grit)
Once primer or paint is dry, a light scuff with 220 grit flattens dust nibs and levels any raised grain that primer pulled up. This pass takes under a minute on most miniature panels and makes the next coat dramatically smoother. Use very light pressure. You are abrading the surface of the dried coat, not cutting back into the substrate.
The Sun Room DIY Miniature House Kit is a particularly satisfying project to practice between-coat sanding on because its large, flat wall panels give you enough real estate to feel the difference a 220-grit scuff makes before and after the second color coat. At under $50, it is also an excellent sandbox for experimenting with finish techniques without pressure.

After the first color coat, step up to 320 or 400 grit for between-coat sanding. These grits leave scratches too fine to see but coarse enough to give the next coat something to grip. Wipe the surface with a tack cloth or a lightly damp cotton pad between every sanding step to remove dust before applying the next coat.
🪄 Hannah’s tip
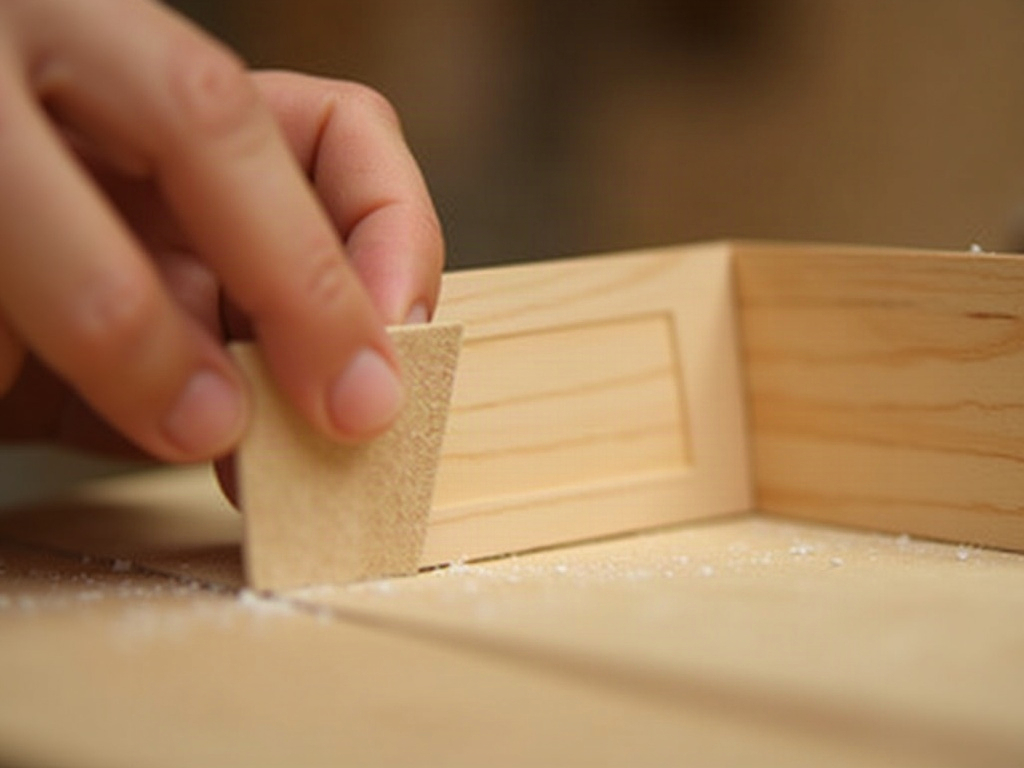
For tiny trim pieces, curved moldings, or furniture legs, wrap your sandpaper around a bamboo skewer or a round toothpick instead of your finger. This keeps the pressure consistent and prevents you from accidentally rounding off edges that are meant to stay crisp. I keep a little cup of prepped skewers at my bench and it has saved more chair legs than I can count.
For tiny trim pieces, curved moldings, or furniture legs, wrap your sandpaper around a bamboo skewer or a round toothpick instead of your finger. This keeps the pressure consistent and prevents you from accidentally rounding off edges that are meant to stay crisp. I keep a little cup of prepped skewers at my bench and it has saved more chair legs than I can count.
Ultra-Fine Grits for Lacquer, Varnish, and Polish (600 to 2000+)
Once your topcoat has fully cured, grits from 600 up to 2000 and beyond let you level imperfections and build a glass-smooth finish that no brush-on coat alone can achieve. These grits are for builders who want a finish that reads as glass-smooth at close inspection. After the final topcoat has cured fully (not just dried; cured, which can take 24 to 72 hours depending on your product), a pass with 600 grit wet-and-dry paper used dry removes any surface imperfections.
Heads up on ultra-fine grits: patience with cure time is non-negotiable at this stage. Sanding a topcoat that feels dry but has not fully hardened will tear the surface and create a hazy, uneven sheen that is very difficult to recover. When in doubt, wait an extra 12 hours. The result is worth it.
800 and 1000 grit begin the leveling process that turns a good finish into a great one. Used with a drop of water as lubricant, these grits cut the surface uniformly without creating new scratches. Work in straight lines, wipe dry, and check your sheen under a light before progressing.
2000 grit wet sanding followed by a micro-fiber buffing pad and a small amount of automotive polishing compound can bring a lacquered miniature surface to a near-mirror finish. This is the technique furniture builders use on full-size pieces, and it scales down perfectly to 1:12 work.
If you want a project whose glazed window frames and painted wood siding reward exactly this kind of polish work, the greenhouse kits in our collection are a natural fit. Their mix of painted timber and acrylic “glass” panels means you will use nearly every grit level described in this guide, from 80-grit shaping through 2000-grit wet polishing on the clear acrylic.

For matte finishes, stop at 400 or 600 depending on how flat you want the sheen. A satin finish generally lands around 800. The grit you stop at controls the reflectivity of the final surface, so you have more creative control than you might expect.
Choosing the Right Backing and Format for Small Work
For miniature-scale work, cut standard sheets into 2×2-inch squares and always back flat pieces with a sanding block to keep edges crisp and pressure even. Standard 9 x 11 inch sheets are awkward to use on miniature parts. Cut them into small squares (roughly 2 x 2 inches) before you start. Fold the square in thirds, and you get a pad that fits two fingers and gives you fresh abrasive as you rotate it.
For flat surfaces, back your paper with a small sanding block. Even a square of dense foam or a piece of scrap MDF wrapped in paper works. Unsupported paper conforms to your fingertip and rounds edges you want to keep square.
- Aluminum oxide paper: the standard choice for wood, primer, and paint. Long-lasting and widely available.
- Silicon carbide paper: better for wet sanding and final polishing on lacquer or varnish.
- Sponge-backed sanding pads: useful for curved surfaces like domed roofs or turned furniture legs.
- Micro-mesh sheets (1500 to 12000 grit): the tool of choice for acrylic “glass” panels and high-gloss lacquer work.
Browse the full range of finishing tools and sanding accessories to find formats sized for miniature-scale work. Small squares, fine-grit sets, and sanding sticks designed for close detail work save a surprising amount of time compared to tearing down full sheets. The accessories section also stocks tack cloths, micro-fiber pads, and polishing compound in quantities that suit a single build rather than a full workshop order.
Quick Reference: Miniature Sanding Grit Chart
This chart maps every grit range to its stage and purpose, from 60-grit stock removal through 2000-grit lacquer polishing, so you can pick the right paper in seconds without guessing. Use the table below as a quick reference whenever you sit down to a new build or a new finishing stage.
| Grit Range | Stage | Best Used For |
|---|---|---|
| 60 – 80 | Shaping | Removing burn marks, leveling glue joints, shaping raw stock |
| 100 – 120 | Cleanup | Removing coarse scratches, flattening surfaces before fine sanding |
| 150 – 180 | Pre-primer | Final prep before paint or stain, grain-following passes |
| 220 – 320 | Between coats | Scuffing dried primer, flattening dust nibs between paint coats |
| 400 – 600 | Final paint pass | Light scuff after final color coat, matte finish control |
| 800 – 2000+ | Polish / lacquer | Wet sanding topcoat, gloss leveling, acrylic “glass” clarity |
Frequently Asked Questions about Miniature Sandpaper Grit
Everything you might be wondering (click a question to expand).
Can I skip grit steps to save time?
Skipping one step in the middle (for example, jumping from 80 to 180) usually leaves scratches that show up under paint. Each grit erases the marks left by the previous one. If you jump too far, the finer paper cannot cut deep enough to remove the coarser scratches efficiently, and you end up sanding much longer than if you had followed the sequence. The time you think you save at this stage almost always gets paid back double when you are repainting a surface that looked fine until the light hit it.
What grit should I use on laser-cut basswood from a kit?
Start at 120 grit to remove any char residue from the laser kerf, then progress to 150 and 180 before priming. Avoid anything coarser than 100 on thin basswood sheets (1 mm or less) as the aggressive cut can splinter delicate parts. If the char is stubborn, a very light pass with a stiff-bristle toothbrush first loosens the loose carbon without stressing the wood fibers.
Do I need wet-and-dry paper for miniature work?
Not for wood preparation. Wet-and-dry silicon carbide paper becomes useful once you are working on cured lacquer or varnish coats at 800 grit and above. Using it wet extends the life of the paper and lubricates the cut for a more even scratch pattern. For all wood prep stages, standard aluminum oxide paper used dry is the right choice.
How do I sand tiny curved parts without flattening the curve?
Use sponge-backed sanding pads or wrap your sandpaper around a dowel of similar diameter to the curve. For convex curves, a sanding film wrapped around a round brush handle works well. For concave curves, a small sanding stick with a rounded profile is the right tool. The key principle is matching the backing radius to the curve so pressure is distributed evenly rather than concentrated at one point.
Is micro-mesh worth buying for miniature finishing?
For anyone who wants a high-gloss lacquer finish or needs to polish acrylic sheet cut to serve as window “glass,” yes, absolutely. Micro-mesh sets typically run from 1500 to 12000 grit and produce results that regular sandpaper cannot match above 2000. The initial cost is low and the sheets last a long time with proper cleaning between uses. Rinse them under cool water after each session and let them air dry flat.
Why does my primer look bumpy even after I sanded smoothly to 180 grit?
Raised grain is the most common culprit. Water-based primers (and even some solvent-based ones) slightly raise the wood fibers even on a well-sanded surface. This is completely normal and not a sanding failure. The fix is a light pass with 220 grit after the first primer coat has dried fully, then a second thin primer coat. That second coat will land on a properly flattened surface and dry glass-smooth. Think of the first primer coat as a grain-raising sacrifice coat, not the final layer.
Building the Sanding Habit That Pays Off in Every Kit
Builders whose finished rooms stop people mid-scroll are the ones who commit to sanding grit discipline at every stage, from raw balsa panel to final polish, and who keep their most-used grits pre-cut and ready to go. Sanding is not the glamorous part of any build. Nobody posts a photo of their 180-grit pre-primer pass. But the builders whose finished rooms stop people mid-scroll are almost always the ones who committed to miniature sandpaper grit discipline at every stage, from raw balsa panel to final polish. The meditative rhythm of moving through the grits, each pass quieter and smoother than the last, is one of the most satisfying parts of the whole process once you trust it.
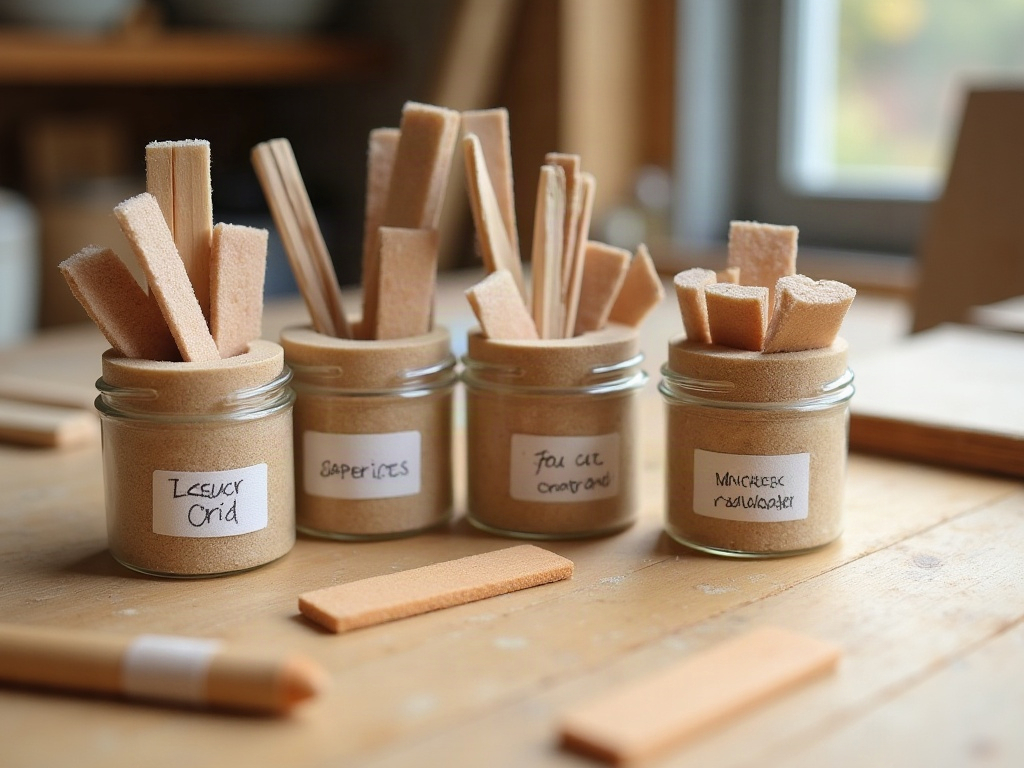
Keep a dedicated small tray with your most-used grits (80, 150, 220, 400) cut to working size and ready to go. That small act of preparation removes the friction that leads to skipping steps. Label each pile with a marker on a folded piece of tape so you never have to squint at the back of a sheet mid-session. Your hands will thank you, and so will every surface you finish from here on.
If you are ready to put the full grit sequence into practice, the miniature house kit collection has builds at every skill level, from straightforward cottage layouts to detailed collector pieces with dozens of individually finished surfaces. Each one is a chance to feel exactly what good miniature sandpaper grit progression does to wood.
