🎁 Buy 2 kits, get the 3rd FREE · Free shipping on every order

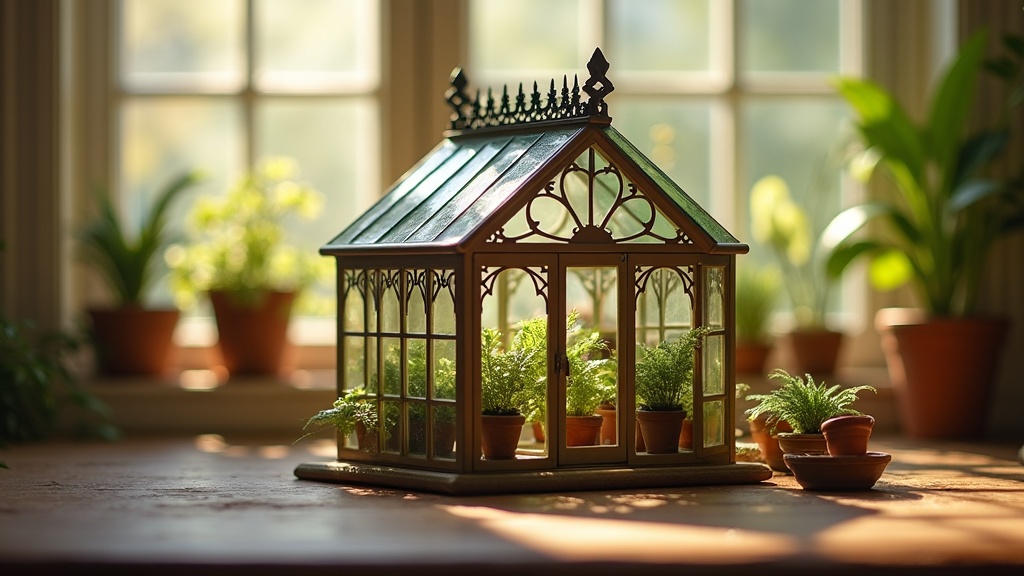
Victorian Greenhouse Miniature Kit: Building a Glass Palace in Miniature
A deep historical and practical guide to Victorian greenhouse miniature kits: the architectural origins, what makes a kit historically accurate, skill-level breakdowns, scale guidance, painting techniques, and interior staging tips for hobbyists and gift buyers.

Somewhere between the first pane of acetate you press into place and the moment you step back to look at a tiny fernery glowing under your desk lamp, something shifts. The noise of the day goes quiet. A Victorian greenhouse miniature kit does that. It pulls you into a slower, more deliberate rhythm: one pane, one cast-iron column, one miniature terracotta pot at a time. Builders in our community consistently describe this as one of the most genuinely meditative craft projects they have ever attempted, not because it is easy, but because each small step has a satisfying, tangible result you can see and touch.
These kits carry real historical weight, too. The glass-and-iron conservatory was one of the most ambitious architectural gestures of the 19th century, and shrinking it down to scale does not dilute that ambition. It concentrates it. When you seat a finial into a roof ridge or fit a semicircular fanlight into its frame, you are replicating gestures that Victorian craftsmen spent entire careers perfecting. That connection to something larger is part of what keeps builders coming back.
The Real History Behind Victorian Glass Houses
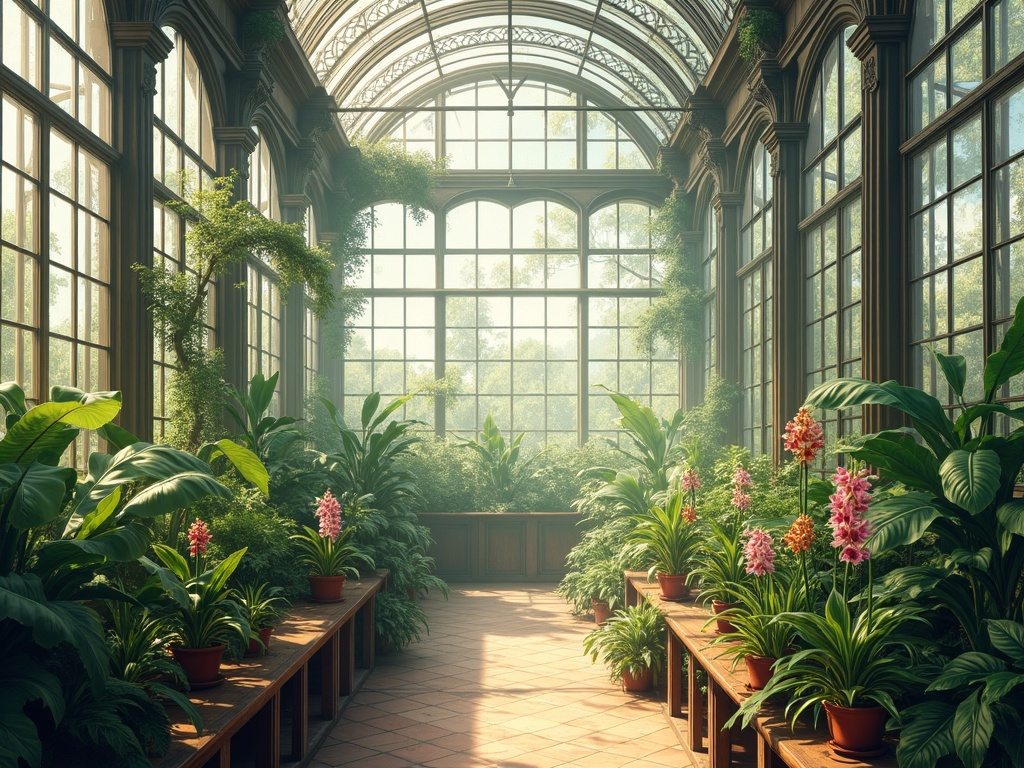
The Victorian greenhouse was not decoration. It was technology. When Joseph Paxton engineered the Crystal Palace for the Great Exhibition of 1851, he proved that iron and glass could span space on a scale that stone never could. That building covered 990,000 square feet and was assembled from prefabricated components in under nine months. The idea that a functional structure could be modular, repeatable, and beautiful at once was genuinely radical for its time.
Before that, glasshouses belonged almost exclusively to the wealthy. Heating them through the winter required armies of staff stoking furnaces. Growing pineapples, orchids, and citrus fruits in the English midwinter was a pure status display. The plants themselves were trophies: botanical curiosities hauled back from colonial expeditions in India, South America, and sub-Saharan Africa.
📜 Did you know?
The curved roof profile you see on many Victorian conservatories, the “ridge and furrow” design, was actually patented by Paxton in 1850. He first tested it at Chatsworth House’s lily house, built to support the enormous pads of the giant water lily Victoria amazonica. The structural logic he developed there went directly into the Crystal Palace, and eventually into the ornamental vocabulary that Victorian greenhouse miniature kit designers still reference today.
The curved roof profile you see on many Victorian conservatories, the “ridge and furrow” design, was actually patented by Paxton in 1850. He first tested it at Chatsworth House’s lily house, built to support the enormous pads of the giant water lily Victoria amazonica. The structural logic he developed there went directly into the Crystal Palace, and eventually into the ornamental vocabulary that Victorian greenhouse miniature kit designers still reference today.

Bestseller cottage kit
Tranquil Life DIY Miniature House Kit
$67.90
A perfect companion build if you want to create a Victorian property scene: pair this cottage exterior with a greenhouse kit to make a complete miniature garden setting.
By the 1870s and 1880s, mass-produced cast-iron fittings brought conservatories within reach of the middle class. Ornate ridge cresting, finials shaped like acorns or fleurs-de-lis, and decorative hip brackets became the signature details of the era. Those are exactly the details that make a miniature greenhouse kit feel authentic rather than generic, and they are the first things experienced builders check when evaluating a new kit.
What Makes a Victorian Greenhouse Kit Historically Accurate
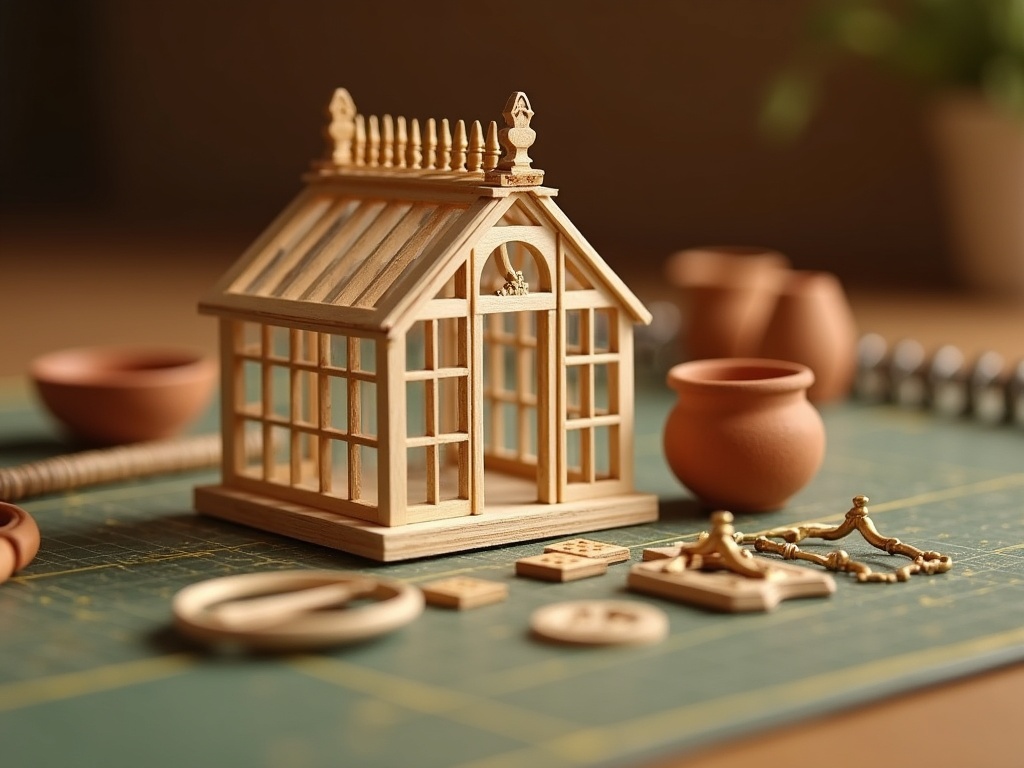
Accuracy in a miniature is not about scale alone. It is about proportion, material choices, and the ornamental details that tell your eye “this is 1880, not 1960.” Here is what separates a Victorian greenhouse miniature kit that genuinely captures the period from one that only gestures at it.
Structural Elements That Define the Style
- Glazing bars: The thin, repeated verticals and horizontals that hold glass panes. In authentic Victorian construction, these were cast iron, often with a slight bead or ogee profile. In a quality miniature kit, laser-cut wood or injected resin replicates that slim, rhythmic geometry.
- Ridge cresting: The decorative ironwork running along the roof peak. Look for kits where this is a separate, detailed piece rather than a flat printed element. The difference in shadow and texture is immediately visible.
- Semicircular fanlight transoms: Half-moon windows above doors and end walls. They appear in almost every greenhouse of the 1860-1900 period and signal the era instantly.
- Brick or stone plinth base: Real Victorian glasshouses sat on a low masonry wall, typically 18-24 inches high, to protect the glass from ground-level damage. Miniature kits that include a detailed base section feel grounded and complete in a way that glass-to-floor structures do not.
- Finials and hip ornaments: The pointed or globe-shaped caps at roof junctions. In period catalogs from firms like Mackenzie and Moncur, these were offered in dozens of patterns. A miniature with cast or molded finials earns an immediate authenticity point.
Interior Details That Bring It to Life
The outside of a Victorian greenhouse miniature kit gets the admiration, but the inside is where the build truly comes alive. Staging benches running down each side, a central path of tiny brick or gravel, terracotta pots in two or three sizes, and trailing plants made from hand-dyed paper or twisted wire all contribute to the feeling that someone actually tends this space. Many builders in our community say this interior arrangement phase is the most satisfying stretch of the whole project: slow, sensory, and completely absorbing. The best kits include furniture components; the ones that do not leave room for you to source them from specialty miniature greenhouse accessories.
✨ Hannah’s tip
Before you glaze any pane, hold each acetate or acrylic sheet up to a window and breathe on it lightly. If it fogs and clears cleanly, it is ready. If it stays hazy or shows fingerprints, wipe it down with a microfiber cloth and a tiny drop of glass cleaner. Glue residue behind a “window” you cannot reach after assembly is one of the most frustrating miniature regrets. Thirty seconds of prep saves an hour of heartbreak.
Before you glaze any pane, hold each acetate or acrylic sheet up to a window and breathe on it lightly. If it fogs and clears cleanly, it is ready. If it stays hazy or shows fingerprints, wipe it down with a microfiber cloth and a tiny drop of glass cleaner. Glue residue behind a “window” you cannot reach after assembly is one of the most frustrating miniature regrets. Thirty seconds of prep saves an hour of heartbreak.
🌿 The meditative stretch
Most builders report a specific moment, usually around hour four or five, when the structure is solid and the interior detailing begins, where the build stops feeling like a task and starts feeling like genuine rest. Arranging miniature ferns, positioning a tiny watering can, pressing moss into a corner: these small acts are quieting in a way that is hard to explain until you experience it yourself. It is one of the reasons the Victorian greenhouse miniature kit format has such a devoted following.
Most builders report a specific moment, usually around hour four or five, when the structure is solid and the interior detailing begins, where the build stops feeling like a task and starts feeling like genuine rest. Arranging miniature ferns, positioning a tiny watering can, pressing moss into a corner: these small acts are quieting in a way that is hard to explain until you experience it yourself. It is one of the reasons the Victorian greenhouse miniature kit format has such a devoted following.

Explore the collection
All Book Nook Kits
76 handcrafted book nook kits
If you love the focused, detail-oriented rhythm of a greenhouse build, our book nook kits offer a similarly meditative experience in a narrower, shelf-ready format.
Difficulty Ratings and What to Expect From Your Build
Not all Victorian greenhouse miniature kits sit at the same skill level, and knowing where your kit lands before you open the box shapes the whole experience. The table below gives you a quick reference; the sections that follow go into more detail on each level.
| Skill Level | Build Time | Key Features | Best For |
|---|---|---|---|
| Beginner (1-2/5) | 8-15 hrs | Pre-scored panels, slot-in glazing | First-time builders, gift giving |
| Intermediate (3/5) | 20-35 hrs | Laser-cut basswood, individual glazing bars, basic mitering | Confident crafters wanting rich detail |
| Advanced (4-5/5) | 60-80+ hrs | Resin ornaments, brass pin hinges, custom weathering | Experienced builders, display pieces |
Beginner (Skill Level 1-2 out of 5)
These kits use pre-scored, snap-apart wood panels. Glazing is done with pre-cut plastic sheets that slot into channels rather than requiring adhesive precision. Assembly time typically runs 8-15 hours across two or three sessions. They are meditative without being demanding. A good starting point if you want to feel that satisfying sense of a completed build without wrestling with 0.5mm brass rod. Many first-time builders are genuinely surprised by how substantial the finished piece looks for the effort invested.
Intermediate (Skill Level 3 out of 5)
Laser-cut basswood or MDF with finer detail. Glazing bars may need to be fitted individually. Interior staging benches require basic mitering. Expect 20-35 hours of build time. This is where most hobby builders live, and where the biggest reward-per-hour ratio sits. The details are rich enough to photograph beautifully, but the instructions are clear enough that you are not troubleshooting structural problems mid-build. This is also the level where the build’s meditative quality is strongest: complex enough to hold your full attention, achievable enough to let you settle into a satisfying flow.

Easy starter under $50
Sun Room DIY Miniature House Kit
$49.99
Not a greenhouse kit in the strict Victorian sense, but its light-filled glass-panel construction shares the same satisfying glazing steps. A great way to build confidence before tackling a full Victorian greenhouse miniature kit.
Advanced (Skill Level 4-5 out of 5)
Cast resin ornamental components. Individual glazing bars cut from stripwood. Working door hinges on brass pins. Custom paint and weathering. Build times can reach 60-80 hours or more. These kits are for builders who want a project that lasts months and produces a display piece that stops visitors mid-sentence when they walk into a room. If you are considering stepping up, browse the full greenhouse kit range to compare component lists before committing.
Choosing the Right Scale for Your Space and Ambition
Scale matters more than kit size does. A 1:12 scale greenhouse (where one inch equals one foot of real space) is the traditional dollhouse standard. At 1:12, a modest Victorian lean-to conservatory might measure 14 inches wide by 10 inches tall: large enough to display with genuine presence but small enough to sit on a standard bookshelf. This is the scale Hannah Brooks reached for first, back on that rainy Sunday in 2021, and it remains the format our community recommends most often for first-time builders.
1:24 scale halves every dimension. The result is something you can hold in both hands, delicate and intricate. Detail work at 1:24 is genuinely challenging: glazing bars the thickness of a toothpick demand good lighting, magnification, and patience. But the finished piece has a jewelry-box quality that 1:12 cannot quite match.
1:48 (quarter scale) Victorian greenhouses exist, and they are extraordinary to look at. They are not beginner projects. Full stop.

Rare in the niche
Miniature Greenhouse Kits
22 LED-lit greenhouse builds
Our curated collection of Victorian greenhouse miniature kits and botanical builds, each tested at our own workbench before it goes live. Available in 1:12 and 1:24 scale.
For gift buyers: 1:12 beginner kits photograph well, pack safely, and carry enough visual complexity to feel special without demanding expert tools. They are the most universally appreciated scale for a Victorian greenhouse miniature kit gift, and the finished piece is large enough that the recipient will actually display it rather than tuck it in a drawer.
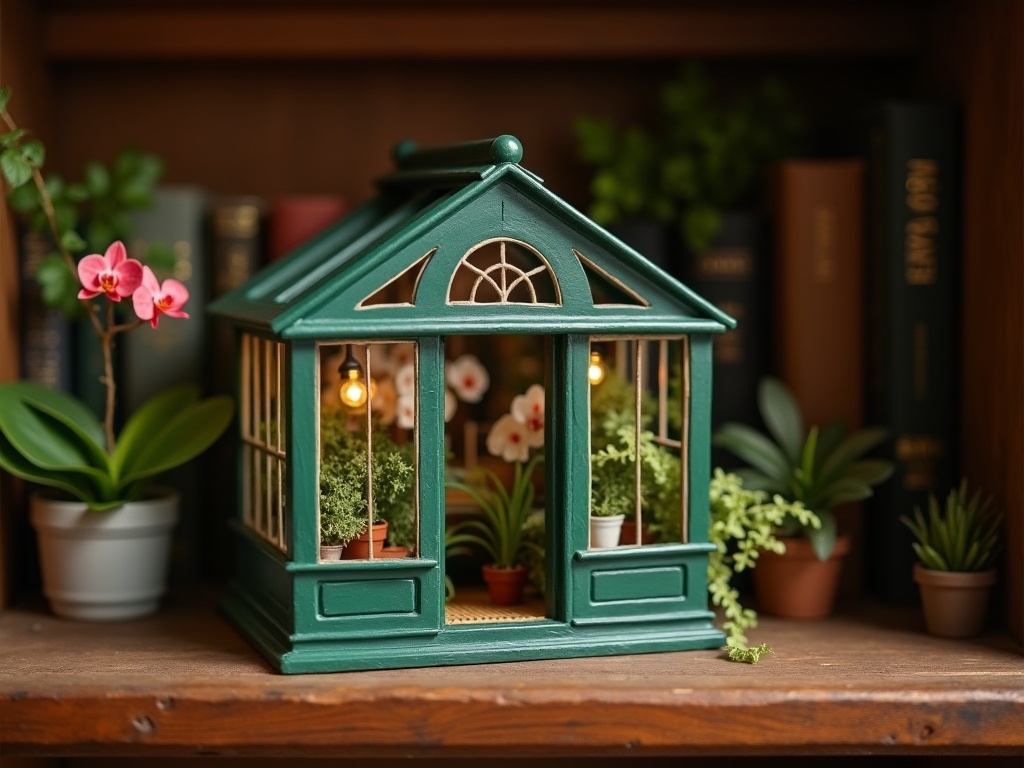
Painting and Weathering: The Details That Read as Real
Raw wood or unfinished resin is just a starting point. Victorian ironwork was almost always painted, most commonly in shades of dark green (Brunswick green was ubiquitous), cream, or pale grey. White was less common than modern reproductions suggest; it required more maintenance and showed soot quickly in urban environments. Getting the color right is one of the quickest ways to make your Victorian greenhouse miniature kit read as period-accurate rather than generic.
For a miniature, a two-coat approach works well. A base coat of your chosen color, fully dry, followed by a dry-brush highlight of a lighter tint along raised edges. The highlight catches light the way actual metalwork does and gives the eye the reading of “cast iron” rather than “painted wood.”
Weathering is optional but transformative. A thin wash of burnt umber acrylic, diluted to near-transparency and settled into recesses before being wiped off flat surfaces, adds decades in minutes. Pair that with a faint rust bloom on any “metal” joint, applied with a sea sponge and orange-brown paint, and your greenhouse stops looking like a kit and starts looking like something that has weathered actual winters.
The plants matter as much as the structure. Paper ferns, twisted-wire orchid stems, or printed fabric leaves add organic contrast to the rigid geometry of the glazing. Many builders in our community report that sourcing and arranging the greenery is the most meditative part of the whole project: slower and more sensory than the structural assembly, and deeply satisfying in its own right. If you want to go further with botanical interiors, our guide to miniature greenhouse accessories covers the best materials for hand-making plants at both 1:12 and 1:24 scale.
🎨 Painting sequence tip
Paint your structural frame before glazing, not after. It sounds obvious, but it is easy to get excited and fit the acetate panes early. Brush bristles dragging across clear glazing leave marks that are almost impossible to remove cleanly. Mask the glazing channels with low-tack tape, paint, let it cure fully for at least 24 hours, then fit your panes. You will be glad you waited.
Paint your structural frame before glazing, not after. It sounds obvious, but it is easy to get excited and fit the acetate panes early. Brush bristles dragging across clear glazing leave marks that are almost impossible to remove cleanly. Mask the glazing channels with low-tack tape, paint, let it cure fully for at least 24 hours, then fit your panes. You will be glad you waited.
Premium collector piece
Monet’s Garden DIY Miniature House Kit
$155.00
The most botanically rich kit in our range, with abundant hand-made floral and foliage components that give you that same immersive planting experience as an advanced Victorian greenhouse miniature kit interior.
Frequently Asked Questions about Victorian Greenhouse Miniature Kits
Everything you might be wondering (click a question to expand).
What tools do I need to build a Victorian greenhouse miniature kit?
For a beginner to intermediate kit, you need craft glue (PVA and a gel CA adhesive for small metal parts), a self-healing cutting mat, a metal ruler, a craft knife with fresh blades, and a set of fine paintbrushes (sizes 0 and 2 cover most tasks). Tweezers with a flat tip are genuinely worth buying. A small clamp or clothespins help hold glued joints while they cure. Good lighting matters more than most people expect: a daylight-balanced desk lamp makes a real difference when you are fitting 1mm glazing bars.
How long does it take to build a miniature Victorian glasshouse?
Beginner kits: 8-15 hours across two or three sessions. Intermediate kits: 20-35 hours. Advanced kits: 50-80 hours or more. Most builders work in 90-minute to 2-hour sessions to stay focused without fatigue. Rushing glue cure times is the single most common cause of misaligned panels. Our advice: treat the curing time as part of the project, not a delay. Use it to plan the next step or prep your paint palette.
Is a Victorian greenhouse miniature kit suitable as a gift for someone who has never done miniatures before?
Yes, with one caveat. Choose a kit rated difficulty 1 or 2, verify that instructions are included in printed form (not just a QR code link), and add a small supply kit with the right glue and a quality brush set. A first-time builder who has the right tools will finish successfully and want to build again immediately. One without them may stall. Check the greenhouse kit collection for beginner-friendly options with complete tooling lists.
Can I customize the plants and interior of my miniature greenhouse?
Absolutely. The interior of any Victorian greenhouse miniature kit is a blank canvas. Paper, polymer clay, dried botanicals, and fine wire are the most common materials builders use for plants. Many crafters mix kit-supplied accessories with hand-made elements. The result is a piece that reflects your taste rather than just the designer’s. This customization stage is also where many builders find the build most meditative and personal.
What scale is best for displaying a Victorian greenhouse miniature on a shelf?
1:12 scale is the most shelf-friendly. It sits comfortably on a standard 12-inch deep bookshelf with enough visual weight to read from across the room, without dominating the space. If shelf depth is limited (under 10 inches), a 1:24 scale kit is the practical choice and still delivers exceptional detail.
What is the difference between a conservatory miniature kit and a greenhouse miniature kit?
In miniature terms, the two words are often used interchangeably, but there is a useful distinction. A Victorian greenhouse miniature kit typically emphasizes a working botanical structure: staging benches, plant-filled interiors, and utilitarian details like vents and plinth bases. A conservatory kit tends to lean toward a domestic living space attached to a house, with furniture and decorative elements alongside the plants. Both share the same glazed-iron aesthetic; the difference is mainly in interior furnishing and how you choose to style the finished piece.
Where Victorian Craft Meets Modern Making
There is something quietly wonderful about sitting at a kitchen table in 2026 and hand-assembling a replica of a structure that, in its original form, required a foundry, an engineering team, and a greenhouse supply firm operating out of Edinburgh or Birmingham. The miniature compresses all of that history into something one person can hold, and make, and be genuinely proud of.
The community around these builds keeps growing, and not because miniatures are trending. It is because people are hungry for projects that ask something of them: that reward attention, that cannot be rushed, that give back a tangible sense of accomplishment at the end of every session. A Victorian greenhouse miniature kit sits right at that intersection. Historically specific enough to teach you something. Technically satisfying enough to keep your hands busy for hours. And beautiful enough when finished that you will want it somewhere you can see it every day.
Start with the structure. Then add the plants. Then sit with it for a while under a lamp and watch the light come through those tiny panes. You will see exactly what I mean. ✨
