🎁 Buy 2 kits, get the 3rd FREE · Free shipping on every order

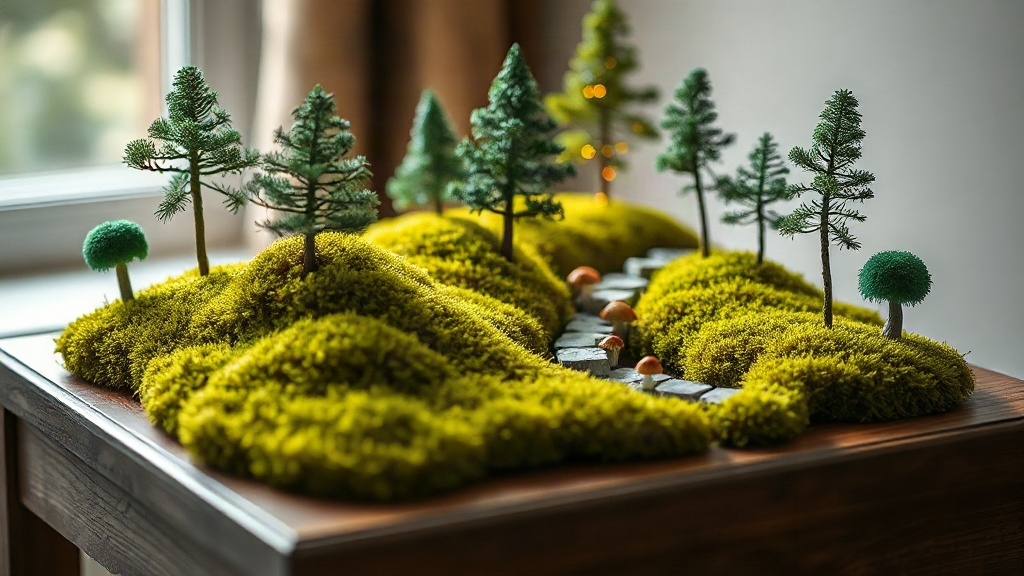
How to Build a Fairy Forest Miniature Scene: Step-by-Step Garden Magic
Discover how to craft an enchanting fairy forest miniature scene from scratch. Learn terrain building, plant placement, lighting tips, and design principles to create a believable woodland garden that feels alive and magical.

You’re standing in front of a blank base, holding a few moss pieces and a handful of tiny mushrooms. The magic hasn’t happened yet. But in the next few hours, it will.
A fairy forest miniature scene captures something that full-scale gardening can never quite achieve: the ability to step inside a storybook moment. Every stone matters. Every leaf placement tells part of the narrative. That’s the draw for builders who spend weeks perfecting these worlds, they’re not just decorating; they’re constructing small moments of calm.
I’ve watched this craft evolve over years, from one-off hobby projects to intricate displays that hold their own in museum-quality collections. The difference between a rushed scene and one that stops people mid-breath isn’t magic dust. It’s patience, a few proven techniques, and understanding how scale changes everything.
Why Fairy Forest Scenes Captivate Builders
Fairy forest miniature scenes captivate builders because they combine meditative hand-work, total creative control over a tiny ecosystem, and the deep satisfaction of constructing a world that belongs entirely to you, all in a single project.
There’s something meditative about arranging a fairy forest miniature. Your hands slow down. The outside world fades. You’re not thinking about your to-do list; you’re thinking about whether that toadstool needs to lean slightly left.
The appeal runs deeper than aesthetics. These scenes let you control an entire ecosystem. You decide the weather (perpetually misty and cool), the season (eternal autumn or spring), and the inhabitants (only the creatures you want). It’s play, restoration, and storytelling happening simultaneously.
They also work beautifully as gifts. A completed fairy forest sits on a shelf and works 24/7 as a conversation starter. Unlike many crafts that get packed away, these live visibly in homes, offices, and libraries.
Gathering Materials for a Fairy Forest Build
Before you touch the base, gather every material in one place: having moss, clay, trees, adhesive, and lights ready before you start is what keeps the building process genuinely meditative rather than frustrating.
Running mid-project to find moss is the opposite of meditative.
The foundation stack includes:
- A display base (resin, wood, or clear acrylic, ideally 8″ to 12″ wide for breathing room)
- Air-dry clay or sculptable putty for terrain
- Natural moss (sphagnum, forest moss, or sheet moss)
- Miniature trees (scaled 1:12 or 1:24, either pre-made or handcrafted)
- Accent plants: ferns, ivy, lichen, dried leaves
- Stones, pebbles, or bark pieces for pathways
- Mushroom figurines or sculptable caps
- Fairy figurines (optional but traditional)
- Wood chip mulch or fine sand
- LED strip or miniature lights for atmosphere
- Glue gun and strong adhesive (E6000 for heavy pieces)
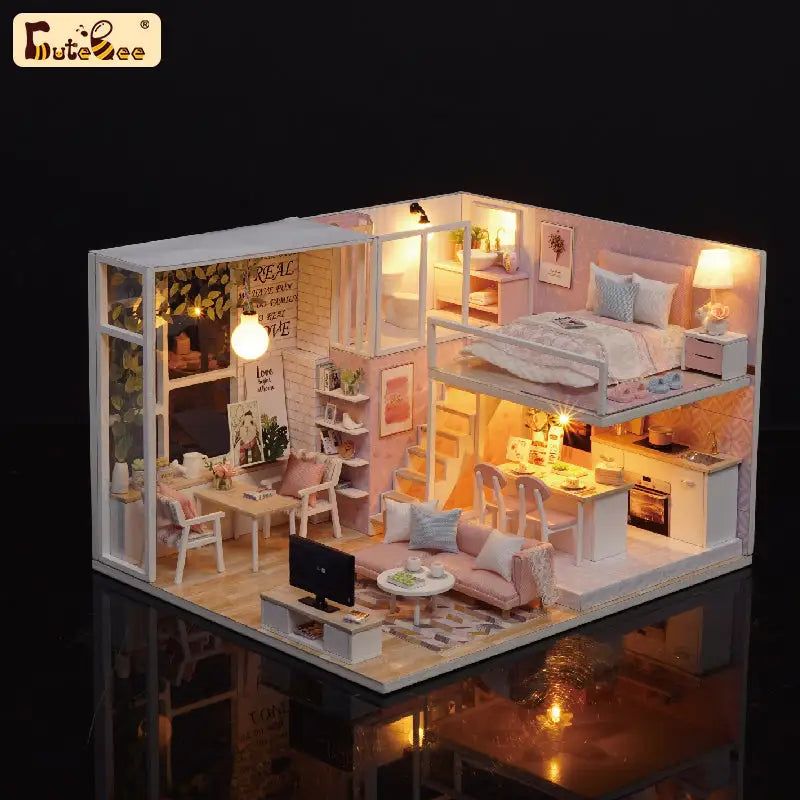
Bestseller cottage kit
Tranquil Life DIY Miniature House Kit
$67.90
If you want to practice woodland detailing before committing to a full forest build, the Tranquil Life kit is a great warm-up: it ships with pre-cut wood, wire trees, and moss panels that train your eye for natural texture and scale.
View this kit →
You don’t need every item. A minimal fairy forest scene uses only moss, a few trees, stones, and imagination. Beginner builds work beautifully with just 5 to 7 core elements.
🪄 Hannah’s tip
Buy moss and lichen in bulk if you build regularly. A single square of natural moss costs $3 to $5 retail; wholesale sheets run $12 to $18 but cover 8 to 10 scenes. Store in a dry box and it stays viable for years. The investment pays off fast.
Buy moss and lichen in bulk if you build regularly. A single square of natural moss costs $3 to $5 retail; wholesale sheets run $12 to $18 but cover 8 to 10 scenes. Store in a dry box and it stays viable for years. The investment pays off fast.
Building the Terrain: Creating Believable Topography
Believable terrain is the single step that separates a decoration from a world: sculpting gentle rises, hollows, and root-ball patterns into your clay base before anything else is glued down.
Sculpt the clay into gentle rolling terrain. Avoid flat surfaces. A real forest floor has hollows, rises, root balls, and erosion patterns. Use a tool to carve shallow paths where feet (fairy or otherwise) would naturally walk. Don’t overwork it. Subtle is more convincing than dramatic peaks.

Let the clay dry fully (usually 24 hours, depending on the product). This step matters: wet clay won’t hold moss adhesive properly.
Once dry, apply moss strategically. Cover 60 to 70 percent of the terrain. Leave some bare clay patches showing through, especially in pathways and clearings. This breathing room keeps the scene from feeling claustrophobic and lets the eye rest.
Press moss firmly with your fingers or a flat tool. Use tweezers to position smaller pieces around stones and tree bases. A light mist of water helps moss settle, but avoid soaking. You’re layering texture, not creating a swamp.
Scaling Plants to Fit the Space
Scale is the invisible backbone of every believable fairy forest: working consistently at either 1:12 or 1:24 throughout the entire build is what makes the finished scene read as a real place rather than a jumbled collection of miniatures.
Most fairy scenes work at 1:12 scale (one inch equals one foot in real life). Trees should range from 2 to 5 inches tall depending on the base size. Moss clumps should look like boulders or distant shrubs, not pebbles.
| Detail | 1:12 Scale | 1:24 Scale |
|---|---|---|
| 1 inch = (real life) | 1 foot | 2 feet |
| Tree height (medium) | 3 to 5 inches | 1.5 to 2.5 inches |
| Fern frond length | 0.5 to 1 inch | fingernail-sized |
| Fairy figurine height | 1.5 to 2 inches | 0.75 to 1 inch |
| Best for base size | 8 to 14 inches wide | 4 to 8 inches wide |
| Detail difficulty | Beginner-friendly | Intermediate (finer work) |
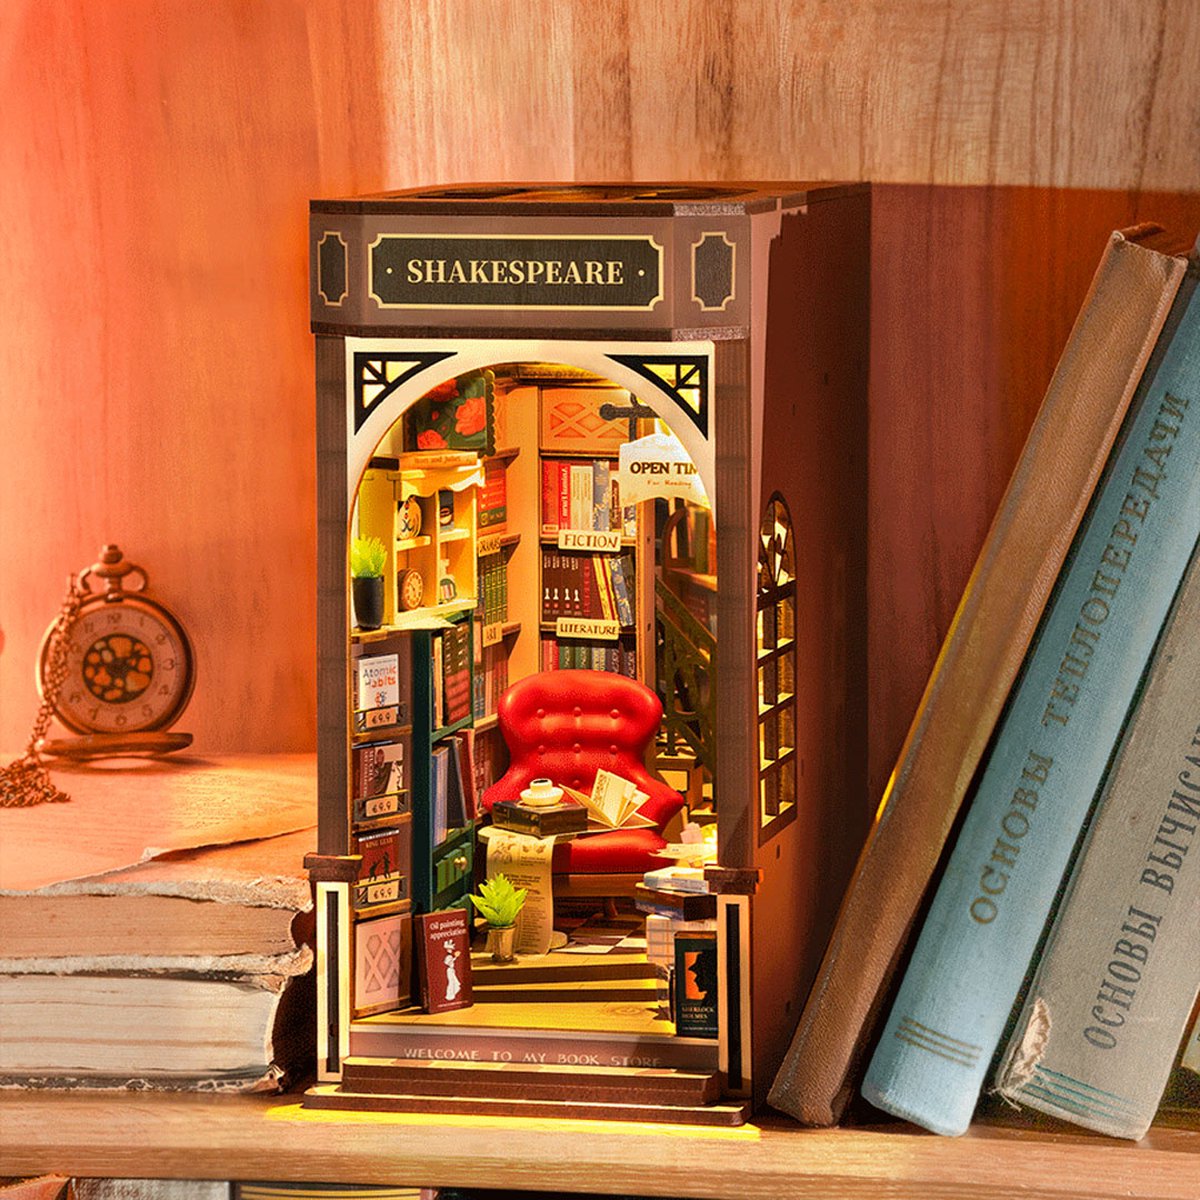
Explore the collection
All Book Nook Kits
76 handcrafted book nook kits
Want to practice your forest-floor detailing in a contained format? Several of our fantasy book nook kits include enchanted woodland scenes at 1:12 scale, with pre-cut mossy stone walls and tree arch elements that double as great technique practice.
Browse all book nooks →
If you’re building at 1:24 scale (half the size), every element shrinks proportionally. A 1:24 tree might be 1 to 2.5 inches; ferns should be fingernail-sized.
Placement creates depth. Taller trees go toward the back or sides. Smaller plants and foreground details occupy the front. This isn’t a hard rule, but the human eye instinctively understands it as “real woods” rather than “plant collection.”
Vary plant types. Three identical trees spaced evenly feels arranged. Three different species at different heights, with irregular spacing, reads as natural forest composition.
Adding Paths, Stones, and Focal Points
Every compelling fairy forest scene needs a focal point and a pathway: together they give the eye a journey to follow, transforming a collection of elements into a place with its own quiet story.
Lay small stones or bark pieces in a gentle curve or winding line. The path doesn’t have to be obvious; subtle is better. A fairy forest scene should invite exploration, not announce “walk here.”
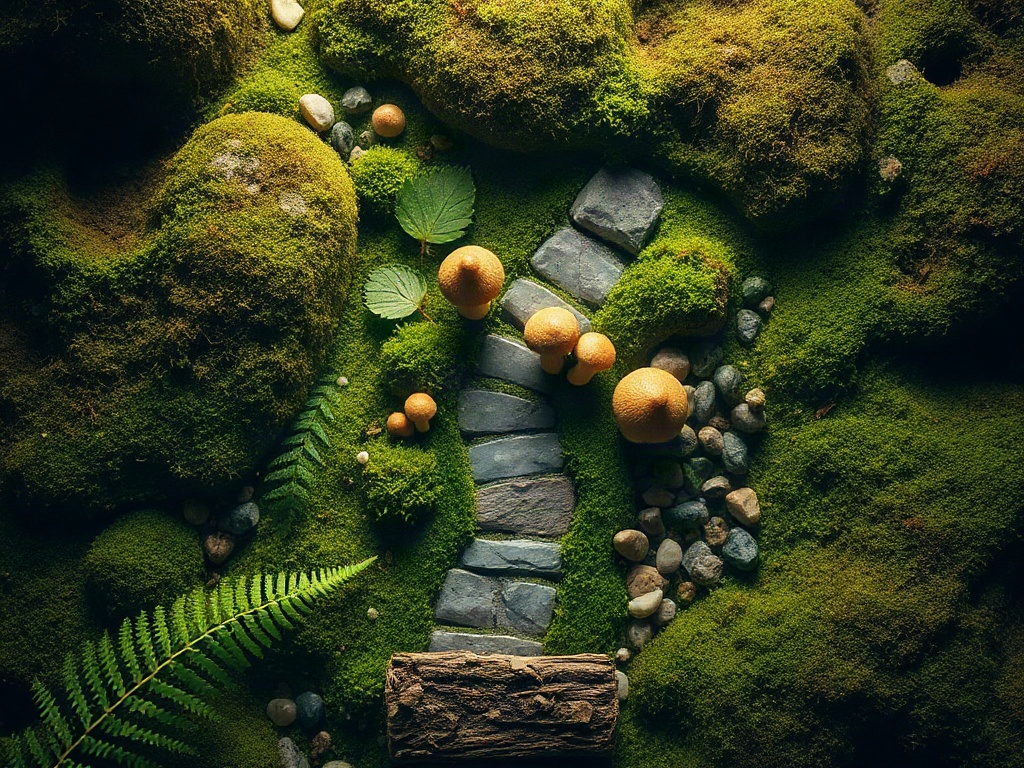
Focal points anchor the scene. This might be a mushroom cluster, a tiny toadstool, a stone with character, or a small figurine. The eye needs somewhere to land and stay. Without a focal point, the scene feels random.
Place the focal point slightly off-center. Dead center reads as static. A little asymmetry creates tension, movement, and visual interest.
Cluster mushrooms in groups of 3 to 5. Vary their heights and angles. Some lean, some stand straight. Some partially hide behind moss or ferns. Real mushroom colonies never march in a line.
Lighting: The Difference Between Day and Magic
Easy starter under $50
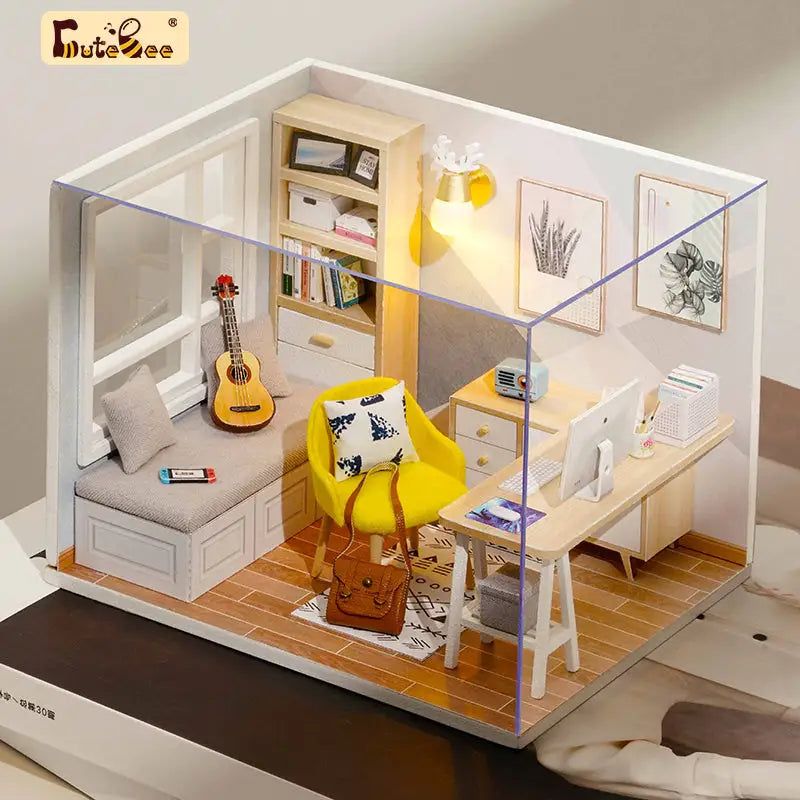
Sun Room DIY Miniature House Kit
$49.99
Not just a sunroom: this kit comes with a strip of warm LED fairy lights pre-wired into the frame, making it an ideal first project to learn how miniature lighting behaves before you apply the same technique to a forest build.
Start with this kit →
Adding warm LED lighting transforms a fairy forest miniature from a daytime display into something that stops people in their tracks: position lights behind or to the sides of the scene, never below it, and use 2700K to 3000K warm white for the most atmospheric glow.
LED strips offer the most control. Warm white (2700K to 3000K) mimics candlelight or dawn. Cool white (5000K and above) reads as daylight or moonlight. Position strips along the back or sides, hidden from direct view. This creates rim lighting and makes distant elements glow subtly.
Avoid placing lights below the scene. Uplighting flattens and destroys the forest floor illusion. From behind or from above is always better.
A single LED point light near a focal element (like a mushroom ring or a tiny lantern) creates intimate theatricality. Too many lights feel chaotic. One or two sources, used thoughtfully, tell a stronger story.
Battery-powered LED strings consume minimal power and run for weeks on a single set. Corded strips require closer access but offer unlimited runtime.
Finishing Details That Sell the Narrative
The finishing layer is what separates a “nice scene” from one people genuinely cannot stop looking at: ground texture variation, layered moss types, and a clear narrative decision about whether the scene is inhabited or wild.
The difference between “nice scene” and “I can’t stop looking at this” often comes down to small details that most builders skip.
Add texture variation to the ground. A dusting of fine sand in pathways suggests wear. Scattered wood chips mimic fallen wood. Tiny pebbles create a stream bed or rocky outcrop. These elements cost pennies and take minutes, but they transform readability.
Layer moss types. Sheet moss provides the base canopy; forest moss adds roughness; sphagnum creates height variation and a spongy look. Three textures read as “real woodland floor.” One uniform moss looks painted.
Consider the story. Is this an active fairy village with homes and inhabitants, or an undisturbed wild place? A fairy forest miniature scene with no figures is just as valid as one crowded with figurines. Decide what feels right and commit to it. The consistency is what makes the story believable.
Rare in the niche
Miniature Greenhouse Kits
22 LED-lit greenhouse builds
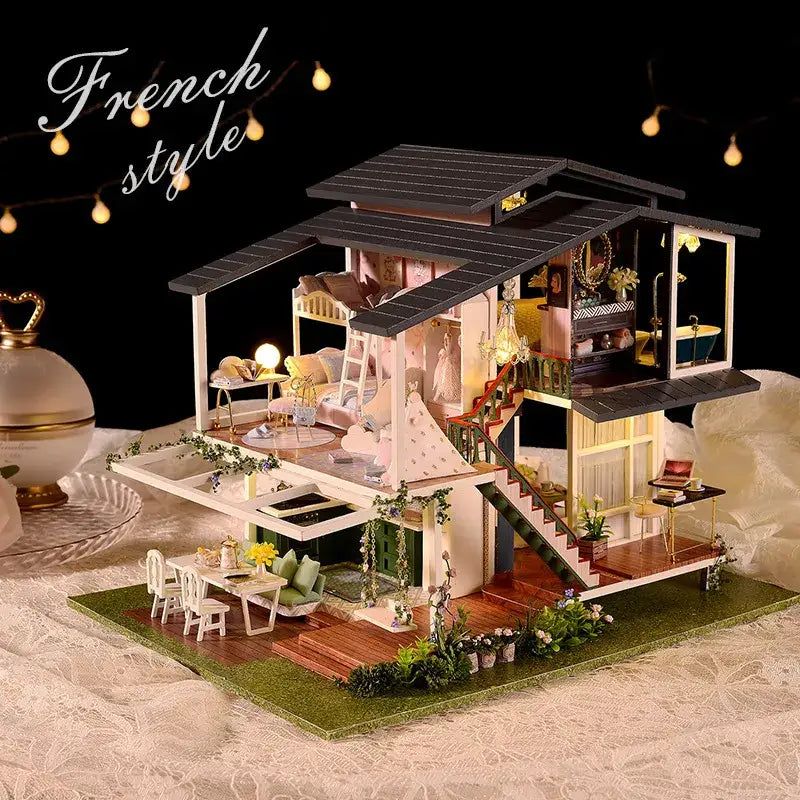
These greenhouse kits share a lot of DNA with forest scenes: LED lighting rigs, natural-texture finishes, and botanical detailing. If you love the layered greenery of a forest floor, these builds are the natural next step.
See our greenhouse range →
You can explore related builds with different vibes by checking out our full selection of fantasy book nook themed collections, which spans everything from enchanted woods to storybook gardens.
📜 Did you know?
Fairy gardens as a hobby surged in popularity after 2010, but the impulse goes back centuries. Victorians created elaborate ferneries and miniature grottos throughout the 1800s, combining genuine scientific interest in ferns with romantic escapism (garden historians at the Royal Horticultural Society document this period as the peak of the pteridomania craze). The impulse to build small worlds never dies; it just changes shape.
Fairy gardens as a hobby surged in popularity after 2010, but the impulse goes back centuries. Victorians created elaborate ferneries and miniature grottos throughout the 1800s, combining genuine scientific interest in ferns with romantic escapism (garden historians at the Royal Horticultural Society document this period as the peak of the pteridomania craze). The impulse to build small worlds never dies; it just changes shape.
Difficulty Ratings and Build Timelines
A basic fairy forest scene takes 2 to 4 hours for a complete beginner; intermediate builds with layered terrain and simple lighting run 6 to 10 hours; advanced scenes with complex topography, atmospheric lighting, and narrative elements can take 20 to 40 hours spread across several sessions.
A basic fairy forest (moss, a few trees, stones, no lighting) takes 2 to 4 hours. Beginner skill level required; you can absolutely start here.
Intermediate builds (layered terrain, multiple plant types, pathways, simple lighting) run 6 to 10 hours across two or three sessions. Comfort with glue guns and sculpting helps but isn’t mandatory.
Advanced scenes (complex terrain with elevation changes, detailed plant combinations, atmospheric lighting, figurine placement, narrative elements) can take 20 to 40 hours over weeks. These reward patience and iteration.
There’s no threshold. Start simple. Learn the fundamentals. Your next build will be stronger.
Common Mistakes to Avoid
The four most common fairy forest mistakes are over-gluing, crowding every inch of the base, mixing scales accidentally, and skipping terrain sculpting entirely; fix any one of them and the scene improves immediately.
Over-gluing kills the scene. Moss should settle gently into place, not be cemented to every millimeter. A light glue dot at contact points is enough. Too much adhesive shows, hardens the look, and makes future adjustments impossible.
Crowding kills balance. Every element doesn’t need to be visible at once. Negative space (empty moss, visible bare base) lets the eye breathe and makes populated areas feel more intentional.
Ignoring scale consistency ruins immersion. If you’re building at 1:12, stay at 1:12. A 1:24 tree in a 1:12 forest reads as confusion, not variety.
Flat terrain feels lifeless. Even small elevation changes (2 to 3 millimeters) create dimension. Invest in sculpting.
Premium collector piece
Monet’s Garden DIY Miniature House Kit
$155.00
If your fairy forest has a garden clearing or a flower-bordered path, Monet’s Garden is the kit that shows you how to handle dense, layered botanical color at miniature scale. The techniques translate directly.
Discover this kit →
Frequently Asked Questions about Fairy Forest Miniature Scenes
Everything you might be wondering (click a question to expand).
How long does a fairy forest miniature scene last?
With proper care, 3 to 5 years or longer. Avoid direct sunlight (fades moss) and high humidity (promotes mold). Dust gently with a soft brush. LED lights generate minimal heat, so they won’t dry or damage the scene. Natural moss and wood eventually weather and may need touch-ups, but that’s part of the charm.
Can I build a fairy forest in a closed display case or under glass?
Yes, but leave tiny gaps for air circulation. Completely sealed environments trap moisture and encourage mold. Most fairy forest displays in acrylic domes or shadow boxes work fine if you allow the box to breathe slightly or add small silica packets inside to manage humidity.
What’s the best base size for a beginner fairy forest?
8 to 10 inches wide is ideal. Large enough to hold a meaningful composition without feeling overwhelming. Smaller bases (4 to 6 inches) require intense detail work. Larger bases (12 inches and up) demand more materials and planning. Start in the sweet spot.
Do I need to use real moss and plants?
No. Artificial moss, preserved plants, and craft alternatives work beautifully and last indefinitely. Real moss feels more alive and ages gracefully, but artificial materials are lower maintenance and won’t mold. Choose based on your patience level and display environment.
How do I photograph a fairy forest miniature scene?
Soft, directional light from one side is everything. Avoid harsh overhead light. A simple phone camera with the macro lens setting captures texture beautifully. Shoot at or slightly below eye level with the scene so you’re viewing it as an immersive world, not looking down at a diorama. The angle makes the difference.
Should I seal or varnish the finished fairy forest?
A light matte sealant spray (applied from at least 12 inches away) can protect clay terrain and wooden elements from humidity and dust. Avoid sealing real moss directly since it can yellow the texture. Figurines and stones benefit most. One thin coat is plenty; thick coats dull the natural look you worked hard to build.
Your Fairy Forest Awaits
The blank base isn’t blank anymore. You’re holding moss and stone and imagination. The next few hours belong entirely to you and the small world you’re about to inhabit.
Fairy forest miniature scenes work because they’re slow work in a fast world. You can’t rush texture or scale or the satisfaction of watching a clearing emerge from chaos. That meditative quality is the real product, as much as the finished scene.
Start small. Trust the process. Your first forest won’t be perfect, and that’s exactly right. Every mistake teaches the hand, and every finished build makes the next one sharper and truer. That’s how you end up, months later, surrounded by worlds you built yourself.