🎁 Buy 2 kits, get the 3rd FREE · Free shipping on every order

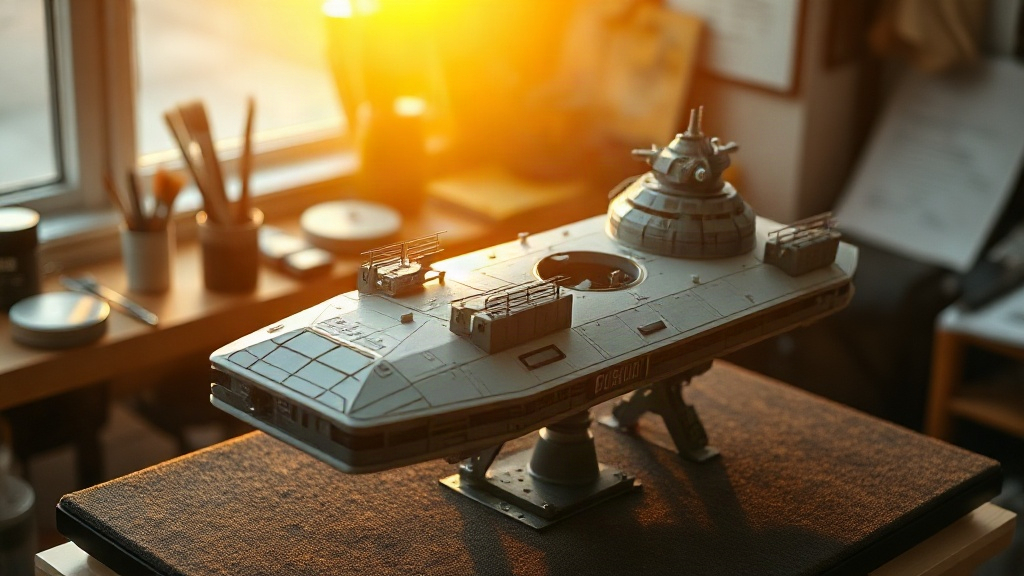
Space Station Miniature Kits: Build Your Own Sci-Fi Wonder
Discover how space station miniature kits blend sci-fi storytelling with hands-on craftsmanship. Learn what makes these models captivating, which kits suit your skill level, and how to bring futuristic scenes to life with authentic details and creative lighting.

There’s something magnetic about building a space station that fits in your hands. The moment you crack open a space station miniature kit, you’re not just assembling plastic and resin. You’re constructing a story. A place where tiny figures could dock their ships, where corridors hum with fictional purpose, where light spills through portholes you’ve carefully installed.
The appeal isn’t new. For decades, model builders have found real meditation in precision work. Space station miniature kits represent something specific: they let you architect an entire world at 1:144 or 1:200 scale. No rushing. No perfection required on day one. Just quiet, satisfying progress that you can pick up and put down at your own pace.
Why Space Station Kits Stand Apart
Space station kits stand apart because they free you entirely from historical accuracy, letting you invent fictional command centers, hydroponics bays, and docking arms limited only by your imagination and the physics of a good glue joint.
Unlike architectural dollhouse miniatures that anchor themselves in historical authenticity, these miniature builds free you from reality. You can build a functioning command center or a hydroponics garden floating in vacuum. The constraint isn’t historical accuracy; it’s physics and your imagination.
Most kits include modular sections you assemble and connect. A central hub. Docking arms. Solar panels. This modularity matters because it lets builders customize freely. You can paint panels in different metallics, add weathering (the technique of aging a surface to look lived-in) for realism, or keep surfaces pristine for a “just launched” aesthetic.
The learning curve stays gentle. Entry-level kits typically include pre-assembled hull sections and snap-fit components that click together without glue. Intermediate builds require basic gluing and painting. Advanced kits demand scribing (scoring fine lines into surfaces to define panel edges), resin work, and scratch-building custom details from raw sheet styrene.
Understanding Kit Types and Scale
Scale is the single most important choice you make before buying: it determines assembly time, display footprint, and how much fine detail you can realistically add to the finished model.
Here’s the real breakdown of the three scales you’ll encounter most often:
- 1:350 scale: Compact designs, typically 6 to 8 inches long. Perfect for shelves. Fewer parts but punchy impact with correct proportions.
- 1:200 scale: The sweet spot for detail enthusiasts. 12 to 16 inches of build. Enough surface area for weathering, panel lines, and small light elements.
- 1:144 scale: Larger builds, 18 to 24 inches. More parts. Room for internal lighting systems and articulated components like rotating solar arrays.
Smaller scales demand steadier hands and magnification for panel detail work. Larger scales forgive minor imperfections and showcase finishing techniques beautifully. Your available shelf space matters. Your patience matters more.
| Scale | Typical size | Build hours | Best for |
|---|---|---|---|
| 1:350 | 6-8 inches | 4-8 hrs | First builds, tight spaces |
| 1:200 | 12-16 inches | 15-25 hrs | Intermediate detail work |
| 1:144 | 18-24 inches | 40-60 hrs | Advanced lighting and weathering |
🪄 Hannah’s tip
Before committing to scale, build a simple 1:350 kit first. It teaches you assembly rhythm without eating weeks. Once you know your actual pace (not the box estimate), upscale to the format that matches your real schedule.
Before committing to scale, build a simple 1:350 kit first. It teaches you assembly rhythm without eating weeks. Once you know your actual pace (not the box estimate), upscale to the format that matches your real schedule.
What’s Inside: Materials and Assembly Expectations
Most quality space station model kits ship with injection-molded plastic, photo-etched metal detail sets, clear acrylic for windows, and full decal sheets, giving you everything needed to finish a display-ready build from a single box.
Some kits include resin components for specialized sections like command domes or cargo bays. Photo-etched metal (thin sheets of brass or steel with parts chemically cut to precise shapes) is what separates a mid-range kit from a budget one. The parts are finer than anything molded in plastic and they catch light beautifully on antenna arrays and solar panel frames.
Assembly time ranges wildly. A snap-fit 1:350 model takes 4 to 6 hours across two or three sessions. A paint-and-glue 1:200 build runs 15 to 25 hours, spread over weeks. Advanced kits with interior detailing and lighting? Plan 40 to 60 hours minimum. This isn’t a weekend sprint. It’s a commitment that rewards patience.
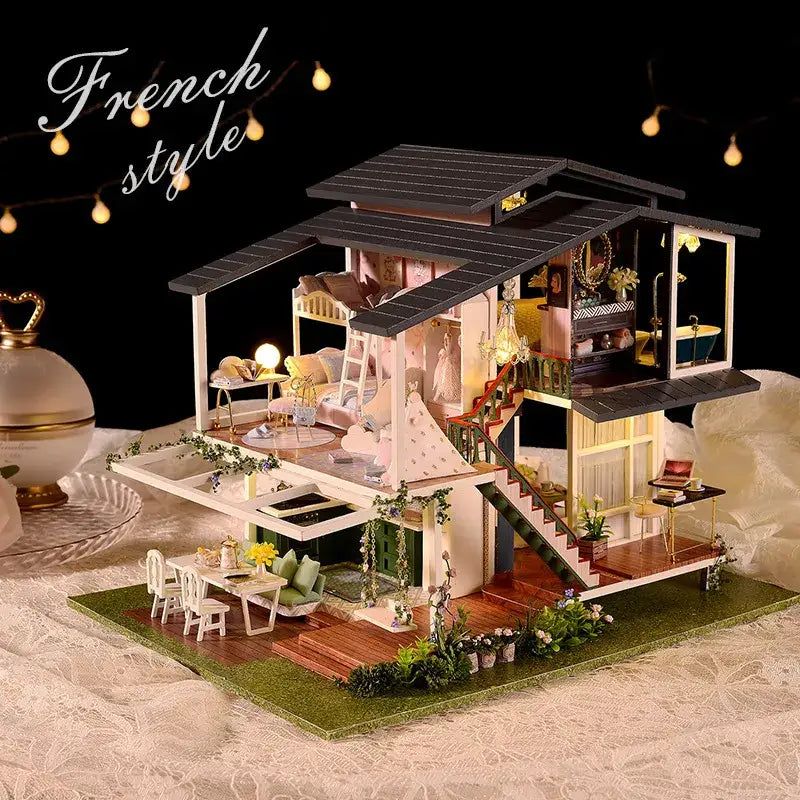
Bestseller cottage kit
Tranquil Life DIY Miniature House Kit
$67.90
View this kit →
Tools you’ll genuinely need: hobby knife, plastic cement, clamps, primer, acrylic paint, brushes, and either a hobby airbrush or spray cans. Nice-to-haves include a rotating paint stand (so you reach every angle without touching wet surfaces), a magnifying lamp, and a pin vise for drilling detail holes. Builders who skip the magnifying lamp almost always regret it by the second session.
Building for Maximum Impact: Lighting and Weathering
Adding LED lighting and weathering transforms a bare model from a static display piece into something that looks like it has actually been to space: glowing portholes, scorched thruster ports, and solar panels aged by decades of fictional service.
LED strips (warm white or cool blue, typically 3 to 5mm wide) inside the hull transform a model from display piece to storytelling object. Windows glow. Docking bays illuminate. The station feels operational.
Weathering creates history. Real spacecraft aren’t factory fresh. Panel lines get darker from accumulated dust and thermal cycling. Thruster ports show burn marks. Solar panels develop subtle discoloration. Weathering techniques run from subtle (dry brushing, where you drag almost-dry paint over raised edges) to extreme (salt chipping, a masking technique that simulates micrometeorite damage on hull plates).
The meditative part kicks in here. You’re not racing. You’re studying where light would naturally touch, where heat would leave marks, how years in harsh space would age metal and polymer. Fifteen minutes of focused weathering on one panel teaches you more than an hour of unguided assembly. Several builders in community build-log threads have noted that this is the stage where the hobby shifts from “assembling a kit” to “telling a story with your hands.”
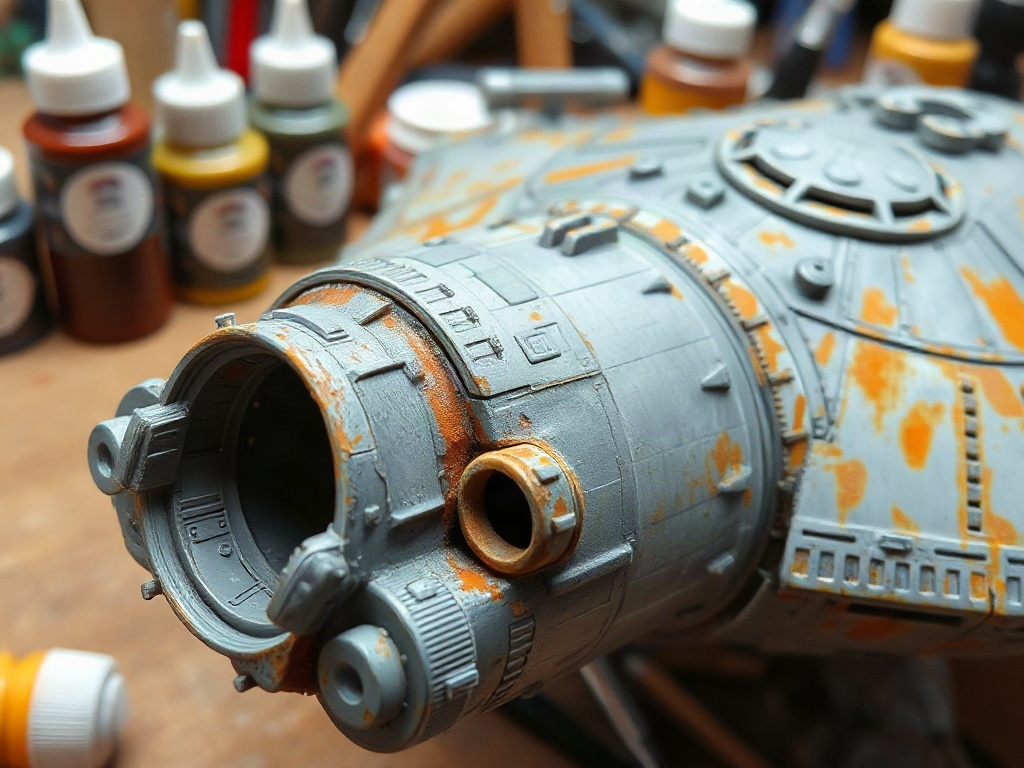
Dioramas amplify impact. A station hanging against black velvet feels lonely. The same station positioned against a star field photograph, floating above a planet, or docked alongside other spacecraft tells a narrative. You’re not just building a model. You’re anchoring a moment in a fictional timeline.
Explore the collection
All Book Nook Kits
76 handcrafted book nook kits
Browse all book nooks →
Skill Assessment: Matching Kits to Your Experience
Matching your kit to your actual skill level is the difference between a finished model you’re proud of and an abandoned hull sitting in a drawer: beginners need snap-fit simplicity, intermediates need panel-line challenge, and advanced builders need room to invent.
Beginner kits prioritize snap-fit assembly, minimal gluing, and straightforward painting. You’re learning how parts fit, how paint flows, what basic tools feel like in your hands. Success looks like a recognizable space station in your first month, and that’s genuinely worth celebrating.
Intermediate builds add real complexity. Photo-etched parts require careful handling with fine tweezers because they bend if you breathe wrong. Panel lines need drilling or scribing. Customization feels expected at this level. A community builder here often shares build logs, asking for feedback on paint mixes or wiring routes, and celebrating the small breakthrough moments that make the craft so satisfying.
Advanced work assumes confidence with every stage. You’re sourcing aftermarket parts, planning interior lighting systems, designing weathering schemes before the first part leaves the sprue. You might scratch-build custom components because the kit part didn’t match your vision. Failure at this level teaches more than success at lower levels, and that’s not a warning, it’s a genuine encouragement.
📜 Did you know?
The hobby of scale model building traces back to the 1960s space race, when enthusiasts recreated NASA spacecraft in miniature to process the magnitude of what humanity was attempting. That same impulse drives modern builders: crafting physical objects helps us understand the future we’re building toward.
The hobby of scale model building traces back to the 1960s space race, when enthusiasts recreated NASA spacecraft in miniature to process the magnitude of what humanity was attempting. That same impulse drives modern builders: crafting physical objects helps us understand the future we’re building toward.
Choosing Your First Space Station Kit
Choosing your first space station miniature kit comes down to three honest questions: how much shelf space do you have, do you already own painting tools, and are you building to display or to document the process?
These questions matter more than brand names. Start there, then match a price range to your answers.
Entry-level kits from established manufacturers run $25 to $45 and deliver solid builds within 8 to 12 hours. Mid-range ($60 to $120) offers richer detail and 20 to 30 hours of meaningful engagement. Premium kits ($150 and up) include exceptional parts quality and specialty materials but demand genuine passion and proper setup: ventilation for resin work, space for multiple workstations, and the kind of patience that only comes from having already finished a few easier builds.
Community forums and build-log platforms show what actually happens inside each kit. Before purchasing, spend 20 minutes reading honest builder reviews. You’ll see what surprised people, where they added extra details, and what they’d do differently. One builder on a popular scale modeling forum put it simply: “The box art shows the best-case result. The build log shows you the real journey.” That feedback is worth more than any marketing copy.
Consider picking a theme that resonates with you. Military stations feel austere and functional. Scientific outposts lean toward visible equipment clusters and antenna fields. Colonial stations blend military and civilian aesthetics in interesting ways. Your finishing choices reinforce the story you’re telling through every painted panel and every weathered thruster port.
Rare in the niche
Miniature Greenhouse Kits
22 LED-lit greenhouse builds
See our greenhouse range →
Lighting Systems That Feel Professional
Internal LED lighting is the single upgrade that most separates a beginner’s display model from one that stops guests mid-conversation: the glow from a porthole or docking bay turns a static object into something that feels genuinely alive.
LED strips (typically 3 to 5mm wide, adhesive-backed) fit inside hulls or along decks. Power options matter: tiny batteries with on-off switches work, but USB rechargeable systems let you avoid battery replacement and make the station easier to show off on a shelf.
Placement strategy shapes mood entirely. Backlighting through windows creates silhouettes of interior details that suggest whole rooms you haven’t actually modeled. Accent lighting on solar arrays highlights their geometry against the wall behind. Ambient underlighting (a diffused glow from beneath the base) works for diorama setups and suggests the station hangs in open space.
Weathering around light ports matters as much as the lights themselves. Where LEDs shine through vents or grilles, add subtle scoring or a thin wash of heat-discoloration paint to suggest that specific panel glows under operational strain. Details like this cost nothing but attention, and they’re what other builders notice first when they lean in close.
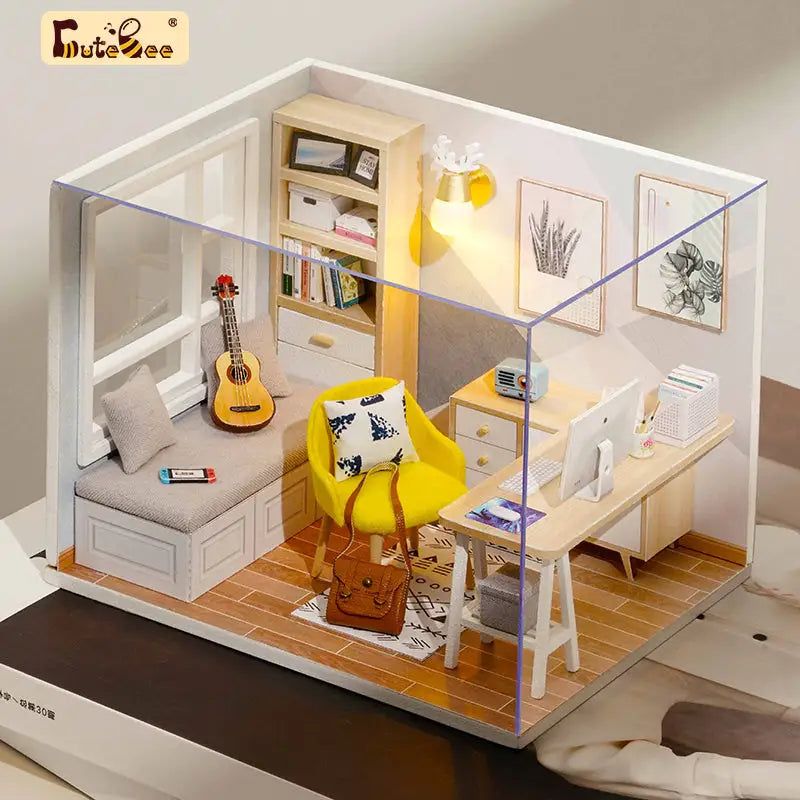
Easy starter under $50
Sun Room DIY Miniature House Kit
$49.99
Start with this kit →
Frequently Asked Questions about Space Station Miniature Kits
Everything you might be wondering (click a question to expand).
How long does a space station miniature kit actually take to build?
Snap-fit beginner models finish in 6 to 12 hours over a few days. Intermediate kits with gluing and painting stretch to 20 to 30 hours across 2 to 4 weeks. Advanced builds with lighting and weathering run 40 to 60 hours. The “hours” matter less than spreading the work. Fifteen minutes daily beats four-hour marathons that fatigue your focus.
Do I need an airbrush to get professional results?
No. Hand-brushing with quality acrylic paint produces excellent results. An airbrush accelerates base coating and smooths gradients, but a beginner builds confidence with brushes first. Spray cans offer middle ground: faster than brushes, less equipment investment than airbrush systems.
Can I customize a space station kit after assembly?
Absolutely. Add aftermarket decals, modify hull panels, swap out antenna designs, or build scratch-built extensions. Many builders view the kit as a foundation, not a final design. Your personalization transforms a model into your model.
What’s the best way to display a finished space station model?
Dedicated display shelving with accent lighting (LED strip on the shelf above, pointing down) showcases detail work. Black or deep blue backgrounds eliminate visual clutter. For premium builds, museum-quality cases protect against dust and damage. Consider sight lines: the model should catch light as viewers enter the room.
Are space station kits good for group projects?
Excellent for it. Each builder tackles specific sections, then parts assemble together. Assembly groups meet weekly or biweekly, working in parallel. Shared resources (paint, tools, reference images) lower individual costs. The social dimension deepens the satisfaction. You’re building alone, together.
What glue should I use for a space station model kit?
For standard injection-molded plastic parts, liquid plastic cement (like Tamiya Extra Thin) is the best choice. It melts the plastic surfaces slightly, creating a true chemical bond that’s stronger than the parts themselves. Use cyanoacrylate (CA glue) for resin-to-plastic joins or photo-etched metal parts. Avoid PVA for anything structural.
Bringing Your Space Station to Life
Every finished space station miniature kit represents the same quiet, deliberate choice: to slow down, focus on one small detail at a time, and build something physical that earns its place on a shelf through hours of genuine attention.
Collectors display finished kits. Builders photograph work-in-progress stages because the journey matters as much as the destination. That’s the real appeal. The model itself is beautiful. The building process is essential.
Your first space station model kit sits waiting. It doesn’t demand perfection. It demands attention. It rewards patience. Start with a scale that feels manageable. Gather basic tools. Build at a pace that fits your life, even if that’s fifteen minutes on a Tuesday evening. The community of space station builders has been doing this for decades. They share tips freely, celebrate every milestone from “first part glued” to “first light-up test,” and genuinely welcome newcomers. When you finally power on those interior lights and see your station glow for the first time, you’ll understand why this craft endures.