🎁 Buy 2 kits, get the 3rd FREE · Free shipping on every order

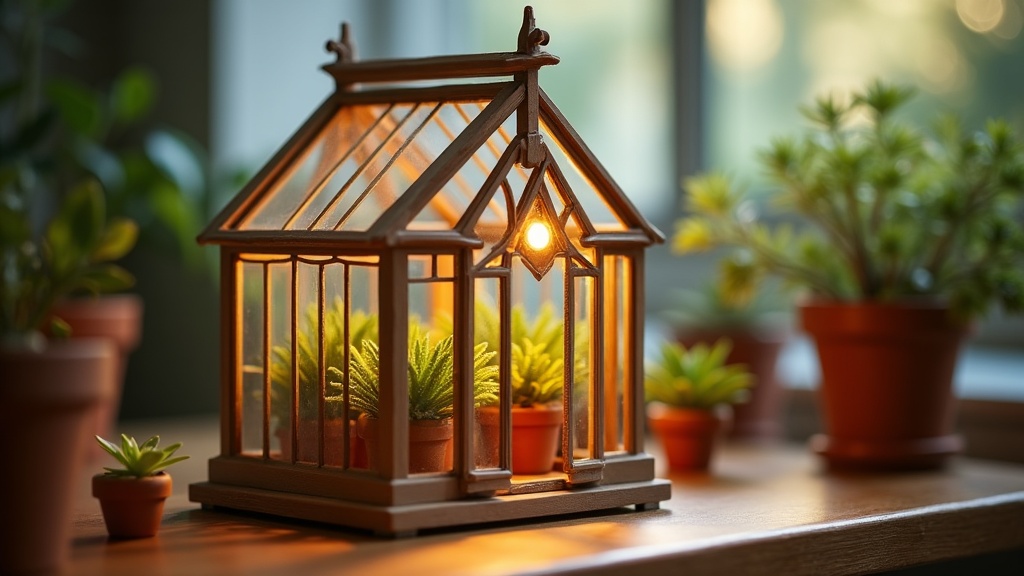
DIY Miniature Greenhouse Kit: History, What’s Inside, and 5 Best Picks for 2026
A complete guide to DIY miniature greenhouse kits in 2026: Victorian history, what's inside every box, difficulty ratings for all skill levels, and five specific kit picks from beginner to advanced. Written by Hannah Brooks for hobbyists and gift buyers alike.

DIY miniature greenhouse kits pull you into a surprisingly absorbing world the moment you crack open the box. The smell of raw wood, the satisfying click of laser-cut panels sliding into place, the first tiny potted fern you set on a half-inch shelf: it all adds up to something genuinely calming. Whether you’re searching for a weekend project or a thoughtful gift for someone who loves both plants and building, these kits deliver a meditative experience that screen time simply cannot replicate.
This guide covers where the miniature greenhouse tradition came from, exactly what you’ll find inside a quality DIY miniature greenhouse kit, how difficulty levels break down (with a handy comparison table), and five specific picks worth your money in 2026. By the end you’ll know precisely which kit matches your skill level and space.
The Victorian Roots of the Miniature Greenhouse
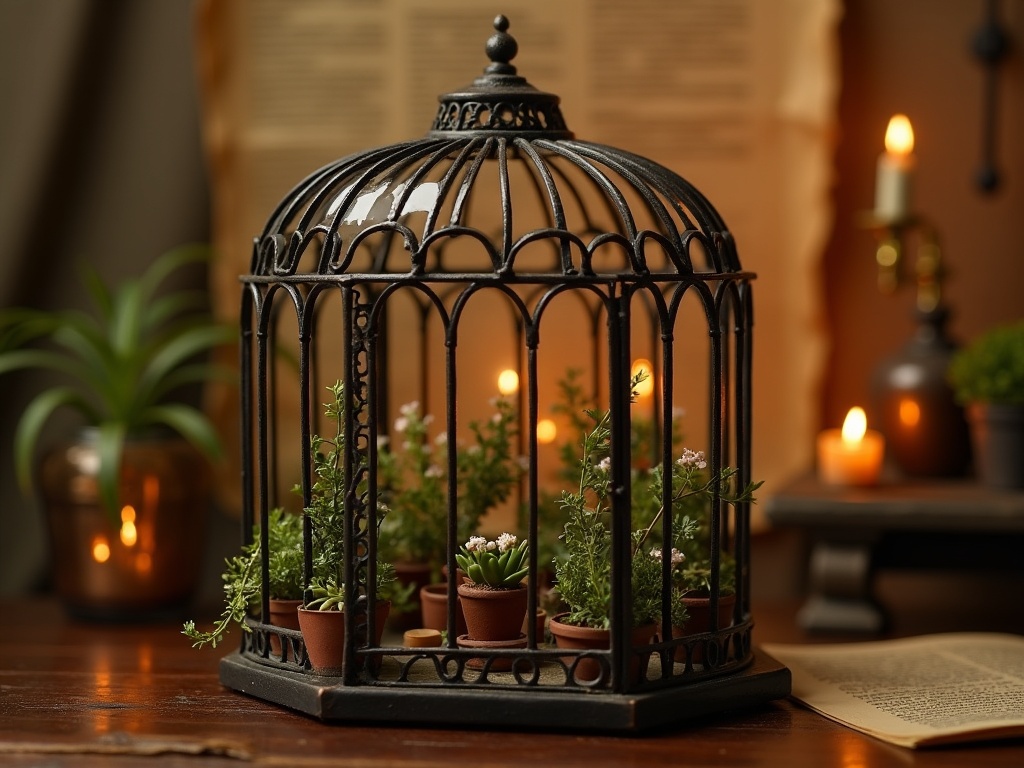
The miniature greenhouse traces its roots to 19th-century Britain, where glass-and-iron conservatories became cultural symbols of taming nature indoors, later miniaturized into parlor cases and, eventually, the laser-cut hobby kits we build today. The obsession with glass-and-iron growing structures traces back to 19th-century Britain. After the repeal of the British glass tax in 1845, large-scale greenhouse construction exploded among the upper and middle classes. The most famous example, Joseph Paxton’s Crystal Palace built for the Great Exhibition of 1851, covered more than 990,000 square feet of Hyde Park. It wasn’t just a building; it was a cultural statement about humanity’s ability to tame nature indoors.
Wealthy Victorians quickly miniaturized the concept. Parlor Wardian cases, named after botanist Nathaniel Bagshaw Ward who patented the sealed glass terrarium around 1829, became status symbols in drawing rooms across London and New York. Ferns, orchids, and exotic palms lived inside these tiny glass houses while snow fell outside. The more elaborate cases featured wrought-iron Gothic arching, brass fittings, and hand-painted ceramic pots scaled to the inch.
The leap from functional parlor case to pure hobby model came gradually through the 20th century, accelerating with the miniature dollhouse movement of the 1970s and 1980s. Crafters began building greenhouse additions onto their dollhouses, then freestanding greenhouse dioramas, and finally the fully kitted laser-cut systems we see today. Hannah herself traces the beginning of this shop to a single rainy Sunday in 2021: a Victorian dollhouse kit, no real plan, and the creeping realization that the building itself was the point. That same feeling is exactly what a good greenhouse kit delivers.
📜 Did you know?
Nathaniel Bagshaw Ward accidentally discovered the sealed terrarium principle in 1829 when a fern sprouted inside a sealed glass jar he’d left a moth chrysalis in. His subsequent 1842 book, On the Growth of Plants in Closely Glazed Cases, sparked a fern-collecting craze so intense that Victorians called it “pteridomania.” That same sealed-glass aesthetic is what modern miniature greenhouse kits faithfully recreate, down to the tiny wrought-iron-style frame details.
Nathaniel Bagshaw Ward accidentally discovered the sealed terrarium principle in 1829 when a fern sprouted inside a sealed glass jar he’d left a moth chrysalis in. His subsequent 1842 book, On the Growth of Plants in Closely Glazed Cases, sparked a fern-collecting craze so intense that Victorians called it “pteridomania.” That same sealed-glass aesthetic is what modern miniature greenhouse kits faithfully recreate, down to the tiny wrought-iron-style frame details.
What’s Actually Inside a DIY Miniature Greenhouse Kit
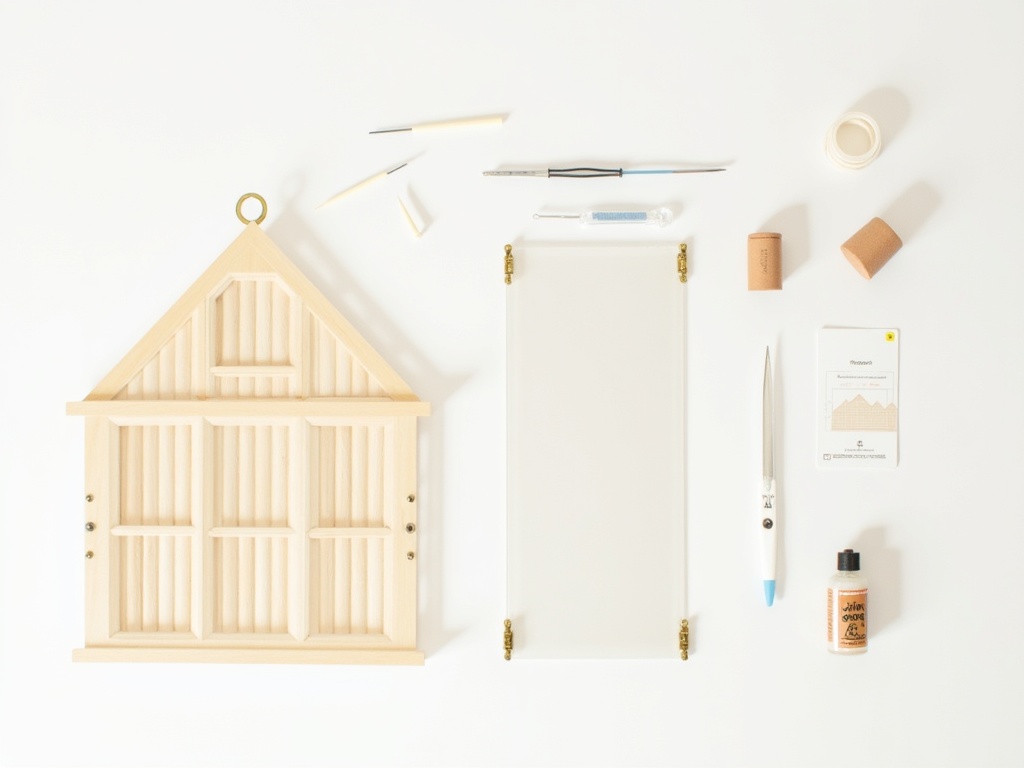
A quality DIY miniature greenhouse kit includes laser-cut wood panels, clear acrylic panes, brass-tone hardware, plant accessories, and often a pre-wired LED strip, everything you need to build a complete botanical display with no extra shopping required. Before you order, it helps to know exactly what the box contains. Quality varies a lot between budget imports and well-engineered kits, so here’s what a solid DIY miniature greenhouse kit should include.
The Core Building Components
- Laser-cut wood panels: Basswood or birch plywood sheets, typically 1.5 mm to 3 mm thick, with pieces pre-scored for clean snap-out. Count the pieces before you start; a greenhouse kit usually runs between 80 and 200 individual parts.
- Acrylic “glass” panels: Thin clear acrylic sheets simulate glass panes. Higher-end kits use UV-resistant acrylic that won’t yellow over time.
- Frame hardware: Tiny hinges, clasps, and sometimes miniature bolts for opening roof sections or doors. Brass-tone hardware elevates the Victorian look considerably.
- Adhesive: Most kits include a small bottle of PVA wood glue. A few premium kits supply precision-tip applicators, which genuinely helps at 1:12 scale.

Garden-themed collector kit
Monet’s Garden DIY Miniature House Kit
$155.00
If the lush botanical interior of a greenhouse kit is what draws you in, Monet’s Garden extends that same plant-filled, impressionist spirit into a full miniature scene. Many greenhouse enthusiasts keep one alongside their greenhouse build as a companion display piece.
Furnishings and Plant Accessories
A greenhouse kit without interior details feels hollow. The best kits ship with:
- Miniature potted plants (resin or paper clay), often 4 to 8 pieces
- Scaled seed trays, watering cans, and garden tools
- Wooden workbench or potting table, unfinished so you can stain or paint it
- Hanging basket hooks and small clay or ceramic pots
- Moss, dried flowers, or fine-grain sand for texture details
Electrical and Lighting Add-ons
Many kits now include a pre-wired LED strip or individual warm-white LEDs that thread through the frame. This is where the real magic happens at night. A lit miniature greenhouse on a bookshelf creates an amber glow that looks like a tiny world at dusk. Check whether the kit uses USB power or AA batteries; USB is far more practical for desk display.
Instructions and Assembly Time
Good instructions matter enormously. Look for numbered photo steps rather than line-drawing diagrams only. Assembly time on a standard greenhouse kit runs 6 to 14 hours depending on your pace and experience. That’s not a weekend sprint; it’s a slow, satisfying project you spread across several evenings. Community members often tell us the instruction quality is what separates a frustrating build from a meditative one.
✨ Hannah’s tip: the dry-fit rule
Before gluing a single piece, do a full dry-fit run of the main frame. Lay every panel out in assembly order, press them together without adhesive, and check the fit. Laser-cut tolerances can shift slightly with humidity, and catching a tight joint before the glue is wet saves you 20 minutes of stress later. I keep a small bowl of warm water nearby; a damp fingertip softens a stubborn slot without warping the wood. I learned this the hard way on my very first Victorian dollhouse build, when I glued the front facade on backwards and spent an anxious hour with a craft knife separating it. The dry-fit step has been non-negotiable ever since.
Before gluing a single piece, do a full dry-fit run of the main frame. Lay every panel out in assembly order, press them together without adhesive, and check the fit. Laser-cut tolerances can shift slightly with humidity, and catching a tight joint before the glue is wet saves you 20 minutes of stress later. I keep a small bowl of warm water nearby; a damp fingertip softens a stubborn slot without warping the wood. I learned this the hard way on my very first Victorian dollhouse build, when I glued the front facade on backwards and spent an anxious hour with a craft knife separating it. The dry-fit step has been non-negotiable ever since.
Difficulty Ratings: Matching the Kit to Your Skill Level
Miniature greenhouse kits range from beginner builds under 100 parts and 6 hours up to advanced multi-room projects with 200-plus parts and 25 hours of assembly, matching the right difficulty to your skill level makes the difference between delight and frustration. Not all miniature greenhouse kits are created equal in complexity. Here’s a practical breakdown so you pick the right challenge. The table below gives you a quick snapshot before the detailed descriptions follow.
| Level | Parts count | Build time | Price range | Best for |
|---|---|---|---|---|
| Beginner 1-2/5 | Fewer than 100 | 4 to 6 hours | $28 to $45 | First-time builders, ages 14+, gift for curious crafters |
| Intermediate 3/5 | 100 to 200 | 8 to 12 hours | $50 to $85 | Hobbyists wanting an impressive display piece, LED experience |
| Advanced 4-5/5 | 200 or more | 14 to 25 hours | $100 to $145 | Experienced miniaturists, gallery-quality centerpiece builds |
Beginner (Rating 1-2 out of 5)
Fewer than 100 parts. Simple rectangular frame with snap-fit or tab-slot assembly. Minimal painting required. Assembly time under 6 hours. Ideal for ages 14 and up, first-time miniature builders, or anyone who wants a calming afternoon project without a steep learning curve. These kits rarely include LED wiring, which is actually a feature for complete novices: fewer steps means more focus on the satisfying core build.
Intermediate (Rating 3 out of 5)
100 to 200 parts. Angled or hexagonal roof sections, working door hinges, and some fine detail painting. Assembly time 8 to 12 hours. This is the sweet spot for most hobbyists. You get a genuinely impressive finished piece without needing specialized tools or prior woodworking skills. Most of the miniature greenhouse kits in our collection sit at this level, because community feedback consistently tells us that intermediate builds deliver the highest satisfaction-to-frustration ratio.
Advanced (Rating 4-5 out of 5)
200 or more parts. Multi-room layouts, brass wire bending, LED wiring with soldering, hand-mixed paint finishes. Assembly time 14 to 25 hours. These are for experienced miniature builders who want a centerpiece project. The result is genuinely gallery-worthy. Several community members describe finishing an advanced kit as one of the most rewarding things they’ve made with their hands, including people who sew, throw pottery, and paint watercolors.
5 Best DIY Miniature Greenhouse Kits to Build in 2026
The five best DIY miniature greenhouse kits in 2026 span beginner to advanced, ranging from $28 compact conservatories to $135 multi-room botanical stations, every pick here is purpose-built as a greenhouse, not a repurposed house kit. These five picks cover the full spectrum of skill levels, price points, and aesthetic styles. Each has been evaluated on part quality, instruction clarity, accessory completeness, and the overall building experience. Every pick here is a genuine DIY miniature greenhouse kit focused on the greenhouse form, not repurposed cottage or house builds.
1. The Fernwood Parlor Greenhouse (Beginner, Difficulty 2/5)
A compact 1:12 scale rectangular conservatory, roughly 7 inches wide by 5 inches deep. The kit includes 76 pre-cut basswood pieces, 4 clear acrylic panels, 6 miniature clay pots with faux succulents, and a small wooden potting bench. No LED wiring. Assembly takes about 5 hours. The snap-fit frame is forgiving enough for beginners, and the included instruction booklet uses color-coded photo steps. Price range: $28 to $35. Great for gifting to a crafter who’s never built miniatures before. Browse similar entry-level options in the full greenhouse kit collection.
Explore the full range
Miniature Greenhouse Kits
22 LED-lit greenhouse builds
From beginner parlor conservatories to advanced multi-room botanical stations. Every kit in this collection is purpose-built as a greenhouse, with acrylic or glass panes, scaled plant accessories, and optional LED lighting.
2. The Edwardian Glass House Kit (Intermediate, Difficulty 3/5)
This is the kit most people picture when they imagine a Victorian miniature greenhouse. Octagonal base, peaked Gothic roof, working double doors with brass-tone hinges. It ships with 148 basswood parts, 12 acrylic panes, a pre-wired warm LED strip (USB-powered), 8 plant accessories, hanging baskets, and a detailed seed-tray rack. Assembly time runs about 10 hours. The LED wiring is pre-soldered, so you just connect the USB lead. Finished dimensions: 9 x 9 x 11 inches. Price range: $55 to $72. This one earns its place as the top seller in our full greenhouse kit collection for good reason: the lit Gothic-roofline silhouette on a bookshelf genuinely stops visitors mid-sentence.
3. The Rooftop Garden Conservatory (Intermediate, Difficulty 3/5)
Styled after the rooftop conservatories common in 1890s San Francisco townhouses, this kit adds a wooden deck platform with railing around the base of the greenhouse structure. The kit contains 162 parts, acrylic panels, LED fairy lights, and an unusually generous set of accessories including a miniature garden hose, clay flower pots in three sizes, and a wrought-iron-style bistro table set. Assembly time: 11 to 13 hours. Finished piece measures 10 x 8 x 10 inches. Price range: $65 to $80. Pairs beautifully next to a Victorian dollhouse kit if you want a coordinated display.
4. The Botanical Research Station (Advanced, Difficulty 4/5)
A multi-room layout with a central greenhouse dome, two flanking growing wings, and a small attached potting shed. This is the most architecturally ambitious kit on this list. It ships with 247 parts, UV-resistant acrylic, brass wire for custom plant hangers, dual LED circuits, and a detailed 52-page illustrated instruction book. The finished footprint is 16 x 8 inches. Assembly time: 18 to 22 hours. Not a weekend project; plan three to four weeks of evening sessions if you want to paint each section before assembly. Price range: $110 to $135. Community builders who’ve finished this one consistently describe the process as meditative in a way that single-structure kits aren’t, because you work on one room at a time and each completion feels like a milestone. One member in our online group posted daily progress photos for 23 days and said the ritual of sitting down each evening, making just a little more progress, was what she’d been looking for without knowing it.
5. The Winter Garden Terrarium Kit (Beginner-Intermediate, Difficulty 2/5)
This kit bridges the gap between a traditional terrarium and a miniature greenhouse. It uses a hexagonal glass-and-wood frame design scaled at 1:6, making the parts larger and easier to handle. Ideal for younger crafters (12 and up) or anyone with dexterity concerns. The kit includes 88 parts, tempered glass panels (not acrylic), a USB LED, 10 resin plant accessories, and decorative pebble mix. The glass panels give it a heft and light-refraction quality that acrylic can’t match. Assembly time: 6 to 8 hours. Price range: $42 to $55. Browse the full range of beginner greenhouse building kits for similar entry-level options.
How to Display and Customize Your Finished Greenhouse
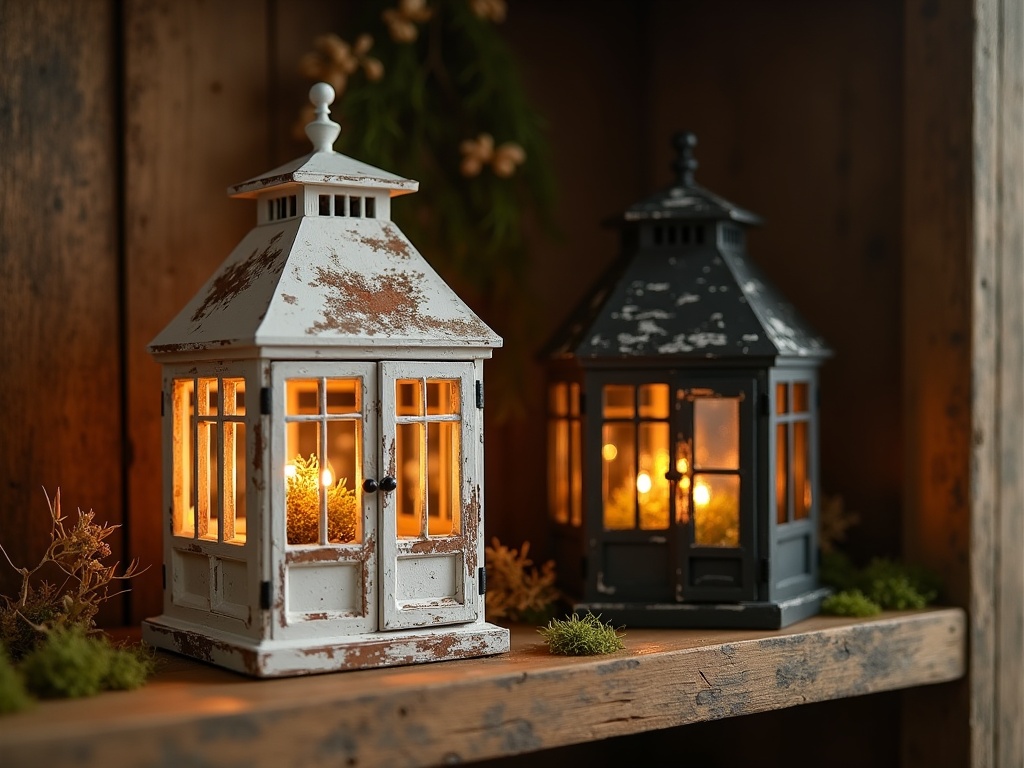
Displaying and customizing your finished miniature greenhouse, through painted frames, real dried botanicals, warm LED lighting, and seasonal accessory swaps, is what transforms a completed build into a truly personal, living display piece. Finishing the build is only half the story. How you display and personalize the piece makes it genuinely yours.
Painting and Staining Techniques
Raw basswood takes acrylic paint well with no priming needed on small surfaces. For an authentic Victorian wrought-iron look, base-coat the frame in matte black, then dry-brush with a metallic silver. For a more botanical garden aesthetic, try a weathered white or sage green with light rust-colored dry-brushing on the joints. Water-based stains applied before assembly give the wood a richer warmth without hiding the grain. Hannah’s personal preference is a thin wash of warm walnut stain on the structural frame, followed by a single coat of matte varnish once the whole build is assembled; it reads as aged wood without looking muddy.
Adding Real Dried Botanicals
Pressed ferns, dried baby’s breath, and micro-moss from a craft store add an organic texture no resin accessory fully replicates. A small amount of PVA glue thinned with water acts as both adhesive and sealant for dried plant material. Keep pieces out of direct sunlight to preserve the color. Several community members source their moss from woodland walks, pressing and drying it between paper towels weighted with heavy books for three to five days before use.
Seasonal Displays
Several community members restyle their greenhouse interiors seasonally: spring bulbs and seedling trays in March, summer blooms in June, autumn squash and dried corn in October, and a miniature holiday wreath display in December. The modularity of most kits makes accessory swaps surprisingly simple. Check out related seasonal miniature garden accessories to keep your display fresh year-round.
✨ Hannah’s tip: the lighting moment
Plug in the LED for the first time after dark, ideally in a room with no overhead lights on. The amber warmth that spills through those tiny acrylic panes is the moment the whole project clicks into place emotionally. It’s the same feeling I had the first time I lit up my original Victorian dollhouse: this thing I made with my own hands is now a tiny world with its own light source. Keep a phone nearby because you’ll want to photograph it immediately.
Plug in the LED for the first time after dark, ideally in a room with no overhead lights on. The amber warmth that spills through those tiny acrylic panes is the moment the whole project clicks into place emotionally. It’s the same feeling I had the first time I lit up my original Victorian dollhouse: this thing I made with my own hands is now a tiny world with its own light source. Keep a phone nearby because you’ll want to photograph it immediately.
Frequently Asked Questions about DIY Miniature Greenhouse Kits
Everything you might be wondering (click a question to expand).
What tools do I need beyond what’s in the kit?
Most kits require only a toothpick or precision glue applicator (often included), a flat cutting mat, tweezers for small parts, and a ruler. A set of small clamps or binder clips helps hold glued joints while they cure. You do not need power tools or specialized woodworking equipment for any beginner or intermediate kit.
Are these kits suitable for children?
Beginner kits rated 1-2 out of 5 are appropriate for ages 12 and up with adult supervision for the glue steps. Advanced kits with LED wiring and very small parts are better suited to adults or teenagers 16 and up. Always check the manufacturer’s age recommendation on the specific product listing.
How long does the finished kit last?
A properly glued and sealed miniature greenhouse kit can last decades if kept away from direct sunlight and high humidity. UV-resistant acrylic panels maintain clarity for at least 5 to 7 years under normal indoor light conditions. Wood frames benefit from an occasional light coat of paste wax to prevent dust absorption.
Can I add real plants to the greenhouse?
The miniature structures are not designed for live plants or moisture. Water damages the wood frame and fogs the acrylic panels. For a living display, use genuine miniature terrariums with sealed glass panels instead. The resin and clay accessories included in kits are specifically designed to give the lush botanical look without any maintenance.
What scale are most miniature greenhouse kits?
The most common scale is 1:12, where 1 inch in the model represents 12 inches in real life. Some kits use 1:24 (half scale) for a more compact footprint, and a few specialty kits work at 1:6 for larger, easier-to-handle parts. The scale affects which other miniature furniture and accessory lines are compatible with your build.
How does a miniature greenhouse kit differ from a standard dollhouse kit?
A DIY miniature greenhouse kit is specifically designed around the glass-and-frame conservatory form: most of the “walls” are transparent acrylic or glass panels rather than solid wood, the interior accessories are botanical in theme (pots, seed trays, watering cans), and the structural aesthetic references Victorian iron-and-glass architecture rather than domestic interiors. Standard dollhouse kits focus on rooms, furniture, and domestic life. The two types pair wonderfully as a coordinated display, but the building experience and final look are quite different.
Building Your First Miniature Greenhouse: Starting Points Worth Knowing
The single most important tip for first-time miniature greenhouse builders is to read the full instruction booklet and do a complete dry-fit before touching the glue, a slow first build consistently produces better results than a rushed one. The single most common mistake first-time builders make is rushing the dry-fit stage. Spend 20 minutes understanding which pieces connect before opening the glue. Read the instruction booklet cover to cover first, even if it takes 15 minutes. Experienced miniaturists almost universally say that a slow first build produces a better result than a fast one, and that the pace itself is the reward.
If you find yourself genuinely absorbed by the greenhouse build, the natural next step is a full miniature botanical diorama kit that combines a greenhouse structure with surrounding garden paths, fencing, and landscape elements. You might also enjoy exploring our miniature house kits collection for a companion structure that sits alongside your greenhouse in a coordinated display. The community of people building these kits is warm, generous with advice, and very much worth joining. Share your progress photos; seeing someone else’s half-built potting shed at 11 p.m. is surprisingly motivating.
Pick your kit, clear off a corner of your table, and let the building begin. ✨
