🎁 Buy 2 kits, get the 3rd FREE · Free shipping on every order

Goblincore Miniature Kit Ideas: Crafting Dark Forest Worlds
Discover how to build immersive goblincore miniature scenes with mushroom forests, moss-covered ruins, and shadowy woodland settings. Explore kit combinations, sourcing strategies, and the meditative satisfaction of creating dark fantasy worlds on a small scale.

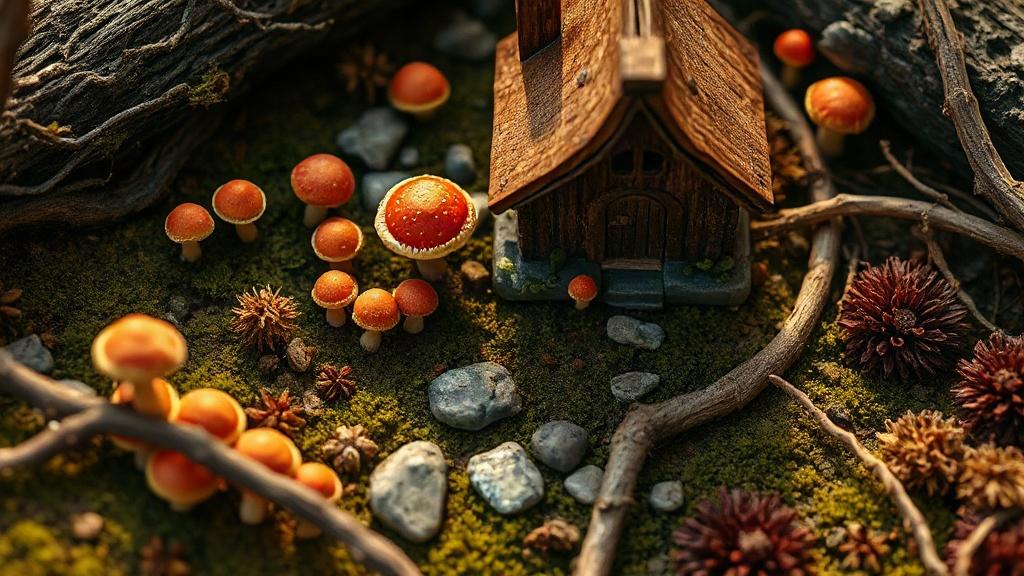
You sink into a chair after a long day, and something shifts. You pull out a shoebox-sized world filled with toadstool clusters, moss-draped stones, and little wooden doors tucked into tree roots. This is goblincore miniature kit building, and it’s nothing like what you might expect. It’s not about perfectionism or tournament-grade painting. It’s about creating a corner of a dark forest that belongs entirely to you, one tiny mushroom at a time.
Goblincore speaks to something real in us: the desire to find beauty in overlooked places, to celebrate the crooked and the mossy, the things that grow in shadows. When you build a goblincore miniature scene, you’re not just assembling components. You’re grounding yourself in texture, color, and the quiet joy of making something with your hands. Let me walk you through the kits, combinations, and approaches that make these worlds feel alive.
What Makes a Goblincore Miniature Scene Work
A goblincore miniature scene works when it feels discovered rather than designed: asymmetric placement, a restrained mossy color palette, rough textures over fine detail, and intentionally ambiguous scale that makes the whole thing feel like a pocket dimension. The magic of goblincore lies in its refusal to be orderly. A well-executed goblincore scene feels discovered, not designed. That asymmetry is the whole point. Before you buy kits, understand what you’re actually building for: a mood, not a blueprint.
Color palette first. Think mossy greens, earthy browns, deep purples, and mushroom reds. Blacks and grays anchor the scene. Avoid the bright, saturated primary colors you see in cheerful fantasy sets. Your palette should feel like dusk in a forest where things grow damp and strange. This restraint in color is what separates goblincore from generic fantasy.
Texture matters more than detail. A rough stone, lichen-covered bark, actual moss clumps, and unfinished wood surfaces do more work than tiny hand-painted portraits. Your eye should find interesting surfaces to explore, not micro-details to decipher. Ask yourself honestly: when you look at a finished scene, do you want to reach in and touch something? That’s the texture test passing.
Scale and proportion stay intentionally ambiguous. A mushroom the size of a house. A pebble that dwarfs a wooden bench. This dreamlike scale makes the scene feel less like a model railroad and more like peering into an actual pocket dimension where goblin-things live.
🪄 Hannah’s tip
Start with a 6-by-8-inch base. Smaller than that, and you run out of room for texture layers. Larger, and you’re committing hours of building time before you understand if you even like the aesthetic. One customer told me she built five goblincore scenes on small bases before she felt confident enough to tackle a 12-by-16-inch display. Her fifth one sold at a local maker market within a week. That’s the trajectory. My own first attempt sat gathering dust for three months because I went too large too soon. Don’t make my mistake.
Start with a 6-by-8-inch base. Smaller than that, and you run out of room for texture layers. Larger, and you’re committing hours of building time before you understand if you even like the aesthetic. One customer told me she built five goblincore scenes on small bases before she felt confident enough to tackle a 12-by-16-inch display. Her fifth one sold at a local maker market within a week. That’s the trajectory. My own first attempt sat gathering dust for three months because I went too large too soon. Don’t make my mistake.
Kit Combinations That Build Mood Fast
The fastest way to build goblincore mood is to layer four kit types in sequence: a stained wood base, a foam terrain kit, a mixed moss assortment, and a mushroom set, then add a small off-center structure to anchor the eye. You don’t need to source everything individually. Smart kit combinations cut your research time and give you proven components. Here’s how to think about layering them. (Honest question to ask yourself before you buy: am I drawn to this kit because it’s beautiful, or because it’s cheap? The answer changes your whole scene.)

The Foundation Layer: Base and Terrain
Start with a wooden base kit or pre-cut wood panel in walnut or cedar stain. These run $8 to $18 depending on size. You’re not painting it; the wood grain itself becomes part of the aesthetic. Pair it with a terrain kit that includes foam sheet, sand, and soil-colored acrylic paint. Budget $12 to $25 for this step.
Carve shallow indents into the foam for moss to settle into. Pour water mixed with matte medium over the painted terrain so water pools slightly and dries with a subtle wetness. This single step transforms a flat surface into something that feels lived-in.
Moss and Vegetation Kits
Real moss is superior to artificial, but it requires moisture control. Preserved moss kits (freeze-dried moss that stays dormant) are safer for indoor scenes and cost $10 to $18 per container. Real reindeer moss, cleaned and sometimes dyed, adds visual variety and texture. Budget $15 to $30 for a mixed moss assortment.
Layer three types minimum: deep forest green base moss, lighter silvery lichen for contrast, and small tufts of lighter moss for depth. Secure with tacky adhesive meant for floral work. Leave some areas bare stone to breathe.
Mushroom and Fungal Kits
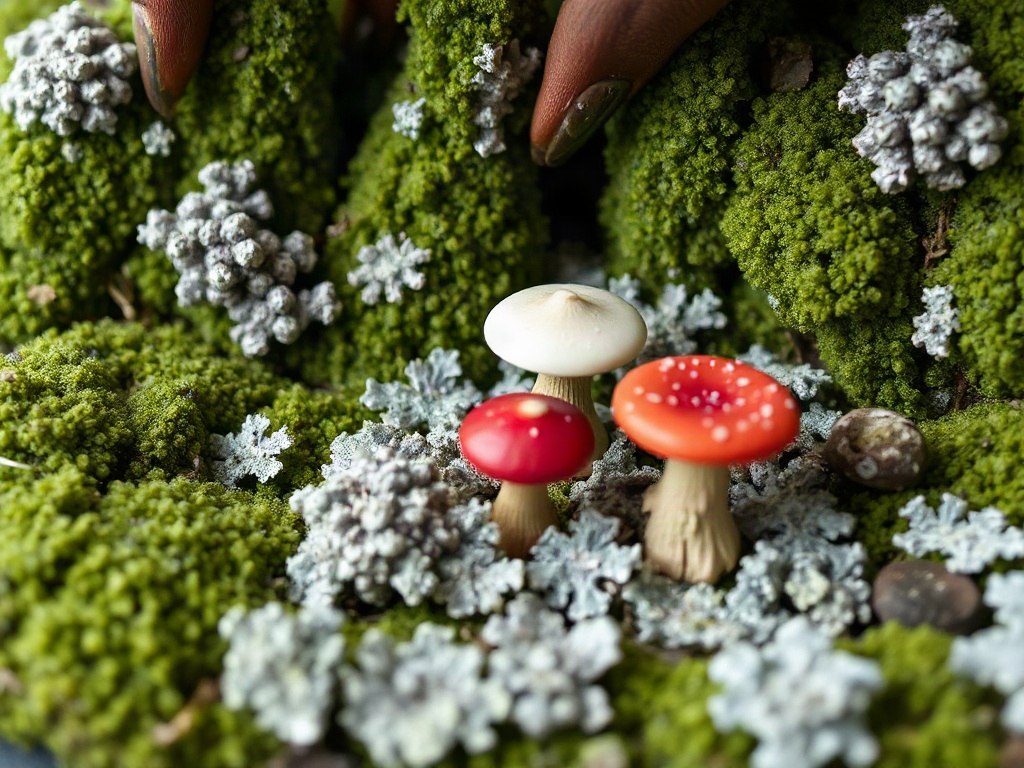
This is where goblincore miniature scene building becomes genuinely meditative. Mushroom kits come as carved wood pieces (ready to paint), as resin castings (require priming and painting), or as pre-painted models. Resin mushroom sets typically include 8 to 15 pieces ranging from 0.5 inches to 3 inches tall. Expect to spend $18 to $35 per kit.
Buy at least two mushroom kits if you’re building a 6-by-8-inch base. Cluster them in odd numbers: three here, five there, two tucked under a fallen log. Avoid symmetry. Paint them with earthy reds, creams, burnt oranges, and deep purples. Some mushrooms get white spots; others stay solid. Variation is your friend.
Structure Kits: Ruins, Buildings, and Props
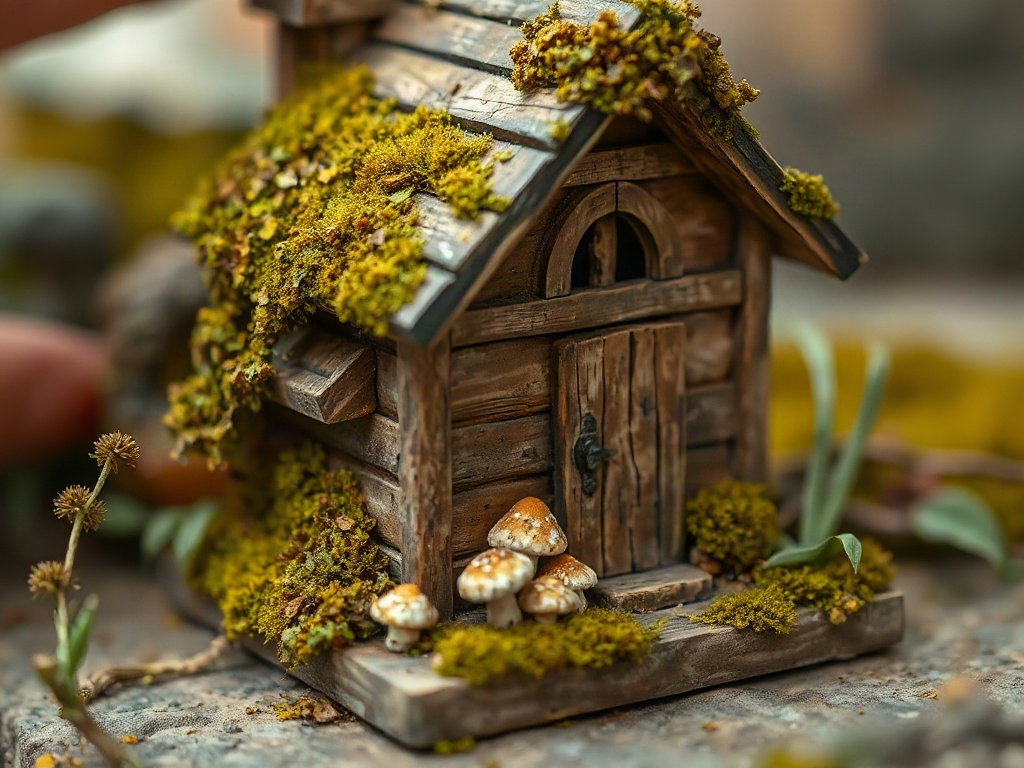
A small wooden structure kit anchors the scene. Goblincore loves crumbling things. Look for kits that feature a cottage door frame, a tilted shed, or a partial arch. Difficulty ratings typically range from easy (pre-painted, glue-and-place) to intermediate (requires assembly and painting). Easy kits run $15 to $25; intermediate ones cost $25 to $45.
Place the structure off-center. Lean it slightly. Let moss grow over half its surface. If you’re using an unpainted wooden kit, stain it with walnut or weathering washes, then dry-brush lighter colors to simulate lichen. When I stained my first mossy ruin piece, I was convinced I’d ruined it. Then I dry-brushed a pale gray over the top and it suddenly looked like something dug out of the earth after a century. Trust the process.
📜 Did you know?
Goblincore as an aesthetic gained momentum around 2020, but its visual roots trace back to the whimsical dark fantasy illustrations in books like ‘The Goblin Emperor’ and the moody woodland paintings of Victorian naturalists. The modern DIY miniature goblincore movement celebrates that same marriage of beauty and strangeness, except you’re building it yourself instead of just admiring it on a page.
Goblincore as an aesthetic gained momentum around 2020, but its visual roots trace back to the whimsical dark fantasy illustrations in books like ‘The Goblin Emperor’ and the moody woodland paintings of Victorian naturalists. The modern DIY miniature goblincore movement celebrates that same marriage of beauty and strangeness, except you’re building it yourself instead of just admiring it on a page.
Lighting and Finishing Kits
Small LED string lights (warm white or cool blue) can tuck behind structures or underneath moss overhangs. Lighting kits designed for miniature dioramas cost $12 to $20. They transform the scene from daytime curiosity to something genuinely atmospheric. Some builders add them after the first month of display, once they understand where shadows need emphasis.
Finish with acrylic varnish (matte) sprayed lightly over painted elements to seal them. A matte varnish kit runs $8 to $15 and protects your work from dust and handling.
Sourcing Strategy: Kits vs. Components
Choose full bundle kits ($60 to $120) for your first build, modular kit stacking ($80 to $150) once you know what you like, or hybrid sourcing ($40 to $80 plus foraging) when you want scenes no one else can replicate. You have three approaches. Pick the one that matches your patience and budget. I’ve tried all three, and honestly? There is no wrong answer. There’s only the wrong answer for you right now.
Full kit bundles gather everything into one box. You receive base, moss, mushrooms, a structure, and finishing supplies. Goblincore bundle kits cost $60 to $120 and work beautifully for beginners. The tradeoff: less room for personal creative choices. Everything coordinates by design, which can feel slightly flat if you follow the instructions exactly.
Modular kit stacking is the approach most experienced builders use. You buy foundation kits separately (base, terrain, adhesives), then layer in aesthetic kits one at a time. Total spend runs $80 to $150 for a medium scene, but you control every element. This method takes longer but rewards thoughtful choices.
Hybrid sourcing mixes kit components with foraged and reclaimed materials. Builders combine a mushroom kit with real moss collected from outdoors (washed and dried), twigs found on walks, and stones from garden centers. This requires research into material safety and preparation, but produces entirely unique scenes. Budget $40 to $80 for kits plus time for material prep.
Still not sure which path to take? The table below breaks down each approach so you can decide at a glance.
| Approach | Best for | Typical budget | Build time | Creative freedom | Hannah’s verdict |
|---|---|---|---|---|---|
| Full bundle kit | First-time builders, gift buyers, anyone who wants to start this weekend | $60 to $120 | 6 to 10 hours over 1 to 2 weeks | Low (curated palette) | Best entry point. Follow the kit once, then break the rules on your next build. |
| Modular stacking | Builders who have finished at least one kit and know what they like | $80 to $150 | 15 to 25 hours over 3 to 5 weeks | High (you choose every layer) | My personal favorite. Slower but every choice feels intentional. |
| Hybrid sourcing | Experienced crafters comfortable with material prep and experimentation | $40 to $80 plus foraging time | Variable; add 2 to 5 days for material drying | Maximum (nothing is prescribed) | Produces the most distinctive scenes. Requires patience and a willingness to troubleshoot. |

Building Goblincore Miniature Scenes Step by Step
Building a goblincore scene follows six stages: prep your base, lay and seal foam terrain, layer vegetation from dark to light, position structures off-center, cluster mushrooms in odd groups, then seal everything with matte varnish before adding optional LED lighting.
Prepare Your Base
Sand the wood lightly to remove splinters. Wipe clean. Apply stain if desired, or leave natural. Let it cure for 24 hours. Attach a small label to the underside with your name, date, and the kit combinations you used. Future-you will appreciate that record.
Build Terrain and Anchor Elements
Lay down foam sheet and carve shallow valleys. Mix water with matte medium (1:1 ratio) and pour over your terrain to create a sealed, slightly wet-looking surface. Allow this to cure completely, typically 12 to 24 hours. Once dry, it’s remarkably stable and ready for moss adhesion.
Layer Vegetation
Start with the darkest moss as your base layer. Arrange it to create depth, leaving some bare patches. Add lighter lichen and smaller moss tufts in focal areas. Step back frequently. The eye should travel across the scene, not stop at one point.
Position Structures and Large Props
Place your wooden structure, stones, and log pieces. Live with this arrangement for an hour. Adjust. This is the foundation of your scene’s narrative. Where does the eye naturally land? That’s where your primary structure belongs. I always photograph the scene at this stage before committing to glue. It saves so much heartbreak.
Add Mushrooms and Fungal Details
Cluster mushrooms around the structure, in moss pockets, and along terrain features. Paint them if they arrive unpainted. Group by size and color family, but vary the exact placement to avoid rhythm. Three red toadstools here, a cream cluster there, a single purple fungal spike rising from moss.
Finish and Seal
Once paint dries completely (36 to 48 hours), spray the entire scene with matte varnish. This protects against dust and fingerprints. Install LED lighting if using it. Place the finished scene in a location with moderate indirect light. Avoid direct sun, which fades the carefully chosen palette. And then, genuinely, just sit with it for a few minutes. You made that world. That deserves a moment.
Common Beginner Mistakes and How to Avoid Them
The four mistakes that ruin most first goblincore miniature builds are overpainting, using too much moss, falling into symmetry, and rushing the curing stages, all of them fixable once you know to watch for them. Overpainting is the most frequent misstep. Your mushroom kit arrives unpainted, and you think every piece needs hand-blended highlights. Resist that. A solid, matte finish often looks more authentic than detailed shading. Paint the underside of mushroom caps a slightly darker shade, then stop.
Using too much moss is the second trap. Moss is beautiful, but it can bury your structures and props, making the scene feel cluttered rather than mysterious. Cover roughly 40 to 60 percent of your base. Leave breathing room. Let stone show.
Symmetry sneaks in easily. You position three mushrooms, then mirror them on the opposite side. Now your scene feels designed, not discovered. Commit to asymmetry. Place elements where they’d naturally cluster, not where balance would demand them.
Finally, rushing the curing stages. Foam must dry. Glue must set. Paint must cure. Varnish must harden. This takes days, sometimes weeks if you’re layering effects. The scenes that feel most alive are the ones built slowly, with reflection between each phase. The waiting is not wasted time. It is part of the craft.

Frequently Asked Questions about Goblincore Miniature Kit Building
Everything you might be wondering (click a question to expand).
Can I use real moss from outside in my goblincore scene?
Yes, but prepare it first. Collect moss, rinse thoroughly with distilled water, and allow it to dry completely in a shaded spot (5 to 7 days). This removes insects and spores. Once dry, it’s stable and won’t decompose indoors. Preserved moss kits skip this step, which makes them easier for beginners.
How long does a goblincore miniature scene take to complete?
Budget 15 to 25 hours for a 6-by-8-inch scene if you’re using modular kits and painting unpainted components. This spreads across 3 to 5 weeks if you’re working weekends and allowing proper drying time. Full pre-painted bundle kits condense this to 6 to 10 hours over 1 to 2 weeks.
What’s the best way to display and protect a finished goblincore scene?
A clear acrylic display case with ventilation holes prevents dust while allowing you to enjoy the scene. Cases run $20 to $50. Without a case, keep the display away from direct sunlight, heat sources, and high-humidity areas. Dust gently with a soft brush every month.
Can I customize kits if I have a specific vision?
Absolutely. This is where the craft becomes yours. Buy kits as your foundation, then add individual resin pieces, weathering powders, and foraged materials to push the aesthetic toward your personal vision. The best goblincore scenes feel like they came from someone’s actual imagination, not from following instructions.
Are there difficulty levels, and what’s recommended for absolute beginners?
Most kits are labeled beginner (no assembly, minimal painting), intermediate (basic assembly, standard painting), or advanced (complex builds, detailed finishing). Start with beginner or beginner-to-intermediate bundles. Once you finish one, you’ll understand your own pace and preferences, which guides your next purchase.
Is goblincore miniature building suitable for children?
Many goblincore miniature kit projects suit ages 12 and up with adult supervision, especially beginner bundles that avoid sharp tools and use water-based adhesives. Resin casting components and spray varnishes require adult handling. For younger children (8 to 11), look for kits specifically labeled family-friendly that use soft foam, pre-cut pieces, and non-toxic craft glue. The moss layering and mushroom painting steps are particularly popular with kids who love natural textures.
Why Goblincore Miniatures Matter Beyond Aesthetics
Goblincore miniature building matters beyond aesthetics because the act of building itself, arranging moss, positioning mushrooms, waiting for layers to cure, pulls you into the present moment and builds a practice of acceptance for the asymmetric and overlooked. This craft isn’t primarily about creating something beautiful to look at, though that’s a bonus. It’s about the act of building itself. Each piece you position, each moss tuft you arrange, each paint stroke you apply pulls you out of distraction and into the present moment. The scene becomes a record of time spent in focus and intention.
Goblincore celebrates things that don’t fit neatly into the world. Asymmetry. Shadow. Growth in unexpected places. When you build these scenes, you’re saying yes to those things in a real way. That practice of acceptance seeps into how you move through the rest of your day.
And the community around goblincore miniature building is genuinely welcoming. Builders share progress photos, celebrate happy accidents, and help each other troubleshoot. It’s a space where perfectionism has no currency. Only curiosity and care matter. If you’ve been searching for a hobby that asks you to slow down, this is probably it.
