🎁 Buy 2 kits, get the 3rd FREE · Free shipping on every order

Diagon Alley Miniature Scene Ideas That Actually Work in a Book Nook
Build a Diagon Alley miniature scene that captures cobblestone atmosphere, warm amber light, and layered storefronts. Practical scene concepts, scale guidance, material tips, and kit recommendations for all skill levels.

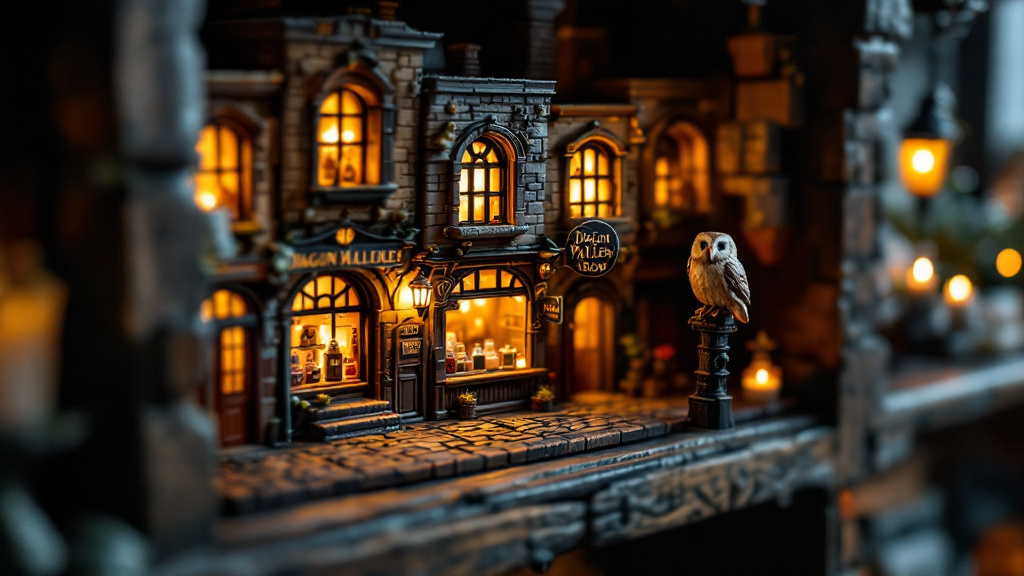
You know that moment when you open a book and wish you could step inside? That feeling is exactly what drives the best Diagon Alley miniature scene ideas out there right now. Narrow cobblestone alleys, crooked shopfronts stacked to impossible heights, warm amber light spilling from potion-bottle windows. Building this kind of scene in miniature is less about replicating a film set and more about capturing a mood you can hold in your hands.
Whether you are fitting it into a shelf book nook, a shadow box, or a standalone diorama, the principles stay the same: layered depth, deliberate lighting, and a few storytelling props that make a viewer stop and lean in. This guide walks through the strongest scene concepts, practical build tips, and the kit options that give you a real head start on your own Diagon Alley miniature scene.
Breaking Down the Visual Language of Diagon Alley
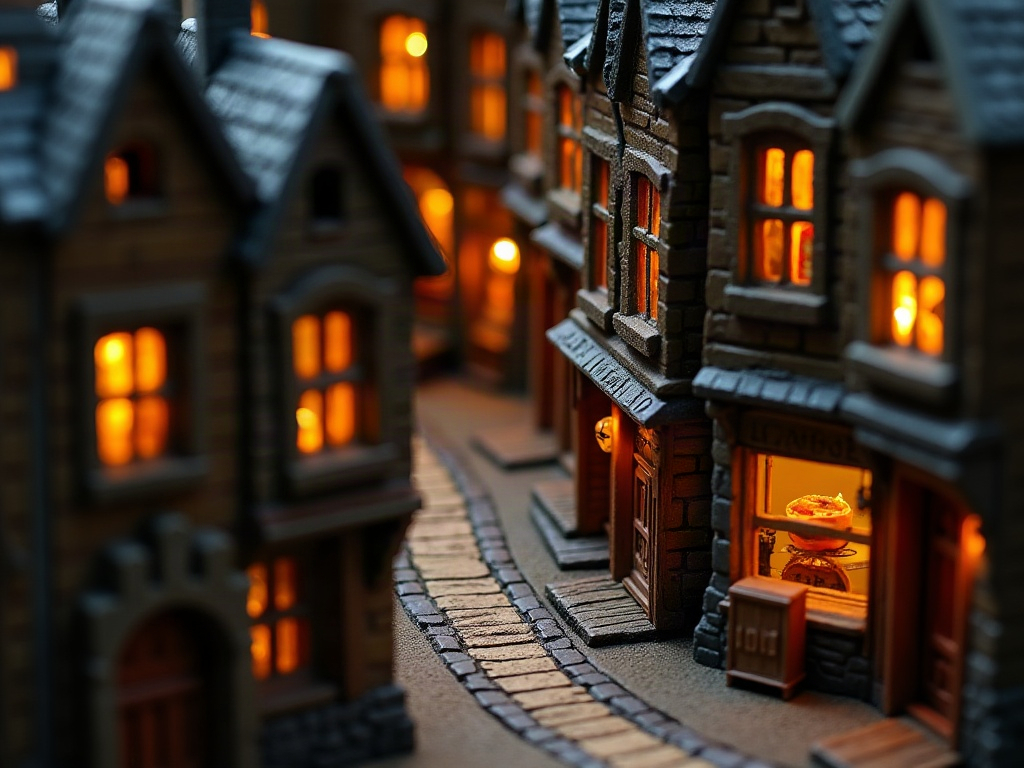
Before you cut a single piece of wood or paper, it helps to understand why Diagon Alley reads as “magical” rather than just “old.” Three visual principles drive it.
The Vertical Crush
Real medieval streets are narrow, but Diagon Alley exaggerates that compression. Buildings lean toward each other overhead. Floors stack up with slightly different angles, so nothing lines up perfectly. When you build your miniature scene, aim for a height-to-width ratio of roughly 3:1 or higher. A scene that is 4 inches wide should feel like it climbs at least 12 inches. That vertical energy is what separates a generic “old street” diorama from something that reads unmistakably as wizarding London.
Layered Storefronts and the Power of Partial Views

Perfect for wizarding scenes
Fantasy Book Nook Kits
76 atmospheric book nook kits with LED lighting included
Community builders consistently call the narrow-facade proportions “the closest thing to stepping into a wizarding alley” straight out of the box. Several members have shared full photo diaries of their Diagon Alley-inspired adaptations in our gallery.
The most compelling Diagon Alley miniature scene ideas do not try to show everything. They show one complete shopfront and let two or three neighboring facades bleed off the edges or recede into shadow. The viewer’s brain fills in the rest, which makes the scene feel larger than its physical footprint. Use the leftover depth behind your main facade to hint at a dim alley lane, a staircase going nowhere obvious, or a stack of crates with tiny potion labels.
Color Temperature and Glow
Warm amber or candlelight-yellow tones dominate. Cool blue-grey shadows sit in the recesses. If you add LED lighting (and you should), use 2700K-3000K warm white LEDs rather than bright white or daylight bulbs. The contrast between lit windows and dark stone is what gives a finished scene that late-evening, just-stepped-off-the-cobblestones quality.
Five Scene Concepts Worth Building in 2026
Not every builder wants to tackle the entire alley. Focused vignettes are often more satisfying, and they photograph far better too. Here are five distinct directions to consider for your next Diagon Alley miniature scene.
| Scene concept | Skill level | Best format | Key technique |
|---|---|---|---|
| Apothecary Window Display | Beginner | Shadow box / nook | Prop layering, bottle labels |
| Wandmaker’s Corridor | Intermediate | Book nook | Repetition, varied staining |
| Cauldron Shop at Night | Intermediate | Enclosed nook | Dramatic LED lighting |
| Owl Post Delivery Scene | Beginner | Standalone vignette | Air-dry clay sculpting |
| Bookshop Alley Entrance | Advanced | Diorama / nook | Cobblestone texture work |
1. The Apothecary Window Display
A single window crammed with tiny potion bottles, dried herbs, and handwritten price tags. This is one of the most approachable miniature wizarding shop scenes for beginners because the complexity comes from props, not from complex carpentry. Print tiny labels on regular paper, roll them around toothpick-sized dowels, and fill recycled glass seed bead vials with colored water. The window frame itself can be painted with a *verdigris* effect using green craft paint dry-brushed over copper. Community members who have shared this build in our gallery say the moment the first tiny bottle is lit from behind is “the most satisfying five seconds in miniature building.”
2. The Wandmaker’s Corridor
Narrow-facade atmospherics
Book Nook Kits with Tall Proportions
76 handcrafted book nook kits
“The tall narrow proportions were absolutely perfect for my wandmaker corridor build. I just swapped the paint palette and printed some wand-box labels.”, Mireille T., community builder
Long, narrow, floor-to-ceiling shelves holding tiny wand boxes. The challenge here is repetition done well. Cutting 30 or 40 identical little rectangular boxes sounds tedious, but it creates that hypnotic stacked-inventory effect that makes wandmaker scenes so satisfying once finished. Use thin balsa wood sheets scored with a knife, then stain each box slightly differently so the wall of boxes has natural variation. Add a single wand resting on a velvet-lined stand in the foreground to draw the eye.
3. The Cauldron Shop at Night
This one leans hard into dramatic lighting. The scene features a dim shopfront with a single glowing brazier visible through the window and cauldrons of different sizes stacked outside. Copper and pewter-toned metallic paints do most of the heavy lifting here. For the brazier glow, a single warm orange flickering LED candle placed inside a miniature pot creates a surprisingly convincing fire effect. This concept works beautifully in a fantasy book nook kit format because the enclosed shelf acts as a natural light trap.
4. The Owl Post Delivery Scene
A moment rather than a shopfront. A miniature post owl perched on a weathered wooden post, a stack of tiny rolled letters tied with twine, and a worn brick archway in the background. This is fundamentally a character-driven vignette rather than an architectural one, which means even modest builders can produce something with strong emotional impact. Sculpt the owl from air-dry clay or use a pre-painted resin figure (roughly 1:12 scale fits standard book nook dimensions), then paint the brick archway with three or four shades of grey-red for realistic variation. Several builders in our community have paired this vignette with a book nook kit as the archway backdrop, reducing build time significantly.
5. The Bookshop Alley Entrance
A cobblestone turning point between two towering facades, with a book-laden cart in the foreground and a lamp post casting light across uneven paving stones. This scene rewards patience with texture work. For the cobblestones, air-dry clay pressed with a crumpled piece of aluminum foil creates organic irregular surface texture quickly. Stain with diluted brown craft paint, wipe off the excess, and the stones practically paint themselves.
🪄 Hannah’s tip
When I build any wizarding street scene, I always paint the background wall of the diorama box with a deep charcoal grey before adding any architecture. That dark backdrop makes every lit window and warm-toned facade pop about three times harder. It takes five minutes and costs nothing, but it changes everything about the finished atmosphere.
When I build any wizarding street scene, I always paint the background wall of the diorama box with a deep charcoal grey before adding any architecture. That dark backdrop makes every lit window and warm-toned facade pop about three times harder. It takes five minutes and costs nothing, but it changes everything about the finished atmosphere.
Community builder favorite
Atmospheric Book Nook Kits
76 LED-lit kits, beginner to advanced
“I used one of these as the structural shell for my cauldron shop at night build. Swapped the paint to dark stone and dropped in a flickering LED candle. Absolute magic.”, Daniel R., verified buyer
Choosing the Right Scale for a Diagon Alley Book Nook
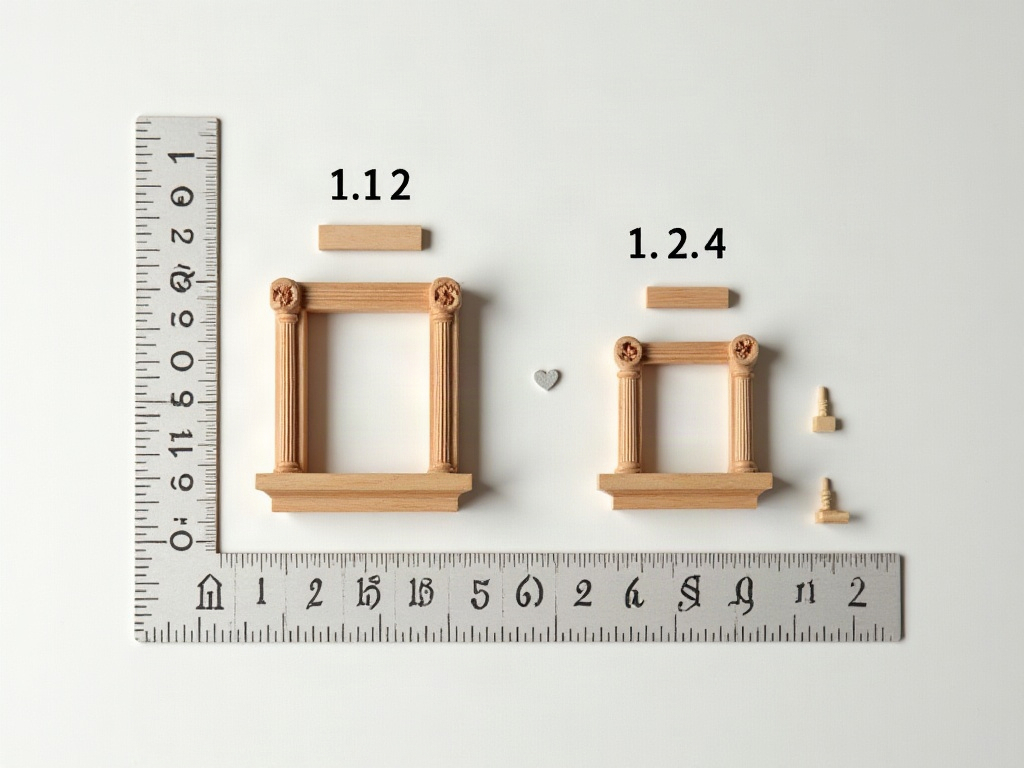
Scale decisions affect every other choice you make. The two most common scales for this type of scene are 1:12 (one inch represents one foot) and 1:24. Here is how they compare in practice.
| Scale | Standard doorway height | Best for | Trade-off |
|---|---|---|---|
| 1:12 | ~6.7 inches | Rich prop detail, readable signage, shelves 10+ inches deep | Needs more space; components larger to handle |
| 1:24 | ~3.3 inches | Narrow book-spine nooks (3-4 inches deep), more scene per inch | Fine detail needs magnifying lamp; fiddly at this size |
| Mixed / forced perspective | Foreground 1:12, background 1:24+ | Creating illusion of deep street receding into distance | Requires planning; transitions need careful blending |
- 1:12 scale: A standard doorway in your miniature will be roughly 6.7 inches tall. Props are easier to handle and paint. Text on signs is large enough to actually read. This scale suits builders who want rich detail and have a shelf at least 10-12 inches deep.
- 1:24 scale: Everything is half the size of 1:12. You fit more scene into the same footprint, which works well for a narrow book-spine-width nook (typically 3-4 inches deep). The trade-off is that fine detail work requires good lighting and, honestly, a decent magnifying lamp.
- Mixed or “forced perspective” scale: Foreground elements built at 1:12, background elements at 1:24 or even 1:48. This technique is how theatrical set designers create an illusion of much greater depth than actually exists. It takes a bit of planning but the results look dramatically deep on camera.
For most first-time builds, 1:12 gives you the most satisfying level of visible detail with the least frustration handling tiny components.
📜 Did you know? The surprising history of miniature street models +
The theatrical tradition of miniature street models dates back to at least 17th-century European court theater, where detailed scale models were used to plan elaborate stage productions. Today, professional concept artists building fantasy environments for major studios still use physical miniature models alongside digital tools, because nothing else captures how light behaves in a real three-dimensional space as accurately. Your Diagon Alley book nook is part of a very long and distinguished craft tradition.
Materials That Sell the Fantasy
The right materials are what separate a scene that looks “crafted” from one that looks “made.” A few specific choices make a significant difference.
Stone and Brick Textures
Printed brick paper sheets are perfectly acceptable for a first build, but textured paint applied over foam board takes the realism to another level entirely. Use lightweight spackle or texture paste pressed with a coarse sponge, let it dry fully, then paint in grey-red or dark stone tones with at least three layered dry-brush passes. The depth you get from actual physical texture catches light in a way no flat print can.
Wood Details and Signage
Laser-cut wood components
Book Nook Kits: Pre-Cut Wood Details
76 kits with pre-scored basswood trim included
“The pre-cut basswood window frames saved me hours. I spent all my time on the fun part: painting aged verdigris effects and adding tiny hand-lettered signs.”, Sophie L., community builder
Thin basswood sheets (0.5mm to 1.5mm thick) are far easier to score, cut, and stain than balsa for structural trim, window frames, and door panels. The grain is tighter and holds paint more evenly, which matters when you are painting something the size of a postage stamp. For shop signs, print your text at the correct miniature scale on regular white paper, then seal with matte Mod Podge and paint the edges with brown ink to give the appearance of aged wood. A small awning cut from tea-stained muslin cloth adds enormous realism for almost zero cost.
Lighting Hardware
Pre-wired LED fairy light strands designed for dollhouse use (available in warm white, 3V battery operated) are the easiest entry point. Run a thin strand behind a frosted vellum “window pane” for a diffused interior glow, or coil a segment loosely inside a tiny cauldron for the fire-glow effect described earlier. If you want more control, 3mm warm LED diodes wired to a small USB-powered resistor board let you place individual light sources exactly where you need them. Community builders report that adding even a single point of warm light transforms a “nice diorama” into a scene that genuinely looks alive on a shelf.
How Kits Can Shortcut the Hard Parts
One honest reality of DIY Diagon Alley miniature builds: the structural parts (laser-cut facades, pre-scored flooring panels, architectural trim pieces) consume enormous time if you cut them by hand. A good kit solves that problem while leaving all the creative decisions (color palette, prop arrangement, lighting mood) in your hands.
Our fantasy book nook collection includes kits built specifically for this kind of atmospheric, layered scene. The pre-cut wooden components handle the geometry; you bring the finishing. Difficulty ratings range from beginner-friendly builds (estimated 8-12 hours, all materials included) to more complex multi-story scenes aimed at experienced builders who want a challenge that takes a full weekend. Every kit in the range includes an illustrated step-by-step guide, so you are never left guessing about assembly sequence.
The meditative rhythm of a kit build is part of the appeal. Fitting a window frame, brushing on a first coat of stone grey, stepping back to check the proportion. There is something genuinely restorative about working at that pace, and the finished scene on your shelf is a daily reminder that you built something real.
Builders in our community have adapted fantasy book nook kits into Diagon Alley-inspired magical alley diorama builds by swapping paint colors, adding hand-sculpted props, and printing custom shop signs. The base architecture translates beautifully because the proportions (narrow, tall, layered) already match the aesthetic. Several community members have shared photo series of their builds on our social pages, and the range of interpretations from the same starting kit is genuinely remarkable.

Premium collector piece
Monet’s Garden DIY Miniature House Kit
$155.00
“I built this over a long weekend and used the garden archway proportions as inspiration for a wizarding courtyard extension on my alley diorama. The quality of the pre-cut pieces is exceptional.”, Rachel B., verified buyer
FAQ: Diagon Alley Miniature Scene Ideas
Everything you might be wondering about building your own wizarding miniature scene (click a question to expand).
What scale works best for a Diagon Alley book nook?
1:12 scale is the most popular choice for detailed builds with readable props and manageable component sizes. If your shelf space is narrow (under 4 inches deep), 1:24 scale or a forced-perspective mix of 1:12 foreground with 1:24 background elements will give you more scene in less space. See the comparison table above for a full breakdown of each option’s strengths.
Do I need woodworking tools to build a miniature wizarding scene?
Not necessarily. Foam board, printable brick sheets, air-dry clay, and balsa wood can all be cut cleanly with a good craft knife and a self-healing cutting mat. A laser-cut kit removes even that step for the structural components. Basic craft supplies from any hobby store cover the rest.
How do I add lighting without complicated wiring?
Battery-operated 3V warm white fairy light strands designed for dollhouses are the simplest option. No soldering, no power supply, and the battery box tucks neatly behind the scene or under the base. For a single glowing window effect, one 3mm LED candle placed behind vellum gives a beautiful, diffused result. Several builders in our community thread on lighting share step-by-step photos of exactly this technique.
Can a complete beginner build a satisfying Diagon Alley scene?
Absolutely. Starting with a focused vignette (one shopfront, one detailed window display) rather than attempting a full street scene keeps the project manageable. A beginner-rated kit with pre-cut parts, rated at 8-12 build hours, is a realistic and rewarding starting point that produces a finished result you will genuinely be proud to display.
What props make the biggest impact on a small budget?
Tiny bottles filled with colored water or micro beads (for potions), hand-rolled miniature scroll papers, and tea-stained fabric awnings give the most visual return per dollar spent. Printed miniature labels for bottles and shop signs cost almost nothing to produce and immediately read as intentional, detailed craftsmanship.
Which of the five Diagon Alley miniature scene ideas is easiest to start with today?
The Apothecary Window Display is the most accessible entry point for your first Diagon Alley miniature scene. It requires no complex carpentry: the visual richness comes entirely from small props (potion bottles, dried herb bundles, handwritten labels) arranged in a single window frame. You can have a compelling, photogenic result in a single afternoon session. The Owl Post Delivery vignette is a close second for builders who prefer character-driven scenes over architectural ones.
Building Your Scene One Prop at a Time
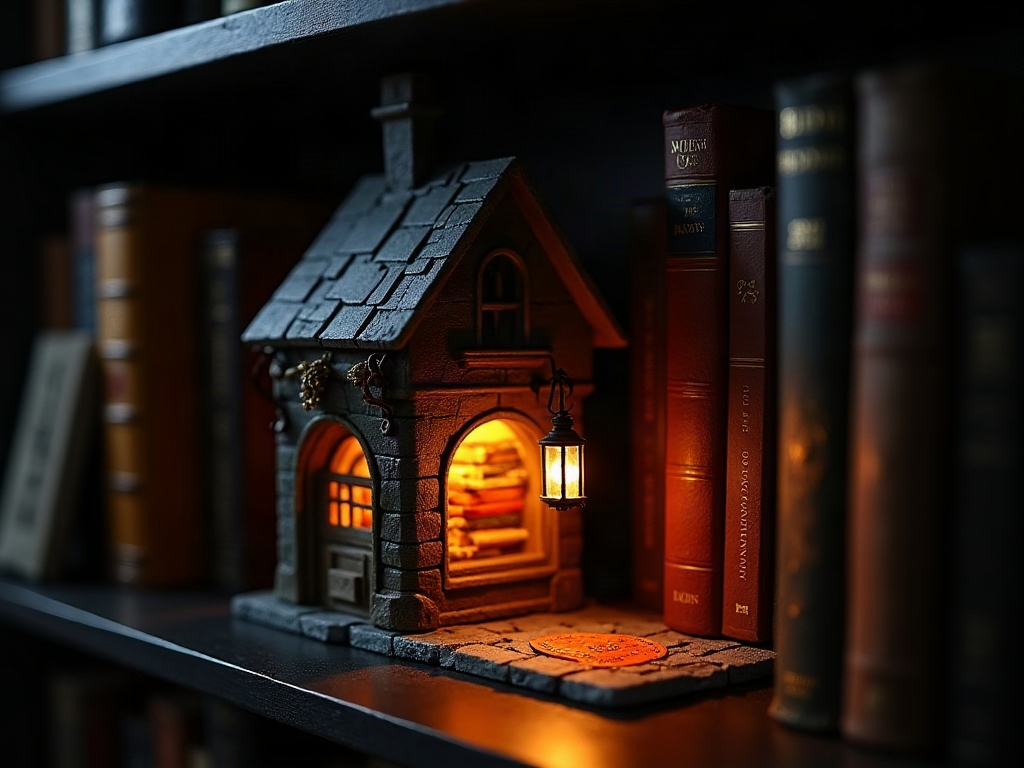
The richest Diagon Alley miniature scene ideas are never finished in a single session. They grow. A builder adds a new owl post one week, a hand-lettered shop sign the next, a tiny stack of spell books the week after that. That accumulation is part of what makes the hobby so quietly addictive.
Start with the architecture. Get the proportions and lighting right first, because no amount of clever props rescues a scene with bad bones. Once the structure satisfies you, layer in the storytelling details at whatever pace fits your life. Two hours on a Sunday afternoon with a cup of tea and a tiny paintbrush is genuinely one of the more restorative ways to spend time.
Whether you start from scratch with foam board and balsa, or use a kit as your structural shell, the creative latitude in these builds is enormous. Paint choices, prop arrangements, the specific amber warmth of your lighting, the hand-lettered signs in the windows: all of that is uniquely yours. The result is not a replica of someone else’s set. It is the version of a wizarding alley that lives in your imagination.
Browse the full fantasy book nook kits to find the structural starting point that matches your skill level and shelf space. Check out our full book nook collection for scale-accurate narrow proportions that translate beautifully into any Diagon Alley miniature scene. The architecture is waiting. The story you tell inside it is entirely yours. 🪄
